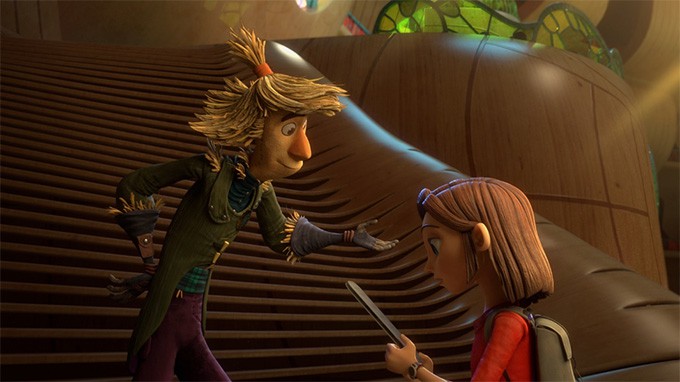
Fall means scarecrows, and that means a fun fall craft for the kids! This post is in partnership with Amazon Kids. I actually created this paper bag scarecrow to celebrate the Amazon Original Kids Series Lost In Oz which is now available on Prime Video!
Make a Paper Bag Scarecrow
Follow the magical adventures of Dorothy and Toto as they find themselves lost in the spectacular and peculiar land of Oz. Along the way, they will meet unlikely allies in West, Ojo, Reigh the Lion, Scarecrow, and Glinda the Good, who are each eager to help, but struggling with their own problems.
Together, they navigate the magical landscape of Oz while undergoing their own unique journeys of self-discovery. and will face unexpected enemies in this fun, exciting and modern take on a beloved classic.
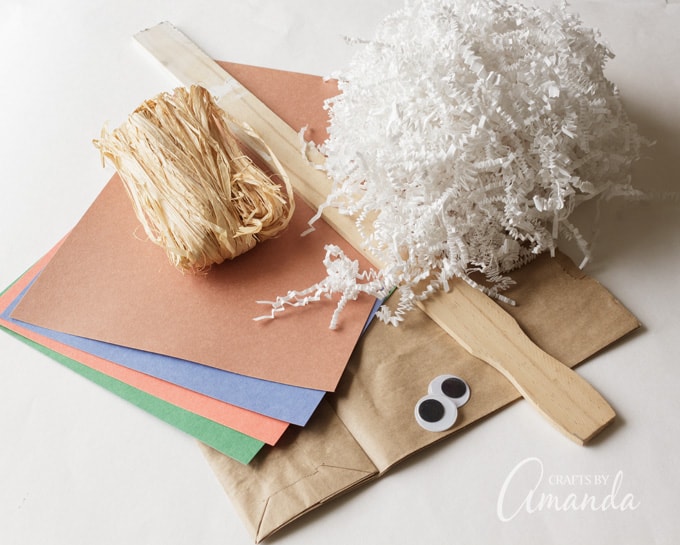
Supplies you will need:
- Brown paper lunch bag
- Paint stir stick
- 12-inch piece of yarn or string
- Raffia
- Construction paper (orange, brown)
- Felt (blue, green)
- 3 jumbo crafts sticks
- 2 regular craft sticks
- Goldenrod paint
- Shredded paper (or something to stuff the bag with)
- 2 jumbo googly eyes
- Rubber bands
- Scissors
- Hot glue gun
- Print these patterns
Making the Head and Neck
When you watch the show you’ll find that the main character, Dorothy is a budding engineer, tinkerer and creative builder.
Teaching you how to put together a scarecrow from a paper bag and a paint stir stick is right up her alley!
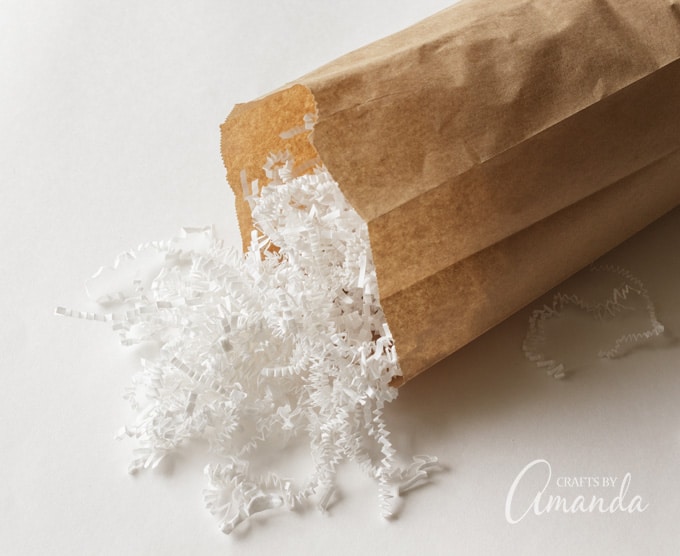
First, open the paper bag and stuff it full of paper, leaving about 2-inches of head space.
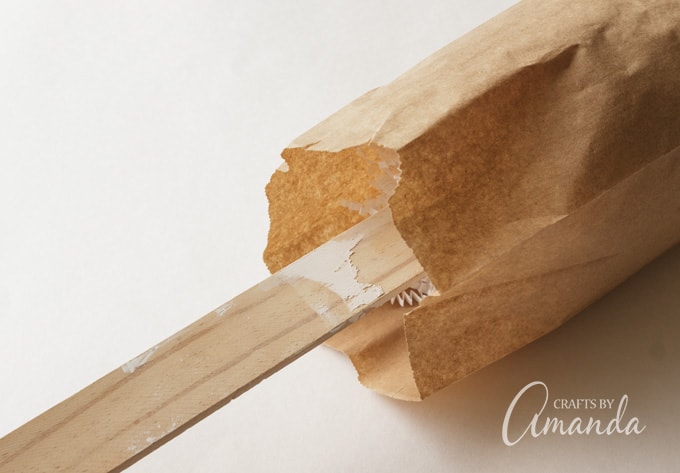
Insert the paint stir stick into the bag as far as it will go. Be careful not to push it through the end of the bag!
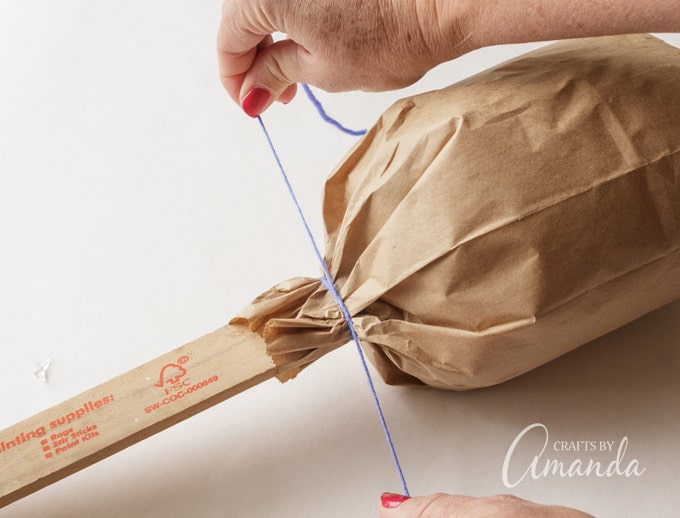
Tie the open end of the bag closed using yarn.
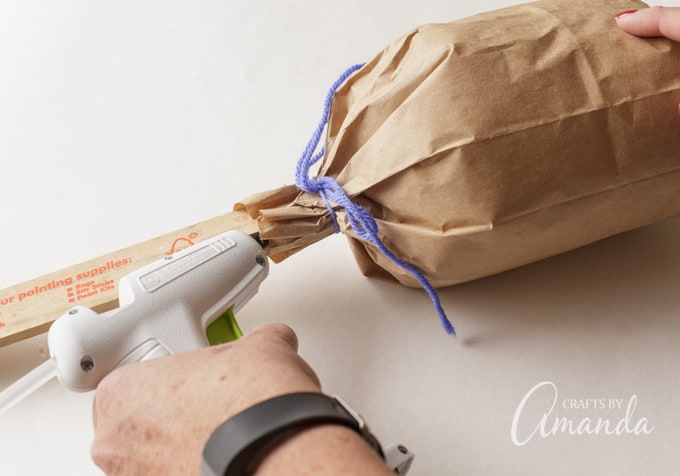
Secure the ends of the bag to the paint stir stick using hot glue.
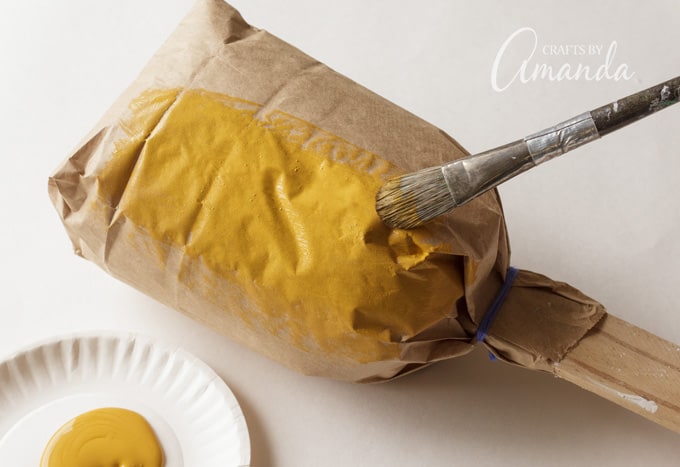
Paint the bag with goldenrod paint and set aside to dry.
Making the Shirt
In this step, you’ll use patterns you’ve printed off to cut out the pieces you will need to assemble your scarecrow and bring him to life!
Print out the patterns and cut the shirt from green felt and cut a piece of blue felt into a 3.5″x5″ rectangle.
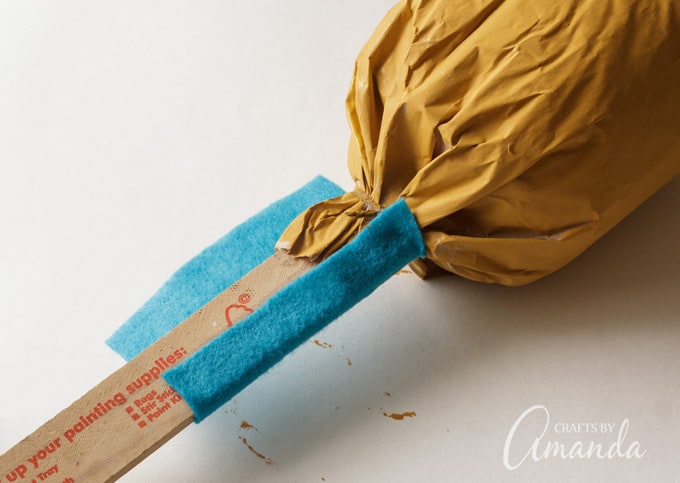
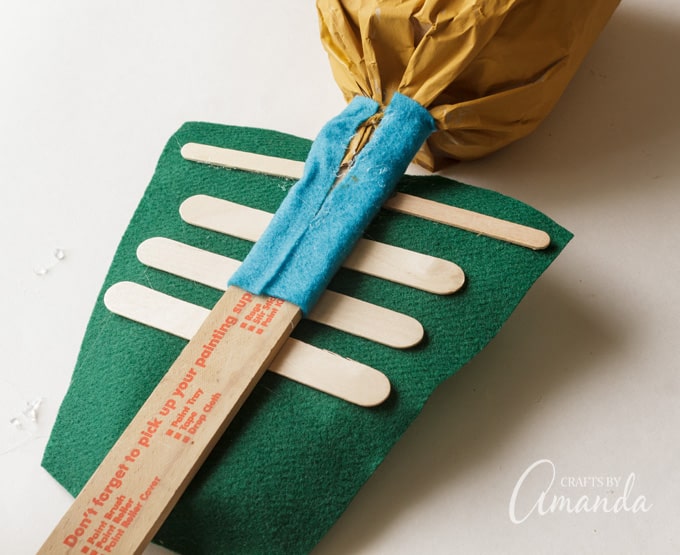
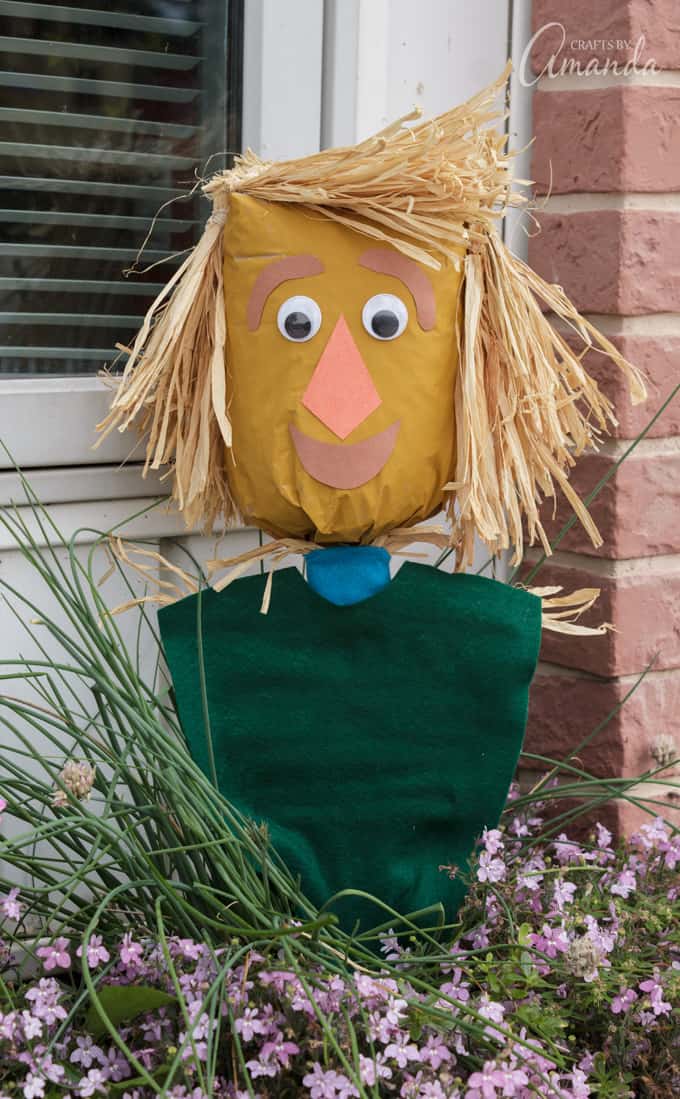
When the paint has dried, glue the blue rectangle around the “neck” covering the opening of the bag.
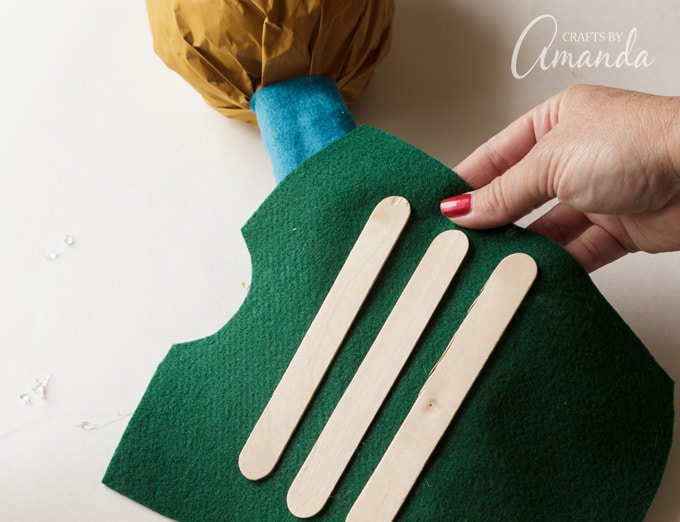
To keep the scarecrow’s shirt from flopping around, glue three jumbo craft sticks to the back of the green felt, they will look like ribs!
Add two regular-sized craft sticks to hold the shoulders in place as well. Glue the shirt to the paint stir stick. Add a few short strands of raffia to the neck and shoulder areas.
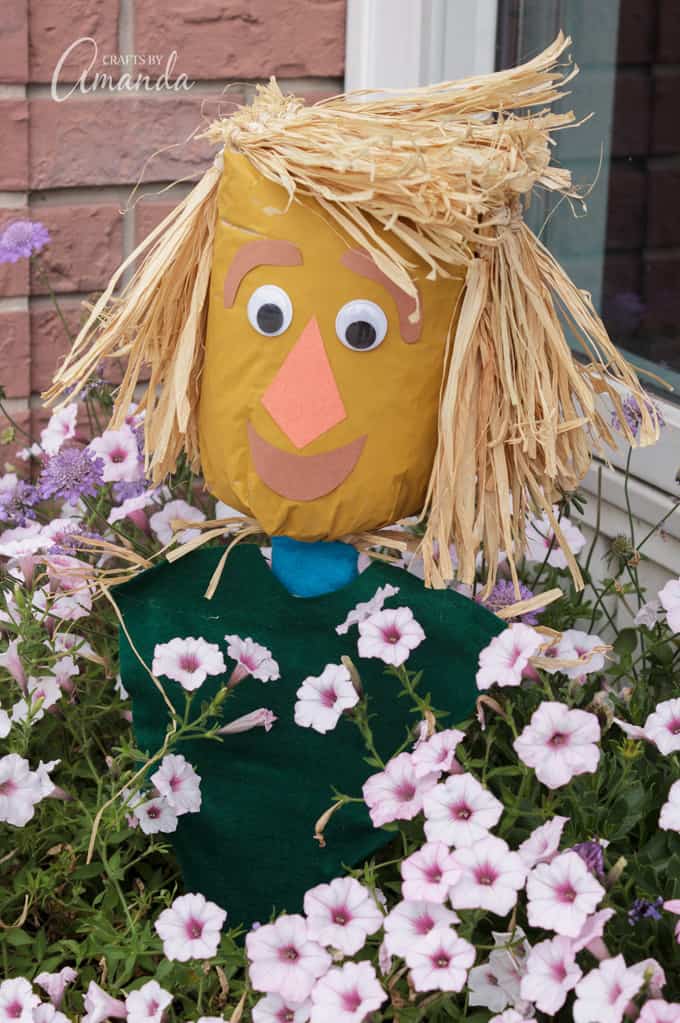
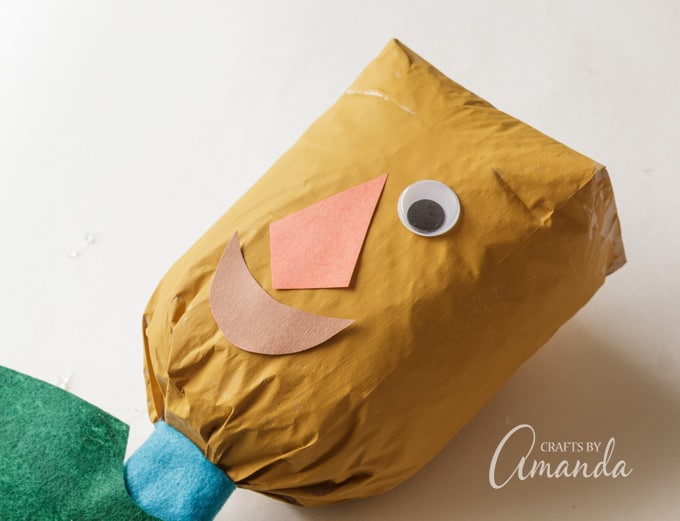
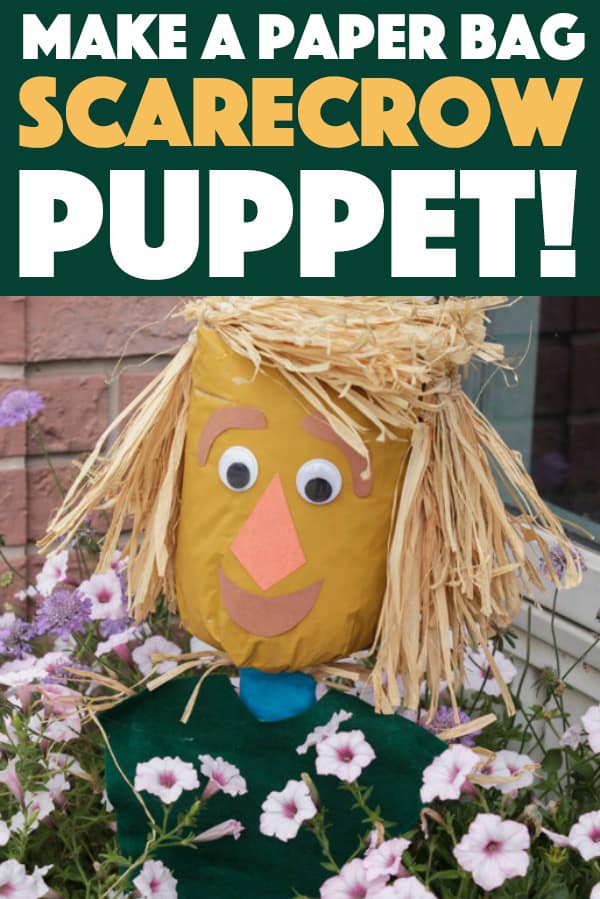
Using the patterns, cut out the mouth and eyebrows from brown construction paper and the nose from orange construction paper. Glue all the facial features to the bag.
Making the Hair
Raffia usually comes in very long strands that are gathered up in an oblong roll. You’ll need to do some counting here and estimating to make sure your bunches of hair are approximately the same size.
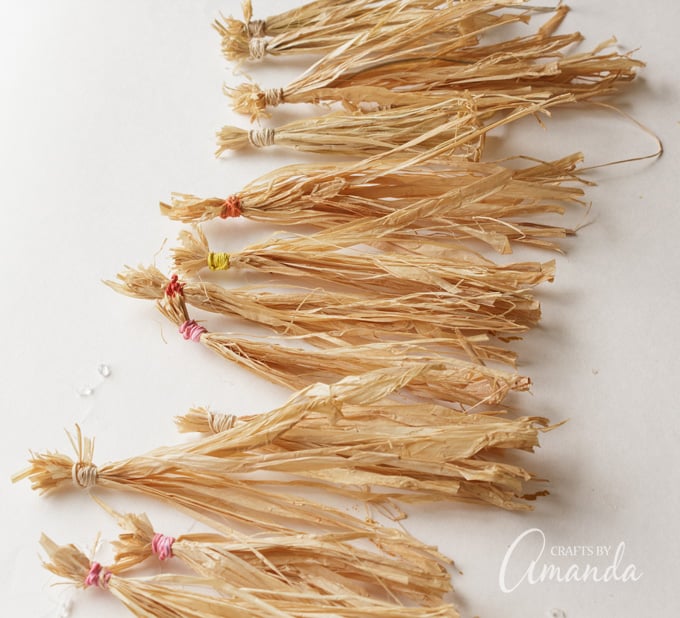
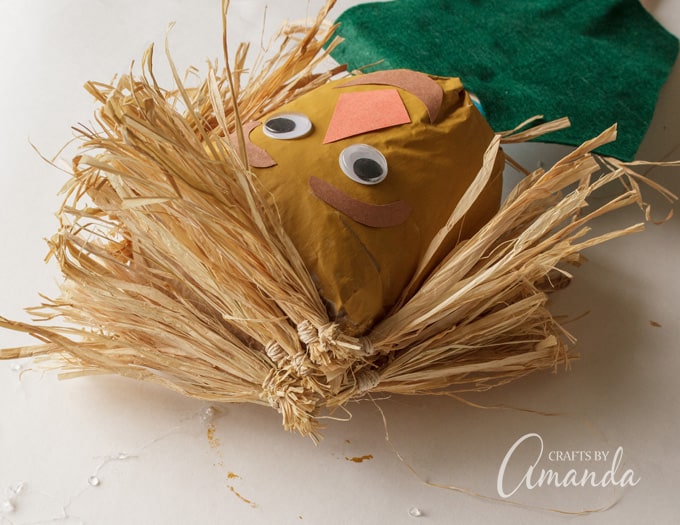
Unroll the raffia cut off a section of strands (about 4-5 inches long). Gather several strands together and secure the end with a rubber band. Repeat this process until you have 13 rubber banded bunches. Make more if you want the cover the back of the scarecrow’s head as well. We only covered the top and sides.
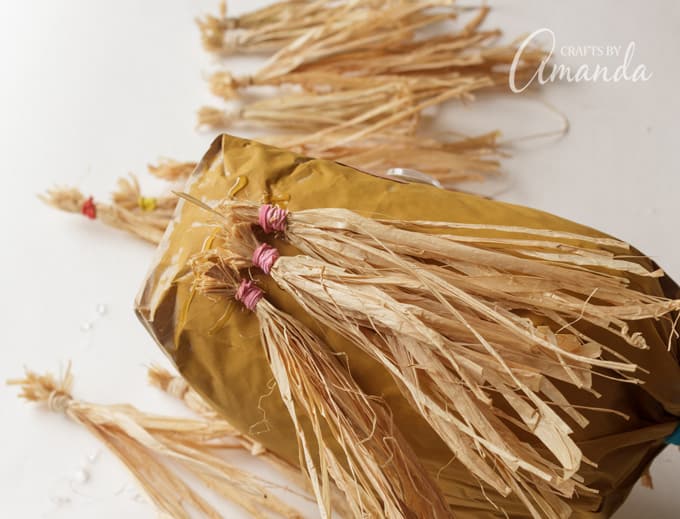
Starting a couple inches from the top of the head, glue 3 bunches of raffia to the side of the bag. Glue 3 more above those, overlapping them. Repeat this for the other side of the head.
Glue the remaining 7 bunches across the top of the head. You may need more or less depending on the size of your bunches.
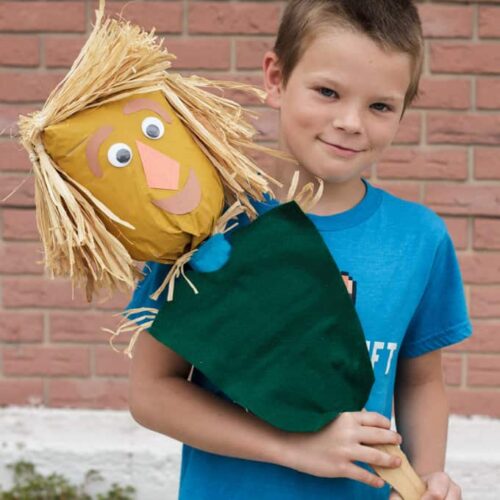
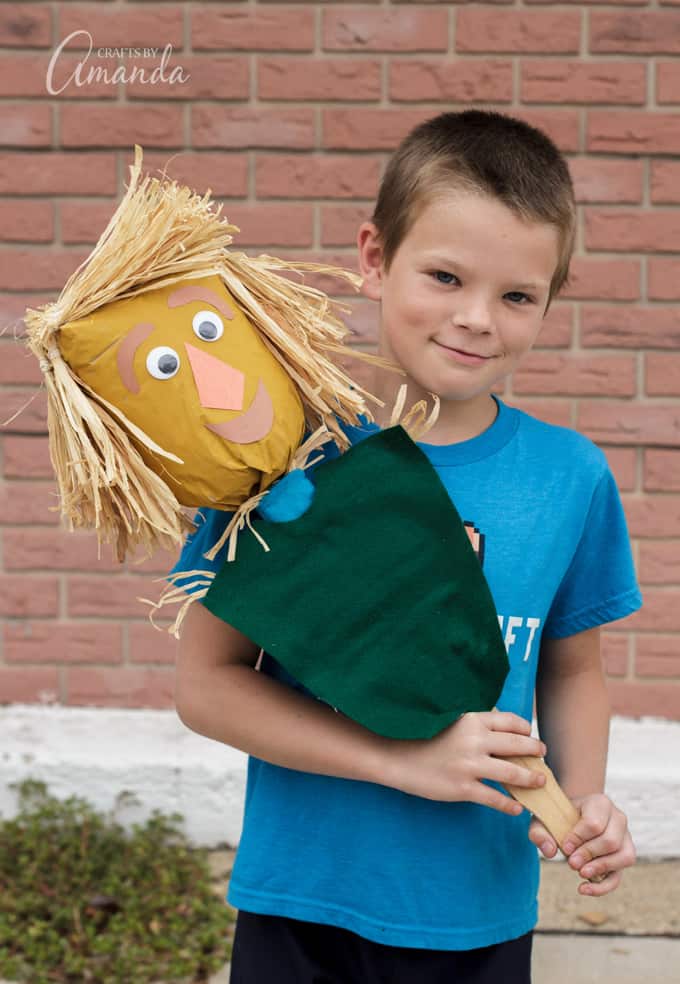
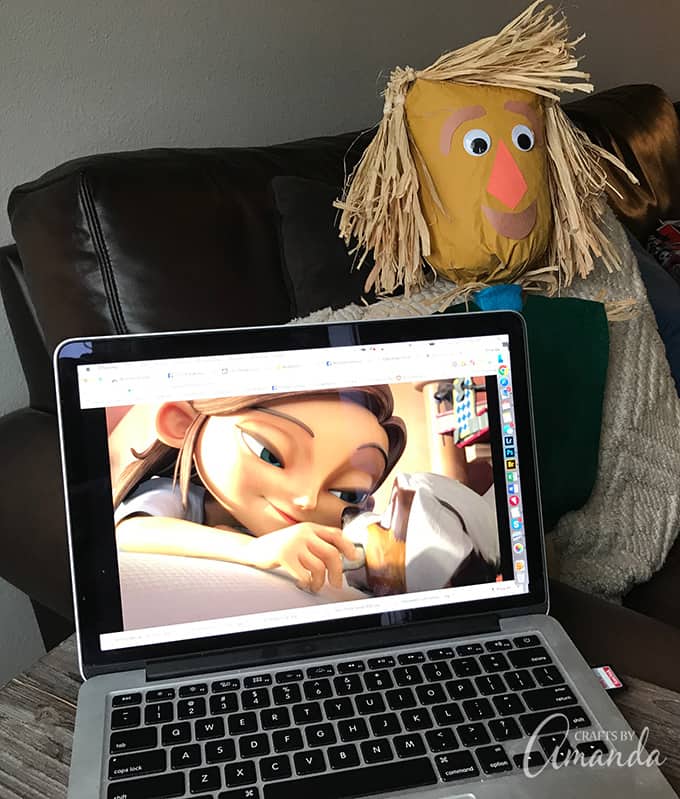
That’s it, you’re all done! Now you can play with your paper bag scarecrow puppet until you’re ready to watch the next episode of Lost In Oz! Make this scarecrow craft for preschoolers or for all ages to enjoy!
Lost In Oz is available to stream exclusively for Prime members via the Amazon Prime Video app for TVs; connected devices, including Fire TV and mobile devices; and online. Prime members can also download the series to mobile devices for offline viewing at no additional cost to their membership.
Amazon Video is a premium on-demand entertainment service that offers families the greatest choice in what to watch, and how to watch it.
Find more scarecrow crafts on the blog like this cardboard tube scarecrow, craft stick scarecrows, and this plastic cup crow. We have a whole bunch of easy crafts for kids, so be sure to check them out!
Paper Bag Scarecrow
Supplies
- Brown paper lunch bag
- Paint stir stick
- 12- inch piece of yarn or string
- Raffia
- Construction paper orange, brown
- Felt blue, green
- 3 jumbo crafts sticks
- 2 regular craft sticks
- Goldenrod paint
- Shredded paper or something to stuff the bag with
- 2 jumbo googly eyes
- Rubber bands
- Scissors
- Hot glue gun
Instructions
Making the Head and Neck
- First, open the paper bag and stuff it full of paper, leaving about 2-inches of head space.
- Insert the paint stir stick into the bag as far as it will go. Be careful not to push it through the end of the bag!
- Tie the open end of the bag closed using yarn.
- Secure the ends of the bag to the paint stir stick using hot glue.
- Paint the bag with goldenrod paint and set aside to dry.
Making the Shirt
- Print out the patterns and cut the shirt from green felt and cut a piece of blue felt into a 3.5"x5" rectangle.
- When the paint has dried, glue the blue rectangle around the "neck" covering the opening of the bag.
- To keep the scarecrow's shirt from flopping around, glue three jumbo craft sticks to the back of the green felt, they will look like ribs!
- Add two regular sized craft sticks to hold the shoulders in place as well. Glue the shirt to the paint stir stick. Add a few short strands of raffia to the neck and shoulder areas.
- Using the patterns, cut out the mouth and eyebrows from brown construction paper and the nose from orange construction paper. Glue all the facial features to the bag.
Making the Hair
- Raffia usually comes in very long strands that are gathered up in an oblong roll. You'll need to do some counting here and estimating to make sure your bunches of hair are approximately the same size.
- Unroll the raffia cut off a section of strands (about 4-5 inches long). Gather several strands together and secure the end with a rubber band. Repeat this process until you have 13 rubber banded bunches. Make more if you want the cover the back of the scarecrow's head as well. We only covered the top and sides.
- Starting a couple inches from the top of the head, glue 3 bunches of raffia to the side of the bag. Glue 3 more above those, overlapping them. Repeat this for the other side of the head.
- Glue the remaining 7 bunches across the top of the head. You may need more or less depending on the size of your bunches.
This post was originally published on this blog on Aug 7, 2017.
- Paper Plate Tropical Fish Craft - July 19, 2024
- Tropical Paper Flowers - July 16, 2024
- DIY Mosquito Repellent Candles - July 9, 2024



JENNIFER N WEBER says
Perfect! Scarecrow was a hit! Thank you so much.
Amanda Formaro says
Awesome, so glad you had fun!