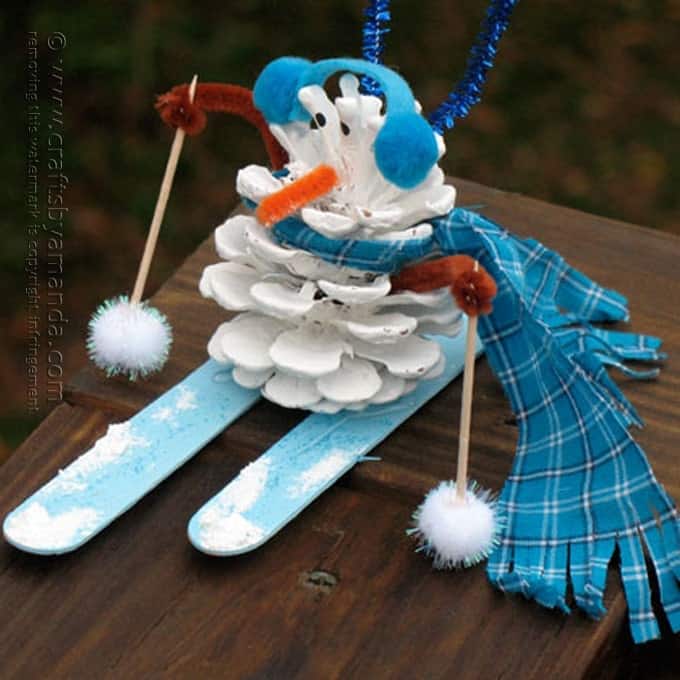
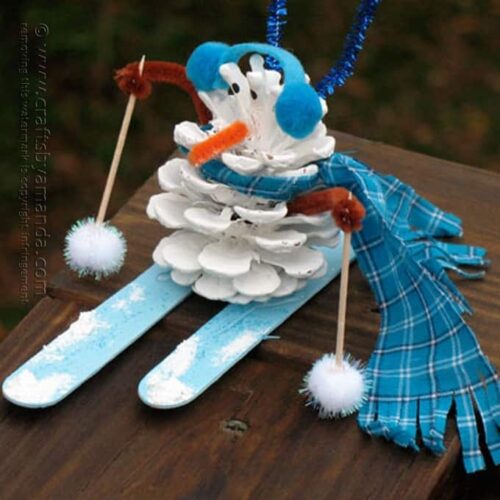
I made this adorable pinecone snowman several years ago when I was working for a website called Kaboose. Isn’t he cute? I love that he looks like he’s skiing downhill when he hangs from the tree because the weight of the pine cone pulls the front of his body down forward.

Back in 2006 I started making crafts for a Canadian company called Kaboose. A good friend of mine from my webmaster days referred them to me and they gave me a “test” assignment. I revamped (used instructions from their website and made the crafts and photographed them) some projects for them and they said if those went well they would hire me to do more. It did go well and they did hire me. Three years later, in early April of 2009 it was announced that Disney bought Kaboose. Then in early 2011 all freelancers for Kaboose were let go and Disney restructured, ending my 5-year, 500-project stay with them. The Kaboose site went dormant for awhile, but in October of 2013, after several months of working with Disney to correct projects of mine that had been migrated to Spoonful, they hired me again.
Things had come full circle. That lasted until June of 2014 when the decision was made to close Spoonful and eventually migrate everything to other Disney properties. At the end of September 2014 Spoonful went offline and all links were redirected to the Disney Family website. However, Disney Family only houses crafts that are Disney specific. So literally hundreds of my projects fell into Internet limbo. Disney is currently working on migrating those projects to a different site. Until then, you can find this cute guy here.
Pinecone Snowman
Supplies
- 1 Pinecone
- White, light blue, and black craft paint
- 1 brown pipe cleaner
- 1" piece of orange chenille stem
- 2 medium light blue pom-poms
- 2" piece of light blue felt
- 12" light blue scrap fabric cut to 1" width
- 2 medium white glittery pom-poms
- 2 toothpicks
- 2 jumbo craft sticks
- Blue glitter glue
- Snow texture medium recommended: Snow-tex
- Blue pipe cleaner
- White craft glue
- Scissors
Instructions
- If you gather your pinecone from outside, make sure there are no bugs hiding inside.
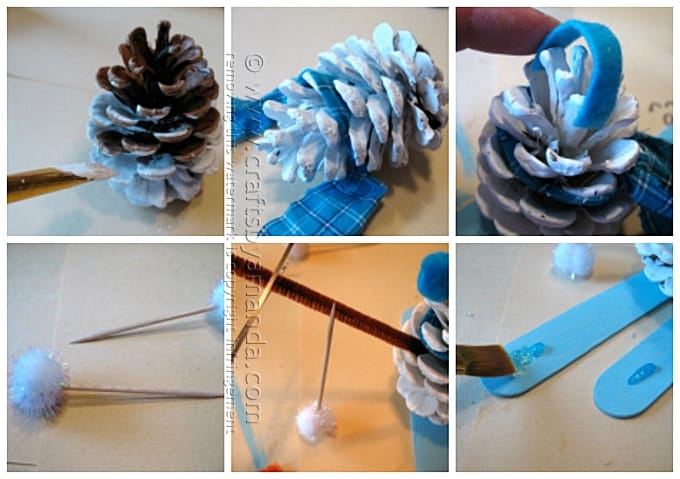
- Paint pinecone with white paint. A second coat may be needed. Allow to dry completely.
- When pinecone is dry, tie blue fabric strip around the top 1/3 of the pinecone as the scarf. Fringe the ends of the scarf by cutting thin strips with scissors.
- Paint jumbo craft sticks with light blue paint and set aside to dry.
- Glue blue felt strip to the top of the pinecone for the ear muff band. Glue the blue pom-poms to the ends of the felt strip.
- Assemble ski poles by gluing white glitter pom-poms to the end of the two toothpicks.
- Cut brown chenille into thirds. Set one piece aside for another project. Insert a brown chenille piece into the side of the pinecone for the arm and glue in place. Repeat on other side.
- Hold the "ski pole" up to the "arm" and once you have it where you want it, trim the end of the chenille to about 3/4" away from the pole. Wrap the end of the chenille arm around the pole and add a dab of glue to hold in place.
- Glue the pinecone to the jumbo craft stick skis. Paint the craft sticks with a bit of blue glitter glue. Dab on some snow texture medium to the skis.
- Dot on two eyes with black paint using the handle end of the paintbrush. Glue the orange chenille piece in as the nose.
- Add a chenille hanger for your ornament by bending a piece of blue chenille in half and gluing the open ends onto the back of the pinecone.
Expert Tips & FAQs
I originally made this project for Kaboose, which was then bought out by Spoonful. Spoonful has since closed and the instructions were taken down. I am putting the instructions here until such time that Spoonful projects are redirected to a new home. At that time I will remove the instructions and link directly to the project on their site.
- 30+ Organization Ideas and Tips - January 14, 2025
- Makeover: Plastic Storage Drawers - January 3, 2025
- Paint Stick Snowmen - December 31, 2024


Michelle Leslie says
Awwwww, he’s adorable and as luck would have it, I’ve just been gifted a whole bag of pine cones so guess what I’ll be making soon.
Nicole Cartagena says
I love DIY’s for holidays. Thank you for putting the information to make Christmas crafts. The snowman is very cute
Antoinette Roberts says
Hi!
I just came across this craft and it is “snow” innovative, I love it.
Is there ANY place I could find some of your other crafts? I’d love to see them!
Antoinette
Amanda Formaro says
Hi Antoinette! Right here on this very blog! Just start browsing :) https://craftsbyamanda.com/
Rita says
Thanks for sharing going give a shot
dian says
Nice work amanda
Marti @ SewliciousHomeDecor says
So cute and creative!! I hope they are able to retrieve all your craft projects!!
Amanda Formaro says
Thank you Marti! Me too :)
Alana - eSpectacularKids says
Ahh he is gorgeous! I can imagine him looking pretty great hanging from a tree and skiing down a mountain. Can’t wait to give this one a go! Thanks for sharing this clever snowman.
Amanda Formaro says
Thanks Alana!
Erlene says
This sort of reminds me of Olaf in Frozen. Such a cute ornament to make and I love the look of the now on the popsicle skis. Now I have to send the family out to collect pine cones around the neighborhood.
Amanda Formaro says
Thanks Erlene!