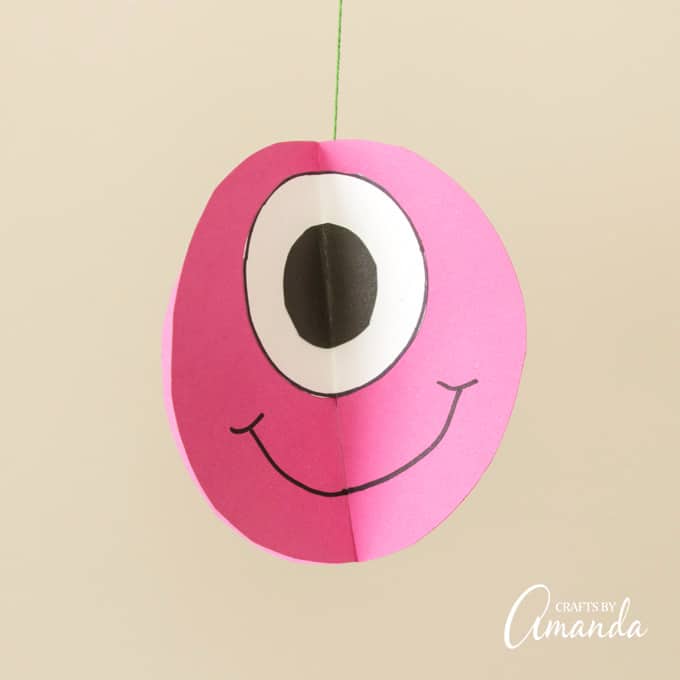
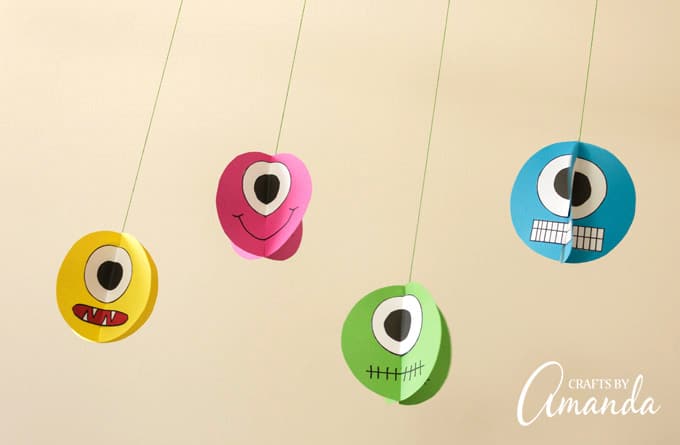
Whether it’s for Halloween or a monster themed birthday party, these twirling paper monsters are super cute and sure to be a big hit with the kids! This can even be a fun make and take party craft for kids. Each child can make one, you can hang them during your party and then let them take their paper monster home when they leave.
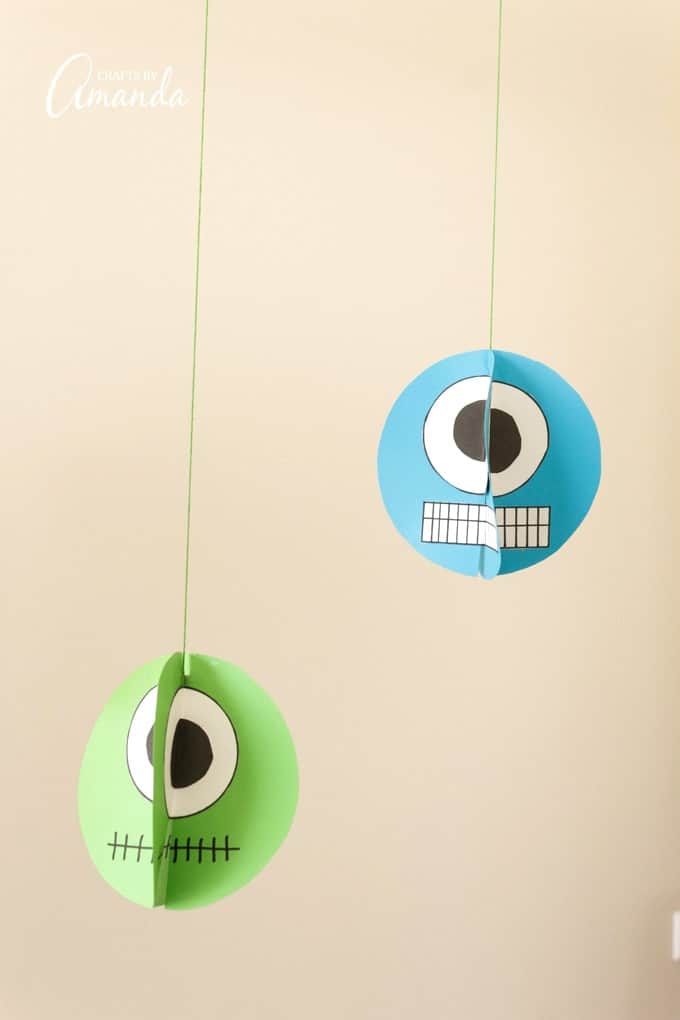
You could use construction paper for these, but I prefer cardstock. Cardstock is sturdier, doesn’t tear easily as construction paper does, and the colors are much more vibrant!
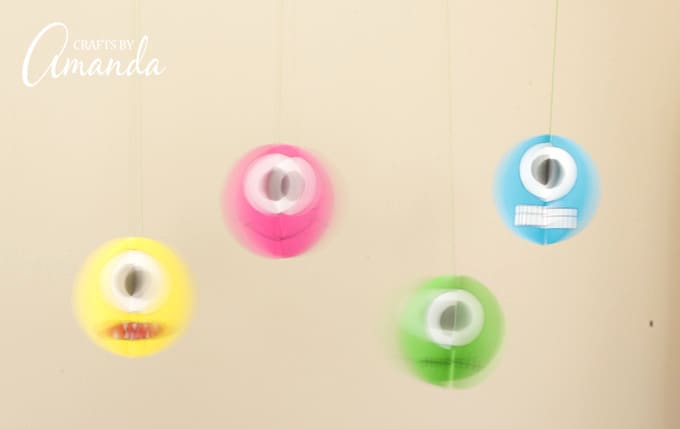
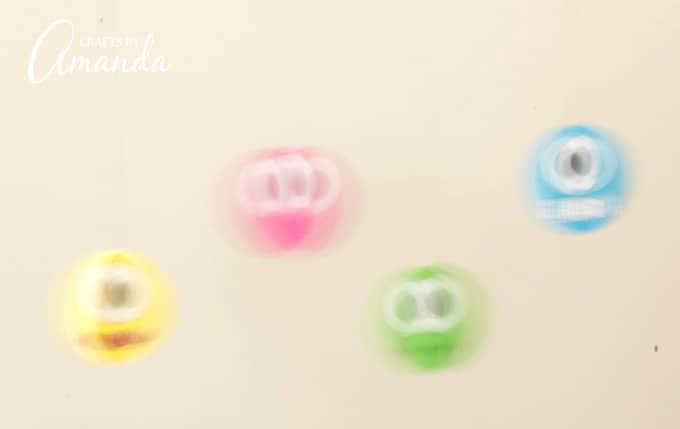
Watch the video above to see the monsters in action! I used a small fan to keep them going. If you have a ceiling fan, that should create enough breeze to keep your hanging monsters going. If not, a strategically placed desk fan does the job!
Making Twirling Paper Monsters
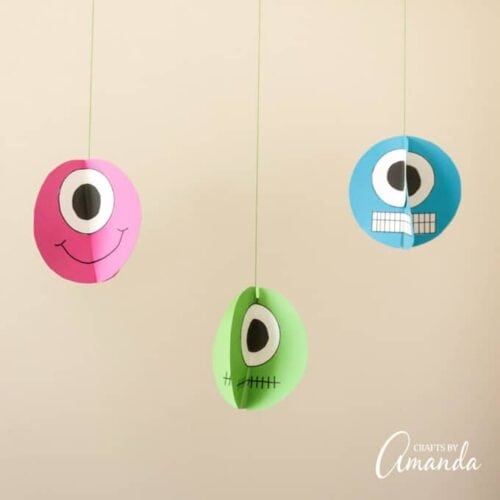
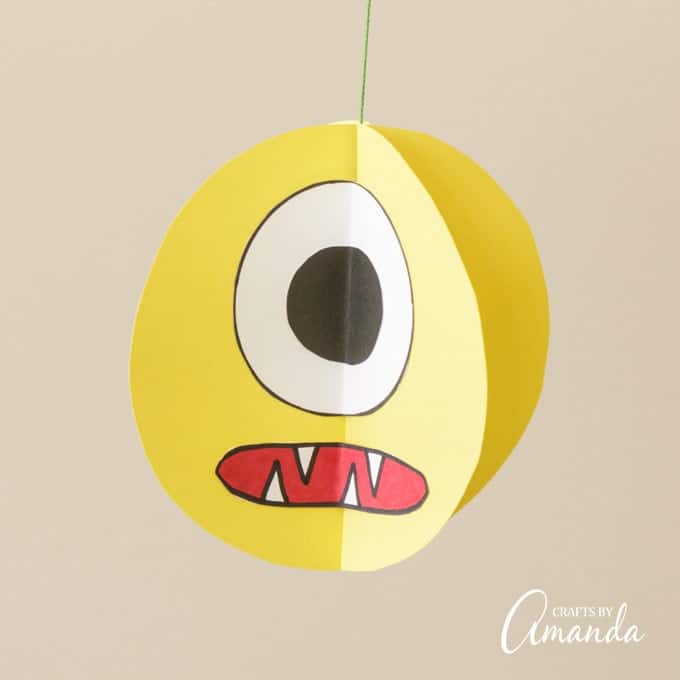
I’ve drawn patterns for you, you can print them in the supply list below. I included two fang mouths. One has a red background, the other I left blank in case kids want to color the inside of the mouth a different color.
You can use a marker to draw on mouths instead of using the patterns too!
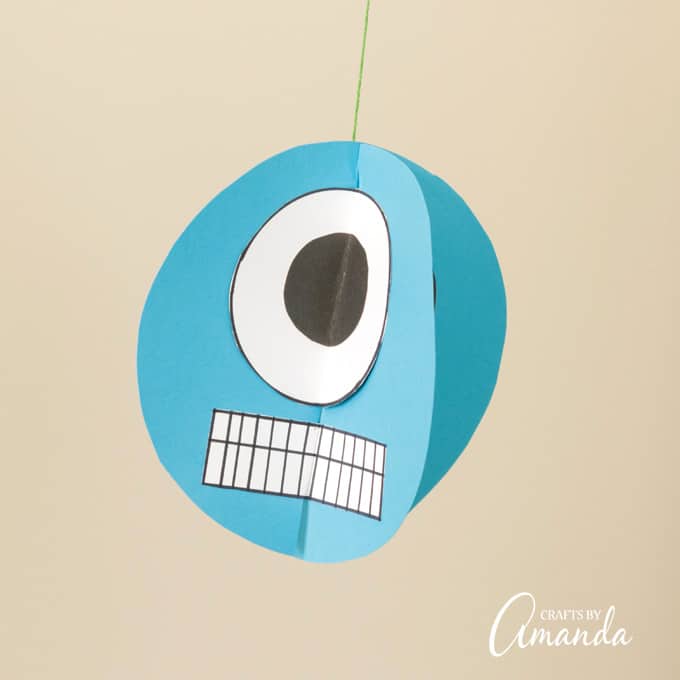
The squared off toothy mouth is a favorite of mine that you’ll see in many of my monster crafts on this blog.
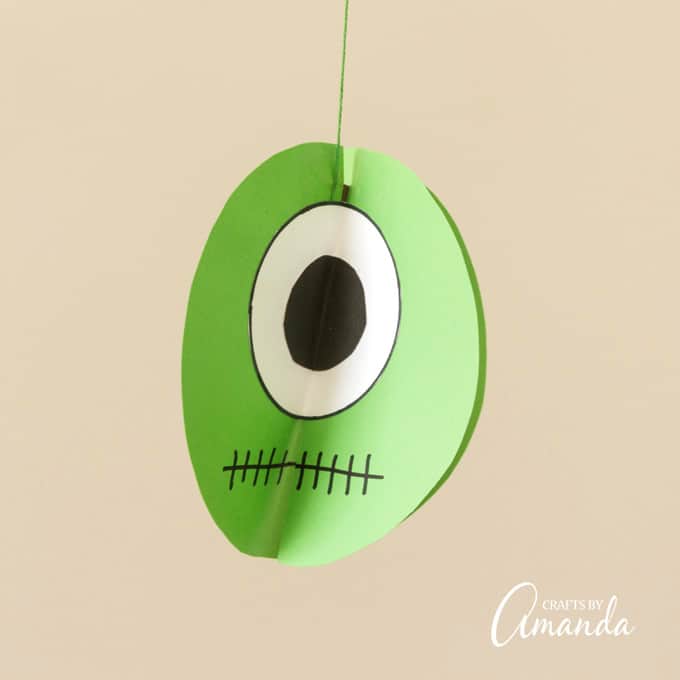
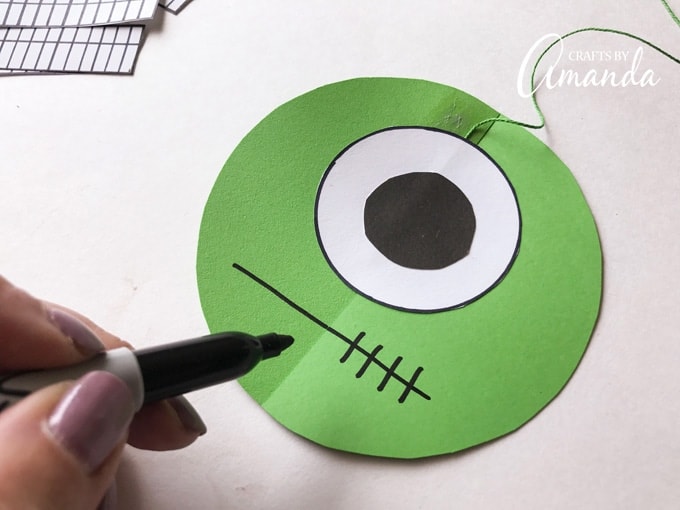
And of course, there’s the stitched mouth, another one you can use the black marker for. The stitched mouth is reminiscent of the Frankenstein monster. Honestly, it’s a total coincidence that the monster I chose for the stitched mouth just happened to be green like Frankie!
Kids can use whatever color cardstock they want and can mix and match the mouths too. So let’s get down to making them, shall we?
Twirling Paper Monster Supplies:
- Cardstock
- Glue stick
- Scissors
- String
- Patterns – click to print these
- Black marker
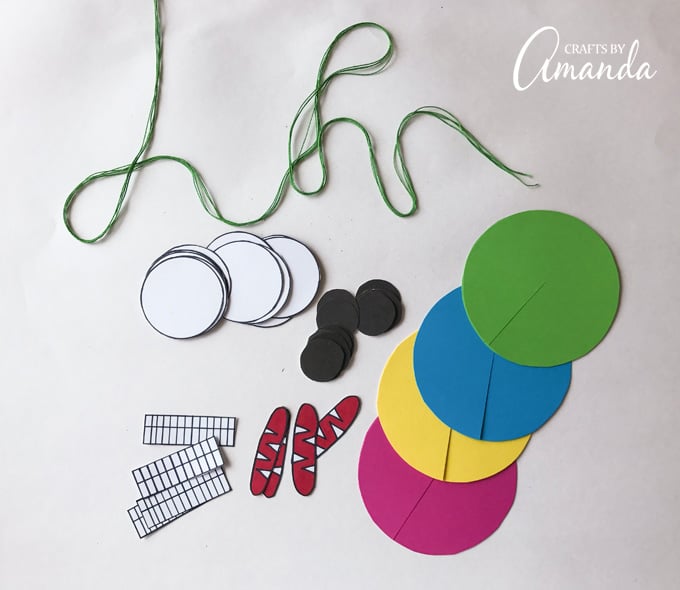
First, you’ll want to print the patterns. Here’s what they are for:
- Large circle – monster head, you need 2 of these circles in the same color for one monster.
- Medium circle – this is for the white of the monster’s eye. You will need 4 of these for each monster.
- Small circle – This is for the black part of the eye and you will need 4 of these. I suggest using the pattern to cut these from black cardstock. Another alternative is to cut 4 circles from white paper and color them in with black marker.
- Fang mouth – I’ve included two types of these, one is already colored in red. I provided a blank one in case kids want a different color, they can fill it in themselves. You will need 4 of these for each monster.
- Squared mouth – Simple, print and cut out. If you don’t want to print the pattern sheet multiple times, you can cut this mouth from the pattern sheet and photocopy it. You will need 4 of these for each monster.
Let’s make monsters!
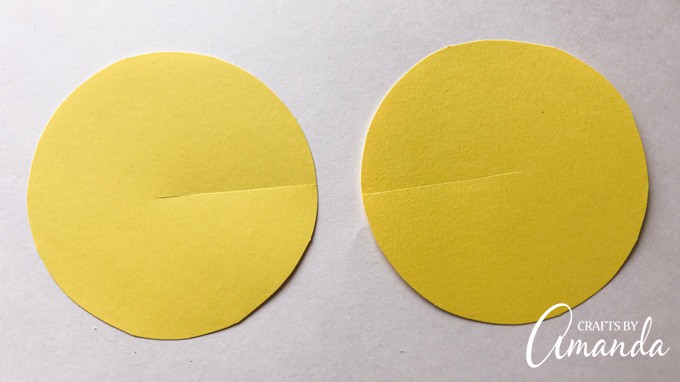
First, cut two large circles from the same color cardstock. Cut a slit in each circle that extends just a little past the center.
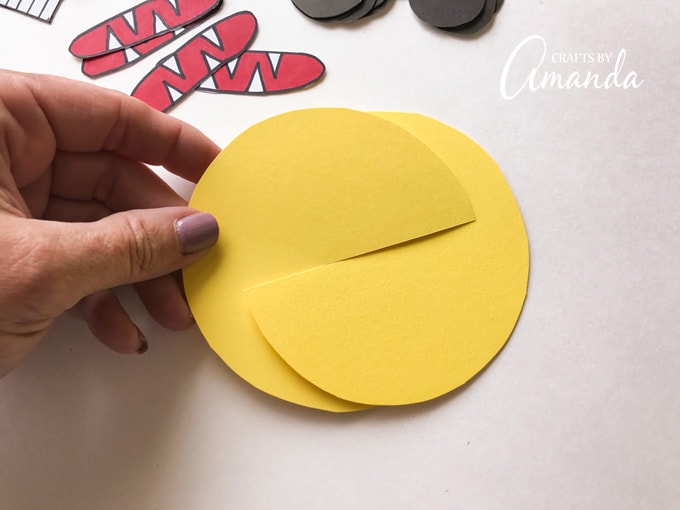
Join the two circles by sliding the two slits together. If the circles don’t line up once combined, simply cut the slit a little longer until they do. This is the key to your twirling paper monsters!
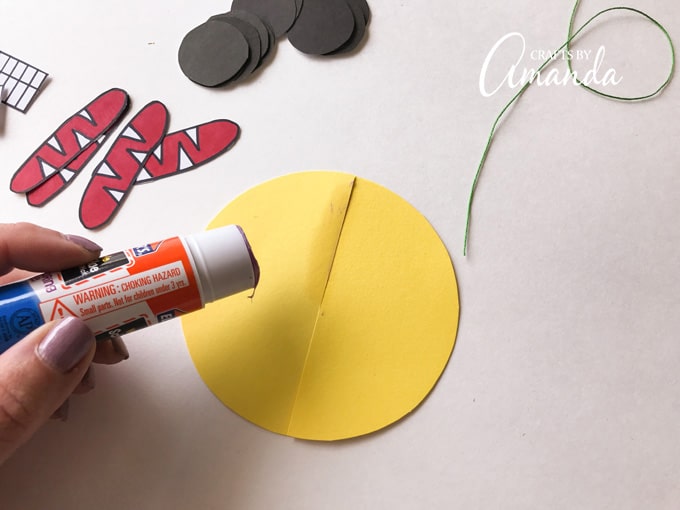
With the circles combined and laying flat on the work surface, use a glue stick to apply a strip of glue along the side of one of the slits.
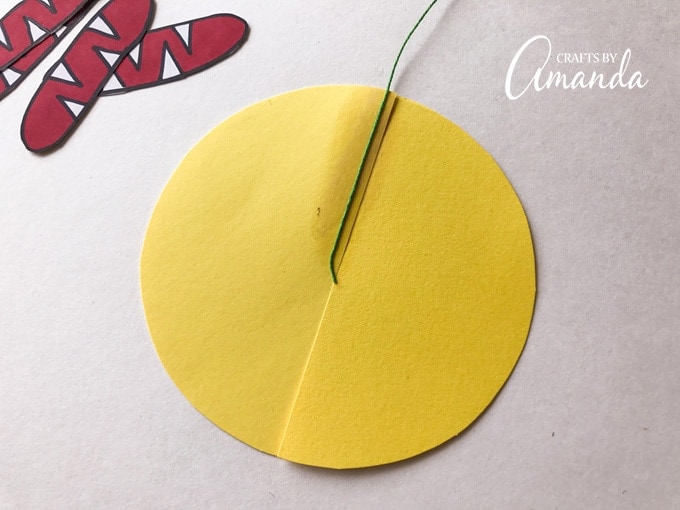
Cut a piece of string about 36-inches long and press one end of that string into the glue.
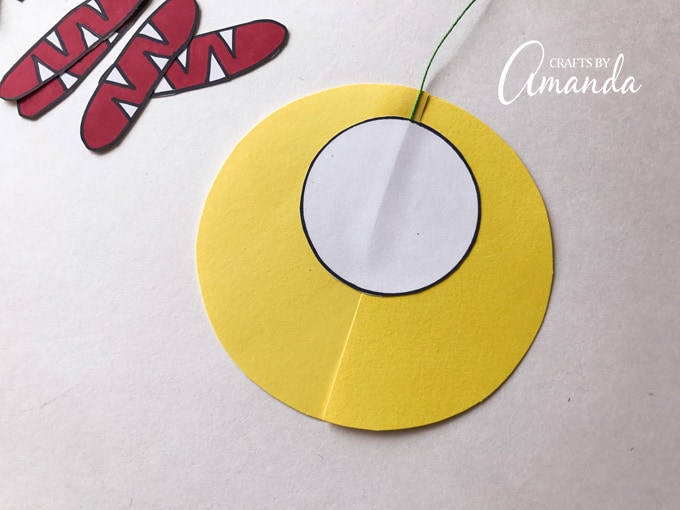
Next use the glue stick to attach a medium circle to the large circle, covering the string.
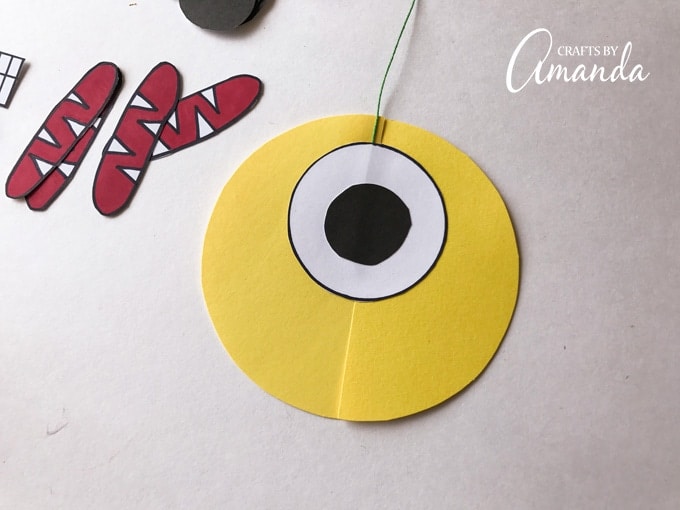
Now glue a small black circle in the center of the medium white circle.
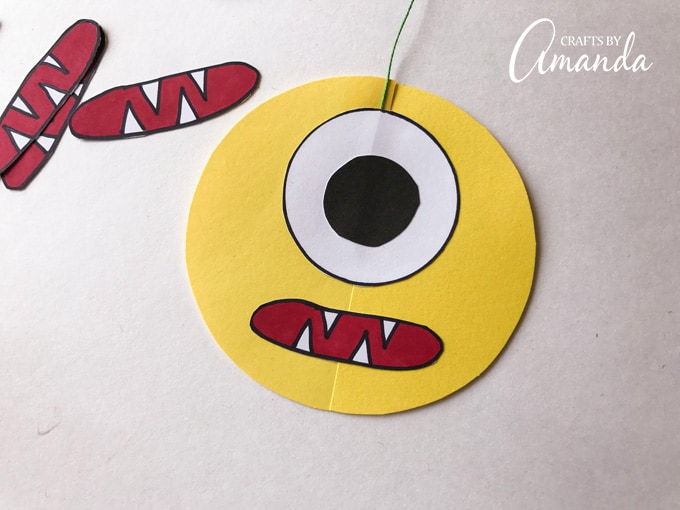
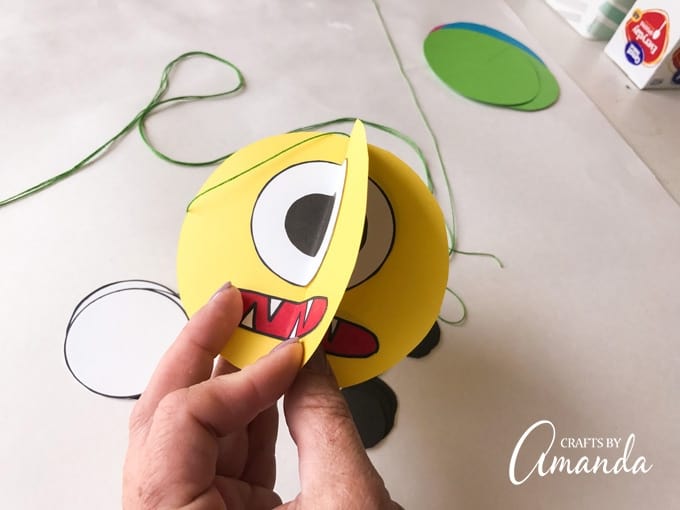
Glue the mouth of your choice under the eye.
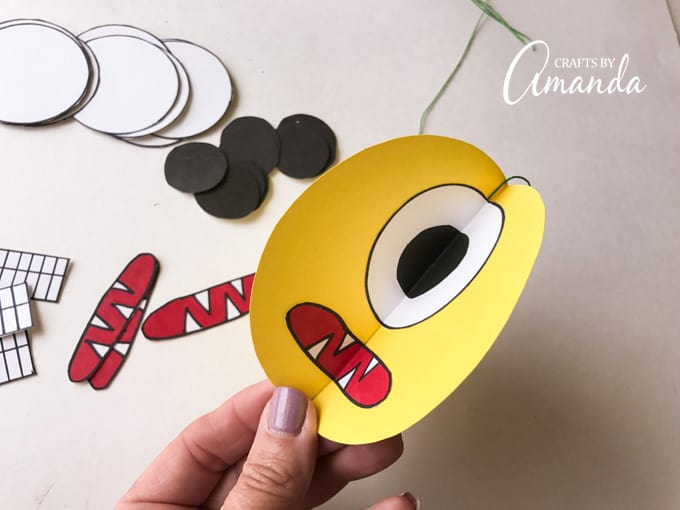
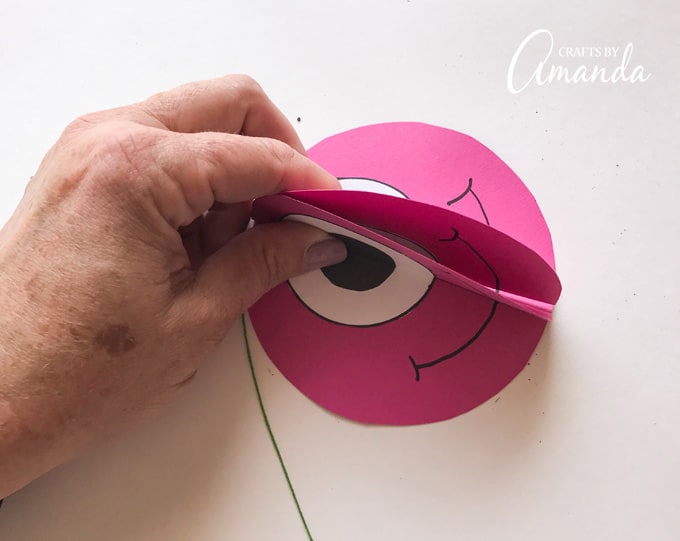
Now you will need to crease the fold on the face you just created, making sure the paper eye and mouth stay in place.
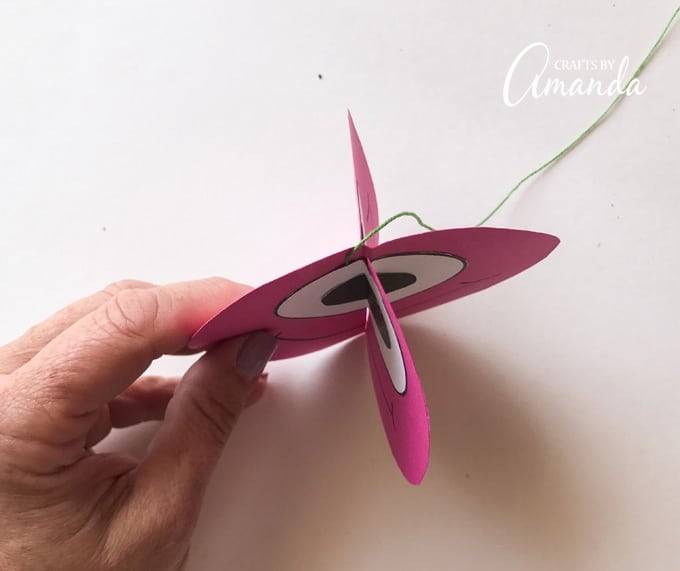
Finish the monster by repeating the above steps for the remaining three sections.
Make a stitched mouth by drawing a horizontal line across the circle then drawing vertical lines 1/4-inch apart.
Hang your twirling paper monsters so that they alternate in height. If they are right next to each other they are likely to tangle. Varying the heights eliminates that problem!
Don’t you just love how silly their faces look in blurred motion! If you’d like to see other ideas for this twirling craft, check out my swirling twirling ladybugs, these twirling love bugs, and my twirling bee craft too!
Twirling Paper Monsters
Supplies
- Cardstock
- Glue stick
- Scissors
- String
- Patterns
- Black marker
Instructions
- First, cut two large circles from the same color card stock. Cut a slit in each circle that extends just a little past the center.
- Join the two circles by sliding the two slits together. If the circles don't line up once combined, simply cut the slit a little longer until they do.
- With the circles combined and laying flat on the work surface, use a glue stick to apply a strip of glue along one of the slits.
- Cut a piece of string about 36-inches long and press one end of that string into the glue.
- Next use the glue stick to attach a medium circle to the large circle, covering the string.
- Now glue a small black circle in the center of the medium white circle.
- Glue the mouth of your choice under the eye.
- Now you will need to crease the fold on the face you just created, making sure the paper eye and mouth stay in place.
- Finish the monster by repeating the above steps for the remaining three sections.
- Hang your monsters so that they alternate in height. If they are right next to each other they are likely to tangle. Varying the heights eliminates that problem!
- Watercolor Luminaries - February 11, 2025
- Free Valentine Printables: Cards, toppers, and tags - February 4, 2025
- Valentine Hugs - January 31, 2025


Leave a Reply