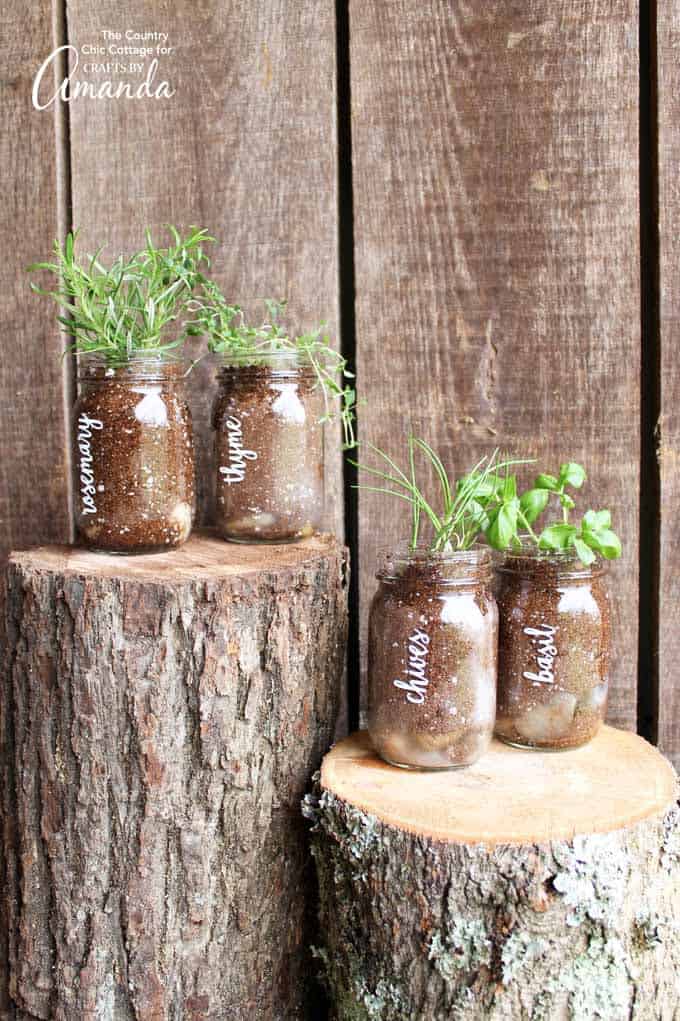
A mason jar herb garden is the perfect spring craft. Grab some jars and some herb seed and start your plants today, then harvest your herbs later this spring for tons of fresh dishes or to create some DIY herbal sachets!
Mason Jar Herb Garden
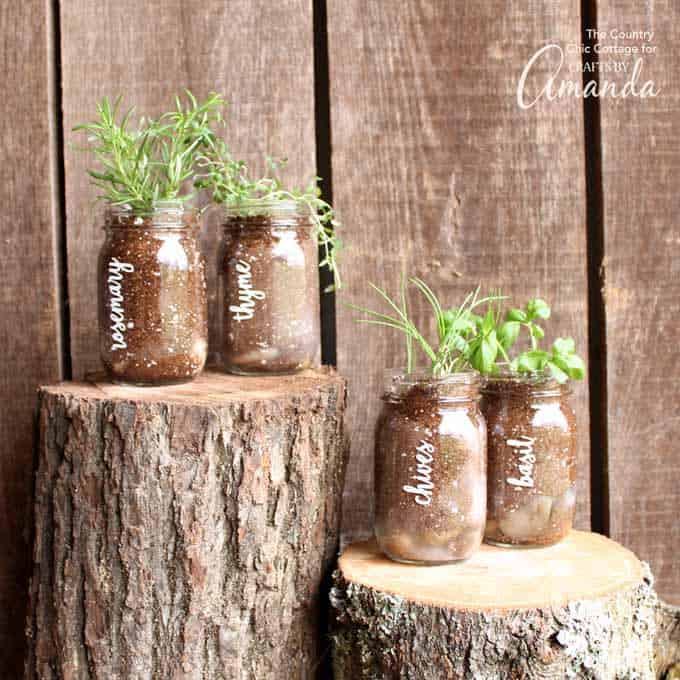
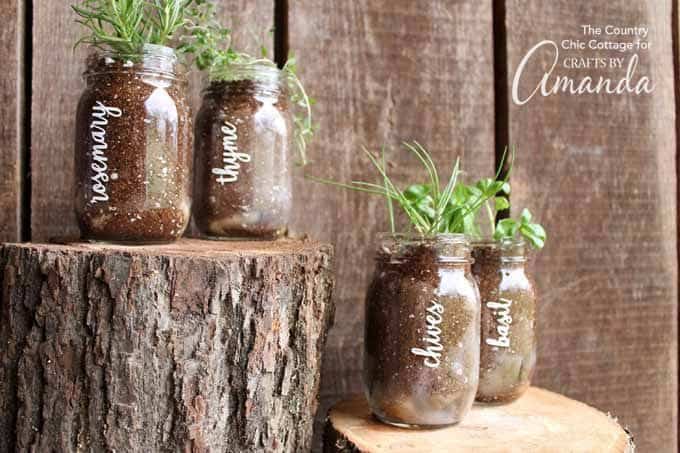
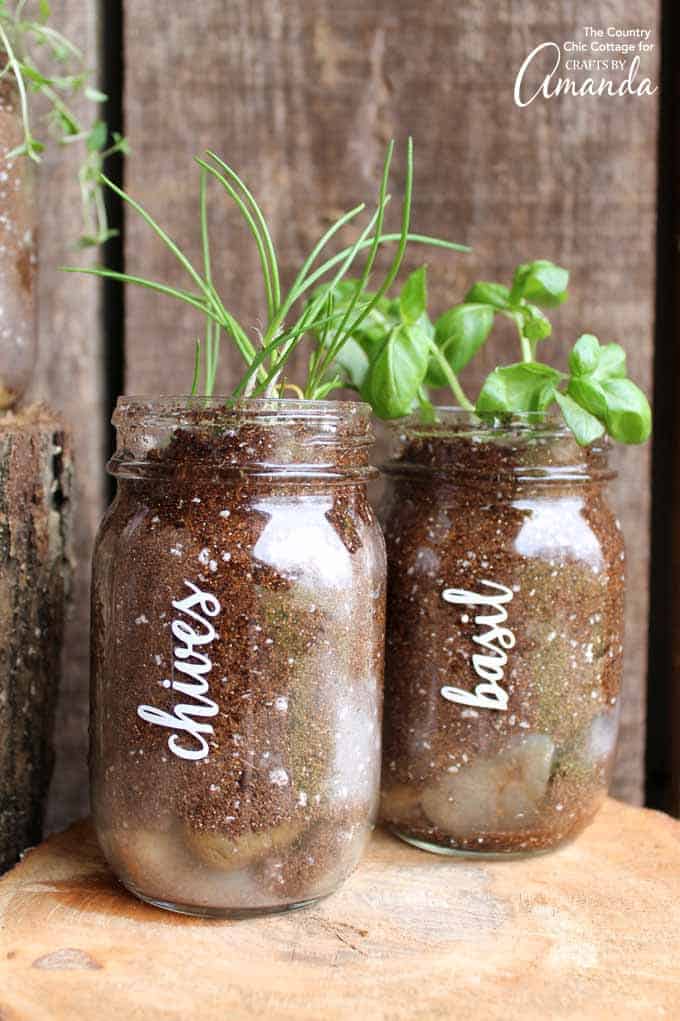
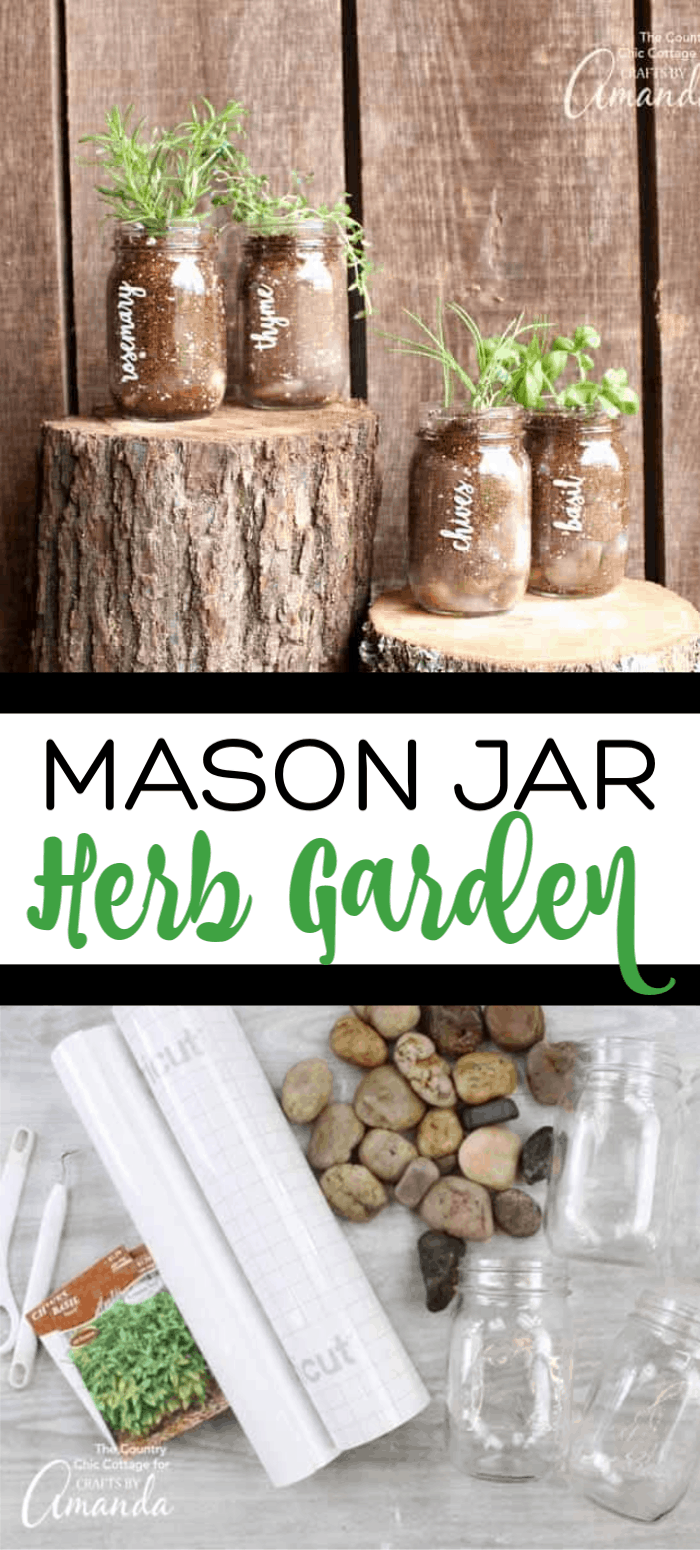
If you love all things rustic and farmhouse, a mason jar herb garden is just waiting for you. Mason jar gardening is growing in popularity and it’s a pretty way to display your favorite herbs. Create your own with pint or quart jars, potting soil and seeds. Marking your herbs has never been easier when you use a roll of outdoor vinyl with a Cricut machine.
Rather buy it? These vintage-inspired mason jar planters use a passive hydroponic system that makes it easy to grow your own herbs.
Related: Love herb gardens and want more ideas? Try this herb garden design with a rustic wheel or this idea for freezing herbs. We love fun ways to plant herbs!
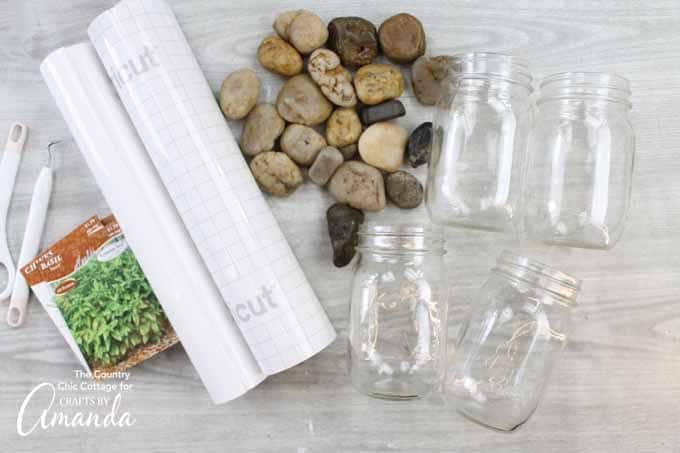
Supplies to make a mason jar herb garden:
- Mason jars (pint or quart will work) or any wide glass jar
- Outdoor vinyl
- Transfer tape
- Cricut machine
- Weeding tools (optional)
- File for cutting herb markers (click here to access)
- Rocks
- Soil or potting mix
- Herb seed (don’t throw out those seed packets, use them for this project!)
Instructions for making this mason jar herb garden:
- Start by uploading the herb marker file to your Cricut Design Space software. If you don’t know how to do this, you can get an explanation here.
- Resize to fit your jars.
- Cut from outdoor vinyl.
- Use weeding tools to remove all excess from vinyl.
- Then apply transfer tape over the top of the vinyl.
- Use the transfer tape to add the words to the jars. Press down well to adhere.
- Repeat until all of the jars that you want to use are marked.
- Then add rocks to the bottom of each jar for drainage.
- Fill the jars with soil.
- Add in your seeds according to the directions on the package for each type.
- Water and watch your herbs grow!
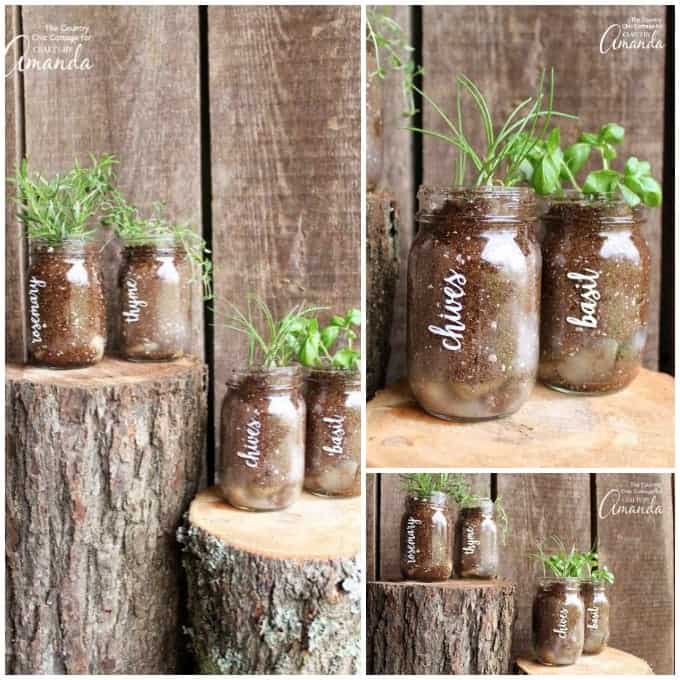
This quick and easy mason jar herb garden is a great addition to your porch or even your kitchen window. Imagine an entire line of these on your windowsill! It doesn’t get any better than growing your own herbs, right from the comfort of your own home.
Which plants will you add to your mason jar herb garden? Pick your favorites and get your own mason jar herb garden started right away. Use your fresh herbs all summer long!
Have leftover mason jars to use? Another great spring project would be these adorable Fairy Garden Mason Jar Terrariums or these Easter Bunny Mason Jars! For a fun way to use mason jars to decorate around the home, try these farmhouse inspired Mason Jar Photo Frames.
Lastly, if you have an outdoor garden, our painted rock garden markers make it easy to find which plant is which. Plus, they add character to your garden space!
Check out the video below for step by step instructions on this Mason Jar Herb Garden!
Mason Jar Herb Garden
Supplies
- Mason jars pint or quart will work
- Outdoor vinyl
- Transfer Tape
- Cricut machine
- Weeding tools optional
- File for cutting herb markers click link in the blog post for access
- Rocks
- Soil or potting mix
- Herb seed
Instructions
- Start by uploading the herb marker file (find the link in the post) to your Cricut Design Space software.
- Resize to fit your jars.
- Cut from outdoor vinyl.
- Use weeding tools to remove all excess from vinyl.
- Then apply transfer tape over the top of the vinyl.
- Use the transfer tape to add the words to the jars. Press down well to adhere.
- Repeat until all of the jars that you want to use are marked.
- Then add rocks to the bottom of each jar for drainage.
- Fill the jars with soil.
- Add in your seeds according to the directions on the package for each type.
- Water and watch your herbs grow!
This post was originally published here on Mar 13, 2018.
- Mason Jar Tissue Holder - February 18, 2025
- Scrap Wood Frames - November 15, 2024
- Clay Pot Lighthouse - July 2, 2024


Andrea B says
I saved the file marker and uploaded to design space. The words did not come through clearly as a cut image. I had to create my own. Not sure if I did something wrong. My option was to save as a .jpg