Fall is here and it is the perfect time to make a burlap pumpkin wreath for your front door. If you love all things burlap and rustic, you will love how this wreath looks welcoming your guests. We have shown you before how to make a burlap wreath, now let’s look at another method and make it pumpkin themed.
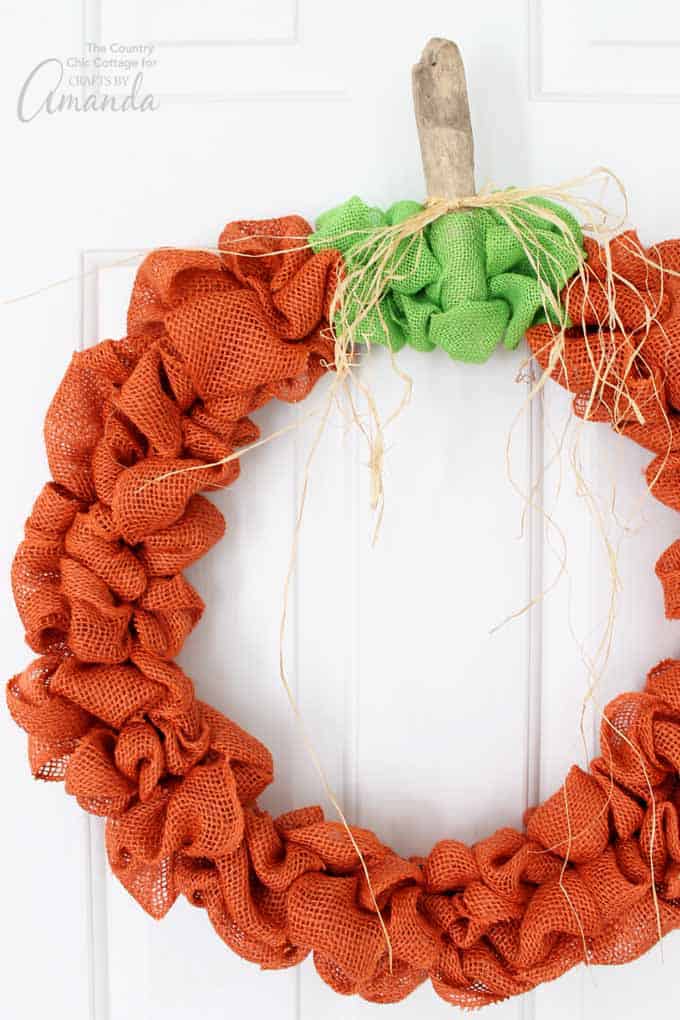
Burlap Pumpkin Wreath
This burlap pumpkin wreath is perfect for fall and all the way through Thanksgiving. You can use this same technique to make a plain burlap wreath as well and embellish it however you desire. Perhaps you could even make a red one for Christmas!
Related: Love burlap wreaths? You can also try making this fall burlap wreath or one of these burlap wreaths that are perfect for any season.
Related Post: Sunflower Wreath
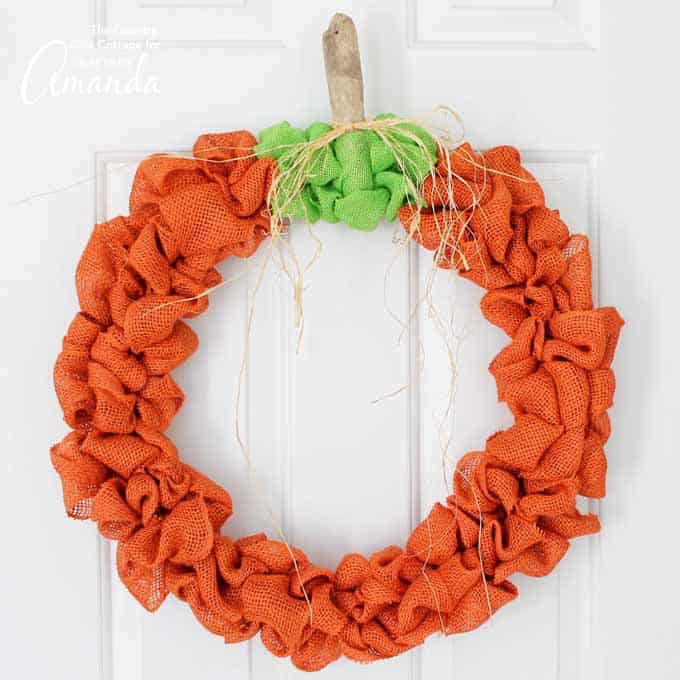
Supplies needed to make a burlap pumpkin wreath:
- Orange burlap ribbon
- Green burlap ribbon
- Wire wreath form
- Floral wire
- Raffia
- Driftwood piece
- Scissors
- Hot glue and glue gun
NOTE: I used an 18-inch wreath form which required three rolls of orange burlap ribbon and one of the green. Your supplies will depend on the size wreath you choose and how large you make your bubbles.
How to make a burlap pumpkin wreath:
- Start with your orange burlap and your wire wreath form.
- Cut a segment of floral wire.
- Then put it through the end of the orange burlap ribbon.
- Secure the end anywhere on the inside edge of the wreath form by twisting the wire around.
- Start from the back of the wreath and put the orange burlap ribbon up through the first segment of the wreath form.
- Make a “bubble” with this piece of burlap ribbon however do not pull it all the way through.
- Go to the next segment and make another bubble.
- Repeat for the third and final segment.
- Then twist your burlap ribbon twice and go back through the first segment making another bubble right next to your first one.
- Continue like this all the way around your wreath form.
- Be sure to leave a small area at the top for some green burlap ribbon.
- To start a second roll of ribbon when your roll comes to an end, overlap the two ends. Then add floral wire through both pieces. Secure to the wreath form by twisting the wire.
- Floral wire should also be used to secure the ends of the burlap ribbon when you are done.
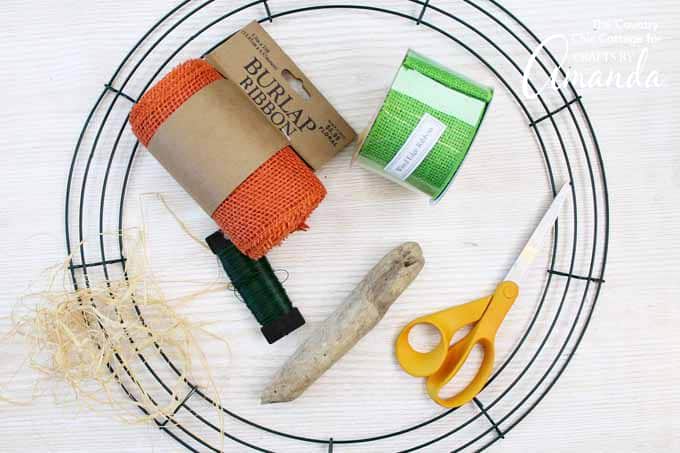
- Once you have all of your orange ribbon added and a little green, you can add a stem.
- Secure a piece of driftwood in your wreath with some hot glue.
- Tie on some raffia pieces to complete your burlap pumpkin wreath.
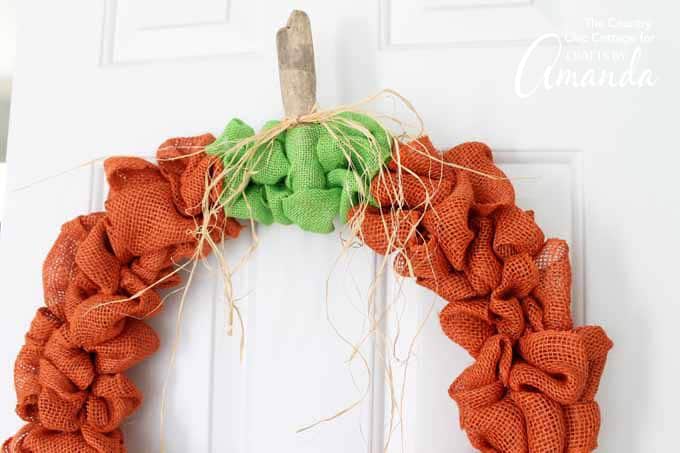
Once you have completed your burlap pumpkin wreath, it is time to hang it on your front door. Add this whimsical touch of fall to your home. If you love farmhouse style, this is definitely the wreath you want on your home this autumn. A gorgeous pumpkin wreath is just a few minutes away!
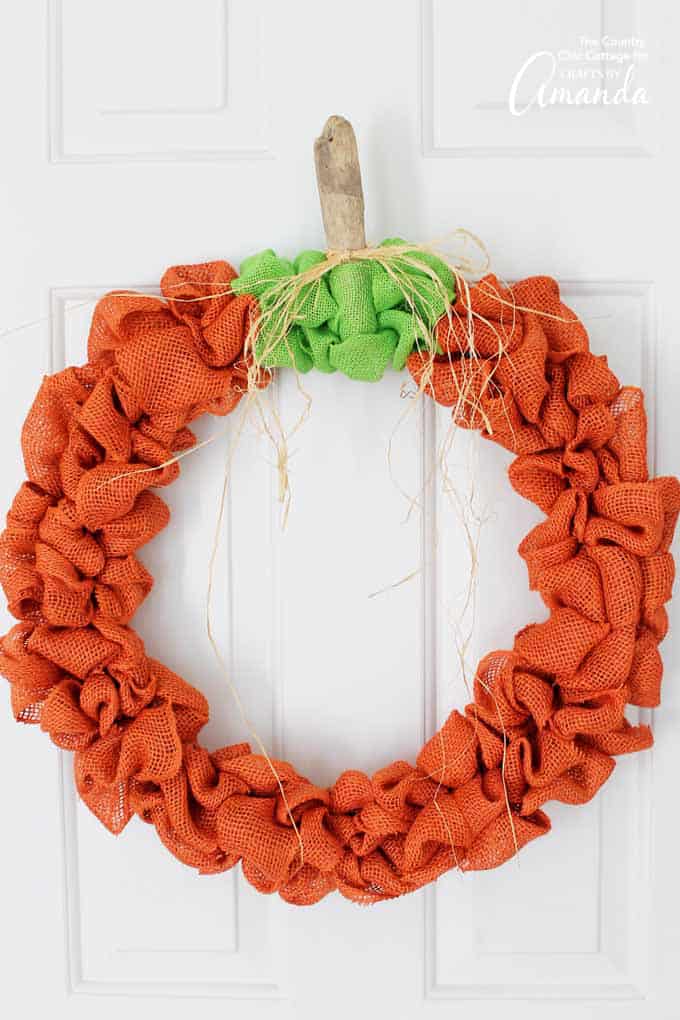
Doesn’t it look adorable? For another great pumpkin wreath idea, check out this deco mesh pumpkin wreath. It’s a super easy way to make a cute, festive wreath! Or maybe this doily wreath will strike your fancy. Made of doilies and paired with a burlap bow, this doily wreath is a sweet and delicate statement piece.
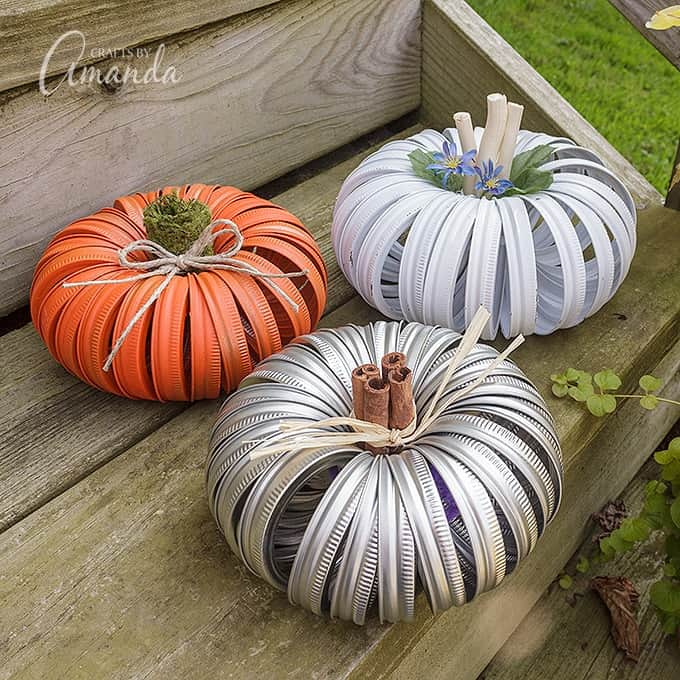
Don’t forget to check out how to make these super cute mason jar lid pumpkins! Grab some friends and make a few to display around your home for Thanksgiving/fall!
We thought this craft idea was easier to show in video form. So watch the video below to see just how to make this burlap pumpkin wreath. We also have step by step instructions you can print off below the video.
More Wreath Projects
- Tulip Wreath
- Burlap Wreath
- Halloween Ribbon Wreath
- Deco Mesh Pumpkin Wreath
- How to Make a Forsythia Wreath
Burlap Pumpkin Wreath
Supplies
- Orange burlap ribbon
- Green burlap ribbon
- Wire wreath form
- Floral wire
- Raffia
- Driftwood piece
- Scissors
- Hot glue and glue gun
- NOTE: I used an 18 inch wreath form which required three rolls of orange burlap ribbon and one of the green. Your supplies will depend on the size wreath you choose and how large you make your bubbles.
Instructions
- Start with your orange burlap and your wire wreath form.
- Cut a segment of floral wire.
- Put it through the end of the orange burlap ribbon.
- Secure the end anywhere on the inside edge of the wreath form by twisting the wire around.
- Start from the back of the wreath and put the orange burlap ribbon up through the first segment of the wreath form.
- Make a “bubble” with this piece of burlap ribbon however do not pull it all the way through.
- Go to the next segment and make another bubble.
- Repeat for the third and final segment.
- Then twist your burlap ribbon twice and go back through the first segment making another bubble right next to your first one.
- Continue like this all the way around your wreath form.
- Be sure to leave a small area at the top for some green burlap ribbon.
- To start a second roll of ribbon when your roll comes to an end, overlap the two ends. Then add floral wire through both pieces. Secure to the wreath form by twisting the wire.
- Floral wire should also be used to secure the ends of the burlap ribbon when you are done.
- Once you have all of your orange ribbon added and a little green, you can add a stem.
- Secure a piece of driftwood in your wreath with some hot glue.
- Tie on some raffia pieces to complete your burlap pumpkin wreath.
This post originally appeared here on Oct 18, 2017.
- Mason Jar Tissue Holder - February 18, 2025
- Scrap Wood Frames - November 15, 2024
- Clay Pot Lighthouse - July 2, 2024


Cheryl says
Video never appeared so unable to see how it was done 😢
Amanda Formaro says
Oh I’m sorry! Did you try refreshing the page? Sometimes the video player gets hung up in your browser. You can also find the video on You Tube here – https://www.youtube.com/watch?v=l-wvcToTcl8&t=43s
Angie Rose says
This is such a super cute idea Amanda! Thank you so much for sharing with us at Dishing It & Digging It & congratulations on being featured this week!
Itzybellababy says
I love all things pumpkin- I would leave this up all year if it was socially acceptable…lol
Chas says
Super cute, thanks for sharing
Lindsey| This Miss Cooks says
I made one like this with dark red burlap for Valentine’s Day and it turned out beautifully. Plus by “I made” I mean “I tasked my roommate to make” and he managed just fine, haha.
Amanda Formaro says
Really cute idea, Lindsey!
Victoria @DazzleWhileFrazzled says
Very cute wreath! Love the stem. Visiting from Project Inspired.