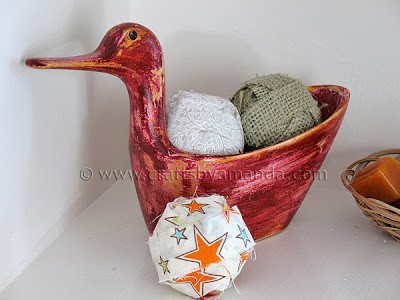

Ah yes, another kitchen project. Maybe you didn’t know that because it’s a duck. But it really is part of my kitchen. I’ve said before that we painted all the cabinets white and you’ve seen some glimpses of the “toasted nutmeg” color on the walls, so as you might imagine this red distressed duck fits in beautifully.
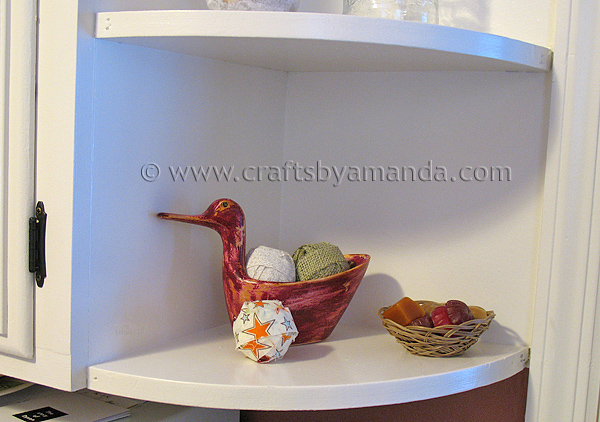
I have these corner built-ins that are very, very white. They really need little decorative pieces in bold contrasting colors. I found this cute little wooden duck at a thrift store almost a year ago for $1.00. He has been patiently waiting for a makeover for months and months. That day finally came this week. I created a distressed look by simply using a few layers of paint, some sand paper and a little antiquing gel. Here’s how I did it:
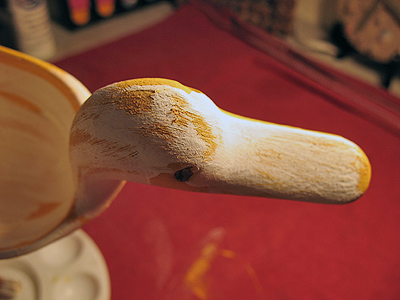
First, here’s the before picture:
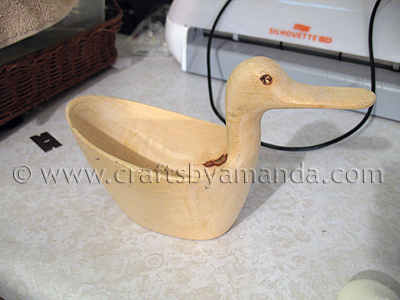
Pretty plain. Just a wooden duck, naked even, no varnish or other such coating. That made it quite easy for me to paint it, no sanding needed. :)

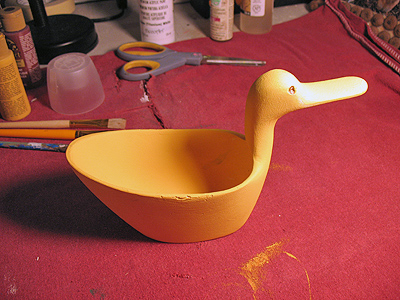
Because I wanted my top coat to be a bold barn type red, I had to choose a couple of contrasting colors to show beneath it. I picked regular white and a mustard type yellow.

First, a coat of yellow. Let it dry.
Now add some white, just wherever, doesn’t matter, there’s no science to it. Don’t cover all the yellow though. Let it dry.


If you have a palm sander use it to rough up some areas of the white, revealing some yellow beneath. Use a dry paintbrush to get all the sanding dust off.

Time to add the red. The beauty of distressing something is you get to be messy… on purpose! This time you do want to cover most of the color underneath.

Now you’re going to use some masking tape to pull off some of the still wet red paint. Not everywhere, just here and there. Let it dry.

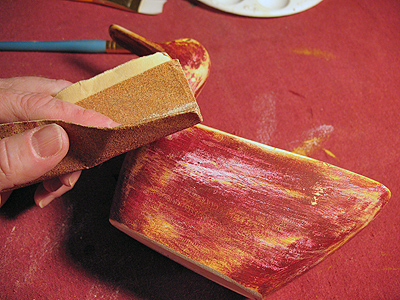
Use that palm sander again to start distressing! Rough of the edges of course, and anywhere else you want to reveal color underneath. It’s totally up to you how much or how little you do. You can certainly use sand paper sheets too. I use the palm sander, then finish up with the sheets.
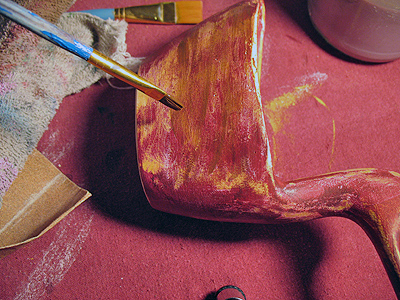
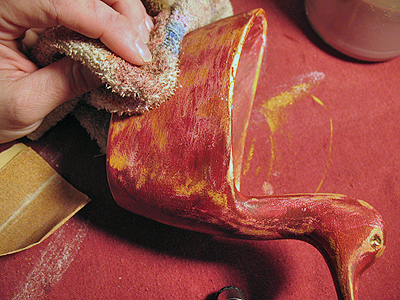
Add some antiquing gel wherever you think it needs it. Some areas of my duck were a bit “whiter” than I wanted them to be, so I just brushed on some watered down antiquing gel and wiped off the excess with a dry rag.
That’s it! Well almost. Let it dry (again) then add some clear acrylic sealer, I use a matte finish. Gloss would kind of defeat the aged purpose don’t you think? :)
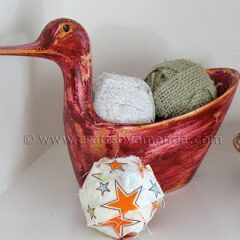
He needed a little something else for display, so I wrapped a few Styrofoam balls with strips of fabric and burlap. Hope you like him!

Distressed Duck: Before and After
Supplies
- wooden duck
- sand paper
- antiquing gel
- paintbrush
- masking tape
- acrylic sealer
Paint
- white
- mustard yellow
- red
Instructions
- First, a coat of yellow. Let it dry.
- Now add some white, just wherever, doesn’t matter, there’s no science to it. Don’t cover all the yellow though. Let it dry.
- If you have a palm sander use it to rough up some areas of the white, revealing some yellow beneath. Use a dry paintbrush to get all the sanding dust off.
- Time to add the red. This time you do want to cover most of the color underneath.
- Now you’re going to use some masking tape to pull off some of the still wet red paint. Not everywhere, just here and there. Let it dry.
- Use that palm sander again to start distressing! Rough of the edges of course, and anywhere else you want to reveal color underneath. It’s totally up to you how much or how little you do.
- Add some antiquing gel wherever you think it needs it.
- Let it dry (again) then add some clear acrylic sealer.

- Swirling Twirling Ladybugs - July 21, 2026
- Drip Tie Dye Backpack - July 17, 2026
- Mini Coastal Clay Houses - July 14, 2026


Donnie says
He looks so cute. It looked like a lot of work but well worth it. Now he looks like a piece of art.
creativejewishmom/Sara says
Love it Amanda! and thanks for the great step by step photo tutorial, and for sharing on craft schooling Sunday!
Terri @ A Creative Princess says
I'm so happy I found your blog! I'm your newest follower. What a great idea with the masking tape. I've never thought of that. Thank you!
Sandra Williams says
I love this idea and you made it look so easy! Thanks for sharing. I might distress a pig now.
Jessica @ My World - Made By Hand says
This is super cute. Love it. Now…if only I could find a wood rooster like this.
Jessica
countercrafts says
Very cute! Thanks for the idea of using masking tape to take some of the red paint off…never tried that, but I will! Enjoy your blog so much, appreciate your hard work and sharing your ideas! Take Care and God Bless! Donna, Ebay ID: countercrafts, [email protected]