


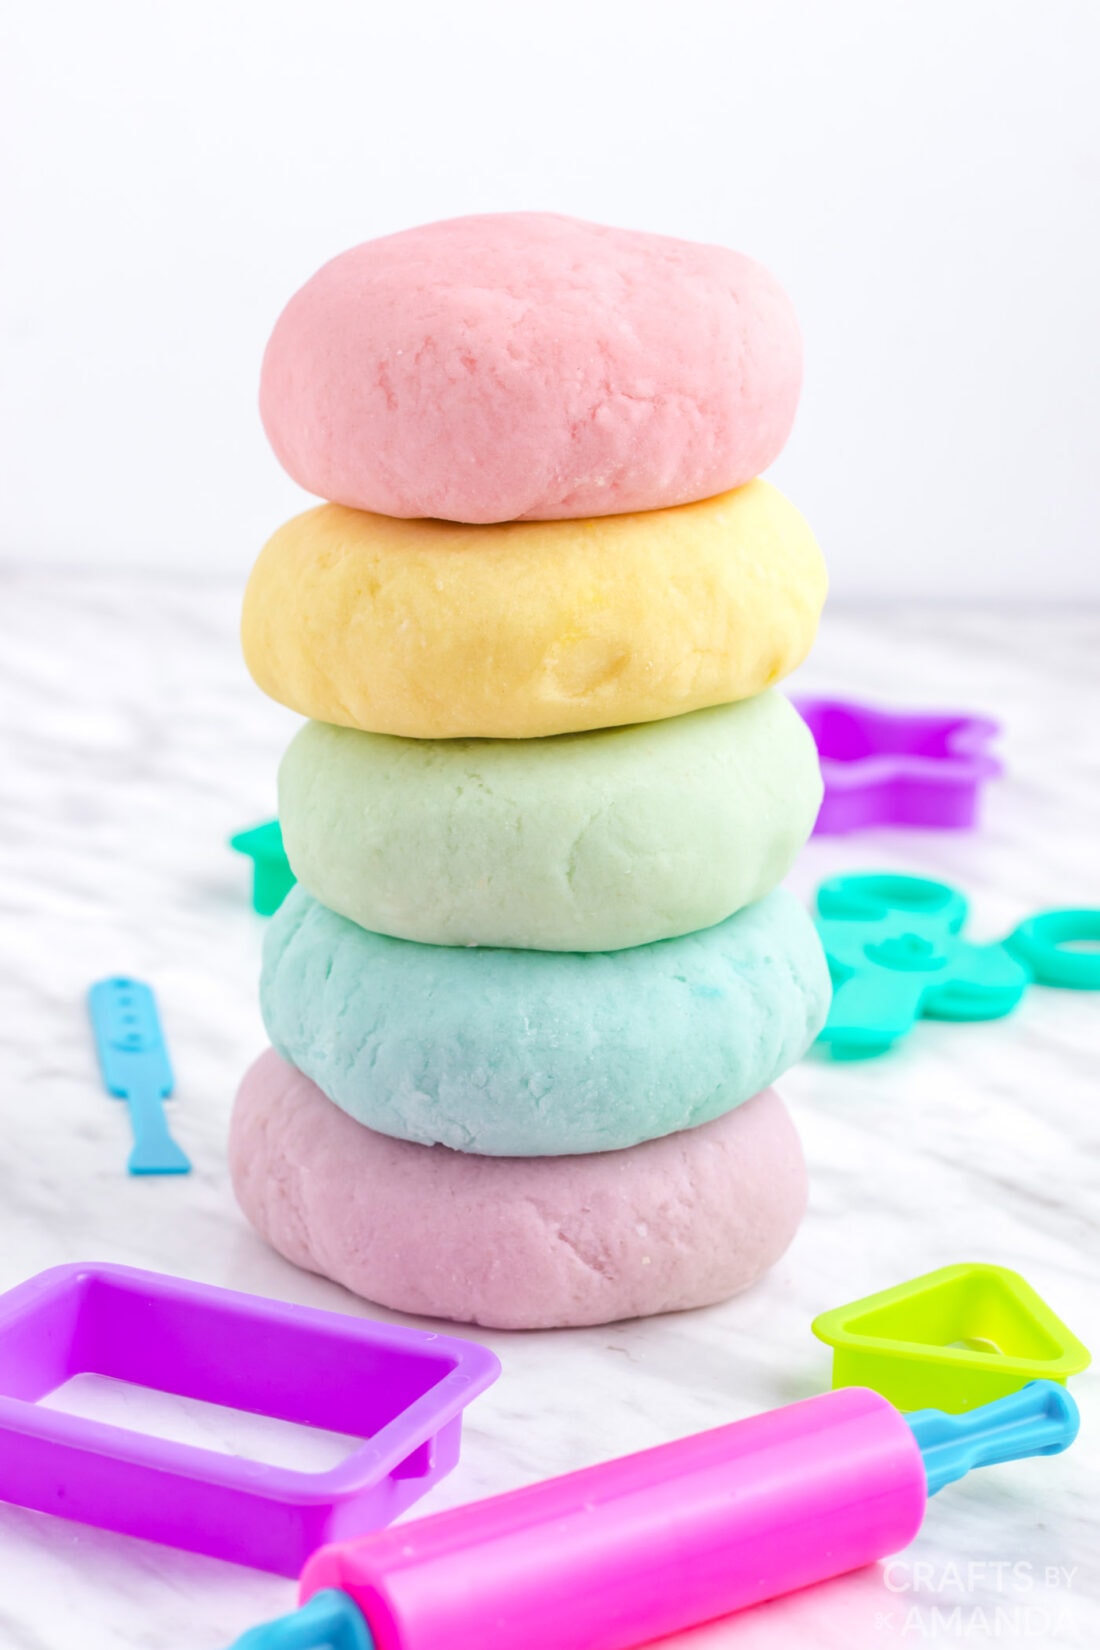
Our easy Easter play dough recipe only takes 6 ingredients and a few minutes to make. You’ll be rolling, stamping, and playing with your play dough in no time.
Why we love this project
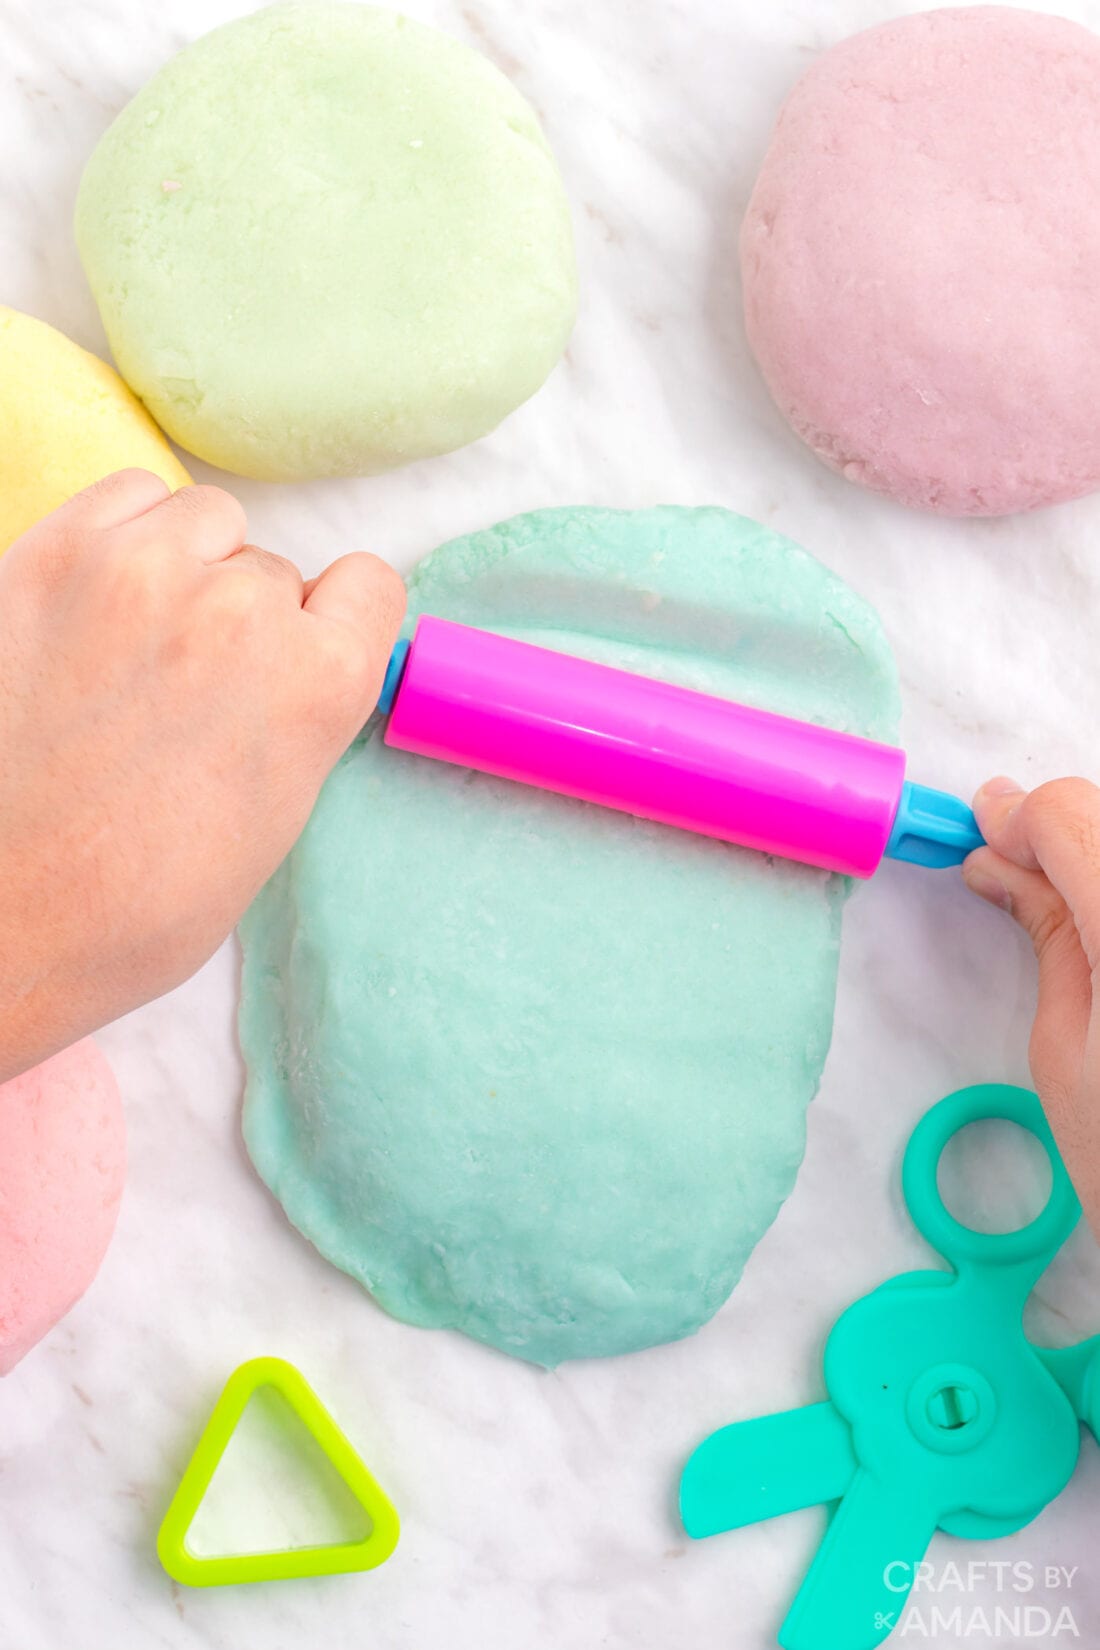
We love our Slime, Doughs, and Clays around here. There’s just something about a fun, pliable dough project that provides hours of sensory play.
This play dough recipe is fun to make with the kids, but can also be prepped ahead of time and placed into plastic Easter eggs to fill their Easter baskets with or sent on an Easter scavenger hunt to find!
– You might also like this project – How to Make Play Dough
Helpful Project Information:
- Age Level: 6 and up
- Mess Factor: Medium
- Level of Difficulty: Easy
- Time to Complete: Less than 10 minutes
- Cost Estimate: Less than $5.00
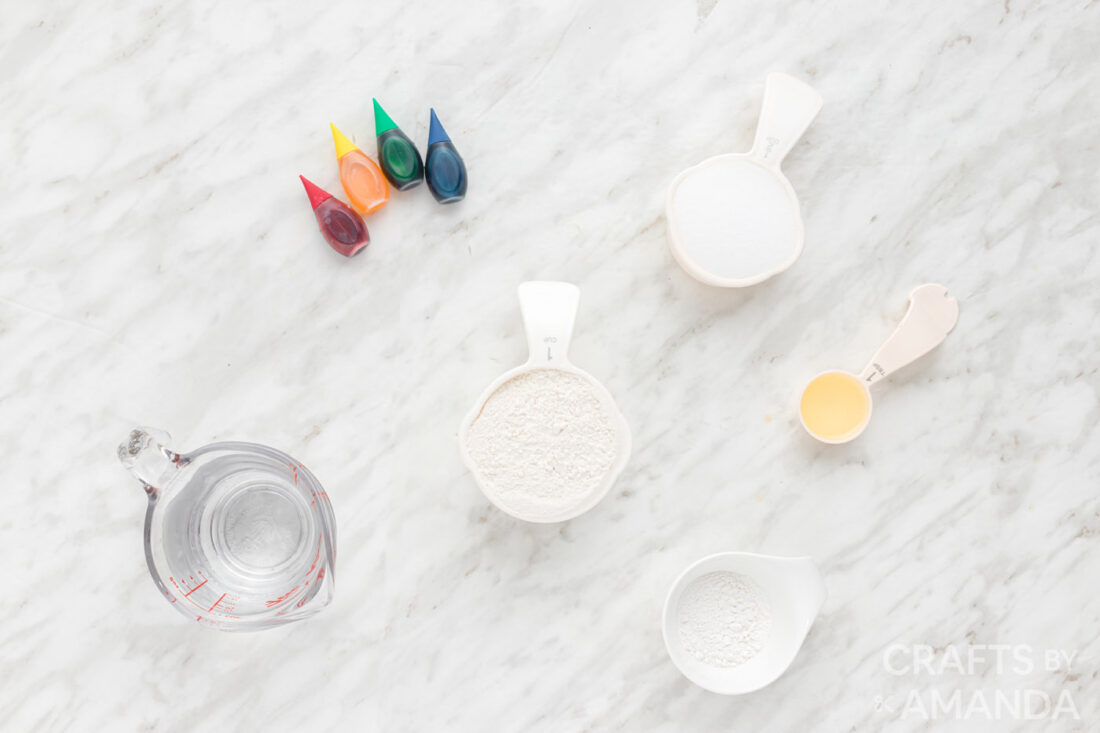
Craft supplies you will need
How to Make Easter Play Dough
These step by step photos and instructions are here to help you visualize how to make this project. Please scroll down to simply print out the instructions!
- Combine all of the dry ingredients in a large mixing bowl and mix well.

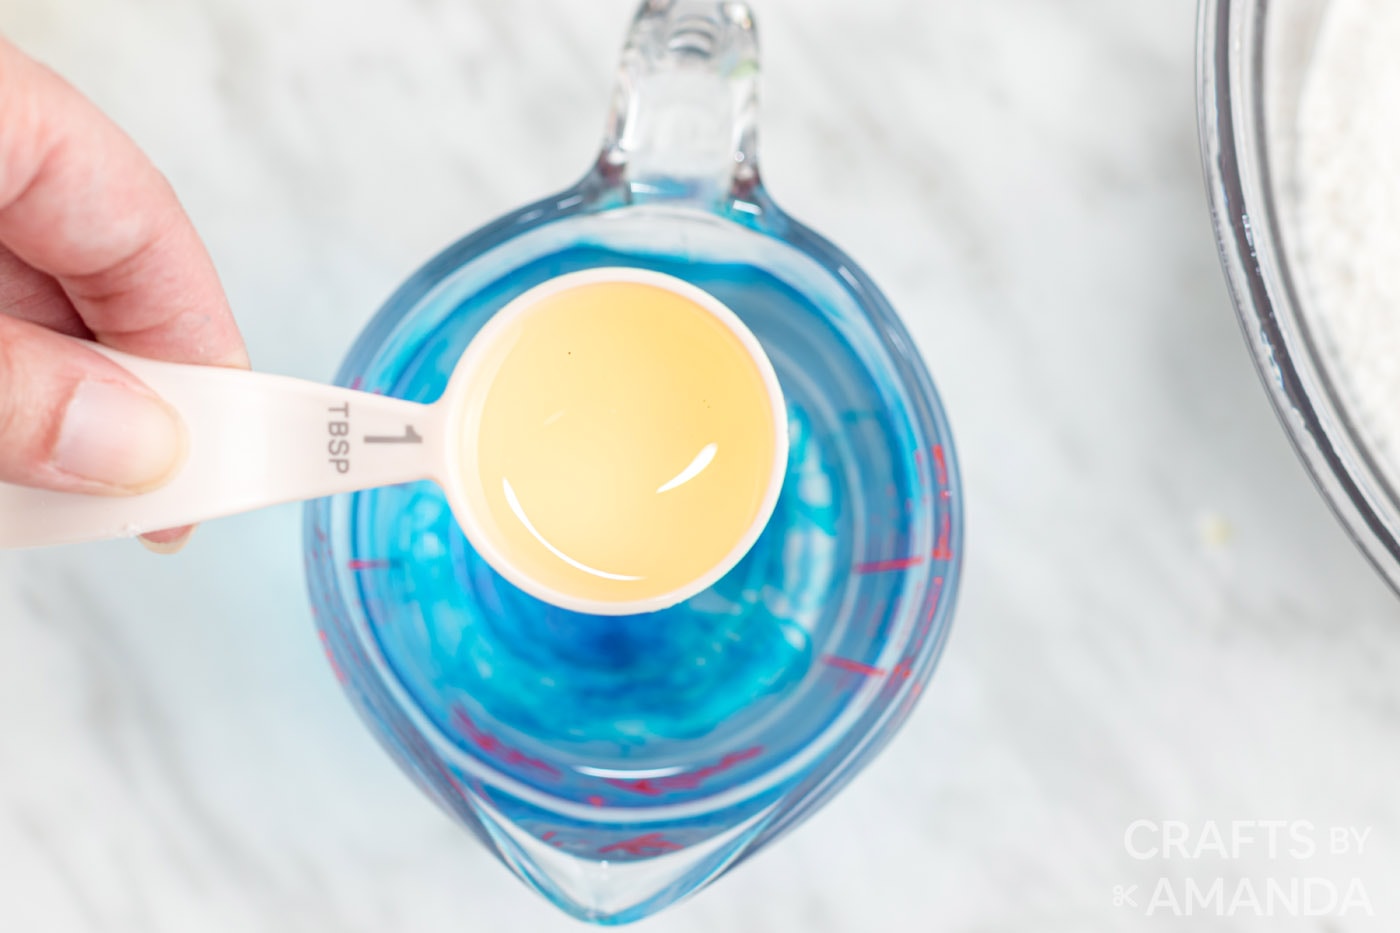
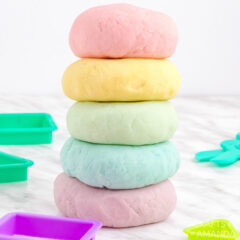
- Add your water and food coloring to a small bowl and mix together. To achieve the pastel coloration, add 2-3 drops of food coloring. Then add in your oil.
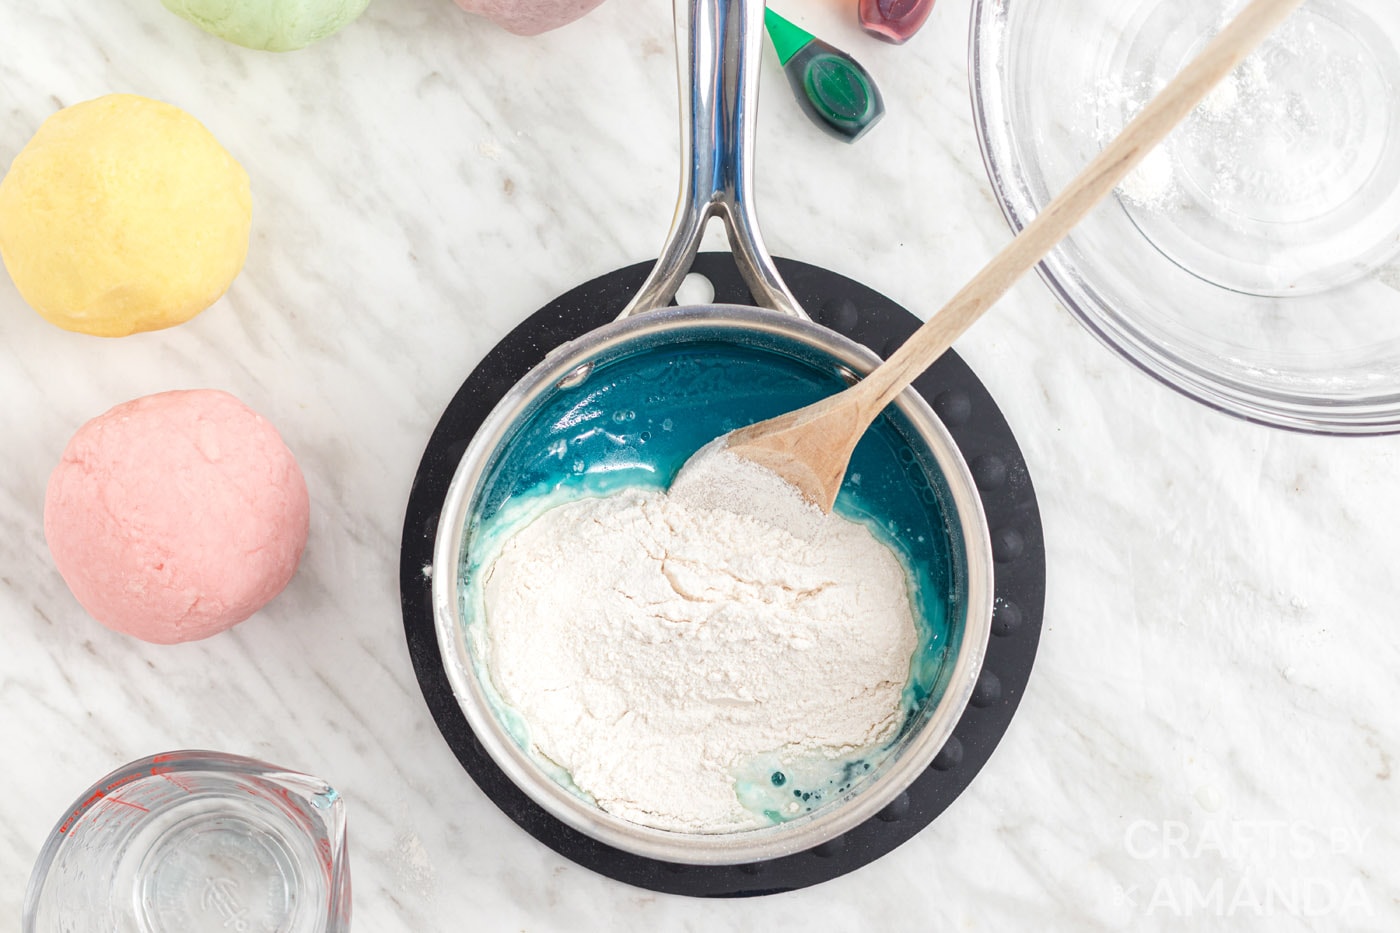
- Add all the wet ingredients to a saucepan first.
- Next, add dry ingredients into the saucepan and mix together well.
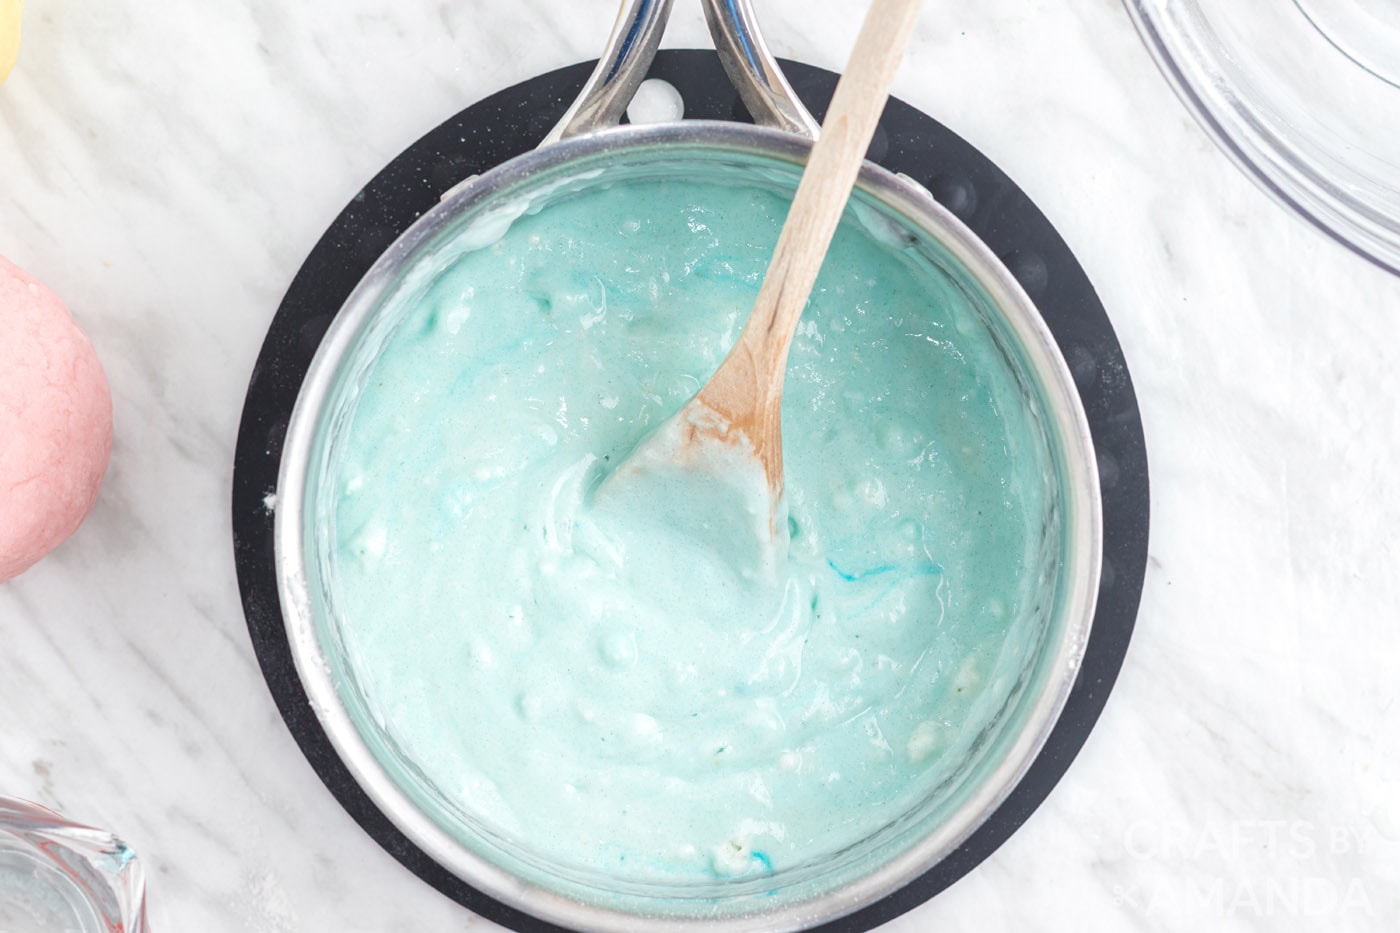
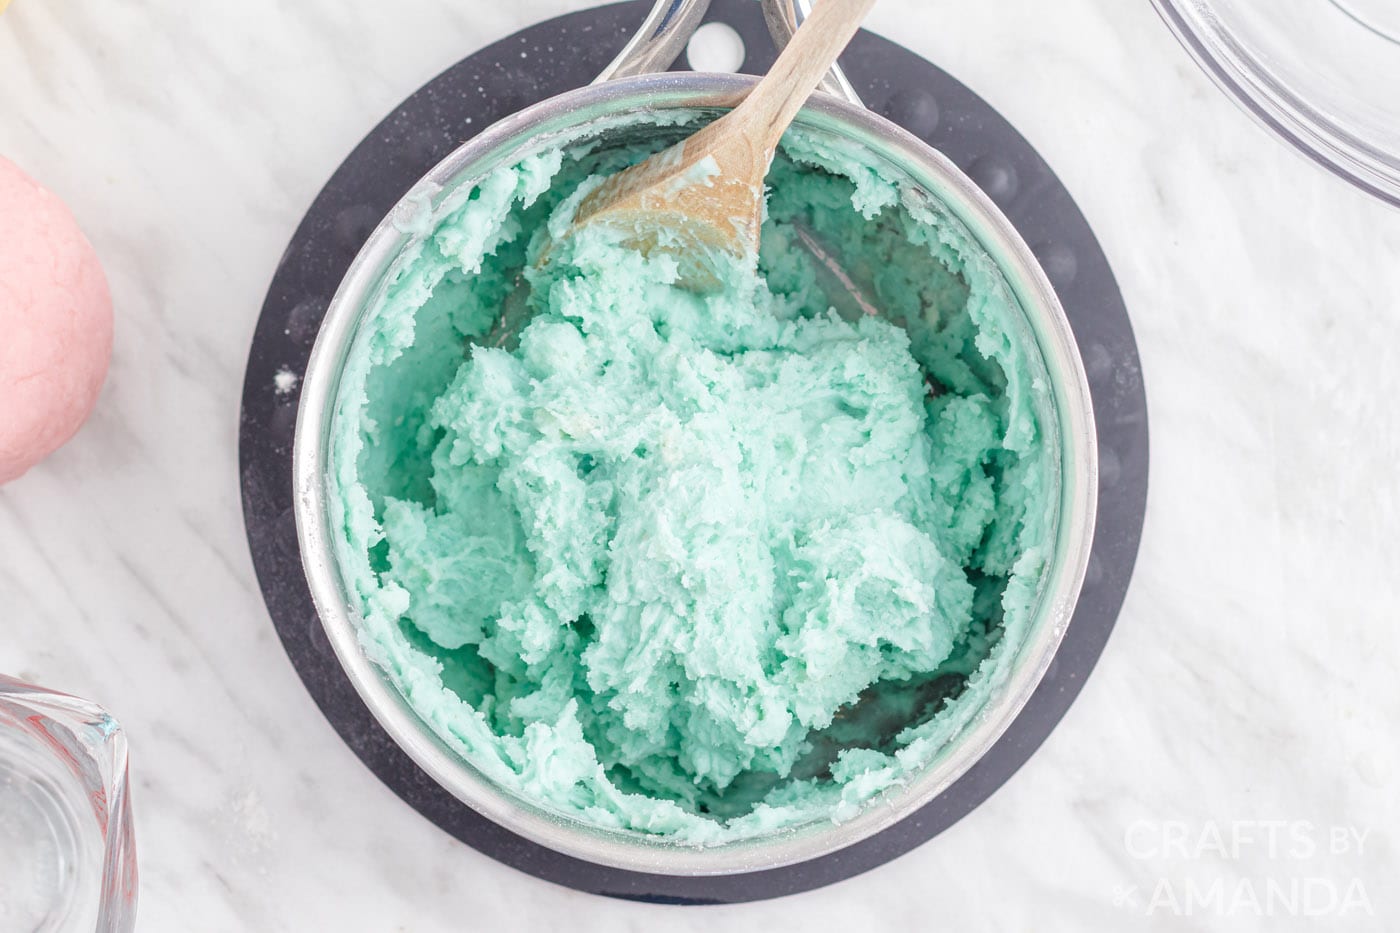
- Heat the saucepan over low to medium heat. Continue to stir while the pot is on the heat so it does not stick to the bottom. You want the dough to thicken where it can form a shape, you’ll know it is done when it is no longer wet.
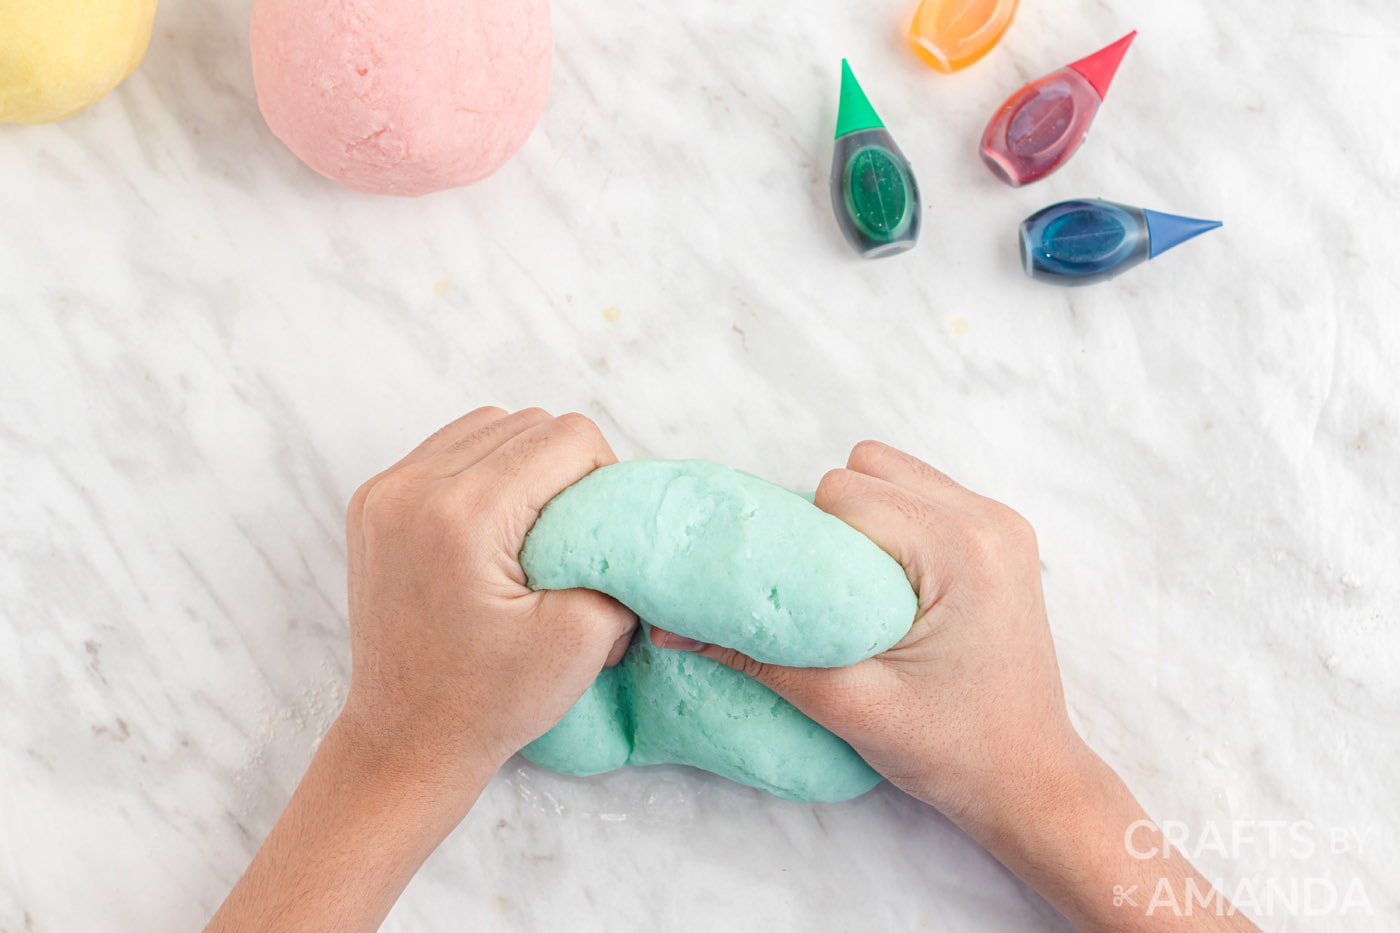
- Remove from heat and let cool. After cooling, knead your dough until it is soft. You can add a couple of drops of water or oil if the dough doesn’t seem to soften up.

Expert Crafting Tips
- The more you play with the dough, the drier it will become. If it dries out too much, try adding a drop or two of water and knead with your hands. Likewise, you can use a drop of vegetable or coconut oil instead of water to make your play dough soft again.
- Store your play dough in an air-tight container. To keep it from drying out sooner, wrap the dough in plastic wrap or seal it in a plastic bag that’s flattened to remove the air before storing in a container.
- The cream of tartar is the secret ingredient in play dough that keeps it soft. Along with the salt, it also helps preserve your dough.
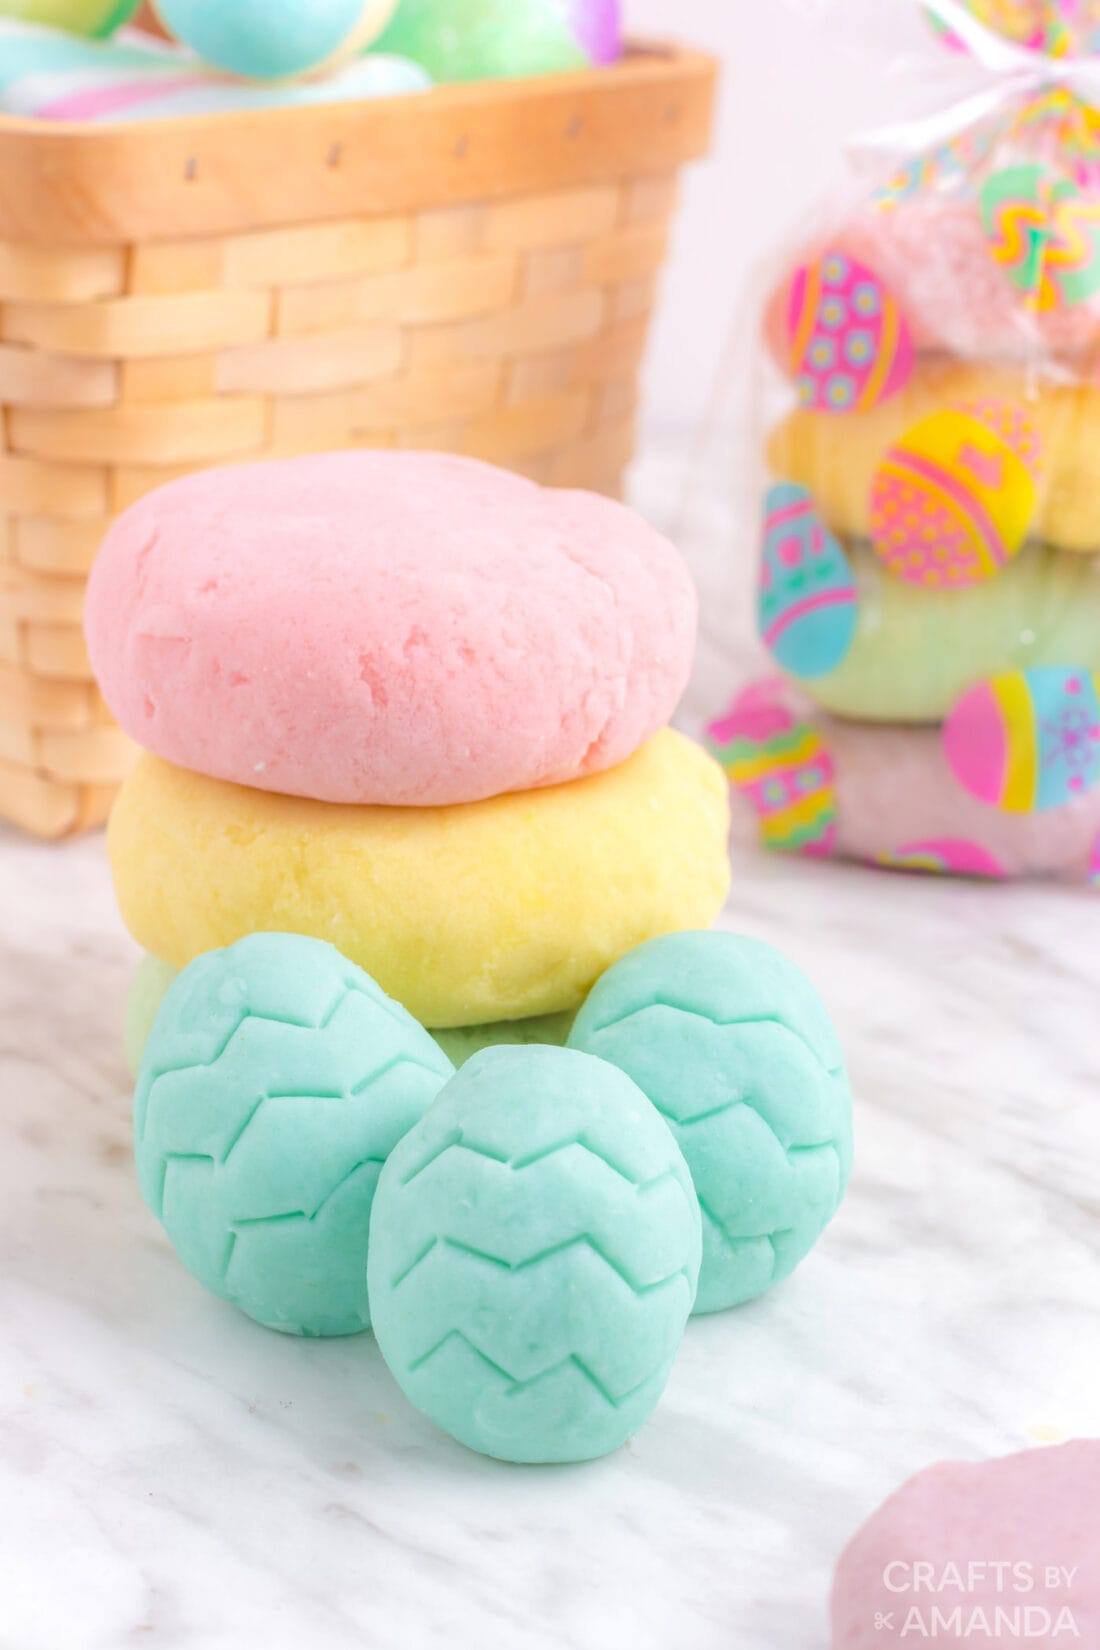
This pastel Easter play dough recipe makes a fun Easter basket stuffer when put into plastic eggs, or a great spring sensory activity to keep the kids busy all day!
More Easter Projects
- Handprint Easter Lily
- Cardboard Tube Lambs
- Printable Easter Basket Tags
- 10 Tips for Coloring Eggs with Toddlers
- Handprint Lamb for Easter
Try our free spring activity sheets and coloring pages too!

I love to create and share my projects with you! I know it’s hard to remember to come back and search, so I’ve made it easy for you with my weekly newsletter! You can subscribe for free and I’ll send you fun crafts and delicious recipes every week right to your email.
Easter Play Dough
Supplies
- 1 cup flour
- 2 teaspoon cream of tartar
- 1/2 cup salt
- 1 cup water
- 2-3 drops food coloring
- 1 Tablespoon vegetable oil
Craft tools
- Saucepan
Instructions
- Combine all of the dry ingredients in a large mixing bowl and mix well.
- Add your water and food coloring to a small bowl and mix together. To achieve the pastel coloration, add 2-3 drops of food coloring. Then add in your vegetable oil and stir.
- Add the wet ingredients to the saucepan first.
- Next, add dry ingredients into the saucepan and mix together well.
- Heat the saucepan over low to medium heat. Continue to stir while the pot is on the heat so it does not stick to the bottom. You want the dough to thicken to the point it can form a shape, you'll know it is done when it is no longer wet.
- Remove from heat and let cool. After cooling, knead your dough until it is soft. You can add a couple drops of water or oil if the dough doesn't seem to soften up.
Expert Tips & FAQs
- The more you play with the dough, the drier it will become. If it dries out too much, try adding a drop or two of water and knead with your hands. Likewise, you can use a drop of vegetable or coconut oil instead of water to make your play dough soft again.
- Store your play dough in an air-tight container. To keep it from drying out sooner, wrap the dough in plastic wrap or seal it in a plastic bag that’s flattened to remove the air before storing in a container.
- The cream of tartar is the secret ingredient in play dough that keeps it soft. Along with the salt, it also helps preserve your dough.
- Cinnamon Ornaments - December 6, 2024
- Snowman Door - December 3, 2024
- Waterless Snow Globes - November 29, 2024


Olivia says
This idea is amazing I will definitely do it!
I love it!