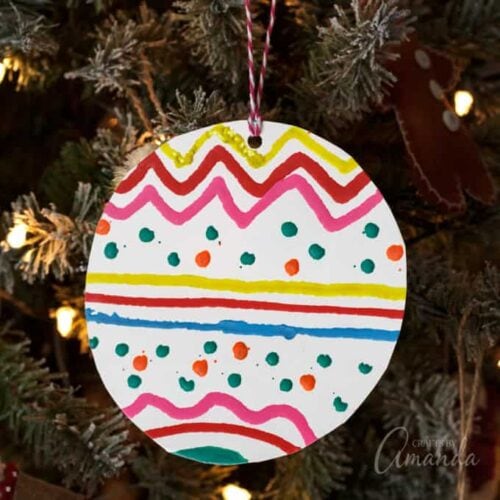
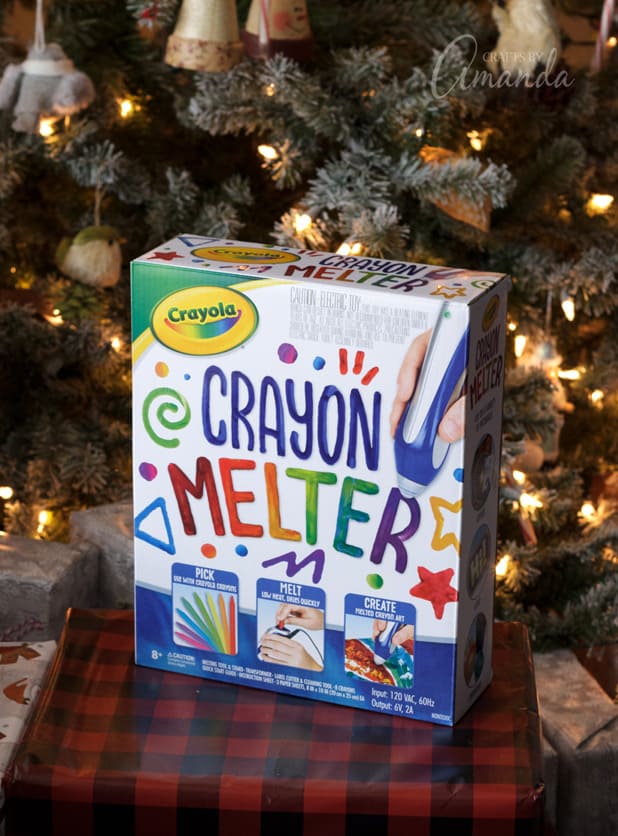
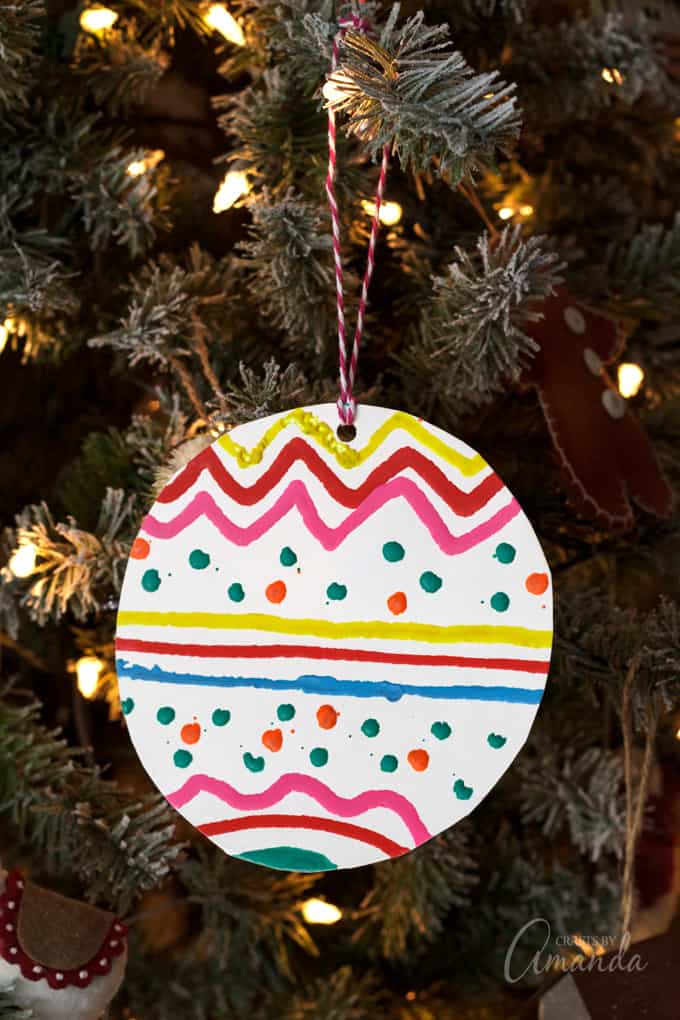
The excitement is building and Christmas is almost here! The kids will be out of school soon and you know how much they love to help decorate. I know you have a bunch of broken crayons laying around, so today I’m partnering with Crayola.com to show you how to make fun paper plate ornaments with their new Crayon Melter!
You’ve likely seen various melted crayon ornaments and projects floating around the internet the last few years. Well, now there’s a new art tool from Crayola that your kids can easily create cool designs with. In fact, using the Crayon Melter made me want to run out and get some coloring books!
It’s super easy to use. Peel the paper off some Crayola crayons (the melter box even includes a little tool to help you along), break them into a few pieces, drop into the tool and start designing! You simply hold the melter similar to a pen and draw until the crayon runs out, then refill and go again.
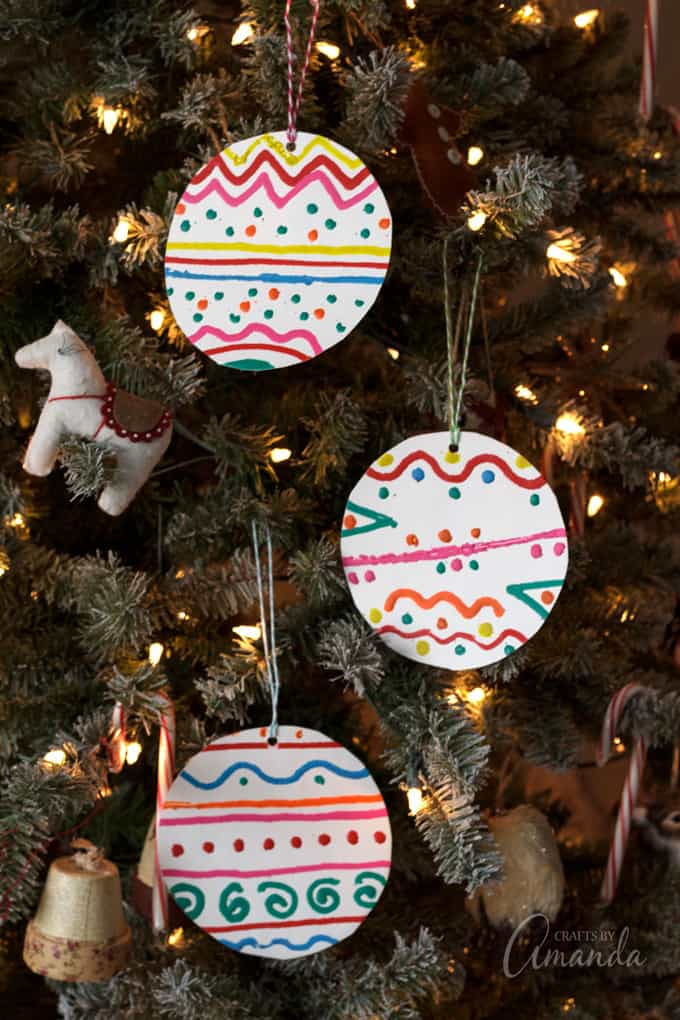
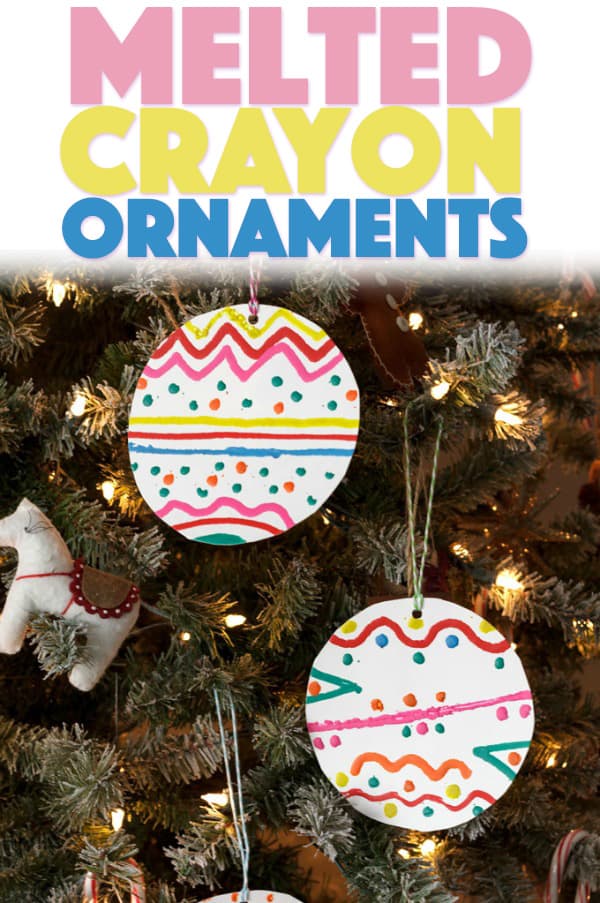
Paper Plate Melted Crayon Ornaments
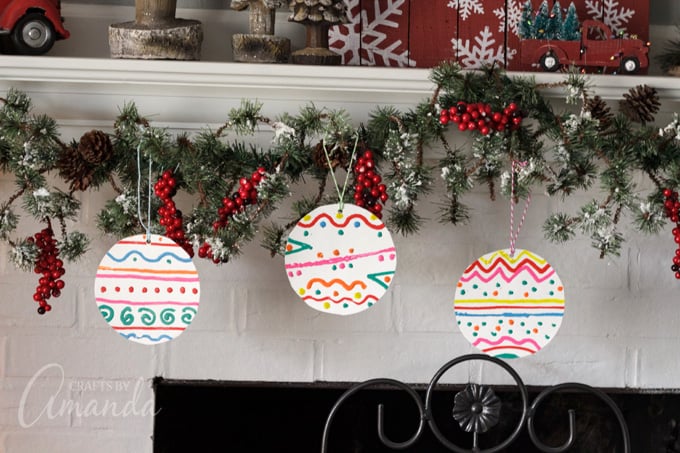
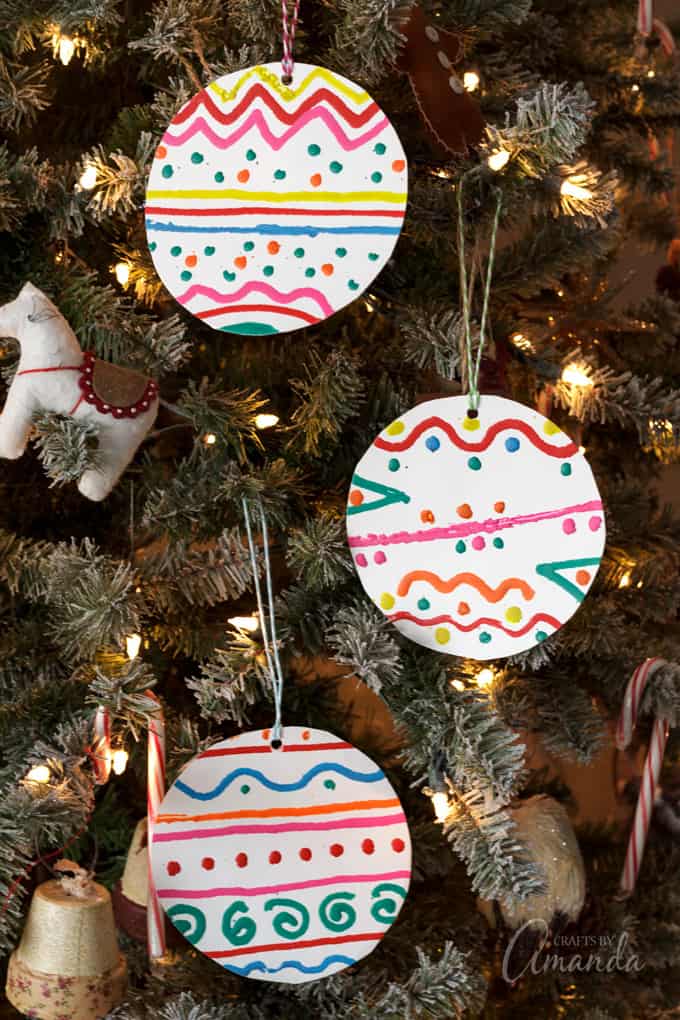
The melter works on canvas, wood, cardboard and more, but I chose paper plates. Everyone has paper plates and kids can get creative with different designs and colors! You can hang them on the tree or your mantel, but they would also make a fun banner!
Supplies you will need:
- Paper plates (use mini paper plates for smaller ornaments)
- Scrap paper
- Crayola crayons
- Crayola Crayon Melter
- Scissors
- Hole punch
- String
How to make these melted crayon ornaments:
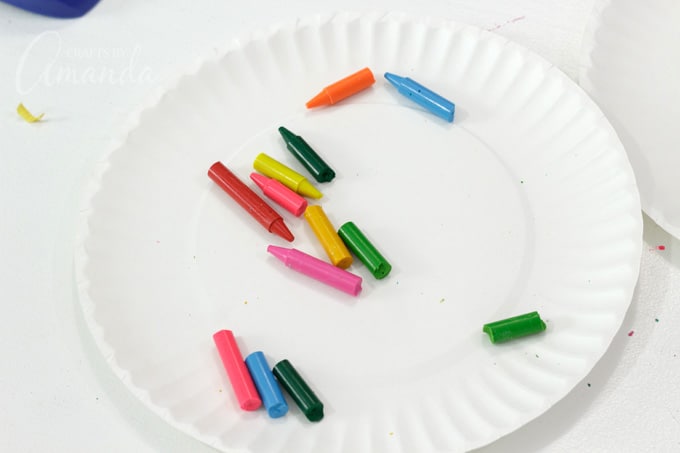
First, you’ll need to peel the paper off the crayons, then break them into a few pieces.
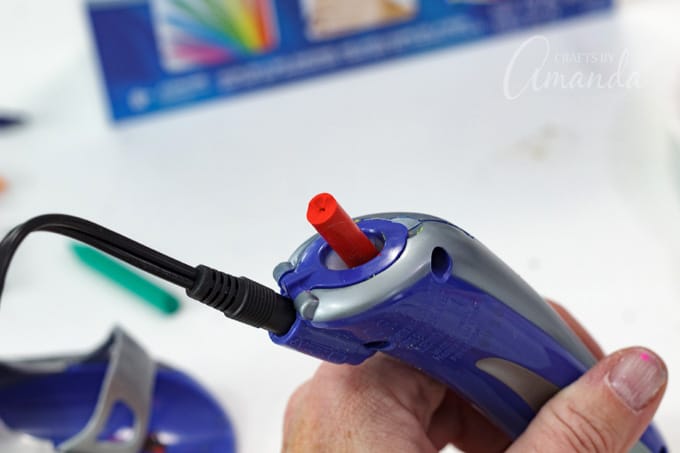
Next, push a crayon piece into the end of the melter. Be sure to read the instructions in the box as a little crayon goes a long way!
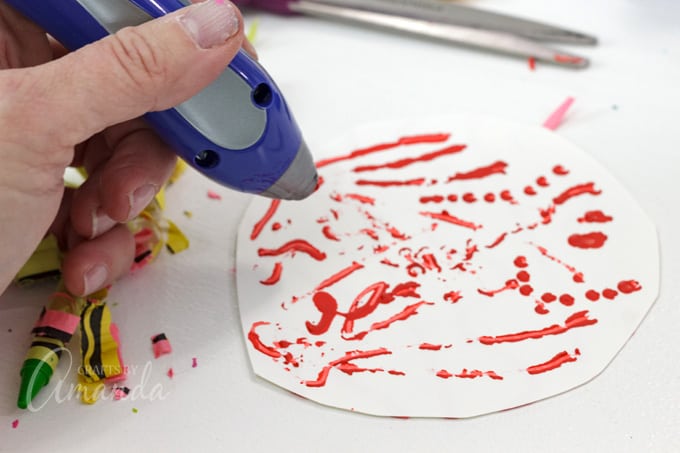
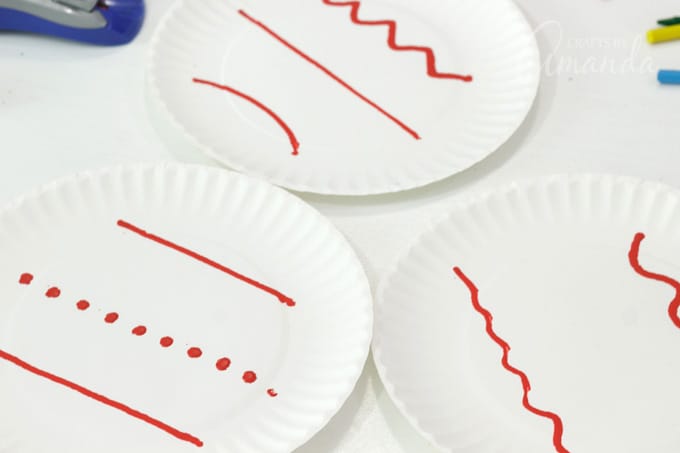
Be sure to have some scratch paper nearby. Practice on the scrap paper and work on the paper until you get the flow you want.
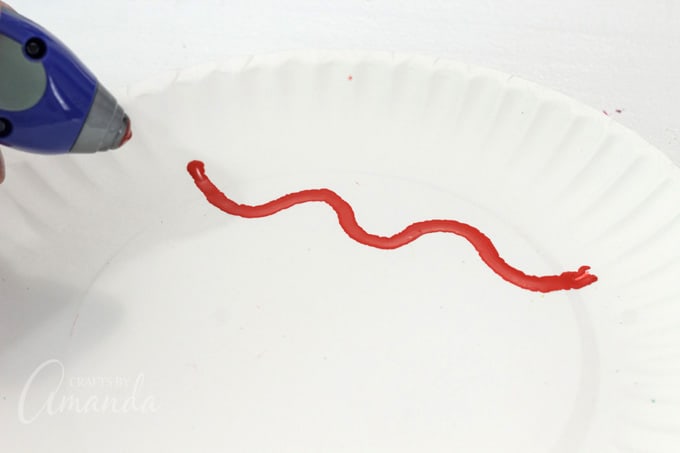
Hold the melter upright and draw your designs onto the paper plate, make sure you cross over the center circle line as we will be cutting these out!
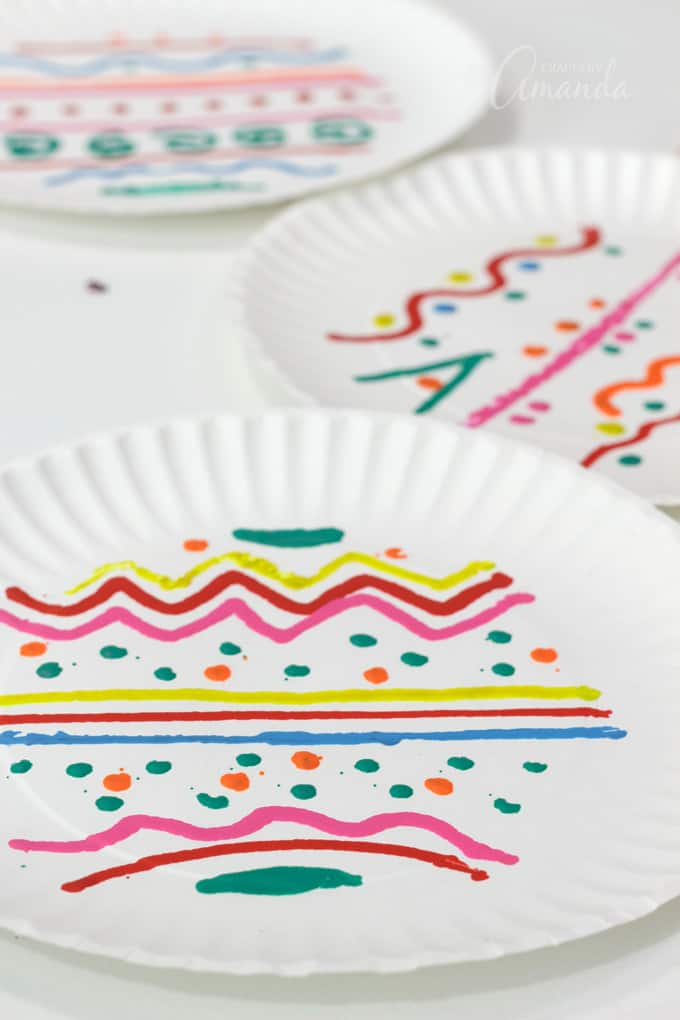
As I mentioned above, a little crayon goes a long way, so use up one color first before switching to the next.
Keep adding designs using as many different colors as you like!
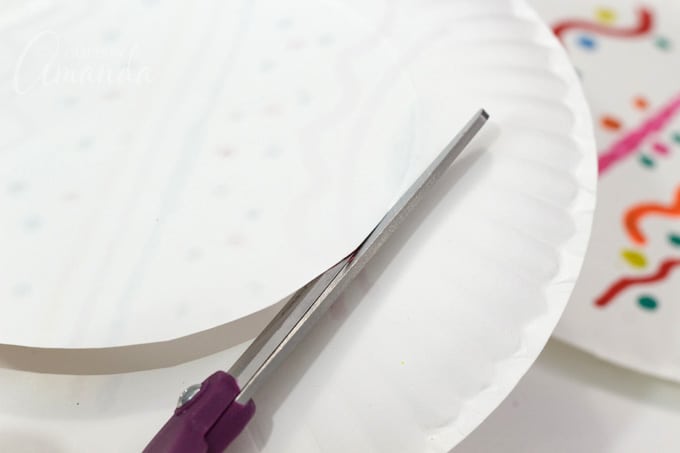
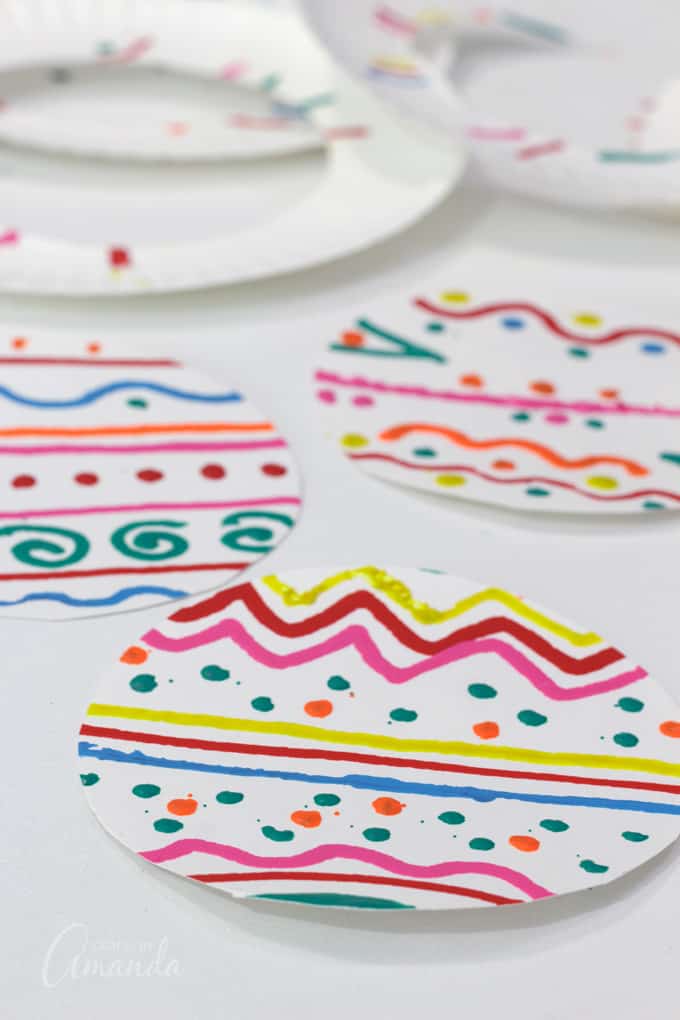
The crayon dries very quickly so you should be ready to turn the paper plate over and cut out the center circle.
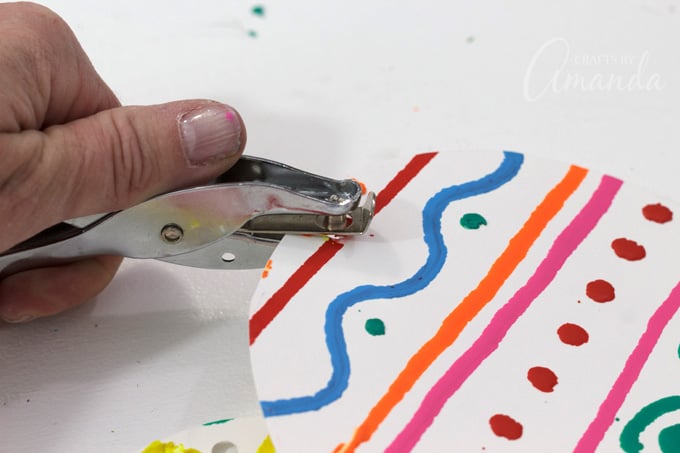
Use a hole punch to create a hole at the top of your ornament.
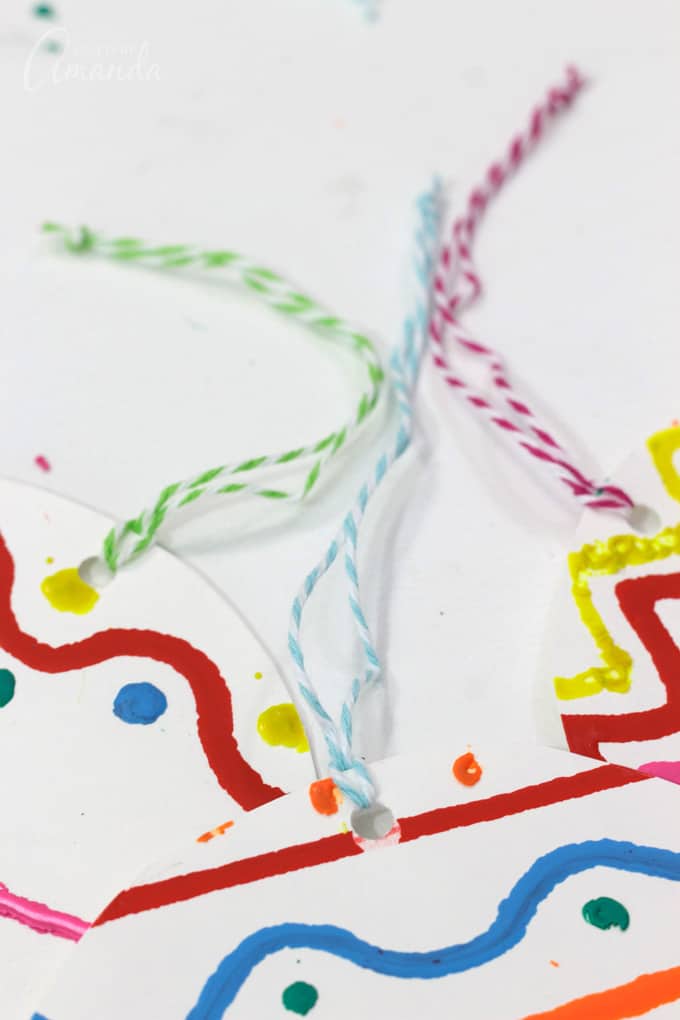
Tie some string through the hole as a hanger.
There are so many possibilities and multiple designs that kids can make! Careful though, they might not want to put their new Crayon Melter away! This would make a great gift for a child on your Christmas list.
What would you make with your Crayon Melter?
Do you have ornament ideas you would love to share? Take pictures of the kids making their melted crayon ornaments and share them on your favorite social channel, and be sure to tag your post with the hashtag #CrayonMelter so Crayola can see your creations!
More projects for kids:
While the Crayola Crayon Melter is for kids aged 8 and up, little ones will love making these colorful paper snowflakes! For more holiday fun try making your own window clings, and airbrush the windows!
Be sure to check out our adorable pom pom ornaments too!
Check out all of my paper plate crafts!
Paper Plate Melted Crayon Ornaments
Supplies
- Paper plates use mini paper plates for smaller ornaments
- Scrap paper
- Crayola crayons
- Crayola Crayon Melter
- Scissors
- Hole punch
- String
Instructions
- First, you'll need to peel the paper off the crayons, then break them into a few pieces.
- Next, push a crayon piece into the end of the melter. Be sure to read the instructions in the box as a little crayon goes a long way!
- Be sure to have some scratch paper nearby. Practice on the scrap paper and work on the paper until you get the flow you want.
- Hold the melter upright and draw your designs onto the paper plate, make sure you cross over the center circle line as we will be cutting these out!
- As I mentioned above, a little crayon goes a long way, so use up one color first before switching to the next.
- Keep adding designs using as many different colors as you like!
- The crayon dries very quickly so you should be ready to turn the paper plate over and cut out the center circle.
- Use a hole punch to create a hole at the top of your ornament.
- Tie some string through the hole as a hanger.
- Cereal Box Turkey - October 22, 2024
- Pumpkin Painting Party - October 11, 2024
- Halloween Door – Keep Out - October 8, 2024


Leave a Reply