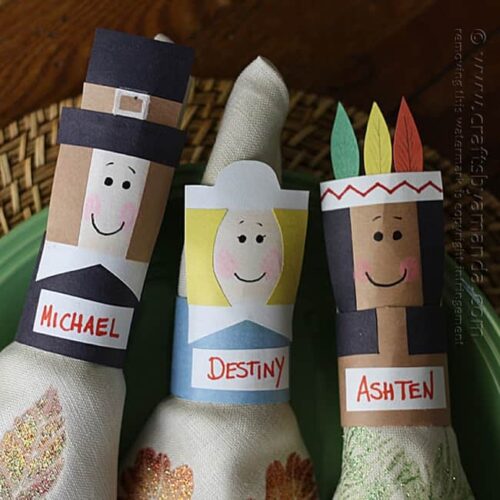
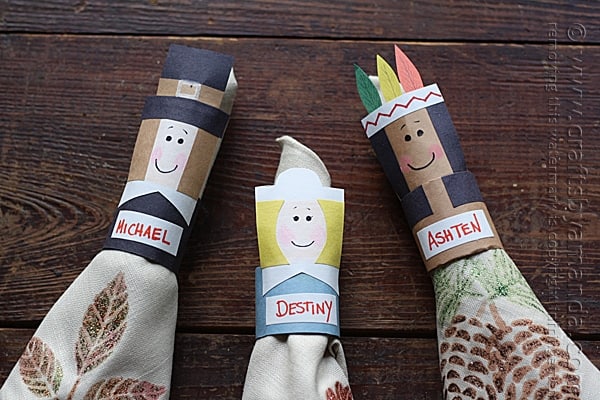
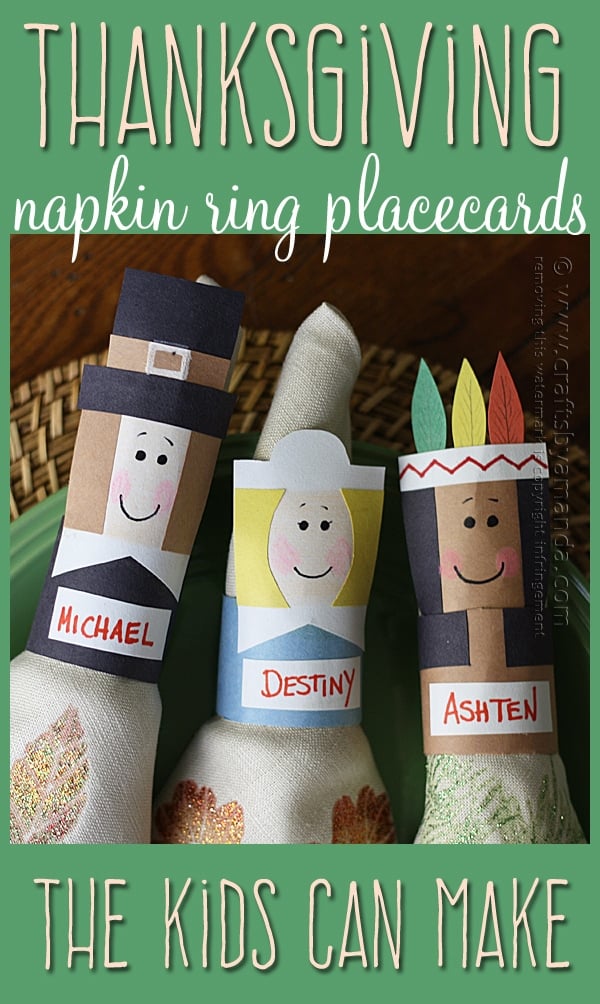
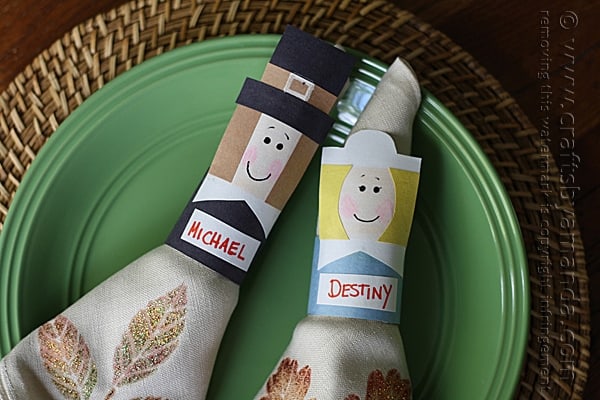
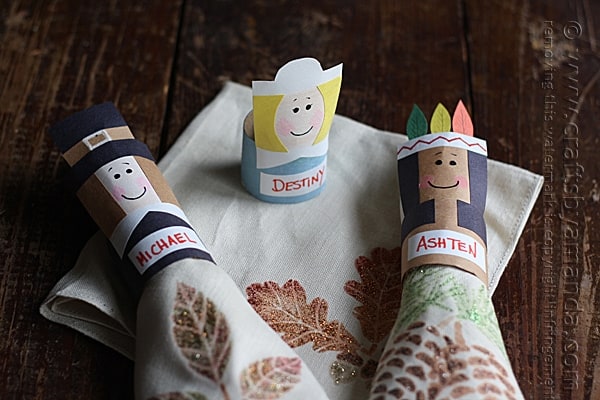
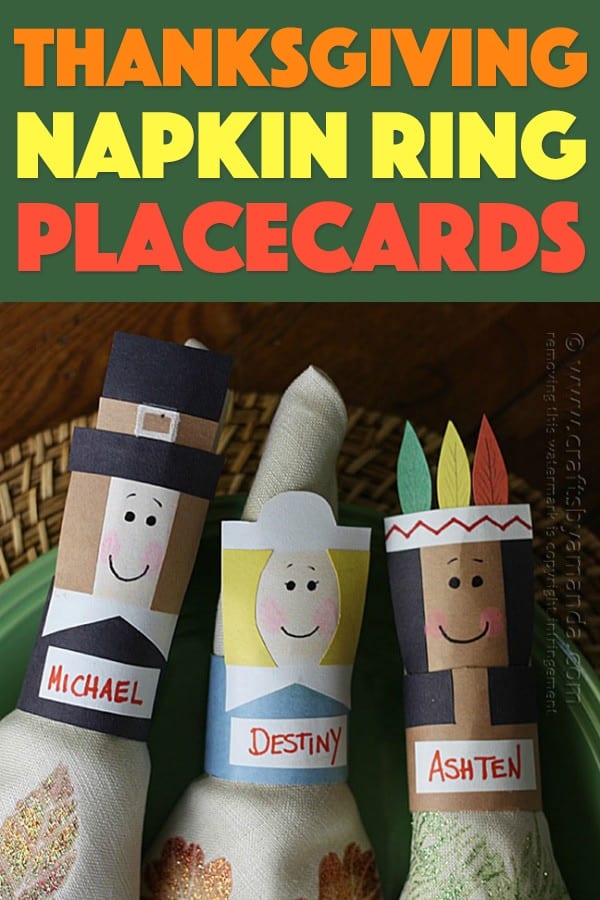
Need a fun craft for the kidlets this Thanksgiving? This is a good project to keep them busy while dinner is cooking and a great way to get them to help set the table! Have them make these kid-friendly Thanksgiving napkin rings.
They’re easy to make and don’t require a ton of crazy supplies. Just some cardboard tubes and construction paper. Note, if you are looking for more Thanksgiving napkin rings, check out the links at the end of this post to more of my projects!
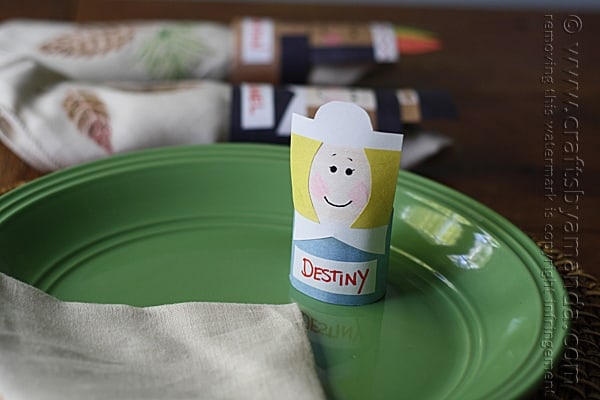
The bonus? When dinner begins and the napkins are removed, they turn into cute place cards!
The kids can make these and label them as guests come in the door, or simply work off of a list that you give them.
Thanksgiving Napkin Rings & Placecards
Are you ready to get started?
As always, a full printable supply list and instructions are at the end of this post.
For these Thanksgiving Napkin Rings you will need the following supplies:
- 3 cardboard tubes
- Crayons
: peach, pink and white
- Construction paper
: brown, black, white, light blue, yellow, green and red
- Tools: Glue stick, scissors, orange or red marker, black marker
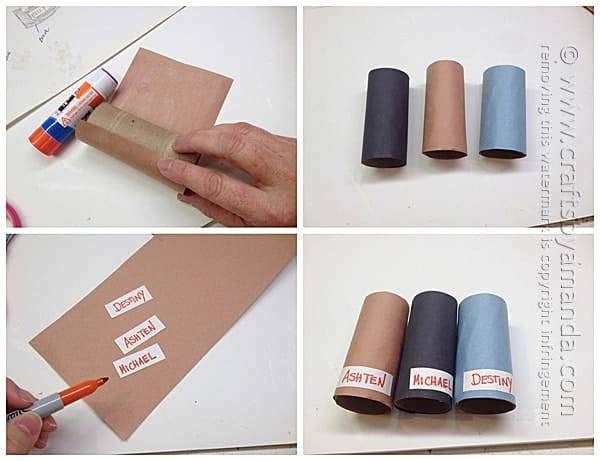
Using a glue stick, cover one cardboard tube in light blue construction paper, one tube with brown and the third tube with black. Trim excess paper.
Cut rectangles from white paper, about 1/2” x 1 3/4”, then write the children’s names on each one with orange or red marker. Use a glue stick to attach the names to the lower portion of each cardboard tube. Trim the tubes down to about 2” high.
To make the faces, cut two pieces of white construction paper (2” x 3”), one for the girl and another for the boy. Cut the same size from brown construction paper for the Indian.
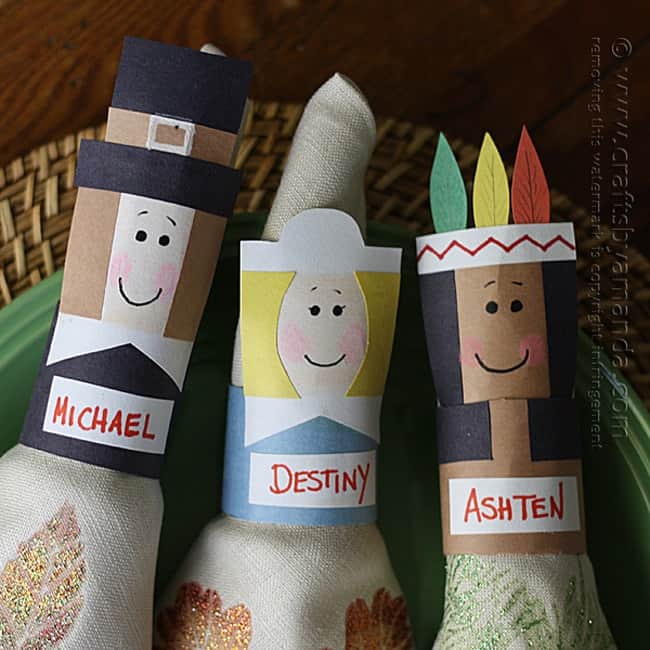
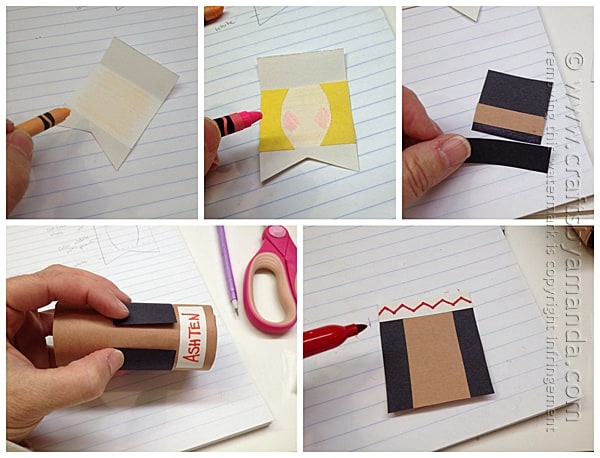
For the pilgrim girl, cut a triangle from the 2” wide end to create the collar. The pilgrim girl’s hat will take up about ¾” inch from the top. Below that, color the center section of the paper with a peach crayon. Cut strips of yellow paper about ½” wide and glue to both sides of the “face” below the hat section. Using the photo as a guide, cut the top section to make her hat. Use a black marker to add two dots for eyes and draw a simple mouth. Use a pink crayon to color the cheeks.
For the pilgrim boy, cut the collar as you did for the pilgrim girl. Cut a simple black square and black paper strip for the hat. Cut a small strip from brown paper for the hat band. Glue the hat pieces together and use a white crayon to draw on the hat buckle. Cut two brown strips of paper for the hair and glue to the head after coloring the face area peach. Glue the hat on and draw on eyes and mouth and color cheeks.
To create the Indian’s vest, cut a strip of black paper that will wrap almost completely around the brown tube, about ¾” short. Glue it in place. Cut the tube to about 2” in height. Cut two thin black strips of paper and glue them to the sides of the brown rectangle you cut earlier for the Indian. Cut a white strip of paper and glue it across the top for his headband. Trim any excess paper. Use a red marker to draw a pattern across the band. Cut feathers from orange, yellow and green paper and glue to the back of the band. Drawn on facial features and color cheeks. Glue the head to the inside of the tube.
Hope you have fun making these thanksgiving napkin rings!
More Thanksgiving Ideas
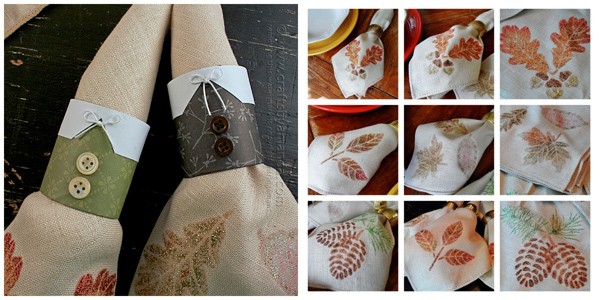
If you want another fun and kid-friendly table idea, try these cute turkey favors from Make and Takes. Looking for something for the older kids or the grown-ups? Try my more sophisticated Pilgrim Napkin Rings here. And, if you like the cloth napkin design, you can get the tutorial for that right here. And if you have a big pile of construction paper to go through, check out this enormous collection of construction paper crafts that will keep the kids busy for months.
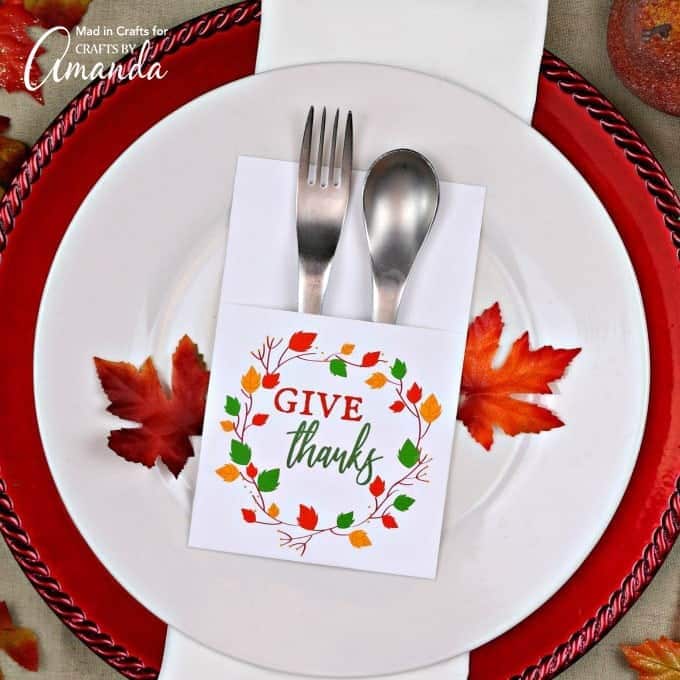
These printable Thanksgiving utensil holders add charming decorative detail while serving a purpose on your Thanksgiving table!
I originally created this project for my Chicago Tribune column in 2013.
Thanksgiving Napkin Rings & Placecards
Supplies
- 3 cardboard tubes
- Glue stick
- Scissors
- Crayons: peach pink and white
- Orange or red marker
- Black marker
- Construction paper: brown black, white, light blue, yellow, green and red
Instructions
- Using a glue stick, cover one cardboard tube in light blue construction paper, one tube with brown and the third tube with black. Trim excess paper.
- Cut rectangles from white paper, about ½” x 1 ¾”, then write the children’s names on each one with an orange or red marker. Use a glue stick to attach the names to the lower portion of each cardboard tube. Trim the tubes down to about 2” high.
- To make the faces, cut two pieces of white construction paper (2” x 3”), one for the girl and another for the boy. Cut the same size from brown construction paper for the Indian.
- For the pilgrim girl, cut a triangle from the 2” wide end to create the collar. The pilgrim girl’s hat will take up about ¾” inch from the top. Below that, color the center section of the paper with a peach crayon. Cut strips of yellow paper about ½” wide and glue to both sides of the “face” below the hat section. Using the photo as a guide, cut the top section to make her hat. Use a black marker to add two dots for eyes and draw a simple mouth. Use a pink crayon to color the cheeks.
- For the pilgrim boy, cut the collar as you did for the pilgrim girl. Cut a simple black square and black paper strip for the hat. Cut a small strip from brown paper for the hat band. Glue the hat pieces together and use a white crayon to draw on the hat buckle. Cut two brown strips of paper for the hair and glue to the head after coloring the face area peach. Glue the hat on and draw on eyes and mouth and color cheeks.
- To create the Indian’s vest, cut a strip of black paper that will wrap almost completely around the brown tube, about ¾” short. Glue it in place. Cut the tube to about 2” in height. Cut two thin black strips of paper and glue them to the sides of the brown rectangle you cut earlier for the Indian. Cut a white strip of paper and glue it across the top for his headband. Trim any excess paper. Use a red marker to draw a pattern across the band. Cut feathers from orange, yellow and green paper and glue to the back of the band. Drawn on facial features and color cheeks. Glue the head to the inside of the tube.
This post was originally published on this blog on Nov 3, 2014.
- Paper Plate Tropical Fish Craft - July 19, 2024
- Tropical Paper Flowers - July 16, 2024
- DIY Mosquito Repellent Candles - July 9, 2024



[email protected] says
Such a fun idea for the kiddos! Pinned!
Amanda Formaro says
Thank you Amy!