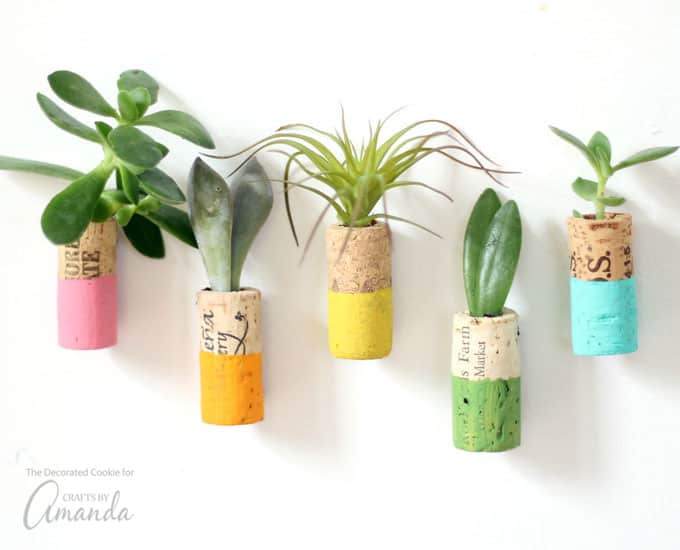
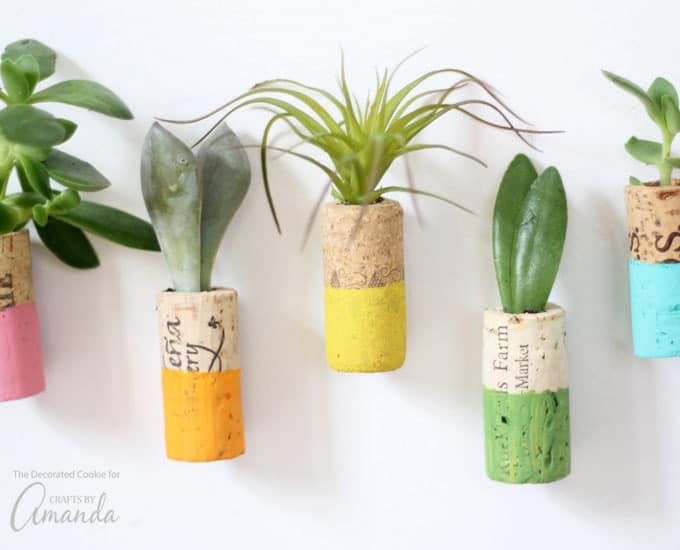
These cute and colorful wine cork succulent magnets make your refrigerator extra charming. Even not-so-green thumbs can easily make these. Give your fridge a pop of color by creating these DIY wine cork succulent magnets. These magnets are the perfect adult craft that you can stick to your homemade cookie sheet magnetic board!
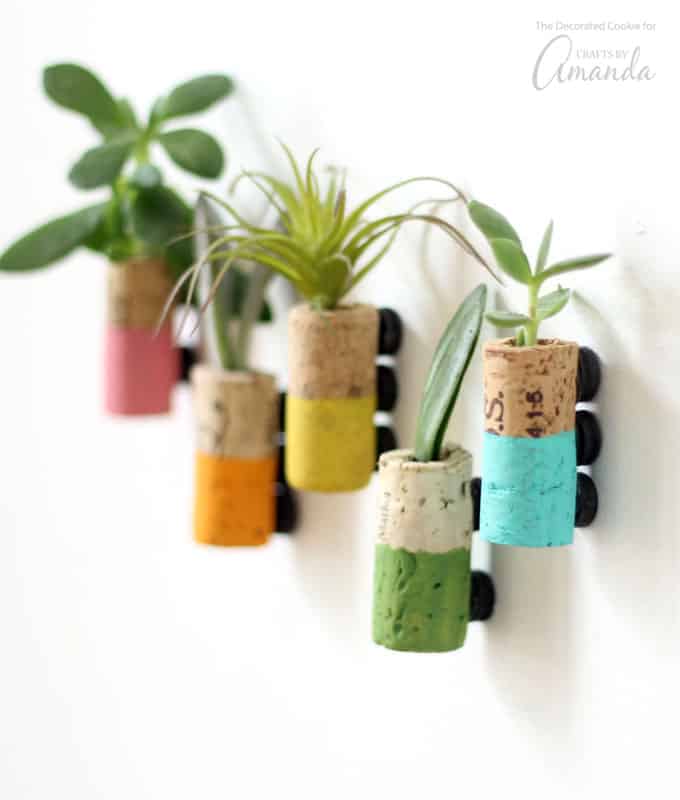
Wine Cork Succulent Magnets
I have a confession. I’m a terrible gardener. Not just “I don’t grow things well,” but, as I walk by a plant, it starts to wilt. My husband doesn’t even trust me to water our own garden when he goes out of town. And by “our garden,” I mean, “the garden he grows.” How much water? Too much light? Too little light? Shade? No shade? Perennial? Annual? I won’t remember. I have no explanation for this deficiency.
Gardening is just not in my bones. But I hear these succulent things are pretty hardy, so maybe they can survive with me around. And they are all the rage, right? So what could possibly go wrong?
Especially when you add wine. While I may not be a gardener, I’m a great wine drinker, so I have plenty of wine corks on hand for this project. What better way to use my wine corks than to make these wine cork succulent magnets? I’m all about the DIY kitchen crafts, one of my favorite things to do is painting a wine bottle.
I used real succulents in this craft, though you can certainly use faux succulents- which I suggest if you’d like them to last forever. You’ll want to occasionally water your wine cork succulent magnets if you’re going to use real plants otherwise they will wilt and you will eventually end up tossing them.
Craft supplies for wine cork succulent magnets
- wine corks
- drill with size 5/16 bit
- wrench
- craft paint (optional)
- paint brushes (optional)
- blue painters tape (optional)
- hot glue gun
- magnets (1/4-inch, 6mm)
- soil
- small succulent pieces
You can find the printable version of this craft at the end of this post
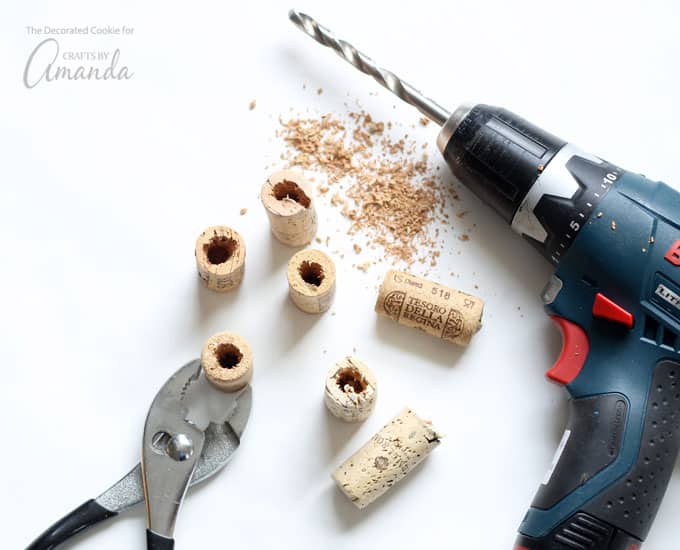
Drill cavities in the wine corks first. Choose whichever size drill bit works best with your wine corks. That is the bit that is big enough to drill a cavity, but not so large to crumble the edges of the cork. I used a size 5/16-inch. Hold the wine cork with the wrench and drill a hole in the center of the cork.
I’m making you use a wrench so you don’t accidentally drill your fingers. No injuries on my watch, please! You may need to drill two or three times to get a good size cavity. Be sure to only drill about three-quarters of the way down the cork. Shake out any of the cork dust.
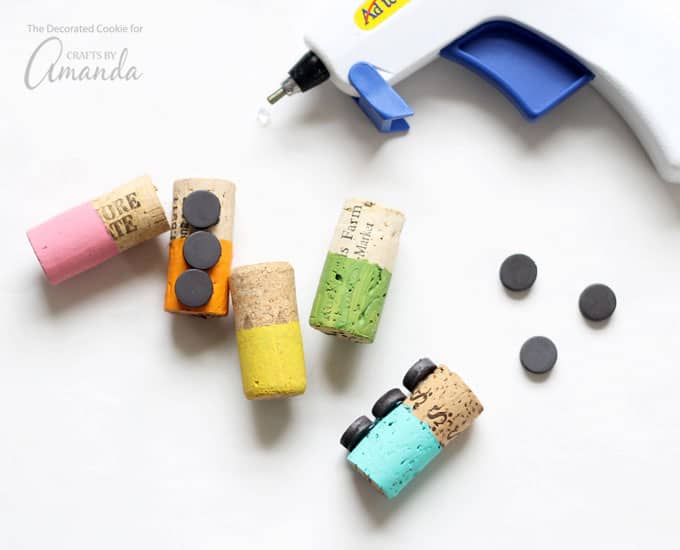
Next, paint your corks and let the paint dry completely. I blocked off the top of the cork with blue tape to give a dipped-paint look. If you’d like a more natural look, skip this step and don’t paint the corks at all.
Use the hot glue gun to glue two to three magnets on the side of the cork. Let set well.
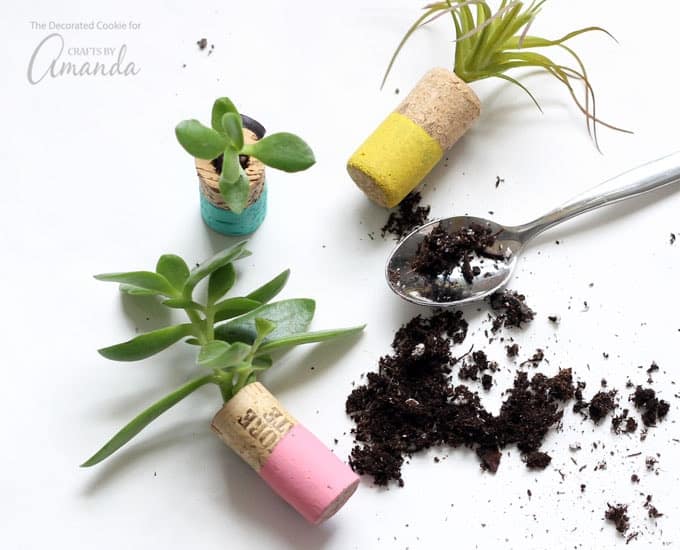
Add your soil and succulent and adhere to a magnetic surface.
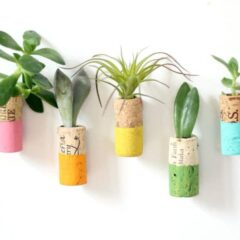
I love my little rainbow of wine cork succulent magnets. Maybe this will give me the confidence to tackle some real gardening. (Husband enters, waving hands wildly and vigorously shaking his head, “NO!”). Check out tons of kitchen and garden craft ideas here! You may also be interested in more recycled craft ideas, like these Bottle Cap Flowers, Recycled Jar Lid Owls, or these Fairy House Night Lights.
If you love succulents, be sure to check out our gorgeous succulent pumpkin too!
wine cork succulent planter magnets
Supplies
- wine corks
- drill with size 5/16 bit
- wrench
- craft paint optional
- paint brushes optional
- blue painters tape optional
- hot glue gun
- 1/4- inch 6mm magnets
- soil
- small succulent pieces
Instructions
- Drill cavities in the wine corks first with the bit big enough to drill a cavity without crumbling the edges of the cork. A 5/16-inch bit used here. Hold the wine cork with the wrench and drill a hole in the center of the cork. Be sure to only drill about three quarters of the way down the cork. Shake out any of the cork dust.
- Paint your corks and let the paint dry completely (optional).
- Use the hot glue gun to glue two to three magnets on the side of the cork. Let set well.
- Add your succulent and soil and adhere to a magnetic surface.
This post originally appeared here on Feb 24, 2017.
- How to Paint Wine Glasses - January 17, 2025
- Mason Jar Lid Snowman - December 27, 2024
- Macrame Sea Glass Necklace - August 20, 2024




Erica says
I just adore these sweet magnets! This is an awesome idea!
Saprina says
I am making these and using air plants. I was worried about the soil as well.
Cheryl says
Can you tell me where you found the magnets?
Amanda Formaro says
You can find them at any craft store as well as Walmart. Or amazon https://amzn.to/377LKif
Sy says
Very cute however, you can find fake succulents type of plants at Dollar Tree stores as I’ve seen them before. Unfortunate real plants won’t work as it was the purpose to begin with, but you also have to take into consideration, succulents is a slow plant to grow and indeed needs room for roots to thrive. Maybe this can be a project for kids to do and share with friends or their teachers!
Simone Henry says
Hello! Could you suggest an alternative to using a drill/power tool? Many thanks!
Amanda Formaro says
I would say use a wooden or metal skewer :)
Sky says
Can you tell me what diameter magnet you were using? Thank you :)
Amanda Formaro says
Yes, they are 1/4-inch (6mm) :)
Jessica says
I was wondering if you used anything to seal in the soil in case the magnet gets knocked off the fridge?
Amanda Formaro says
We did not. After making this craft we’ve decided that it’s best to use fake plants as the soil area just isn’t big enough to allow the succulent to grow.
Feana says
Nice and easy craft idea and a good way to make the fridge look beautiful. Do you suggest any succulent plant in particular? How to take care of the plant ?
Amanda Formaro says
Hi Feana! Actually while the live plants lasted for several weeks, it is a small area and doesn’t leave room for growth. So I recommend using faux succulents for this project instead!