This post is sponsored by Babbleboxx on behalf of JoAnn, all opinions here are my own.
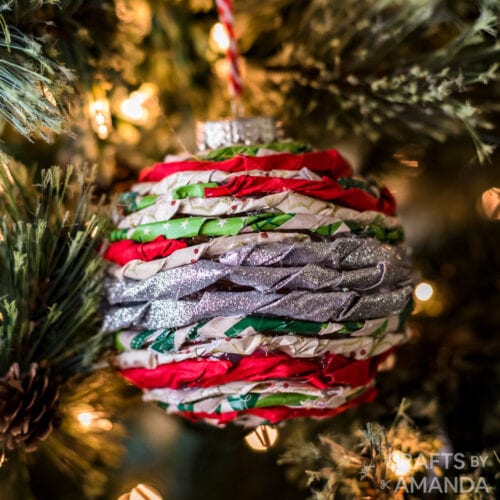
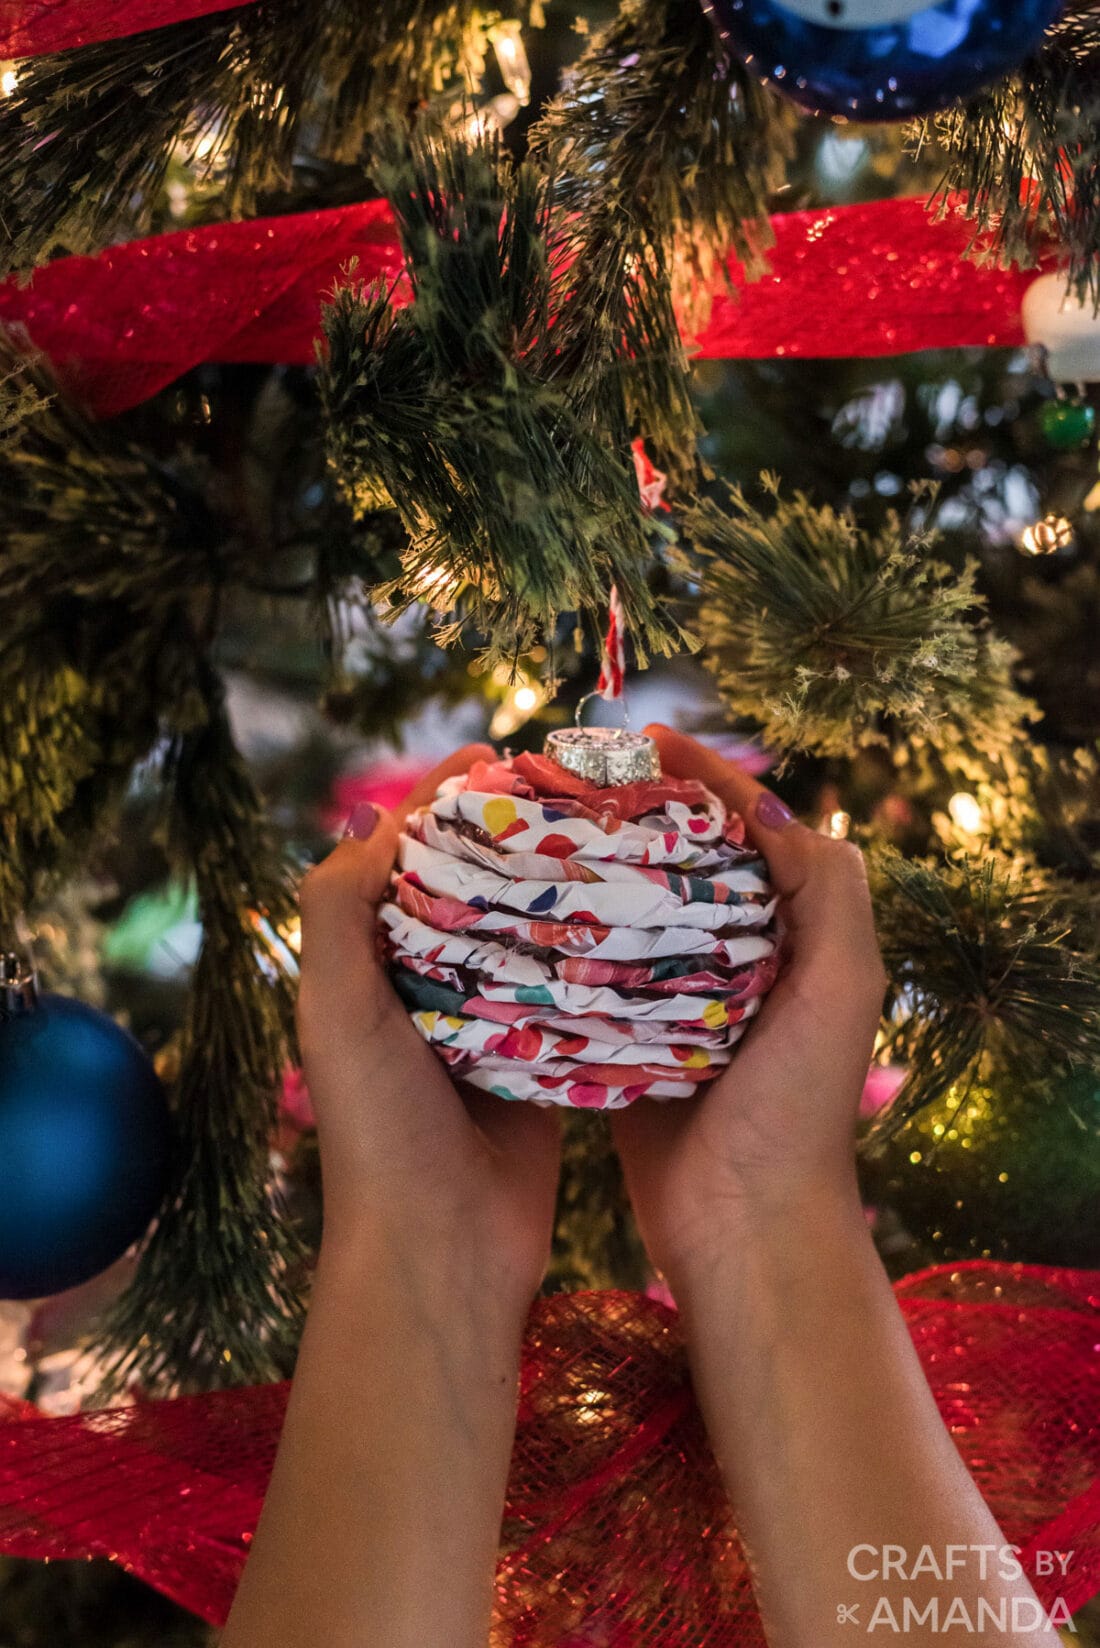
Looking for a unique and fun ornament to make this year? These twisted paper ornaments are nothing short of that and require just a handful of supplies!
Why we love this project
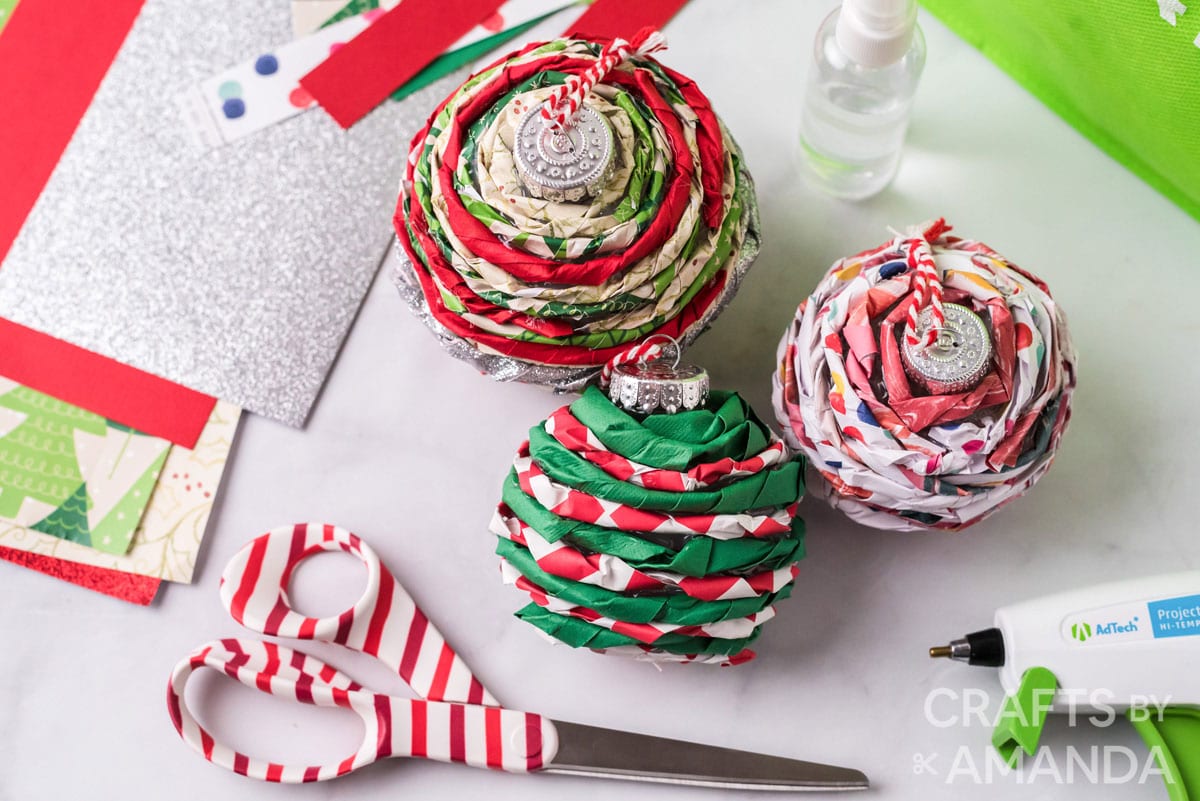
We love this project because it’s so versatile. Pick card stock to match your interior or your holiday color scheme. Gold and white, red and green, stripes and polka dots, or mix and match different prints for a fun design!
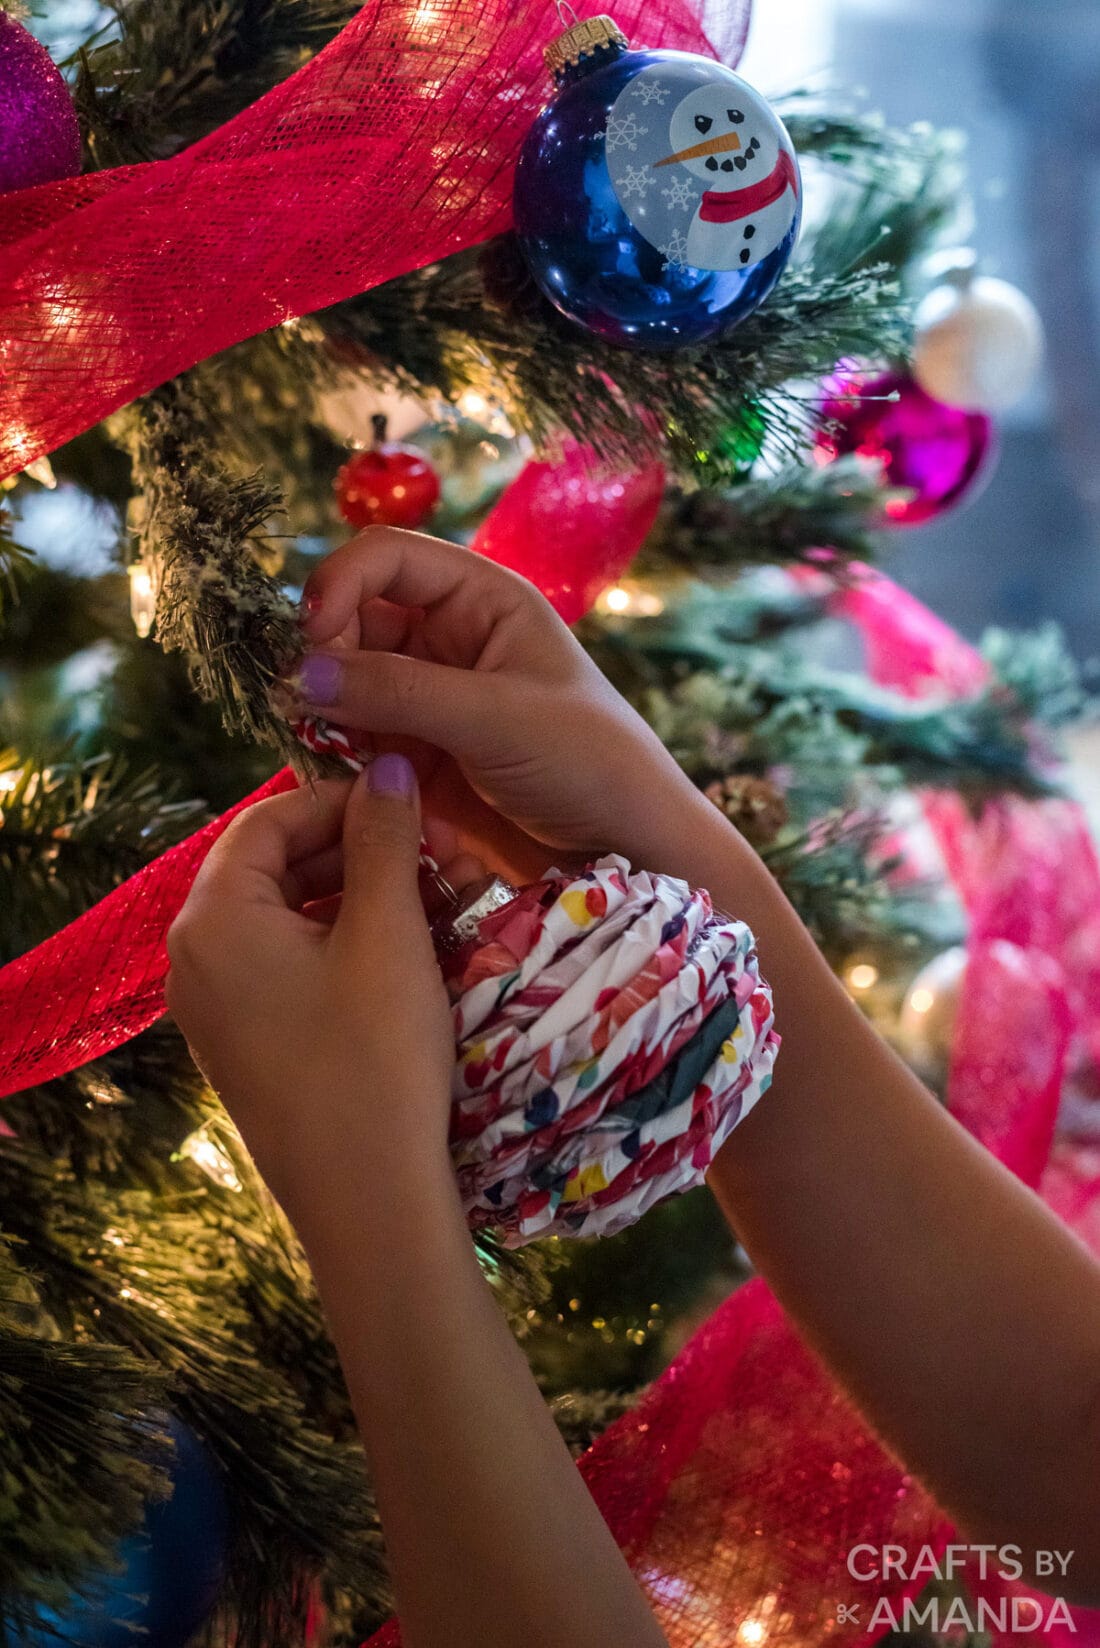
The whole family will love making their own creative paper ornament. While the kids usually come home with homemade ornaments from school to hang on the tree and keep as mementos, this year may be a bit different. With schools all over using virtual learning, or simply your kids are growing up and no longer bring home sweet keepsakes, you can take this opportunity as quality time at home with those you love most.
Helpful Project Information:
- Age Level: 12 and up
- Mess Factor: Low
- Level of Difficulty: Medium
- Time to Complete: Less than an hour
- Cost Estimate: Less than $5.00
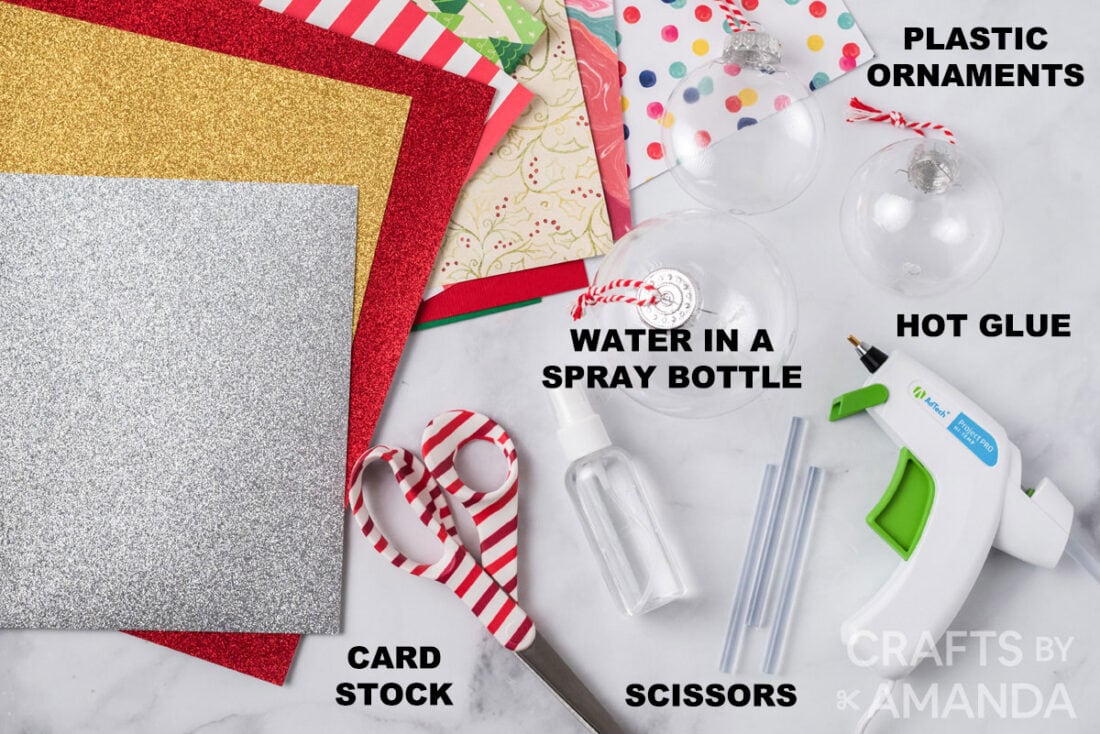
Craft supplies you will need
You can get all the supplies for this fun twisted paper ornament at JoAnns!
How to a Make a Twisted Paper Ornament
These step by step photos and instructions are here to help you visualize how to make this project. Please scroll down to simply print out the instructions!
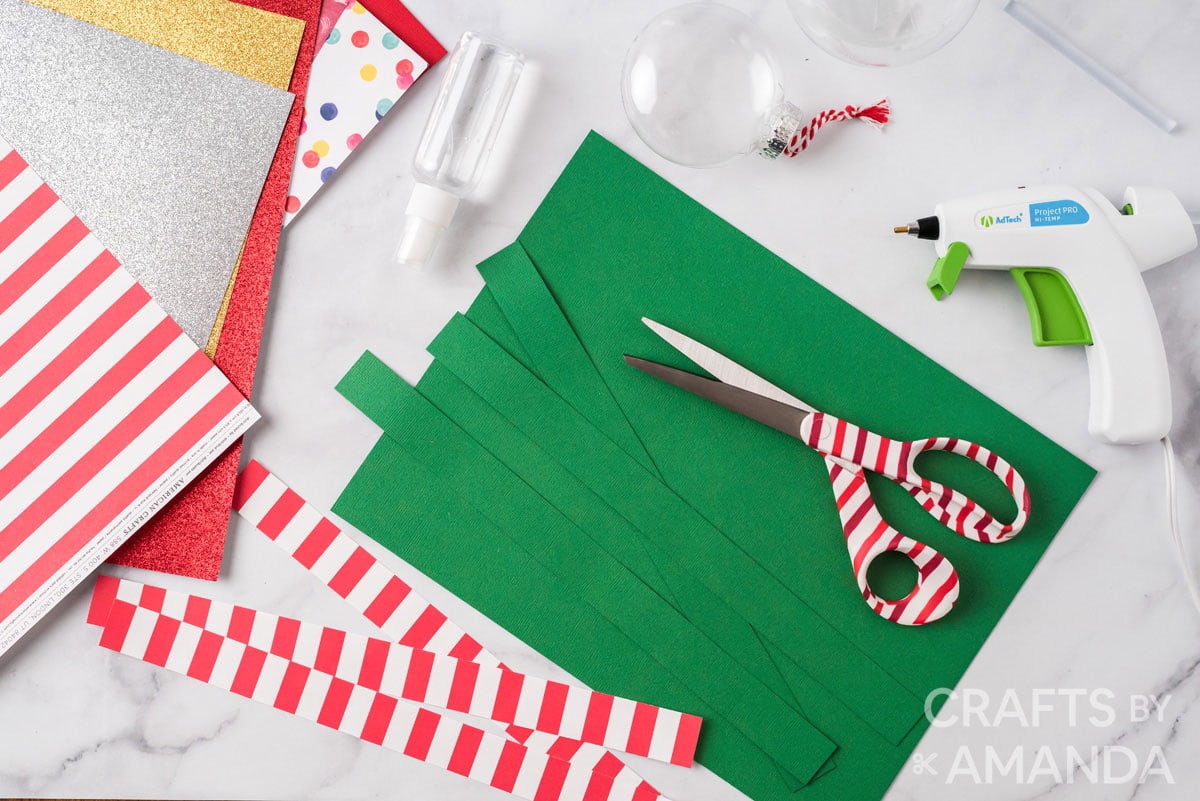
- Cut your paper/card stock into 1″ strips.

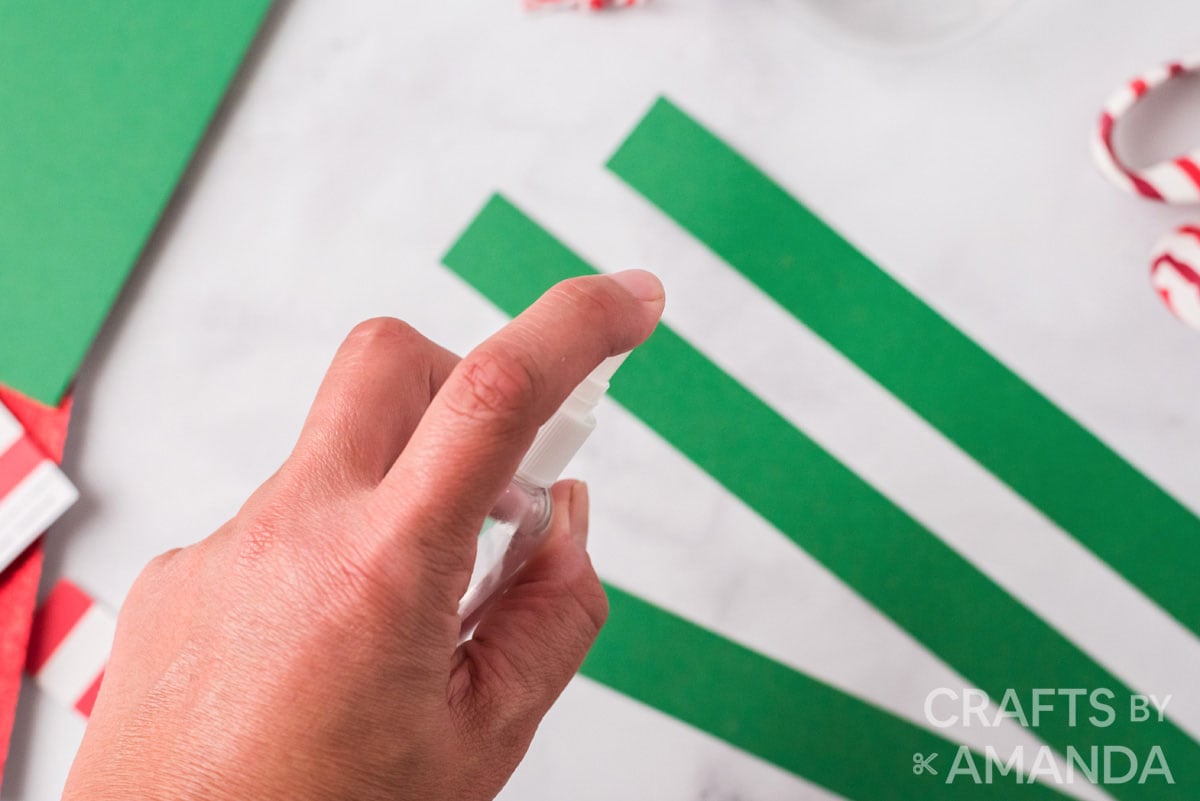
- Using your spray bottle, slightly dampen your strips of paper, one at a time.
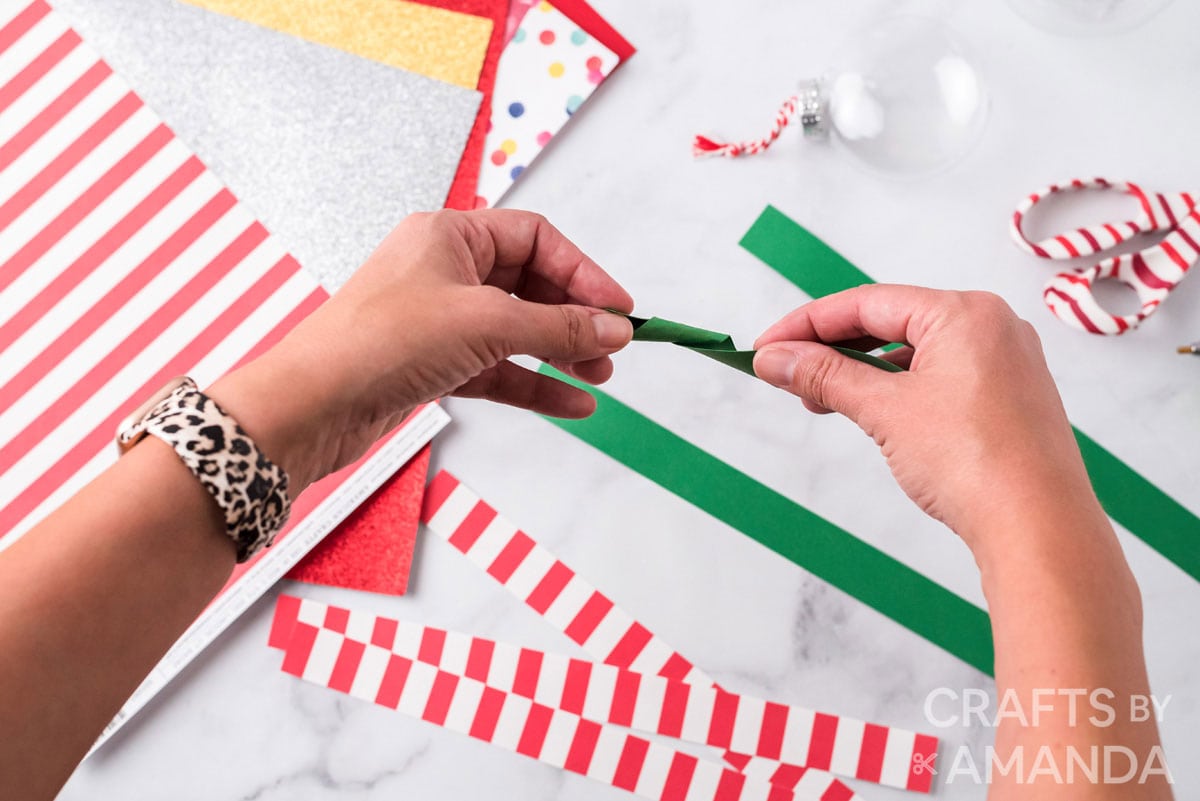
- While the paper is soft and slightly damp, begin to fold and twist each strip. (Be careful not to twist too tight, you don’t want to rip or tear the strips.)
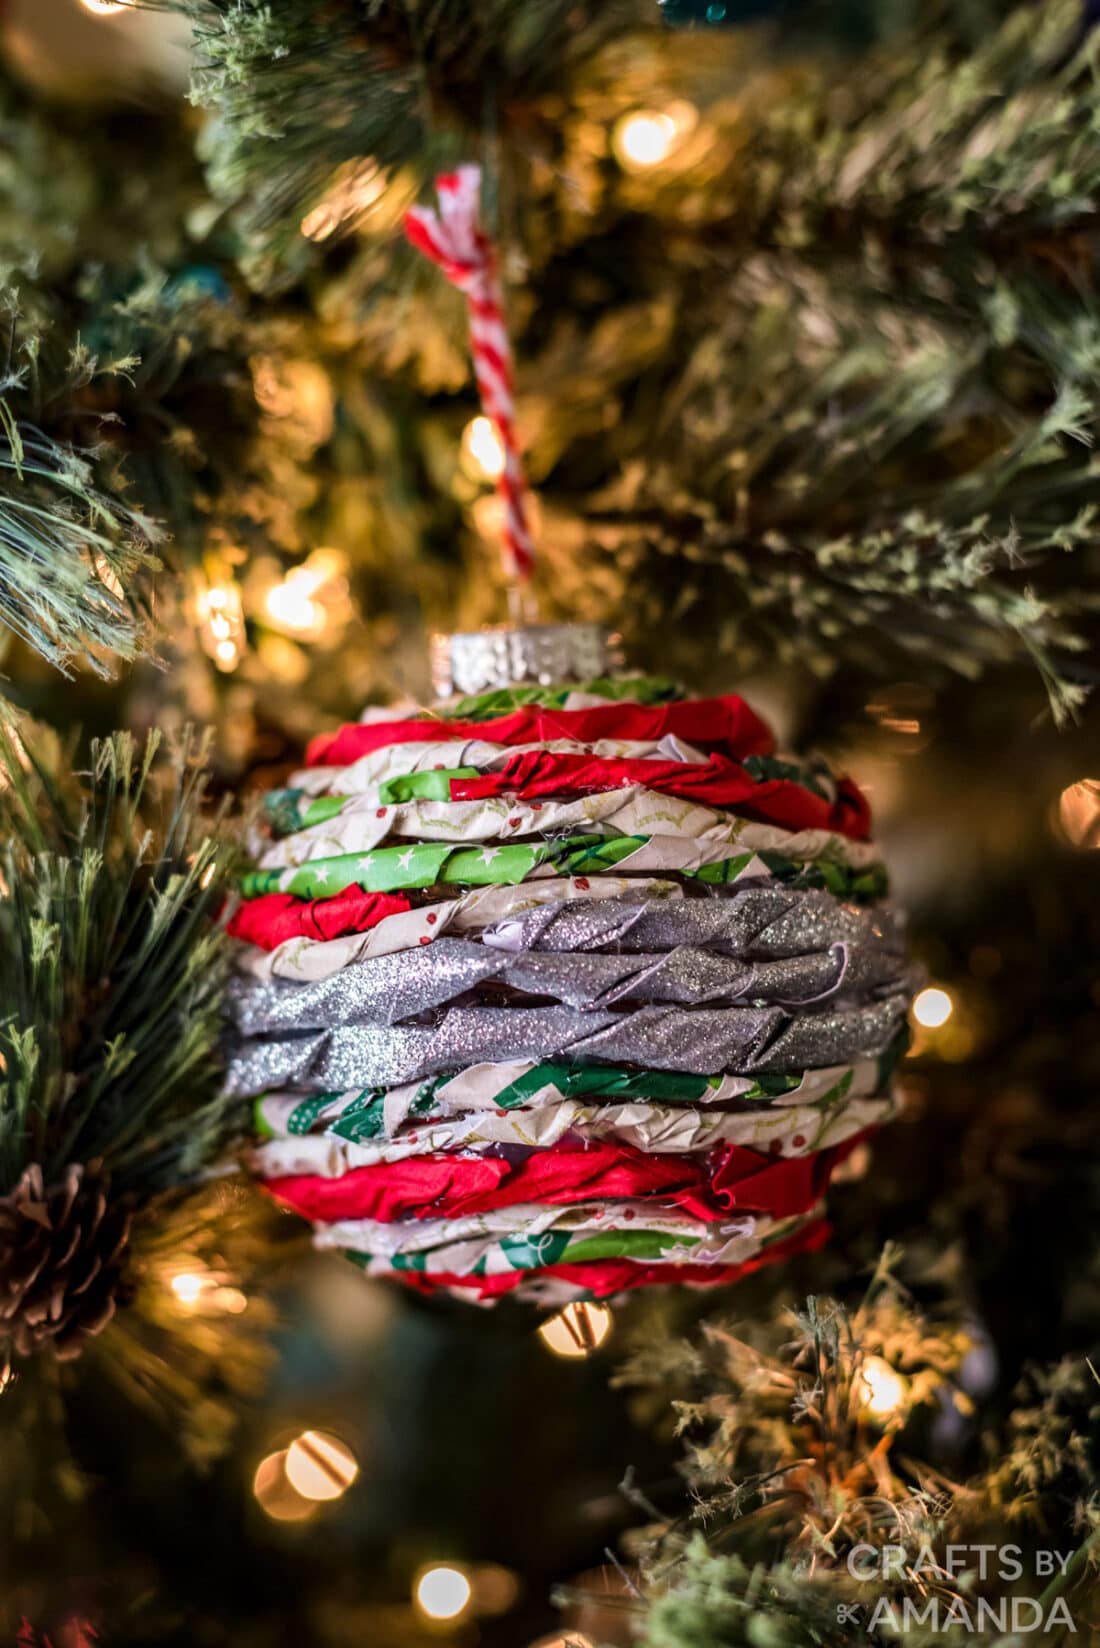
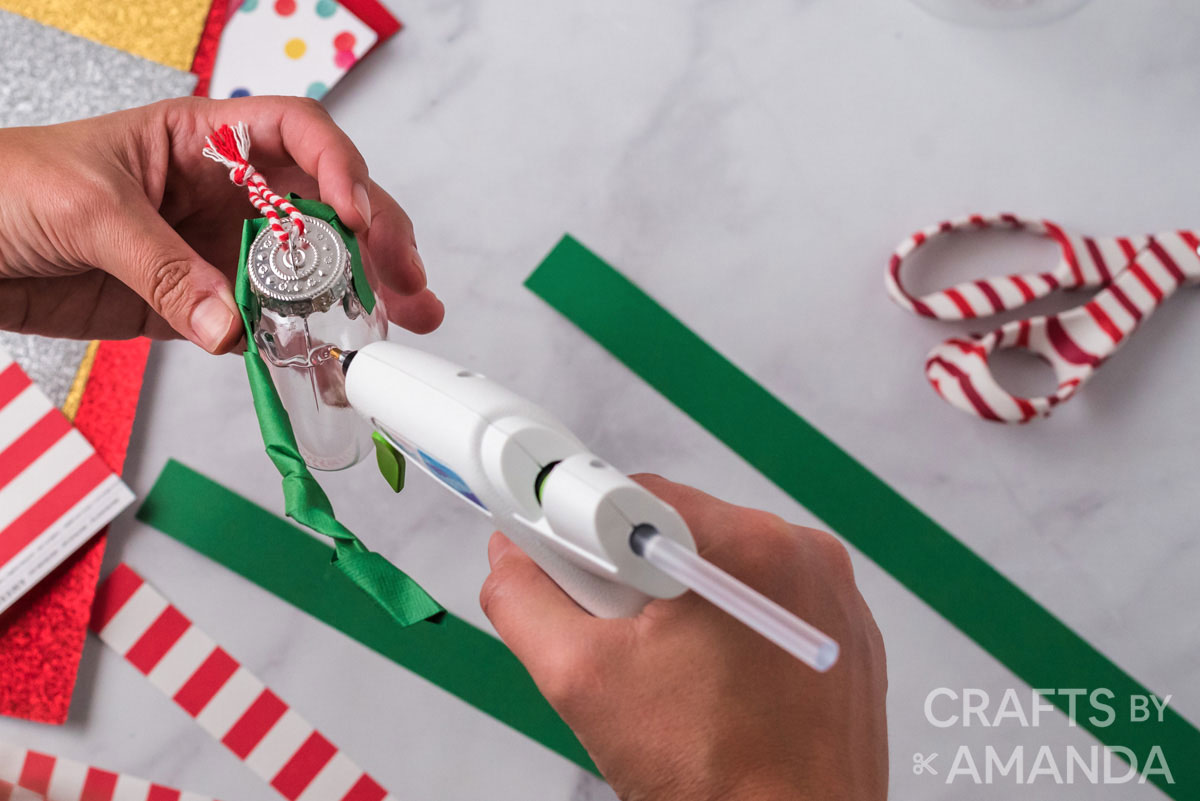
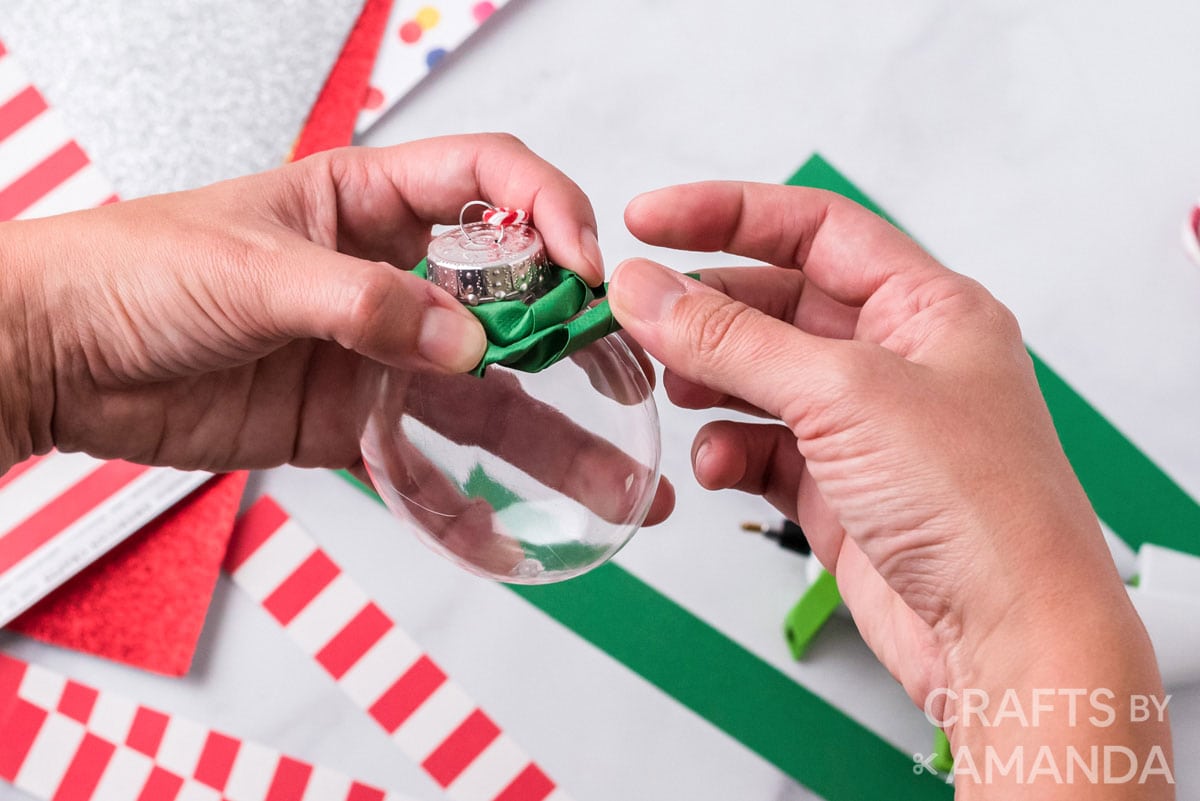
- Once your strips are twisted, begin by hot-gluing a twist to the top of the ornament. Work your way around gluing the twists on the ornament as tight as you can. You want to keep them close and tight, so you don’t see the ornament between.
- Mix and match colors and patterns to create your own unique design.
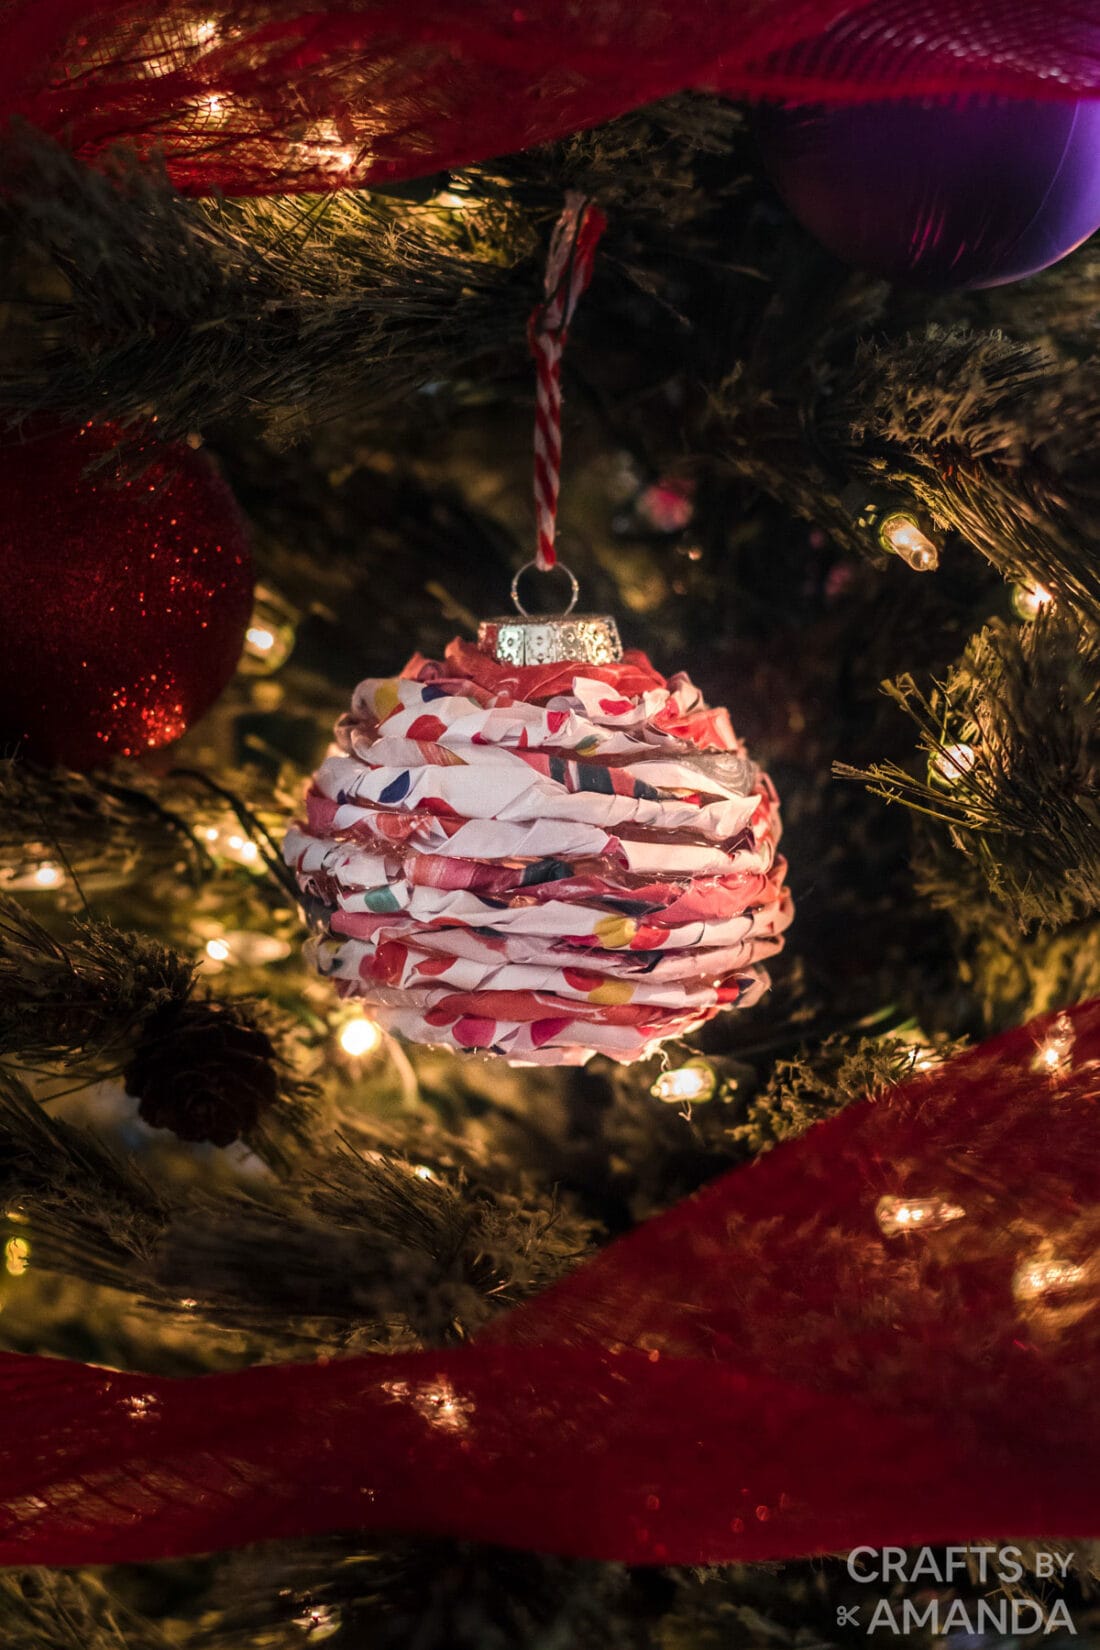
- Once the ornament has been covered, add some ribbon or string to hang (if your ornaments don’t already have them).
Expert Crafting Tips
- Play around with different weights and thickness of paper and card stock. Some will be easier to twist and work with than others. If you would like kids to participate, this selection is a must so they do not become impatient.
Just because this year may look different in terms of large holiday gatherings, there’s no reason to skip all the joys that come along with the holidays. Creating lasting memories is special, and making these ornaments together is something my family and I can remember for time to come as we place them on the tree each year.
More DIY Ornaments
- Scrabble Tile Ornaments
- Pom Pom Ornaments
- Paper Plate Melted Crayon Ornaments
- Decoupage Wood Slice Ornaments
I love to create and share my projects with you! I know it’s hard to remember to come back and search, so I’ve made it easy for you with my weekly newsletter! You can subscribe for free and I’ll send you fun crafts and delicious recipes every week right to your email.

Twisted Paper Ornaments
Supplies
- Assorted cardstock
- Assorted plastic ornaments
Craft tools
- Hot glue gun/glue gun sticks
- Spray bottle with water
Instructions
- Cut your paper/cardstock into 1″ strips.
- Using your spray bottle, slightly dampen your strips of paper, one at a time.
- While the paper is soft and slightly damp, begin to fold and twist each strip. (Be careful not to twist too tight, you don’t want to rip or tear the strips.)
- Once your strips are twisted, begin by hot gluing a twist to the top of the ornament. Work your way around gluing the twists on the ornament as tight as you can. You want to keep them close and tight, so you don’t see the ornament between.
- Mix and match colors and patterns to create your own unique design.
- Once the ornament has been covered, add some ribbon or string to hang.
Expert Tips & FAQs
- Swirling Twirling Ladybugs - July 21, 2026
- Drip Tie Dye Backpack - July 17, 2026
- Mini Coastal Clay Houses - July 14, 2026


Tracey Ziegenhorn says
Hi there,
Have you ever tried this with wrapping paper?
Thanks in advance,
TZ
Amanda Formaro says
We have not
Yvonne says
Laurie,
I love this, supper cute.