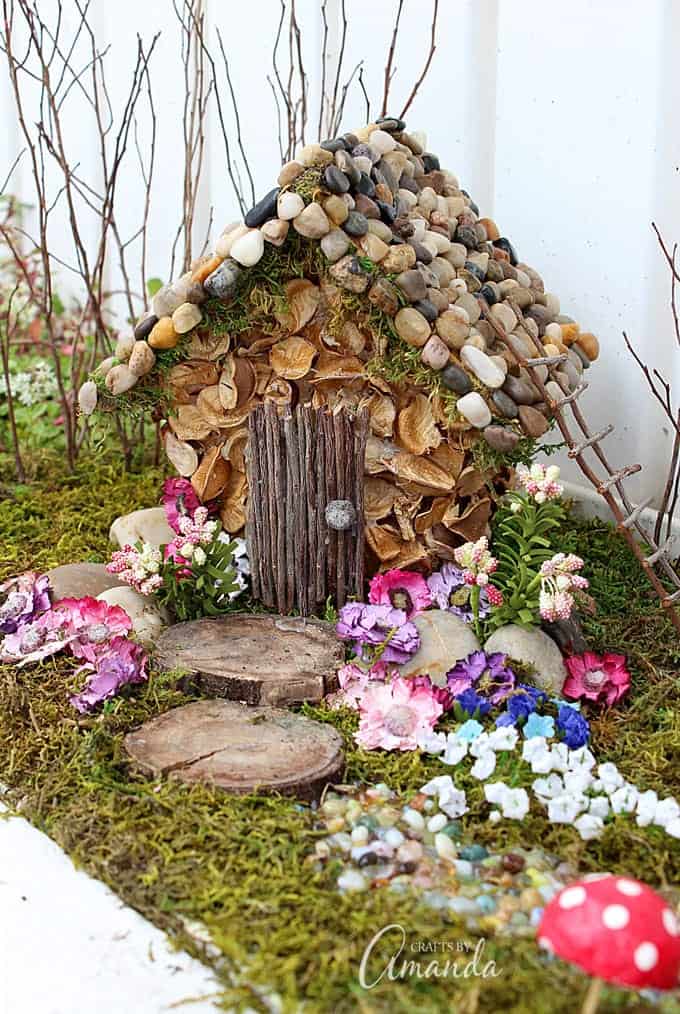
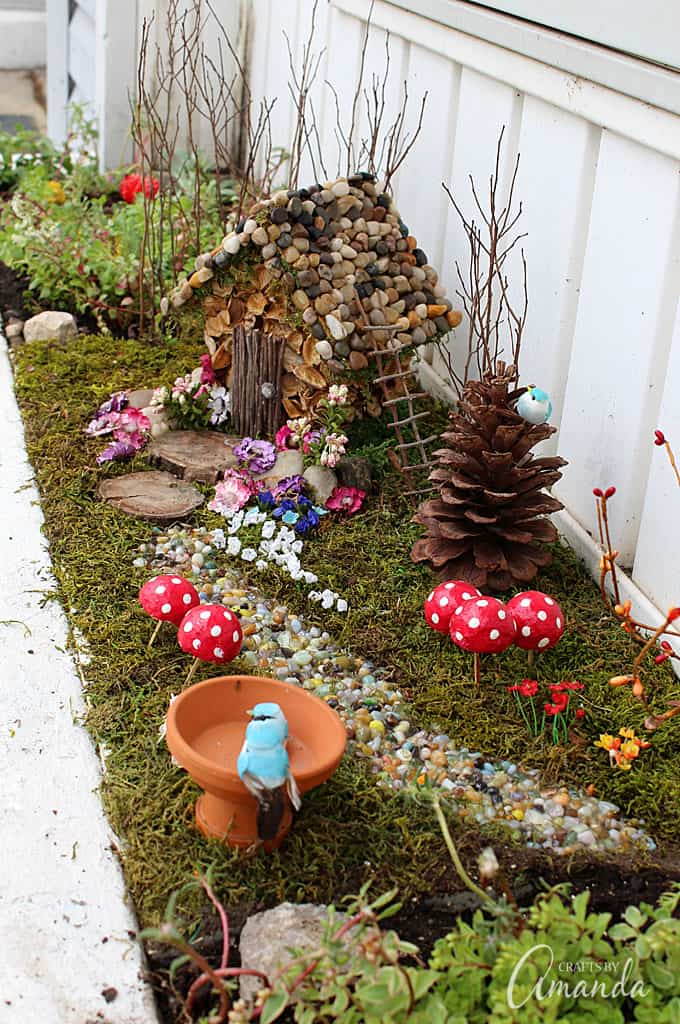
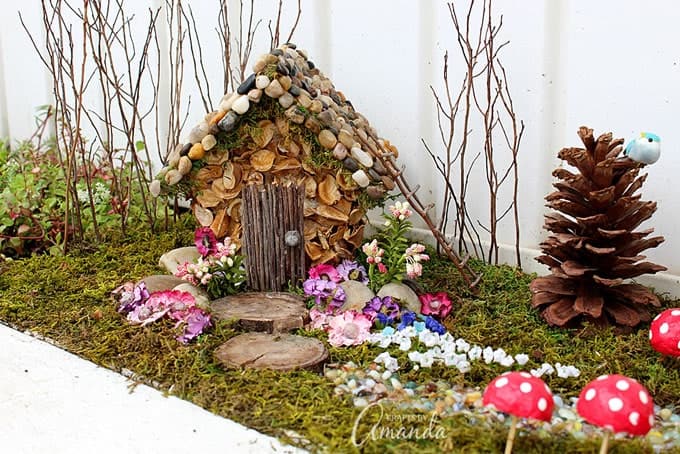
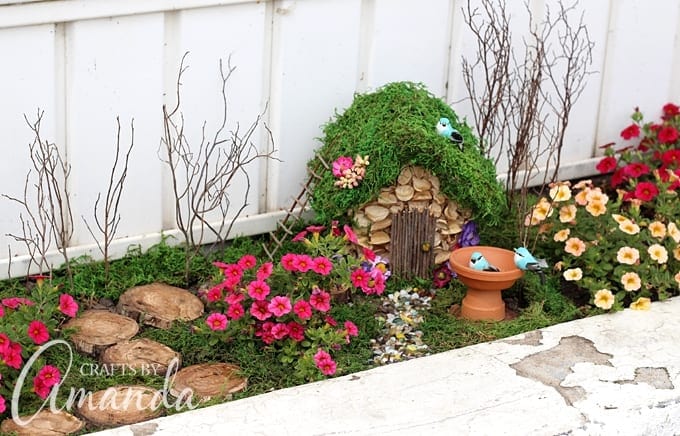
I’ve been operating out of my studio for over a year now. I moved in here April of 2015 and during that summer I built this fairy garden. The fairy house you see here is the same exact fairy house from last year, but the moss, which was beautiful and green at the start, faded terribly in the sun. Then before Halloween, my daughter and I made this pumpkin fairy house and we ran out of moss. So we actually used the faded moss from the fairy house roof to fill in some gaps. That meant that when this summer rolled around, I had to do something to replace the roof of my fairy house so I could put it back outside.
There are affiliate links in this post. That means if you buy something from that link, I will earn a small commission, but it won’t cost you anything additional.
Fairy House Year #2
I used small stones I bought from Michaels and Liquid Fusion glue to attach them to the roof. It’s not a fast-dry glue, so I had to do one side at a time, allowing it to dry for several hours in between.
If you’ve read my post from last year about this fairy garden, you know that the planter box where I place my fairy garden is a dead zone. There’s an awning above it, so even if it rains it remains dry unless I manually water it. Last year my flowers on that side died, so this year I chose a variety of succulents instead.
The photos in this post are from the day I planted everything, so I’ll edit this post in a month or so after they’ve filled out to let you know how they are holding up!
This year I actually used the base from the pumpkin fairy house to set the scene. Some succulents and a few rocks later (not to mention the Purslane that grows wild in these planters) and Fairy Garden Year #2 is born!
Links to projects you may find helpful:
To learn how I made my first fairy garden click here.
To learn how I made the base click here (moss, birds, pathway, etc).
You can make these adorable fairy house night lights out of plastic bottles.
Want even more free craft ideas? Be sure to subscribe to my newsletter for FREE and craft ideas sent to your inbox every week.
- Deco Mesh Poinsettia Flower - November 22, 2024
- Winter Luminaries: Snowy Pinecone Candle Jars - November 19, 2024
- Pinecone Owls - November 12, 2024




Sheila the Mamma Kangaroo says
I built my first fairy garden this summer in Reno, Nevada. The entire neighborhood got involved. And by that, I mean, all the men/fathers/brothers weren’t shy about pointing out better ways to do things. It got so bad (but so good with all the feedback) that I actually re-built it 3 times before I was finished. Some national guardsmen put up photos of it in the war room on base, and drew counter-attacks by a village of gnomes (ugh, gnomes!). To which I fortified my garden with a dragon’s lair complete with a dragon that matched a coleus growing nearby. All the kids that played in my garden all summer wanted to keep the dragon, but I couldn’t let them have it. Nobody stole anything, although I had around $300 bucks worth of accessories just sitting there. The trade off for all the help from the menfolk was: 2018 will be a miniature 9-hole golf course in the same spot, while my fairy garden waits for 2019 to re-emerge. Until then, I will dream of new roads and walkways that I’m planning already.
Amanda Formaro says
Wow, Sheila, that sounds so awesome! Post a picture if you have one, I’d love to see it! :)
Dr. Sadaf says
That’s was really awesome. I appreciate your talent.
Valerie Brown says
I love your update on the fairy house & it was good to see you again today in Richter’s.
Amanda Formaro says
it was good to see you too Valerie!
Abigail Cain says
These are so gorgeous! Looks like it took you a lot of time, such amazing detail. :-)
Amanda Formaro says
Thanks Abigail! A labor of love for sure :)
Brenda O. says
Absolutely charming! Mahalo for sharing tips and techniques for a fairy house builder wannabe.