I am very excited to finally be able to give you a tour of my studio! It’s been six months in the making, but I’m finally done with all the projects I wanted to make in order to decorate this space. You’ve seen bits and pieces of it from other posts, but now I’m going to give you the full tour!
Amanda’s Creative Studio Tour
Back in early March I announced here that after 18 years of working from home I was renting a space and planned to “go” to work each day. I can’t begin to tell you how excited I was by the prospect! I had hoped that it would make me more productive and I couldn’t have been more on the money. This is the best thing I’ve done for my business in years.
So are you ready for the grand tour?? Before we go I am required to tell you that there are affiliate links in this post. That means if you click through and happen to buy something, I’ll likely earn a small commission.
(Make sure you check out the quick video tour too, it’s down toward the end of the post! There’s also an amazing interview video from Prime Publishing. They came and visited me and did an incredible job putting everything together!)
Outside Street View
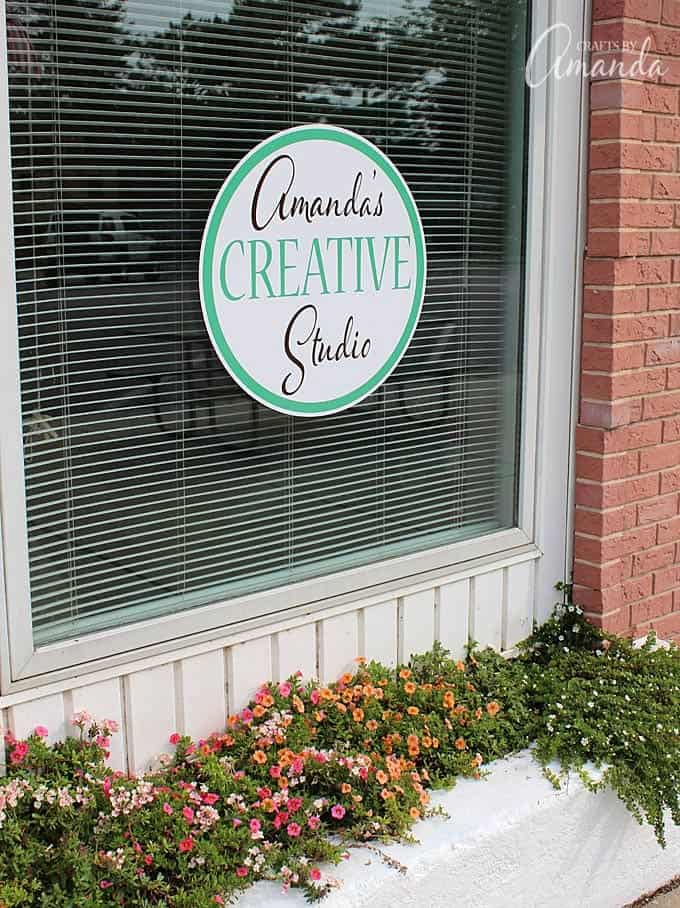
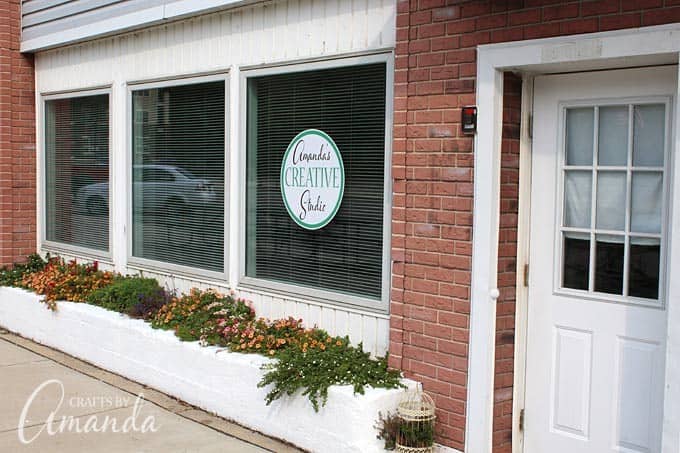
This is the outside of the studio, right on Main Street in Twin Lakes, Wisconsin. After being here for 6 months, about once a week I will get the occasional curious drop-in asking what I do here.
A quick thank you shout out to my neighbors, Vindictive Vinyl for making my sign!
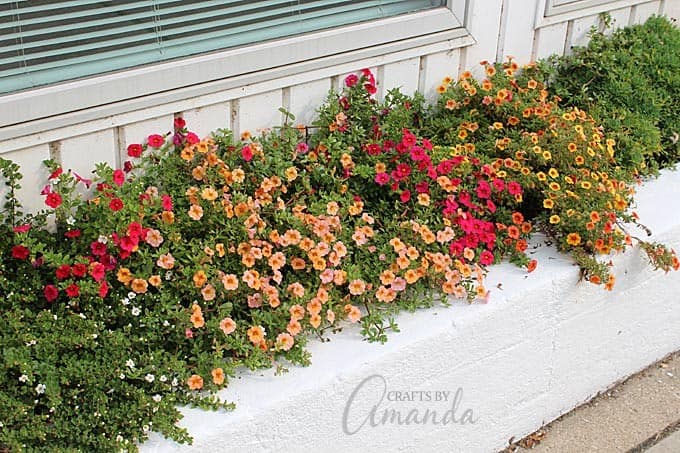
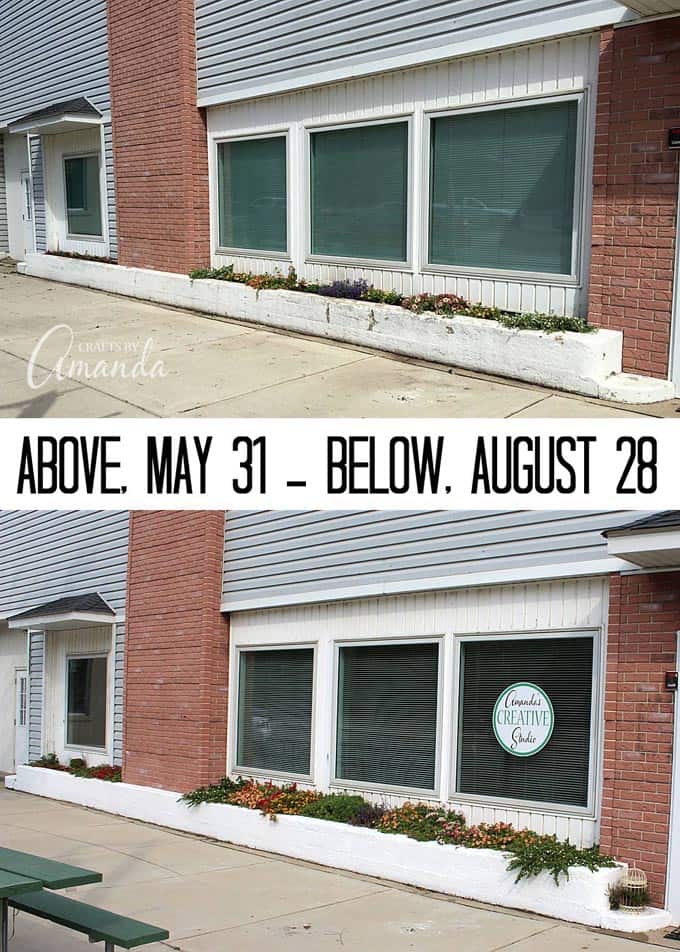
When I signed the lease the landlord told me it would be my responsibility to take care of the planters. Little did they know how much I love flowers! I’m proud to say that I’ve had people tell me it’s the prettiest it’s looked in years.
Just have a look at this before and after shot. The before shot shows when I first planted the flowers in May. I had the planters paintedwhich made them look 100% better, and throughout the summer the flowers really blossomed! The difference a few months makes is amazing.
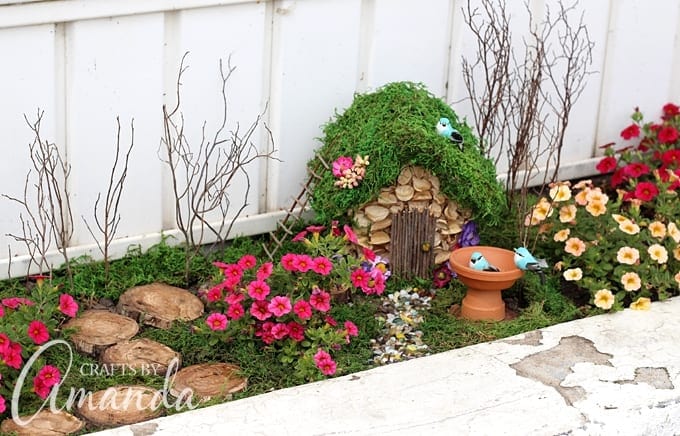
There are actually two flower planters. The shorter one doesn’t get much rain as there’s an awning that protects it. I had problems with dead areas, so instead I created a fairy garden there. The fairy house will need to come in for the winter, so I’m thinking about making a Halloween display using my Barbie Zombies!
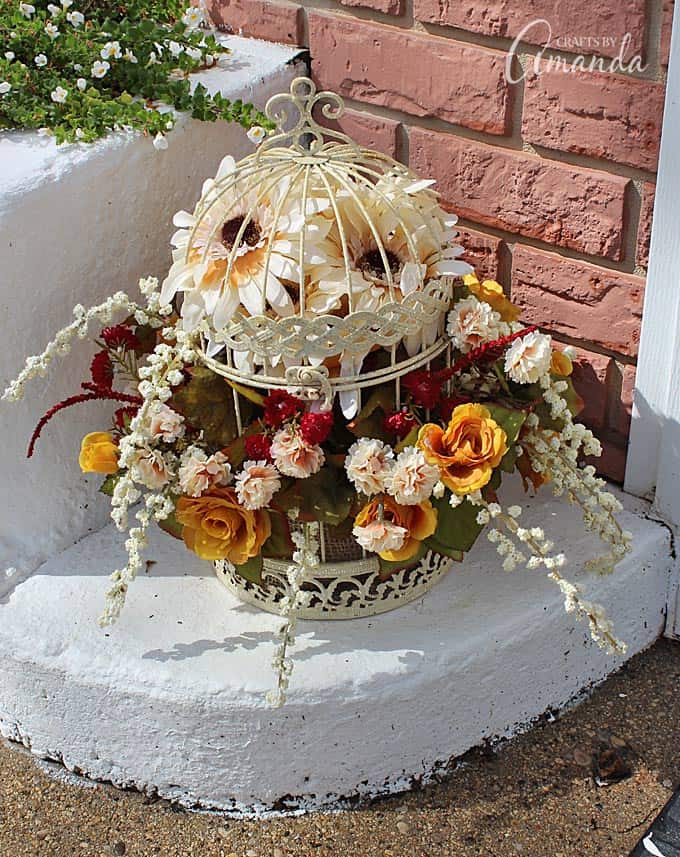
You might remember this post I did on my birdcage planter. While it was beautiful for a while, there was too much drainage and the poor thing was unable to retain any water. I’ll try again next spring by adding something more solid and substantial below the soil. For fall, I’ve gone ahead and filled it with silk flowers instead.
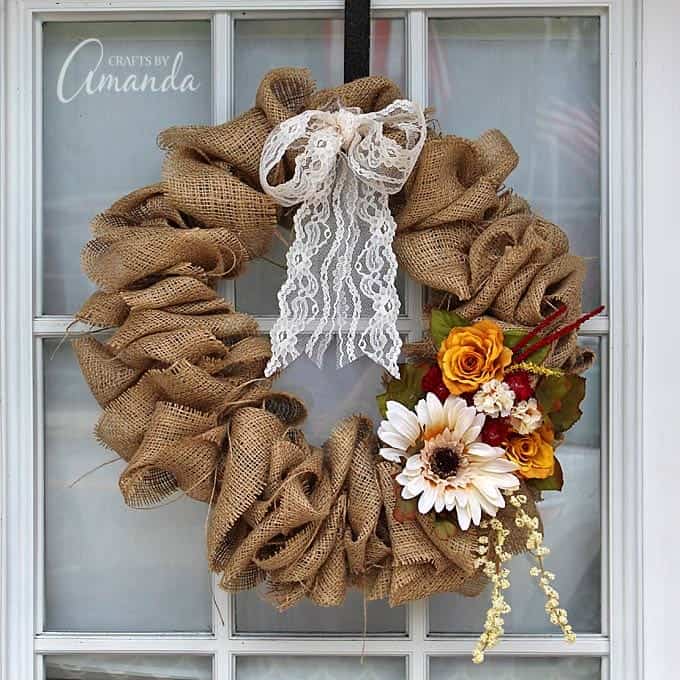
Hanging on the door is my burlap wreath made from a coat hanger. My plan is to switch out the wreath for each season.
Ready to go in? (remember to watch the video at the end for a visual walk through!)
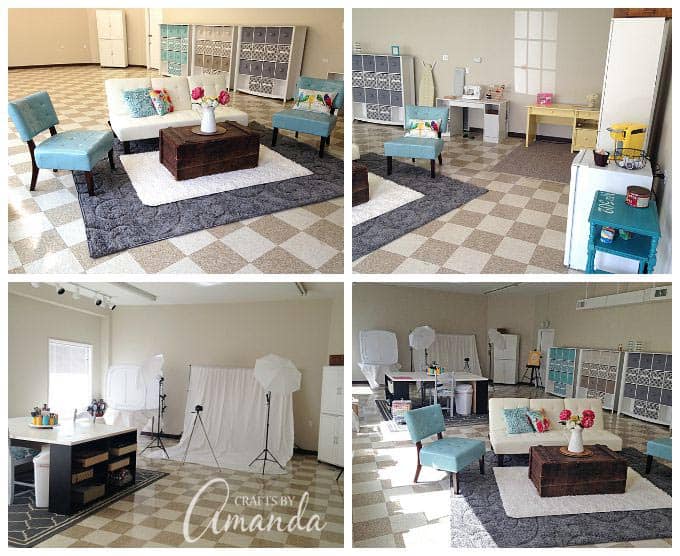
Before we dive in to the tour, this collage shows a few early stage photos. You can see the empty walls in the background. It was so fun putting everything together!
Coming Inside the Studio
One of my biggest concerns was that the door was also a window. While the four windows in the studio had mini blinds, the door had nothing. That meant people could look right in. Since my computer would be within plain sight and could be seen right through the door’s window, I made a no-sew roman shade for privacy.
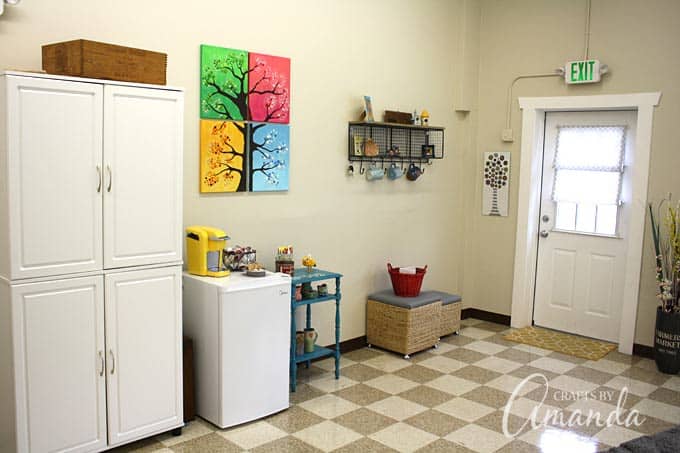
Hanging on the left of the door is my Denim Circle Tree. Below that and to the left you’ll see a couple of ottomans. These basket ottomans are perfect for extra storage and make great additional seating if needed!
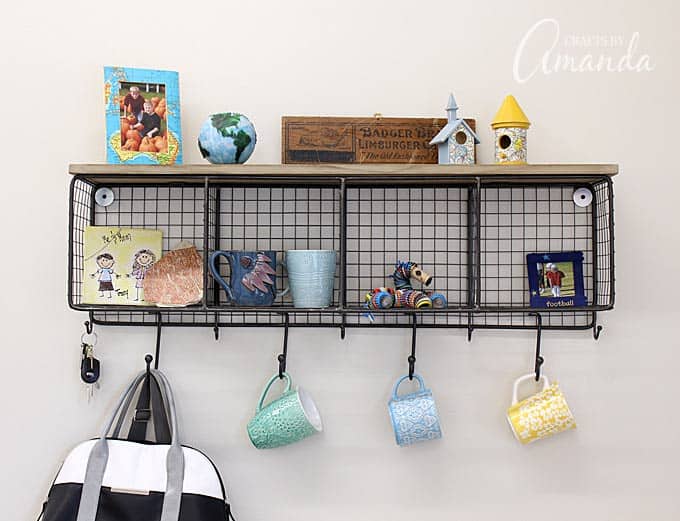
On the wall above the ottomans is this rustic coat hook shelf that I absolutely love! I have a couple of projects perched there, like these road map birdhouses, the bottle cap horse that’s from my book, Button Mania: Buttons, Bottlecaps, and Beyond! and the map frame from one of my other books, Paper Fun Mania. I love that the shelf also has coat hooks, especially for those nasty Wisconsin winters. I also hang my keys and the beginnings of my coffee cup collection here.
Nourishment Station
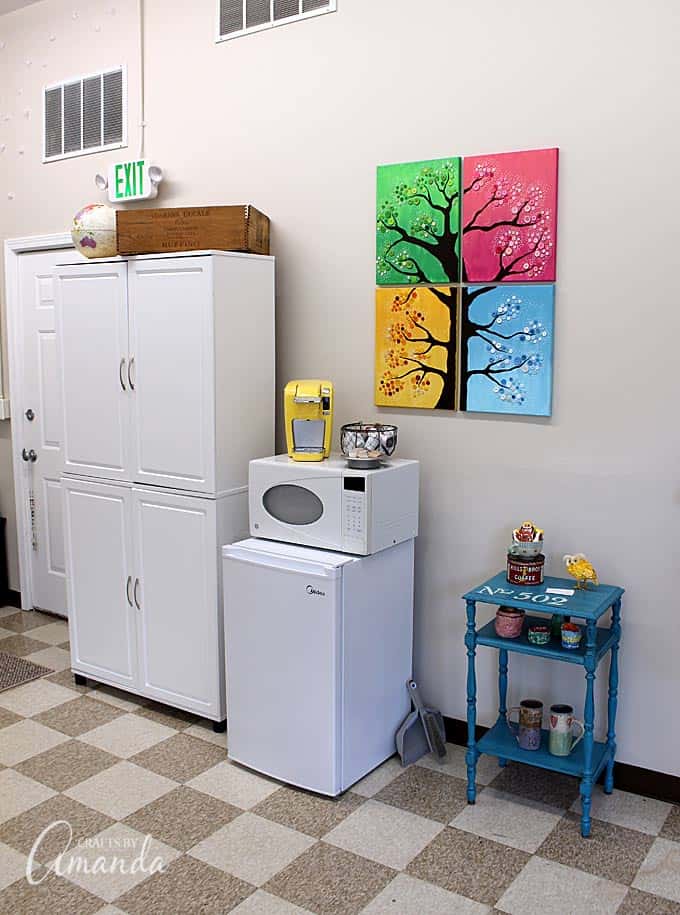
As you come in you’ll see my stenciled blue table as well as my 4 Seasons Button Tree.
I bought a mini refrigerator and brought a microwave from home. A good excuse to buy a new one for home! I also set up a little coffee station on top of that for whenever I have visitors. This little yellow mini Keurig is my favorite!
I have two of these storage cabinets as there’s absolutely no fixtures in this space. It was just one big open room. So the cabinets come in quite handy!
My Lovely Yellow Desk
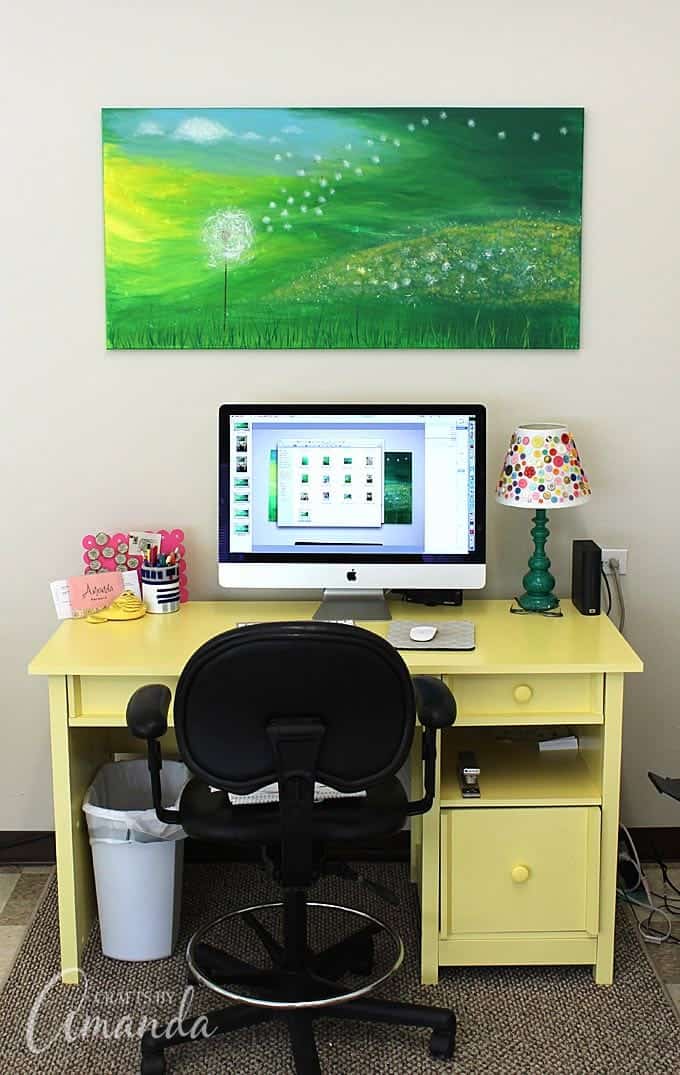
One of the first things that I picked out for this space was this wonderful yellow desk. It was easy to put together and I just love the color! On the desk you’ll see my button lamp (from my book Button Mania) and the Jabba the Hutt I made from salt dough for my Star Wars Mania book. I also use my R2-D2 pencil can on a daily basis! The pink object you see on the left is a magnetic board and on that are all of my dictionary magnets with crafty words.
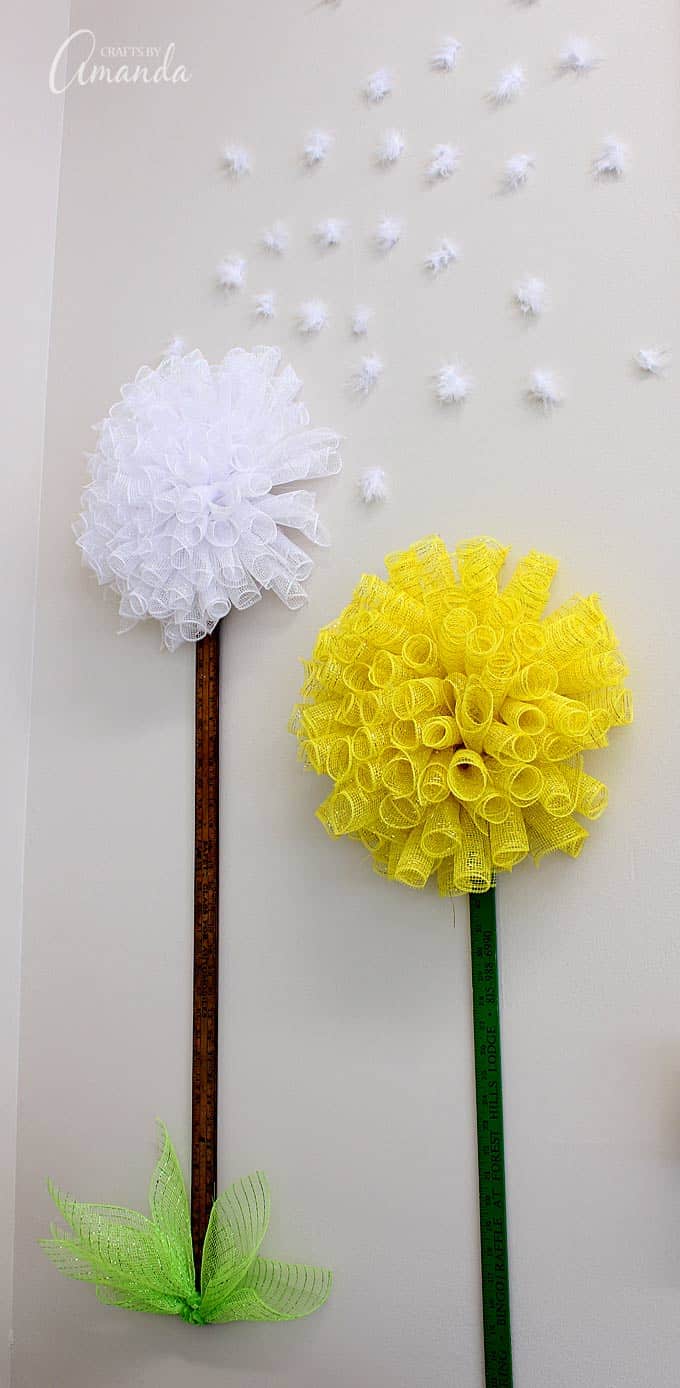
Above the desk is my dandelion painting, one of my favorite pieces in the studio. To go with the painting, I made these deco mesh dandelions, complete with fly-away seed heads made from a feather boa.
The Sewing Station
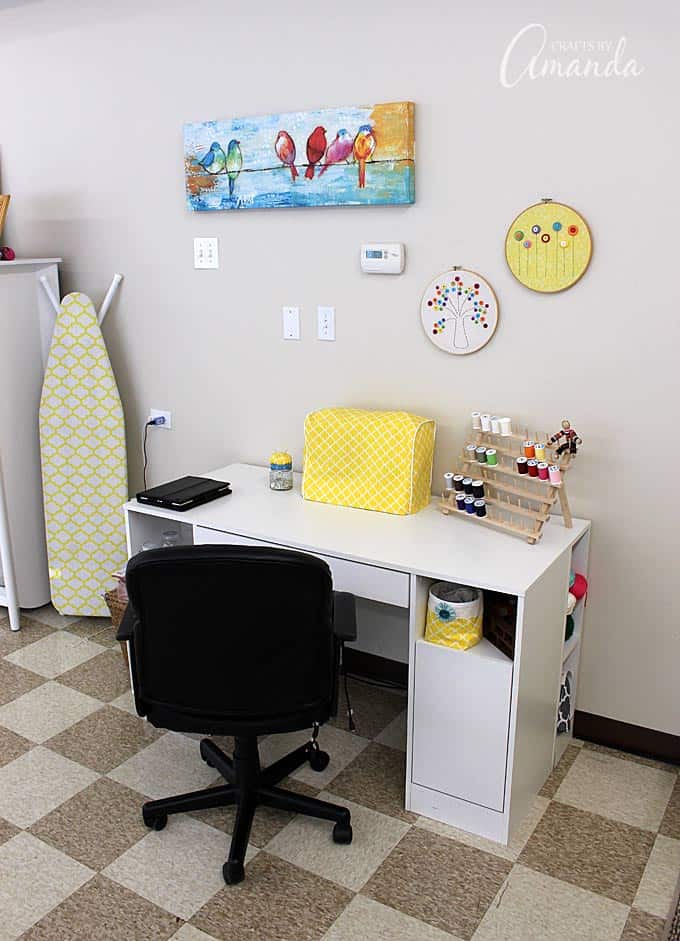
I’ll admit, I don’t sew much. I can sew straight lines and could probably fake my way through a pattern even. But I’m not an accomplished seamstress by any means. One of the reasons I never sewed at home was because I didn’t really have a dedicated space for it. That’s where this craft table came in handy. I already have a large craft table for doing all my projects on, but this smaller version was perfect as a sewing desk!
I bought the thread rack at WalMart and it turned out to be a great perch for my little button man (from my book Button Mania).
And see that lovely yellow quatrefoil cover on my sewing machine? My friend and neighbor Debra made that for me. She has such a huge heart! On the wall you’ll find my embroidery hoop rainbow tree and the embroidery hoop button flowers, also from Button Mania.
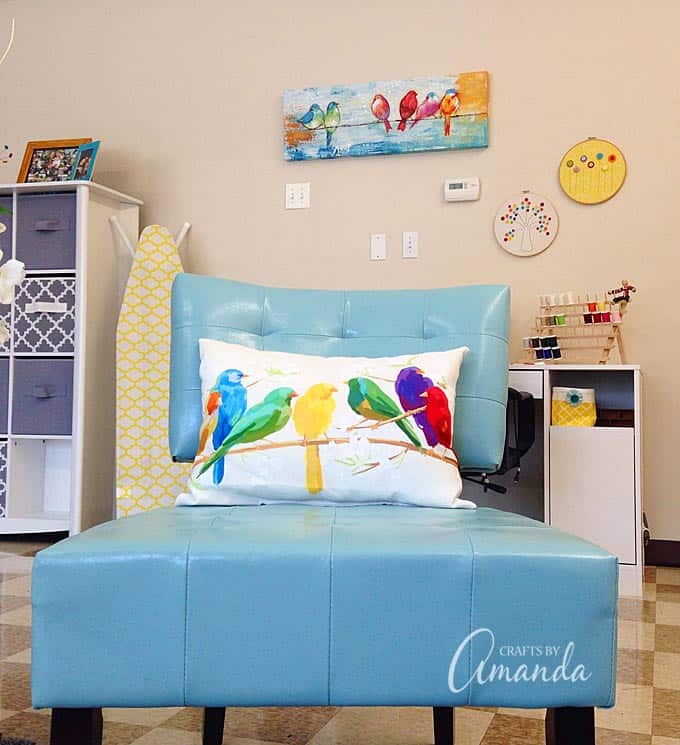
Also above the sewing desk is a beautiful painting of a group of birds. I didn’t actually paint this one, my daughter happened upon it while shopping one day. She thought it looked so much like my Manual Woodworkers & Weavers pillow that she bought it for me for my birthday. :)
The Reception Area
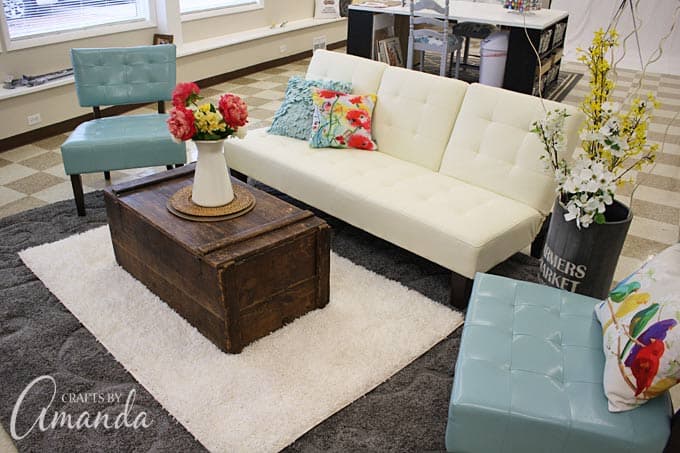
From the very beginning, and inspired by my friend Amy’s studio, I knew I wanted a sitting area. Whether it be for me to sit and relax or as a place to talk to clients.
I chose this white convertible sofa which is super comfortable. There’s always a moment of shock or surprise when people find out it’s really a futon! I also fell in love with these light blue vinyl slipper chairs. They are quite big and very comfortable.
When I first rented the place, I wasn’t really crazy about the checkerboard tile floor. In order to embrace it, and to make the reception area work, I needed an area rug under it all. I ended up layering two rugs, this 8×10 gray area rug and this 4×6 white shag area rug and just love how it pulled it all together.
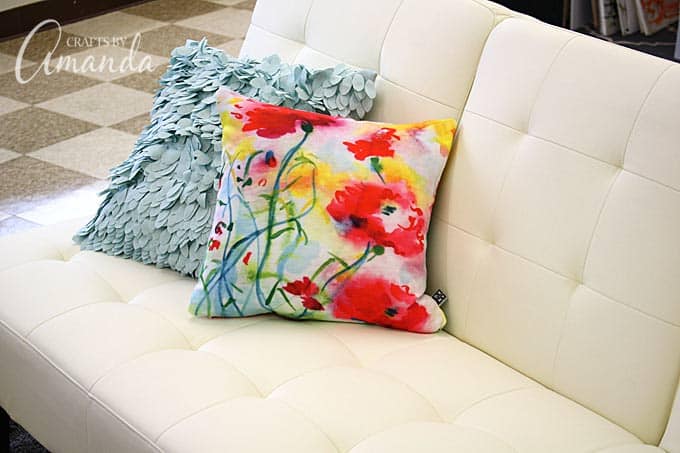
On the couch is this pretty Ruffle & Frill Polyester Throw Pillow as well as this “If Poppies Could Only Speak” Throw Pillow.
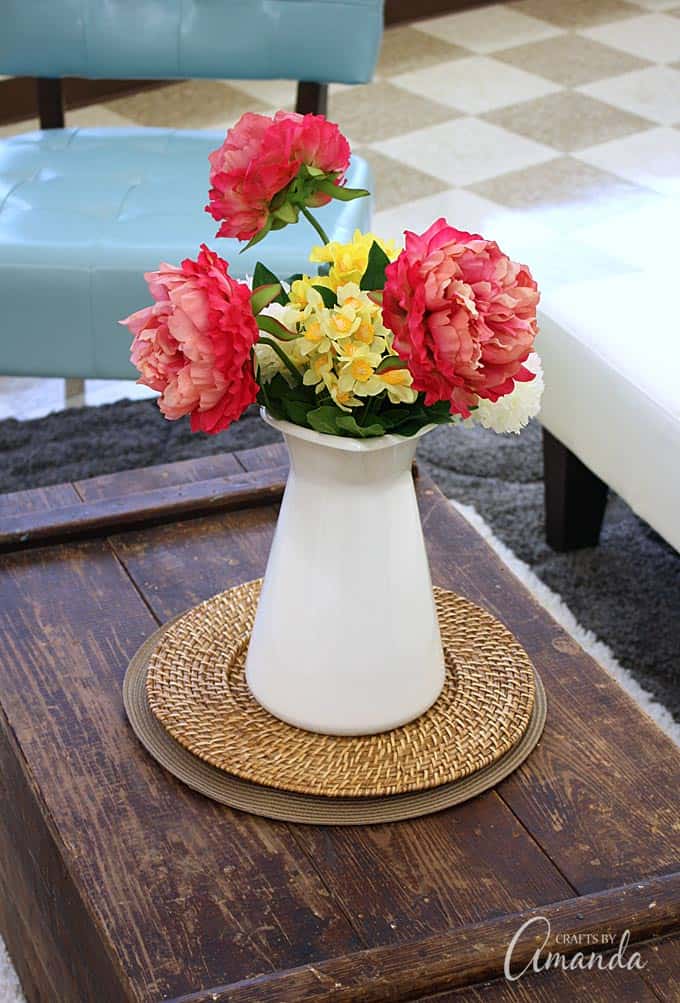
The trunk I found at a garage sale a couple of years ago and the white pitcher vase is from IKEA, filled with silk blooms I bought at WalMart.
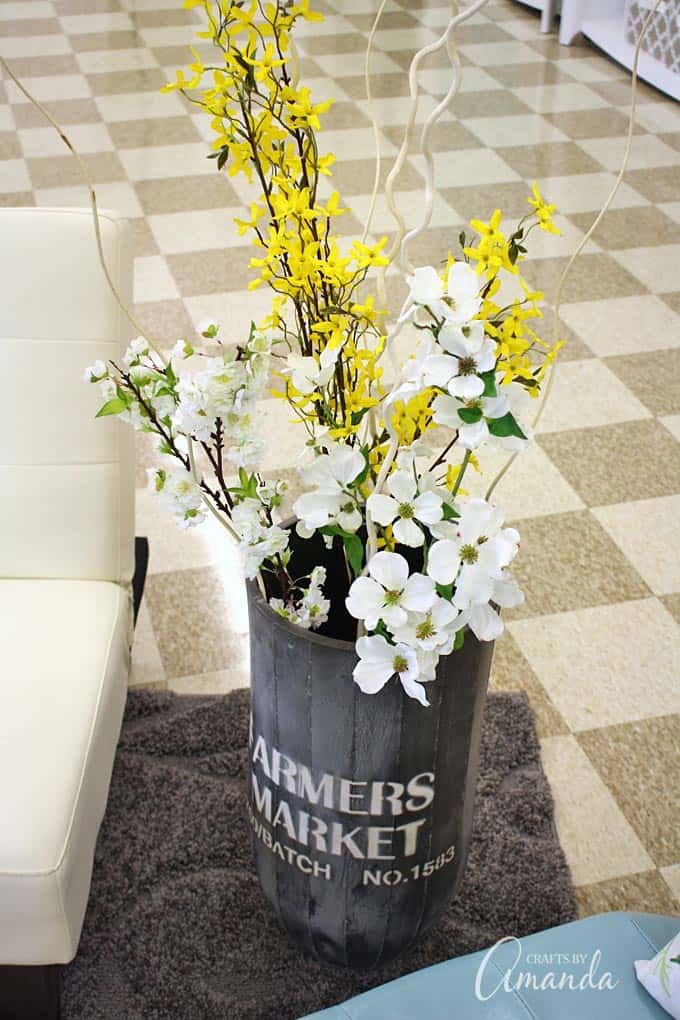
I also found these awesome farmer’s market floor vases and filled them with silk stems. I have one by the door as well.
Storage That Hides Everything
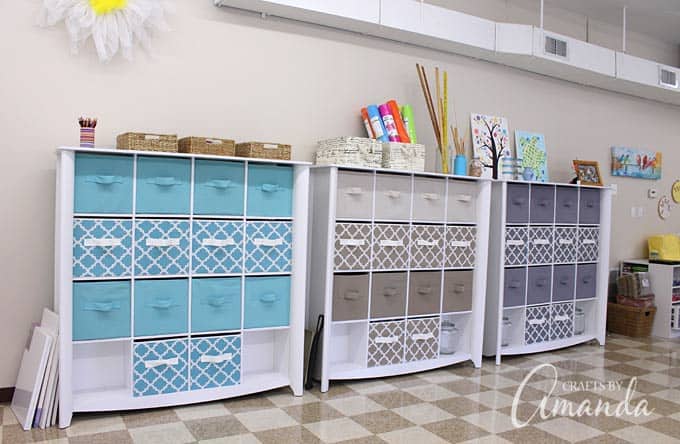
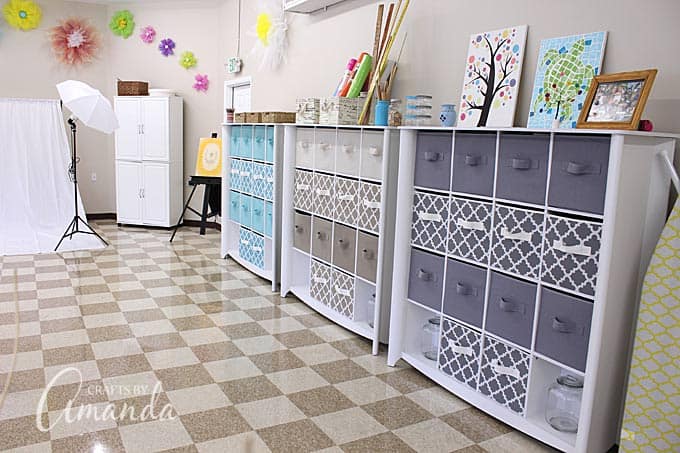
From the first time I started seeing these cube bookshelves around I wanted them. I’ve tried different methods of organizing my supplies, but none of them ever really looked nice. That’s when I decided that my supplies all really needed to be hidden if there was to be any continuity.
I bought a bunch of these collapsible fabric storage cubes at WalMart and it worked out perfectly! In case you’re wondering how I find anything, I actually have a list of where everything is, so I just look it up on my alphabetic list and go right to that cube.
On top of the storage shelves are a few of my projects including this mosaic turtle canvas, my polka dot tree and the button wire tree from my book Button Mania. Perched on my easel is the vintage French bee painting I did a couple of years ago.
The Photography Wall
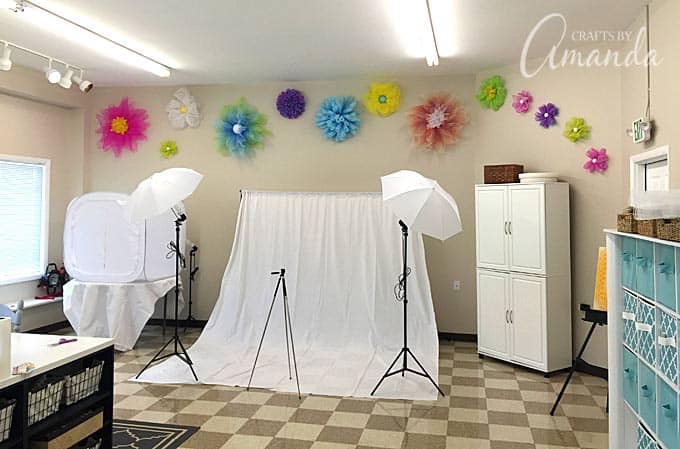
When I was working on my first two books, Rubber Band Mania and Duct Tape Mania, I found it really challenging to get good photos of kids wearing costumes or the jewelry that I made. That’s what made me order this photo set up as I knew I would be able to use it for future books and tutorials.
When winter comes and the days are shorter, the 40×40 photo cube comes in so very handy! I use two work lamps from Home Depot to shine through the sides for great light.
As you may have noticed at the beginning of this post, the photo area was pretty plain, especially since everything, including the cabinet, is white! Adding the colorful deco mesh flowers was just the finishing touch this area needed.
My Craft Table
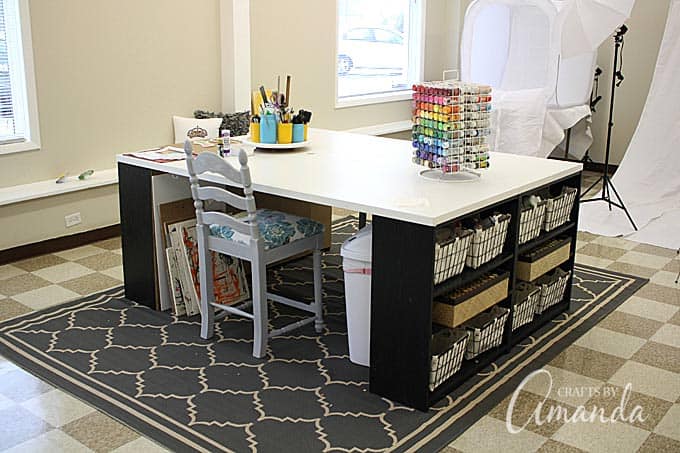
I don’t know what I would do without my glorious craft table my husband made for me a few years ago. It’s made from two hollow core doors and four WalMart bookshelves.
I love it and do all my crafting sitting right there. And speaking of sitting, I had a pair of pretty ugly, but very functional stools that I picked up at our local flea market. When my craft table was in my basement their appearance didn’t really matter. But once I moved everything into the studio, I decided to give the stools a makeover.
A few details about the table and my work area.
- I bought an indoor/outdoor rug to protect the floor from any drips or spills
- I use these fun baskets to hide even more supplies
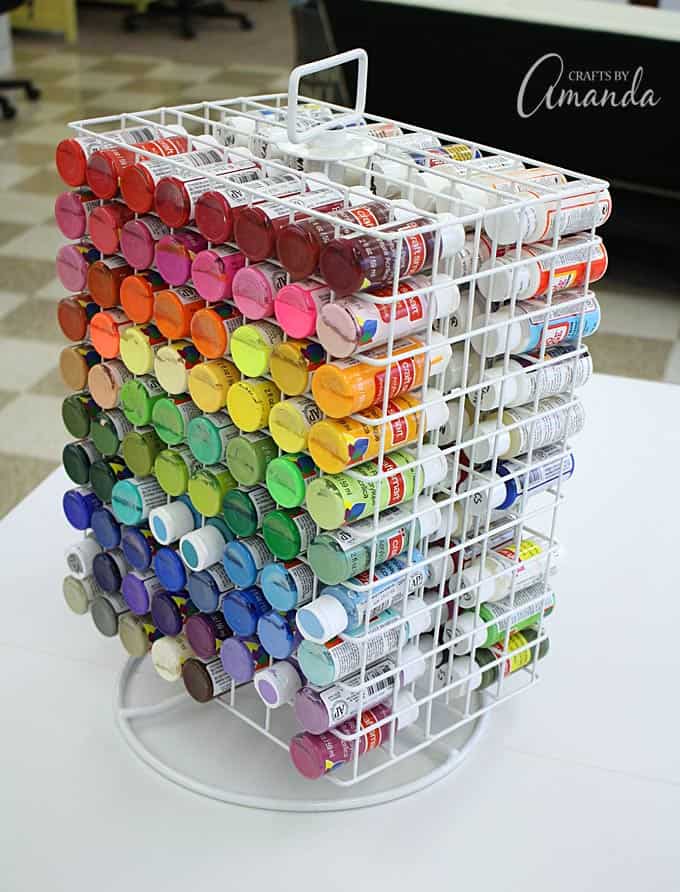
- I found this paint rack at a flea market being used as a fishing lure display, but you can buy one here
- This lazy susan is an absolute life saver keeping everything at my fingertips
- I keep several pieces of foam core board below the table that I use as work surfaces. It keeps the paint off my actual table and allows me to have a mobile work surface.
The Window Wall
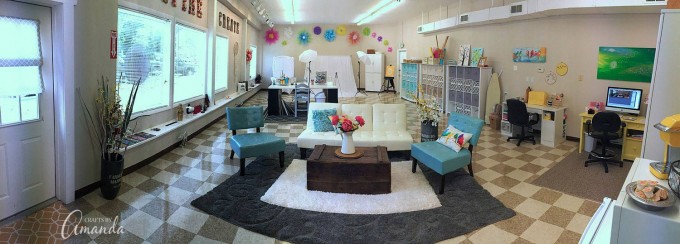
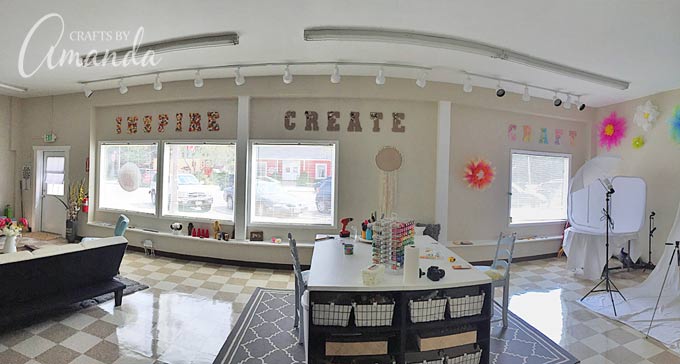
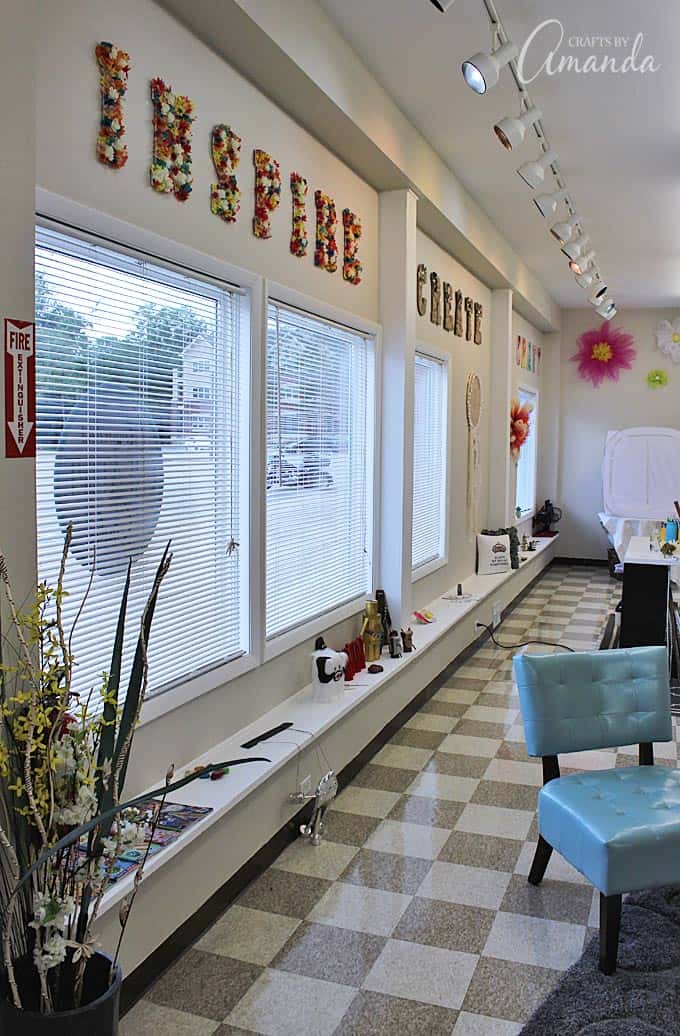
In this panorama shot of the window wall you can see all the wall letters in one picture. There’s the flower letters to the left, the burlap & vintage jewelry letters in the center, and the string art letters to the right. You can also see my boho chic dreamcatcher there as well.
The only thing I really haven’t done yet is develop the window seat. It’s not very deep, but I think it would look good with long fabric covered cushions. Until then, it works great as a shelf for projects I’ve finished, including a bunch of my favorite characters from Star Wars!
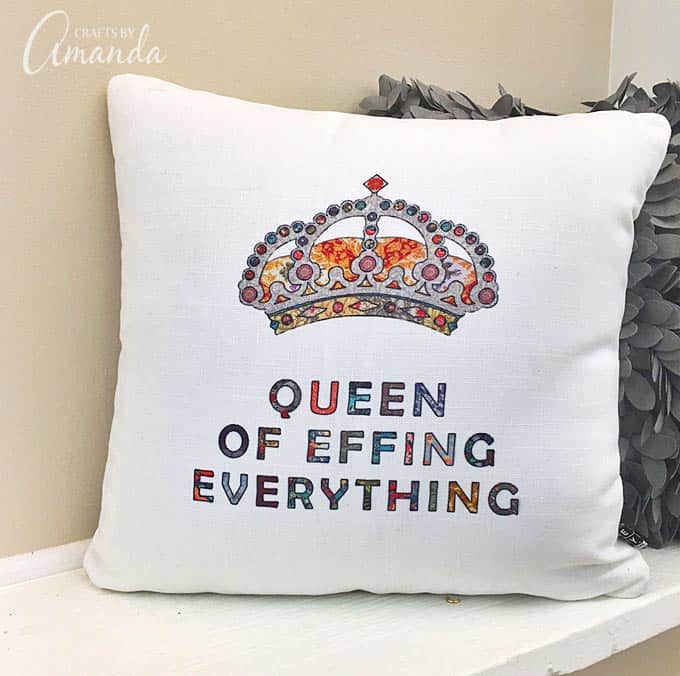
Right now the window seat holds my gray Ruffle & Frill Polyester Throw Pillow and my favorite pillow of all, the Queen of Effing Everything. Just FYI – if my pillow offends you, you might not like me in person. I am a kind and generous person with a feisty side.
Well, that’s it! You’ve made it all the way through. Now join me for two more minutes while I bring you in the door and walk you through the studio. Thanks so much for reading this far and sharing in my excitement! If you’re ever in Twin Lakes… :)
Special thanks to Wayfair for all of their help with my new studio furniture!
- Paper Plate Tropical Fish Craft - July 19, 2024
- Tropical Paper Flowers - July 16, 2024
- DIY Mosquito Repellent Candles - July 9, 2024


Holly J says
I just wanted to start by saying that I RARELY ever take the time to comment on blogs or other pages, HOWEVER, I am so impressed with your space that I just wanted to applaud you…loudly! Fantastic job lady, I’m just creatively moved & completely inspired to LEAP into action, I want to “DO” more for Me & my own work-space! Thank you for sharing & your continued encouragement & posting!
Amanda Formaro says
Thank you so much Holly! So happy you were inspired and I hope you are able to create our own space that you love!
Traci says
Wow Amanda…this is a dream space! Love the lighting, decor, and collection of supplies!
Thanks for the tour!
Amanda Formaro says
Thanks Traci! I love it here :) so nice to have my own space!
Pam says
Your studio is PERFECT! It’s beautiful and functional. I can’t wait to see all of the wonderful projects you make in it.
Amanda Formaro says
Thank you Pam! A dream come true :)
Amy Locurto says
WOW! It turned out amazing. I’m so excited for you!!! I need that craft table pronto:-) I love my space and happy you have your own now too. Someday I’d love to visit.
Amanda Formaro says
Thanks Amy! I can’t believe how much more productive I am now :)
Amy Anderson says
It’s beautiful – and SO clean! My studio needs to be cleaned up . . . :0
Amanda Formaro says
Thanks Amy! Your space is so huge! I can’t wait to see what you do with it ?
Colleen Stuchal says
I so want to come visit you and the studio. I wish we had something like this here.
Amanda Formaro says
I would love it Colleen! if you are ever in the area make sure you let me know!
Rose Ballantyne says
Your Studio is wonderful and so spacious I am so happy for you ,I to have one of those craft paint stands,they are so handy
My Play Room as I call it is a small bedroom and I have 2 pantry cupboards and half of a 12 ft clothes closet with sliding doods for hiding my supplies in,I am pretty happy with my small space. Keep up the good work and yes I love your site and have done a few of your recipes.
Amanda Formaro says
Hi Rose! Your craft space sounds wonderful! I worked from my dining room table for years, so it’s nice to be able to finally “move out” so to speak ;)
C Joyce Fowler says
I like what you have done It’s a lovely space to create and welcome others inside
Amanda Formaro says
Thank you so much! :)
LR says
Its soo beautiful in there. If there was a bedroom, i’ll move in asap. Weldone…u inspire alot of us even when we dont have that much space :-)
Amanda Formaro says
Thank you LR! I didn’t always have this much space, so I totally understand! I crafted from my dining room table for many years, so I totally get it! :)
Ann Roberts says
What a lovely place. It is full of individuality and self expression. You did a great job. I look forward to seeing what you will create in this wonderful space.
Amanda Formaro says
Thanks so much Ann! I love it in here and creating here has been amazing :)
Cindy deRosier says
Oh my gosh Amanda- I LOVE it! It is a dream space. I can see why you love it so much. I’ve never been to Wisconsin, but if I ever make it out there your studio is going to be my first stop!
Amanda Formaro says
Thanks Cindy! I would love to have you here :)
Lana | Never Enough Thyme says
I am so happy for you and all the things you’ve accomplished, Amanda! Wishing you more and more success to come!
Amanda Formaro says
Thank you so much Lana! It’s been a fun year, that’s for sure :)
Helen H. says
So happy for you. This is a beautiful craft space. You deserve it. Thanks for sharing.
Amanda Formaro says
Thanks so much Helen, I really appreciate that!
Barbara @ Barbara Bakes says
Congratulations on such a beautiful new space. So nice to have an official end of the day when you leave the office.
Amanda Formaro says
Thank you Barbara! You hit the nail on the head! :)
Nina Lewis says
What a beautiful studio! I wish I had something like that. I’ve got a little space for my attempts at photography (which I don’t use as much because it seems like I take pictures more at the island in my kitchen) and a place for my desktop computer. So it’s NOTHING like what you have! But then your creativity skills are 1,000 times better than mine so you deserve a fabulous studio!
Congrats to you!
Amanda Formaro says
Nina, don’t discount yourself! Remember, I worked from my kitchen counters and dining room table as well as my basement craft room for 18 years before I moved into this studio! No matter where you are creating, the important part is that you ARE being creative :)
TidyMom says
This is just awesome Amanda!! I want a space like this….but I need a kitchen too!
Amanda Formaro says
Thank you Cheryl! I think Amy Locurto has a great thing going with hers, having a kitchen etc. I honestly never would have thought to rent an apartment as a studio. Brilliant!
Katrina says
You know how it’s fun to say while watching the Ellen Show or The Price Is Right for me, “I’ve been there.” I feel the same when I see this post and watch your video and hear your voice–“I’ve been there.” So fun. Love it. Love you! So happy for you and excited to see what else comes out of your studio. I can’t believe it’s over 900 sq. feet. Our first condo we bought in Tucson, AZ was 950 sq. feet and it seemed SO small. :)
Amanda Formaro says
Haha! Thanks Katrina, love you too! And of course it felt small, it wasn’t a big open space, there were rooms breaking it all up. If I ever have to move out of here I don’t know what I will do with everything haha
Jackie says
What an absolute labour of love this has been for you, Amanda. It is simply beautiful. I love how so many of the creations we’ve seen on your blog have found a home here. You must feel like you’re stepping into heaven every morning when you arrive. Well done, my friend! x
Amanda Formaro says
I do! Thank you so much Jackie! It’s been really fun being able to share things along the way, but sharing the full reveal was a blast :)
Morena says
When can I move in?? I love everything about your creative space. Everything!! Great job.
Amanda Formaro says
Thanks so much Morena! I love it all too :) Hope you can visit someday!
Aggie says
amazing and beautiful. I am so proud of you for taking this step for yourself! What a happy place go go to work to every day!
Amanda Formaro says
Thank you so much Aggie! I would love it if you were to visit, if you ever get out this way :) :)