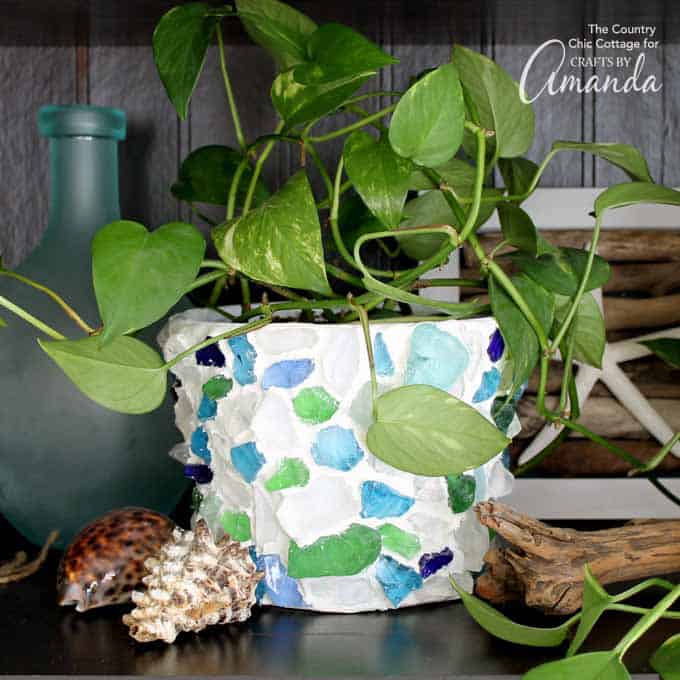
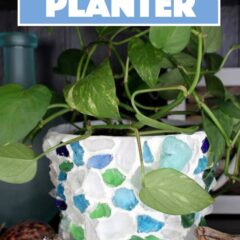
Collect sea glass on your beach vacation this summer then make this sea glass planter for your home. This simple terra cot clay project will add some beach flair to any potted plant. Add to your summer mantel with a potted plant or to your patio with some stunning summer flowers, or set it up next to this driftwood art!
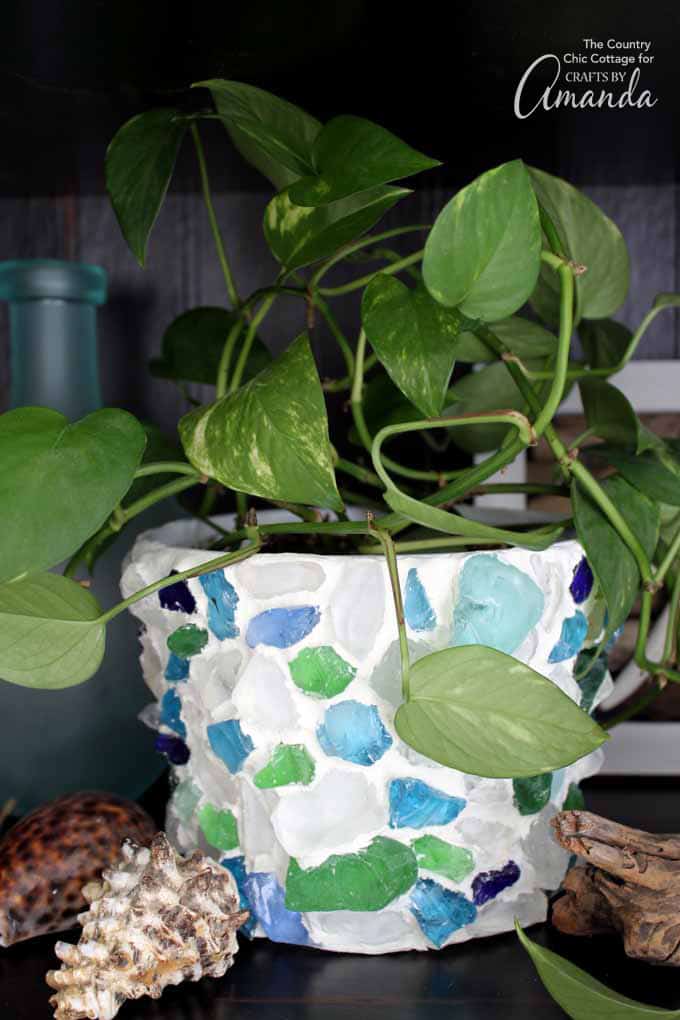
Sea Glass Planter
No sea glass? No problem! We will also share where to buy the supplies for this craft so that anyone can add a sea glass planter to their home.
Related: Need more ideas for using up that sea glass? Try this sea glass mason jar or this sea glass monogram.
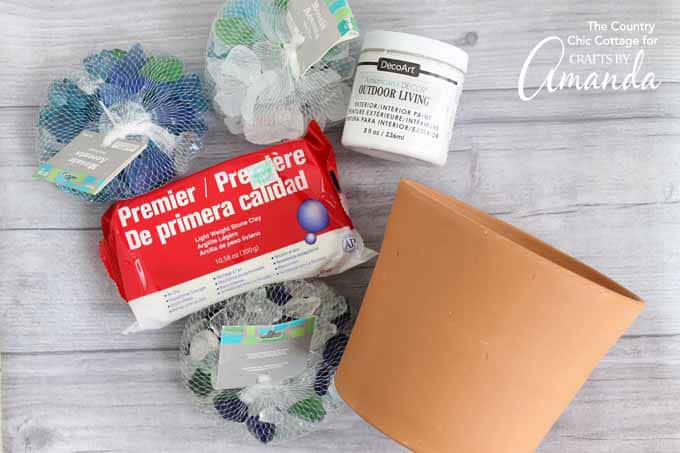
Supplies to make a sea glass planter:
- Terra cotta pot
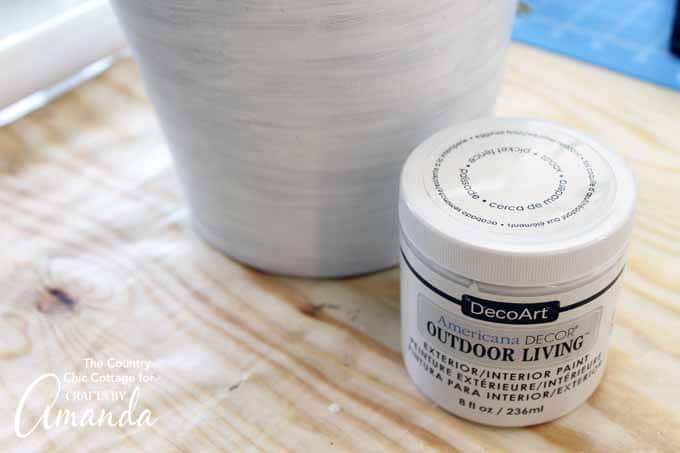
- White outdoor paint
- Sea glass (from the beach or purchased at your local craft store)
- Air dry clay
- Glue
- Paint brush
- Clay tools (optional)
Tips for making your sea glass planter:
- PAINT – Use a good quality outdoor paint intended for use on terra cotta on both the inside and outside of your pot. This will ensure that water from the inside will not affect the sea glass finish on the outside.
- GLUE – Choose a glue that dries quickly and is intended for use with glass. Hot glue will NOT work! We recommend a super glue product.
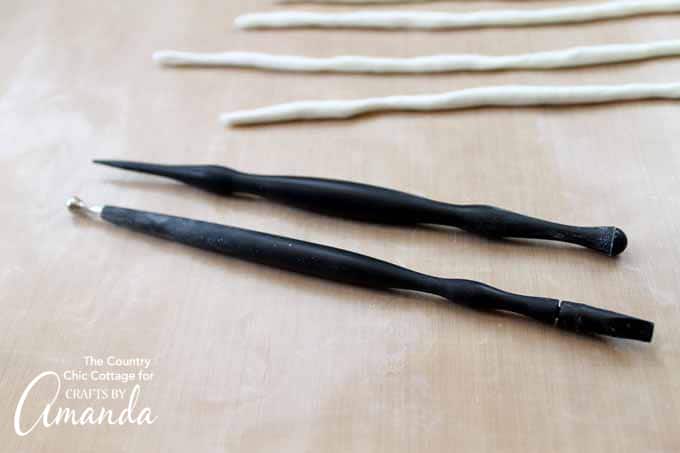
- TOOLS – Clay tools are optional however they do make the job of finishing your pot easier. The will help you to push the clay into the gaps and create a smooth finish.
How to make your sea glass planter:
- Start by painting your terra cotta pot with several coats of a good quality outdoor paint on both the inside and outside. Allow it to dry completely.
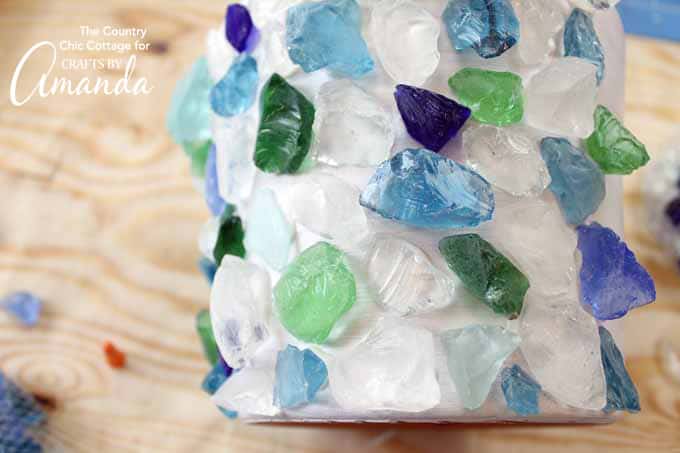
- Add your sea glass to the outside of the pot with superglue or another glue you have on hand. Work with the planter laying on the side and rotate as the pieces dry. Continue until the entire pot is covered and allow the glue to dry completely.
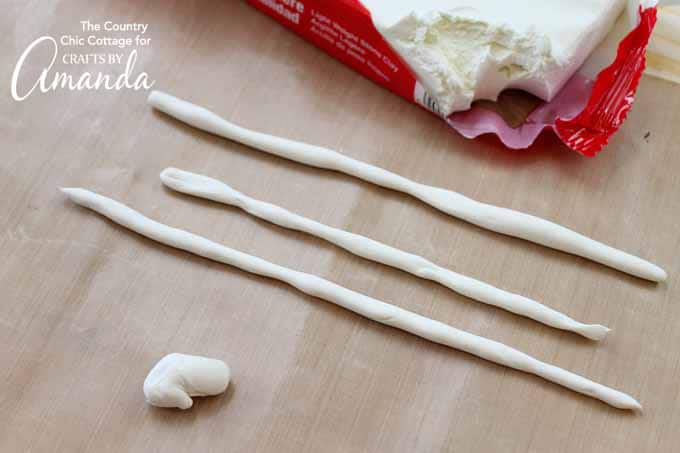
- Work your air dry clay into long snakes with your hands.
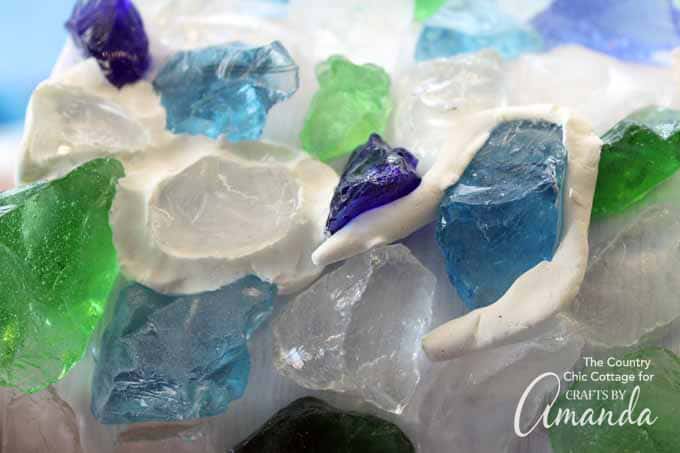
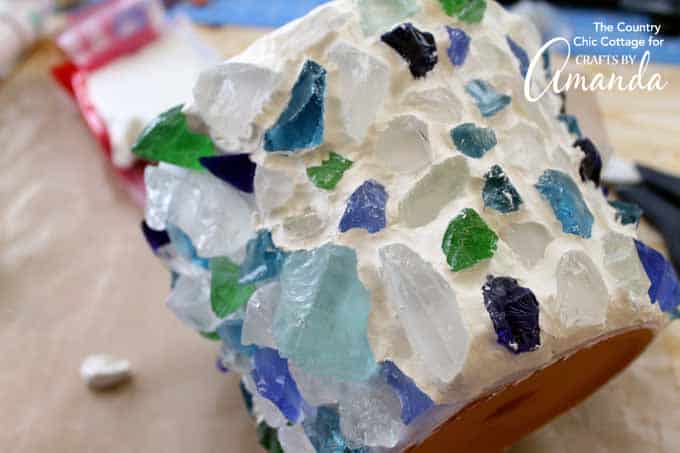
- Add those long snakes to the pot in between your sea glass pieces.
- Press into the gaps and smooth the clay as you work around the pot. The clay tools pictured below are helpful for this task.
- Continue to fill in all of the gaps in between the glass all the way around the pot.
- Allow the clay to air dry according to the package directions.
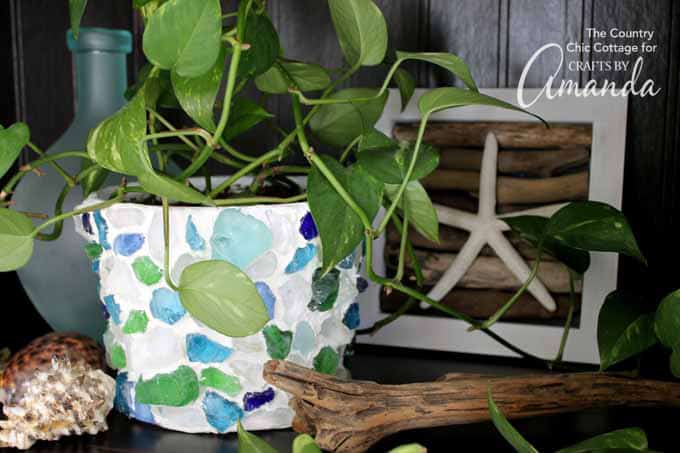
Add a plant inside of your sea glass planter and you are ready to add it to any room or outdoor area of your home. Add some nautical touches to any room in your home. This planter is also perfect for a beach or lake house!
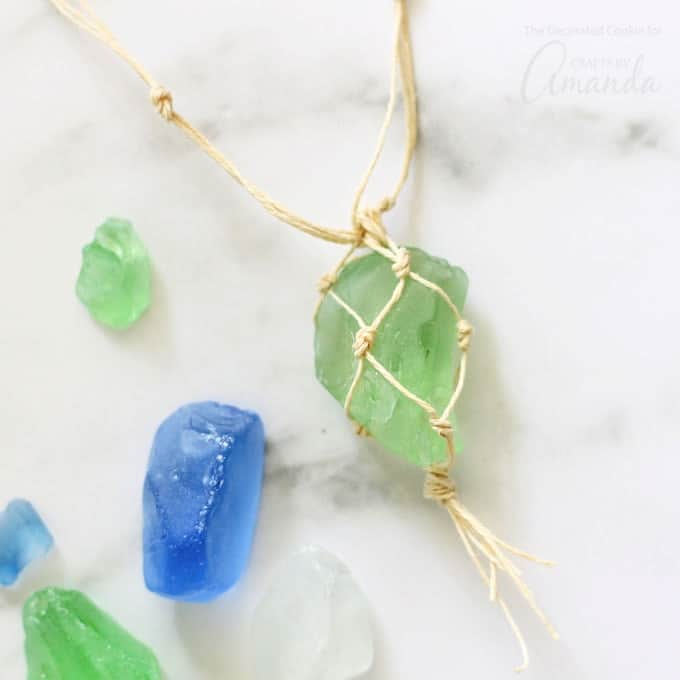
If you have any leftover sea glass to use up, this sea glass macrame necklace is a beautiful way to do so! Make some for friends and family, and of course for yourself :)
Love beach decor? Check out some of our beach themed adult crafts below!
- Striped Beach Luminaries – Use tape to create stripes on these coastal luminaries perfect for your porch.
- Weathered Painted Oar – Inspired by Pottery Barn, this garage sale oar looks great hanging on the wall.
- Textured Beach Wine Bottles – Here’s a unique beachy project that’s fun to make.
- 29 Beach Crafts: Coastal DIY Wall Art – if you still need more coastal decor ideas, we have collected plenty for you to peruse!
- Terra Cotta Pot Wind Chimes – here’s a creative way to use some of those clay pots, a great decoration for your garden!
Sea Glass Planter
Supplies
- Terra cotta pot
- White outdoor paint
- Sea glass from the beach or purchased at your local craft store
- Air dry clay
- Glue
- Paint brush
- Clay tools optional
- Make this sea glass planter for your home!
Instructions
- Start by painting your terra cotta pot with several coats of a good quality outdoor paint on both the inside and outside. Allow to dry completely.
- Add your sea glass to the outside of the pot with super glue or another glue you have on hand. Work with the planter laying on the side and rotate as the pieces dry. Continue until the entire pot is covered and allow the glue to dry completely.
- Work your air dry clay into long snakes with your hands.
- Add those long snakes to the pot in between your sea glass pieces.
- Press into the gaps and smooth the clay as you work around the pot. The clay tools pictured below are helpful for this task.
- Continue to fill in all of the gaps in between the glass all the way around the pot.
- Allow the clay to air dry according to the package directions.
Expert Tips & FAQs
Choose a glue that dries quickly and is intended for use with glass. Hot glue will NOT work! We recommend a super glue product.
Clay tools are optional however they do make the job of finishing your pot easier. The will help you to put the clay into the gaps and create a smooth finish.
This post originally appeared here on Apr 17, 2017.
- Mason Jar Tissue Holder - February 18, 2025
- Scrap Wood Frames - November 15, 2024
- Clay Pot Lighthouse - July 2, 2024



Leave a Reply