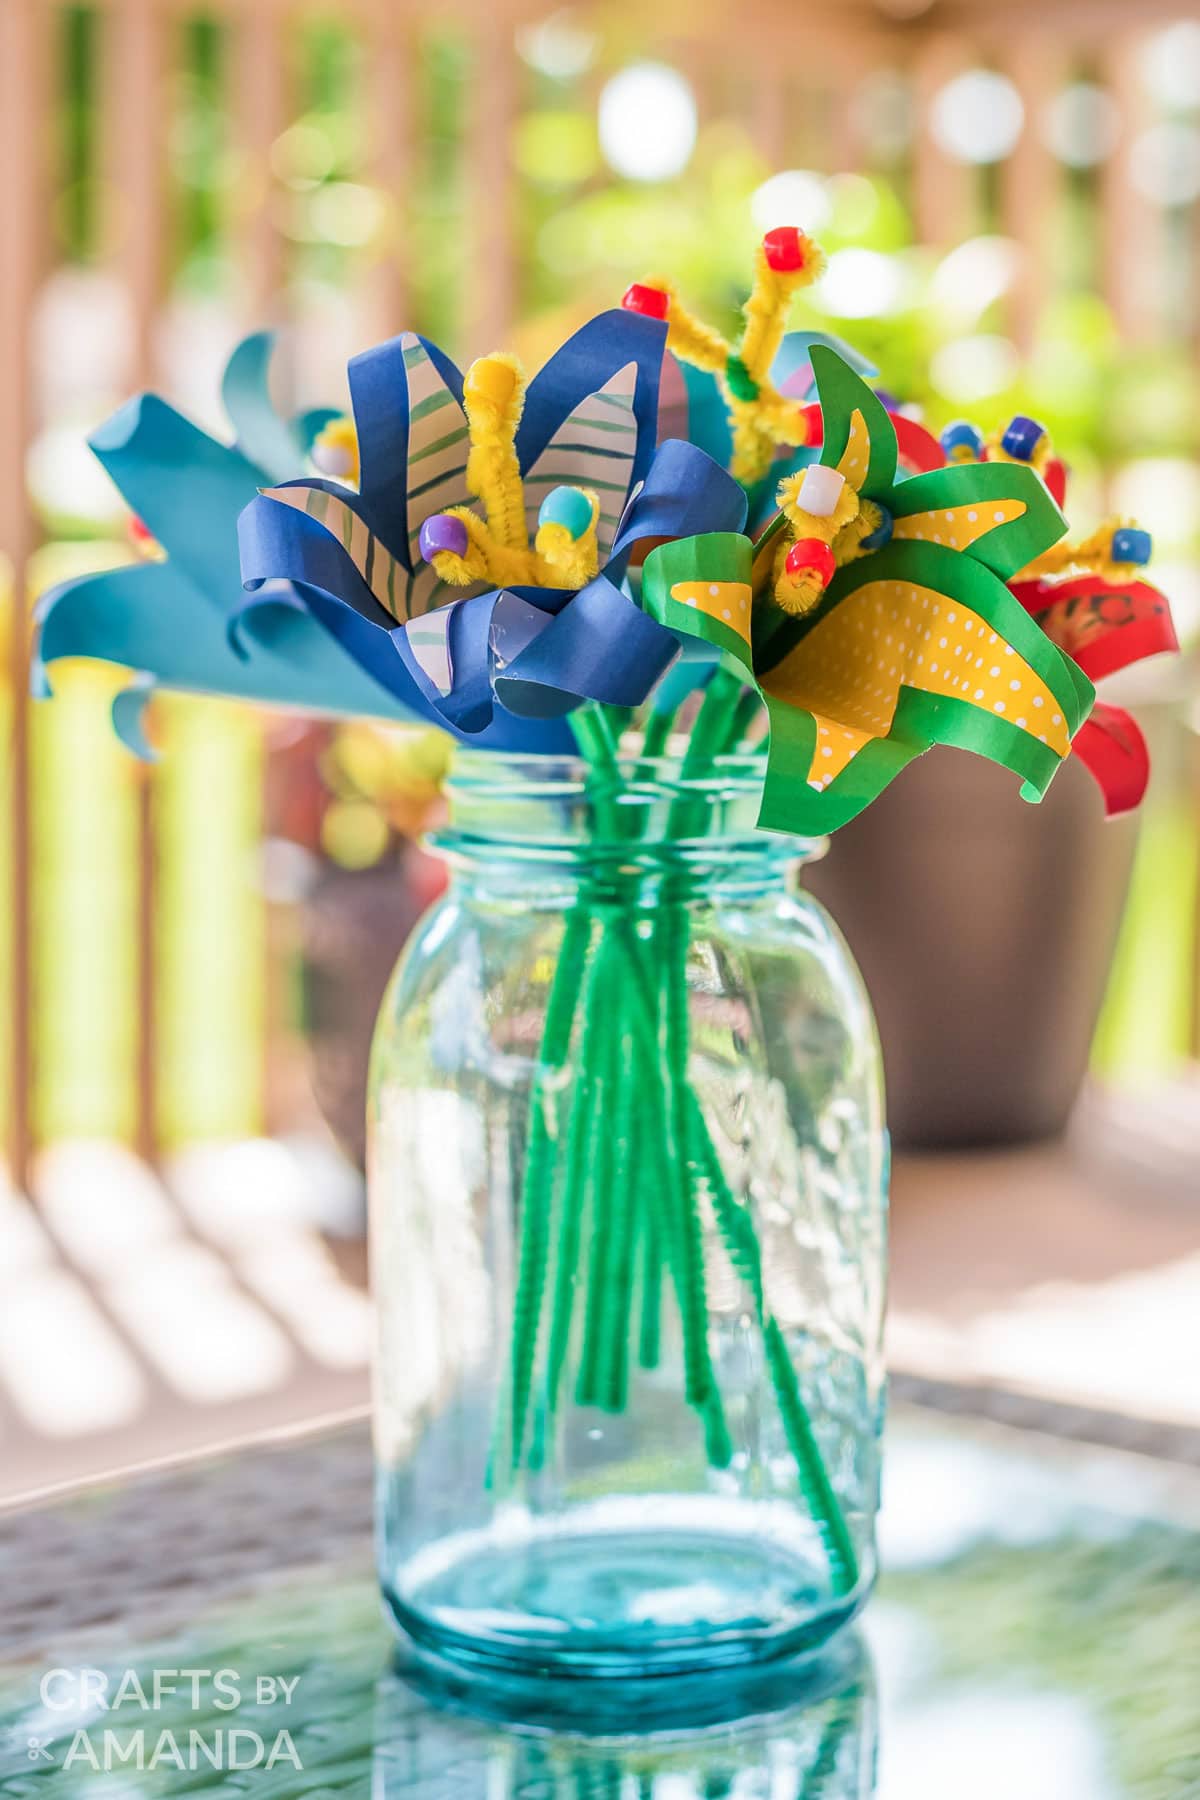
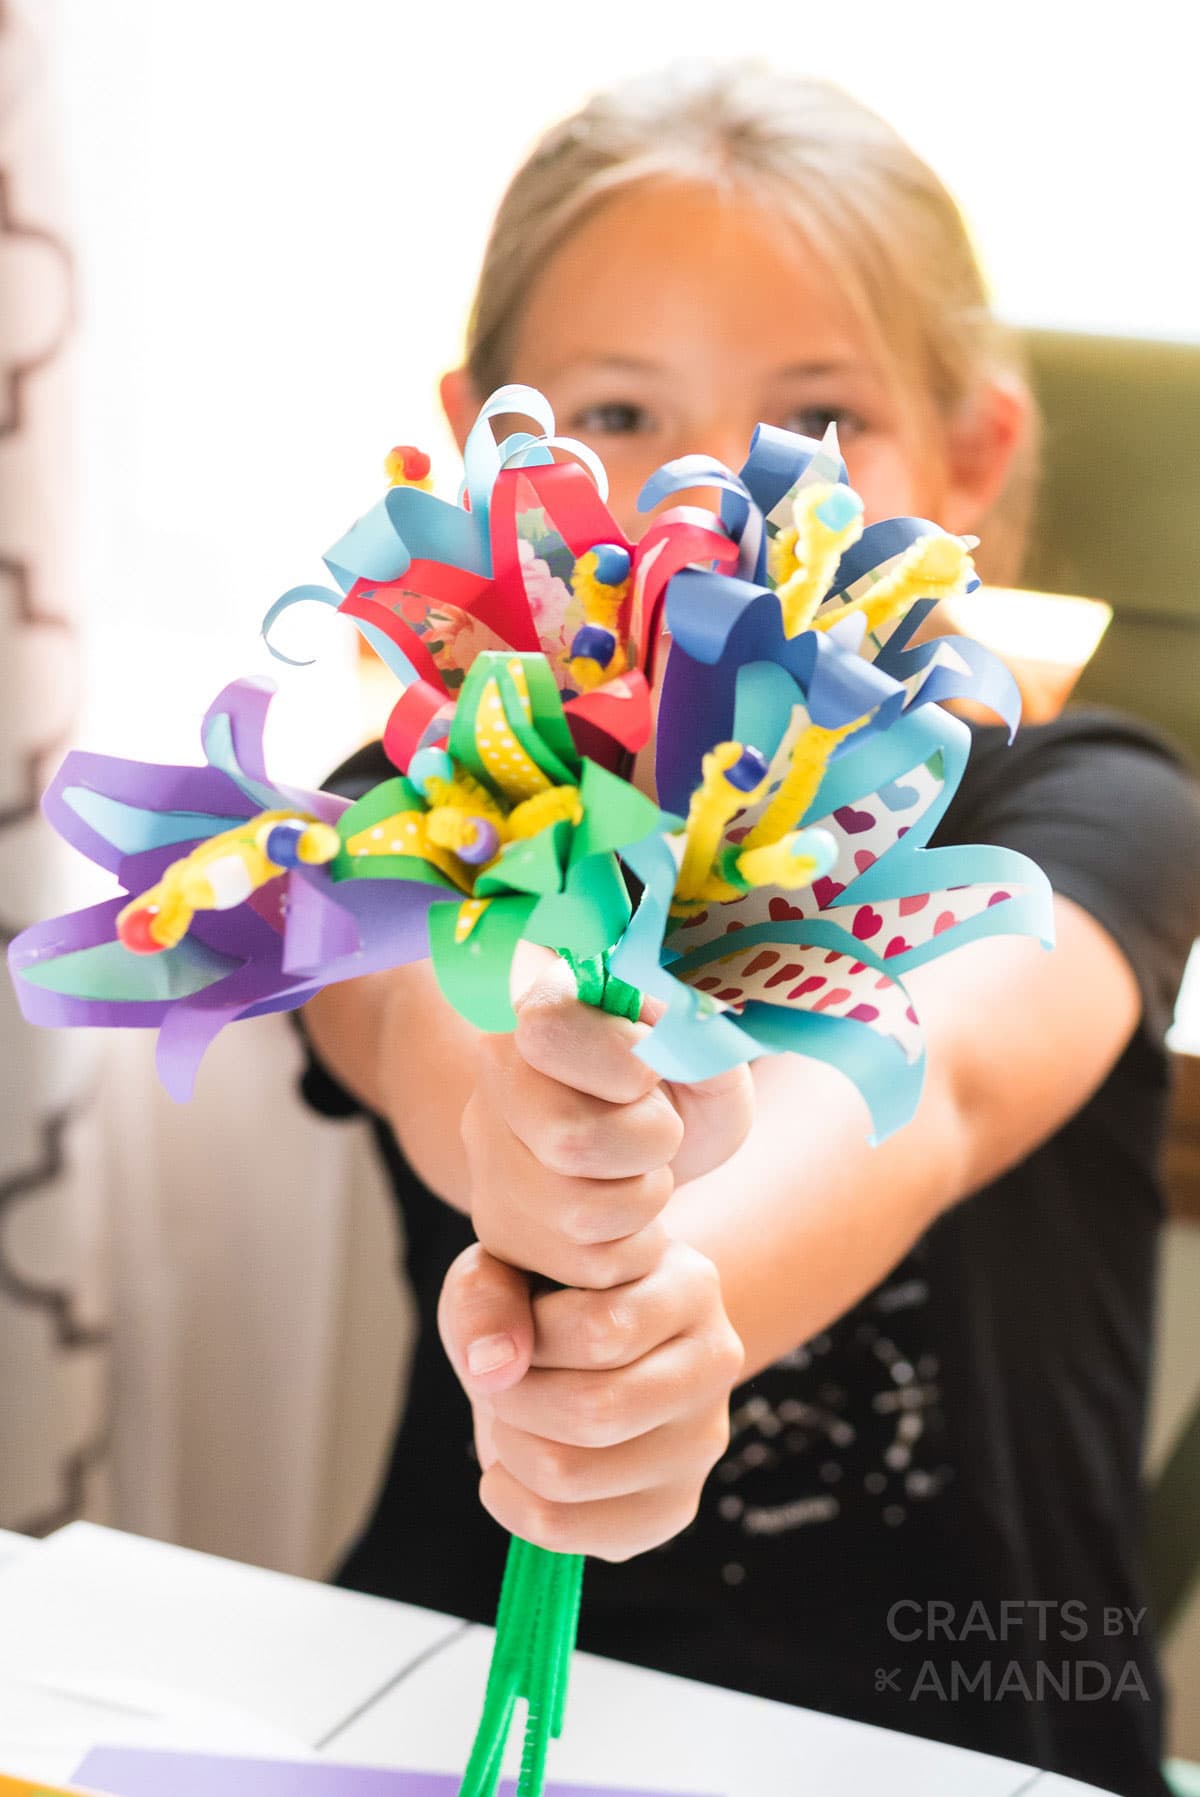
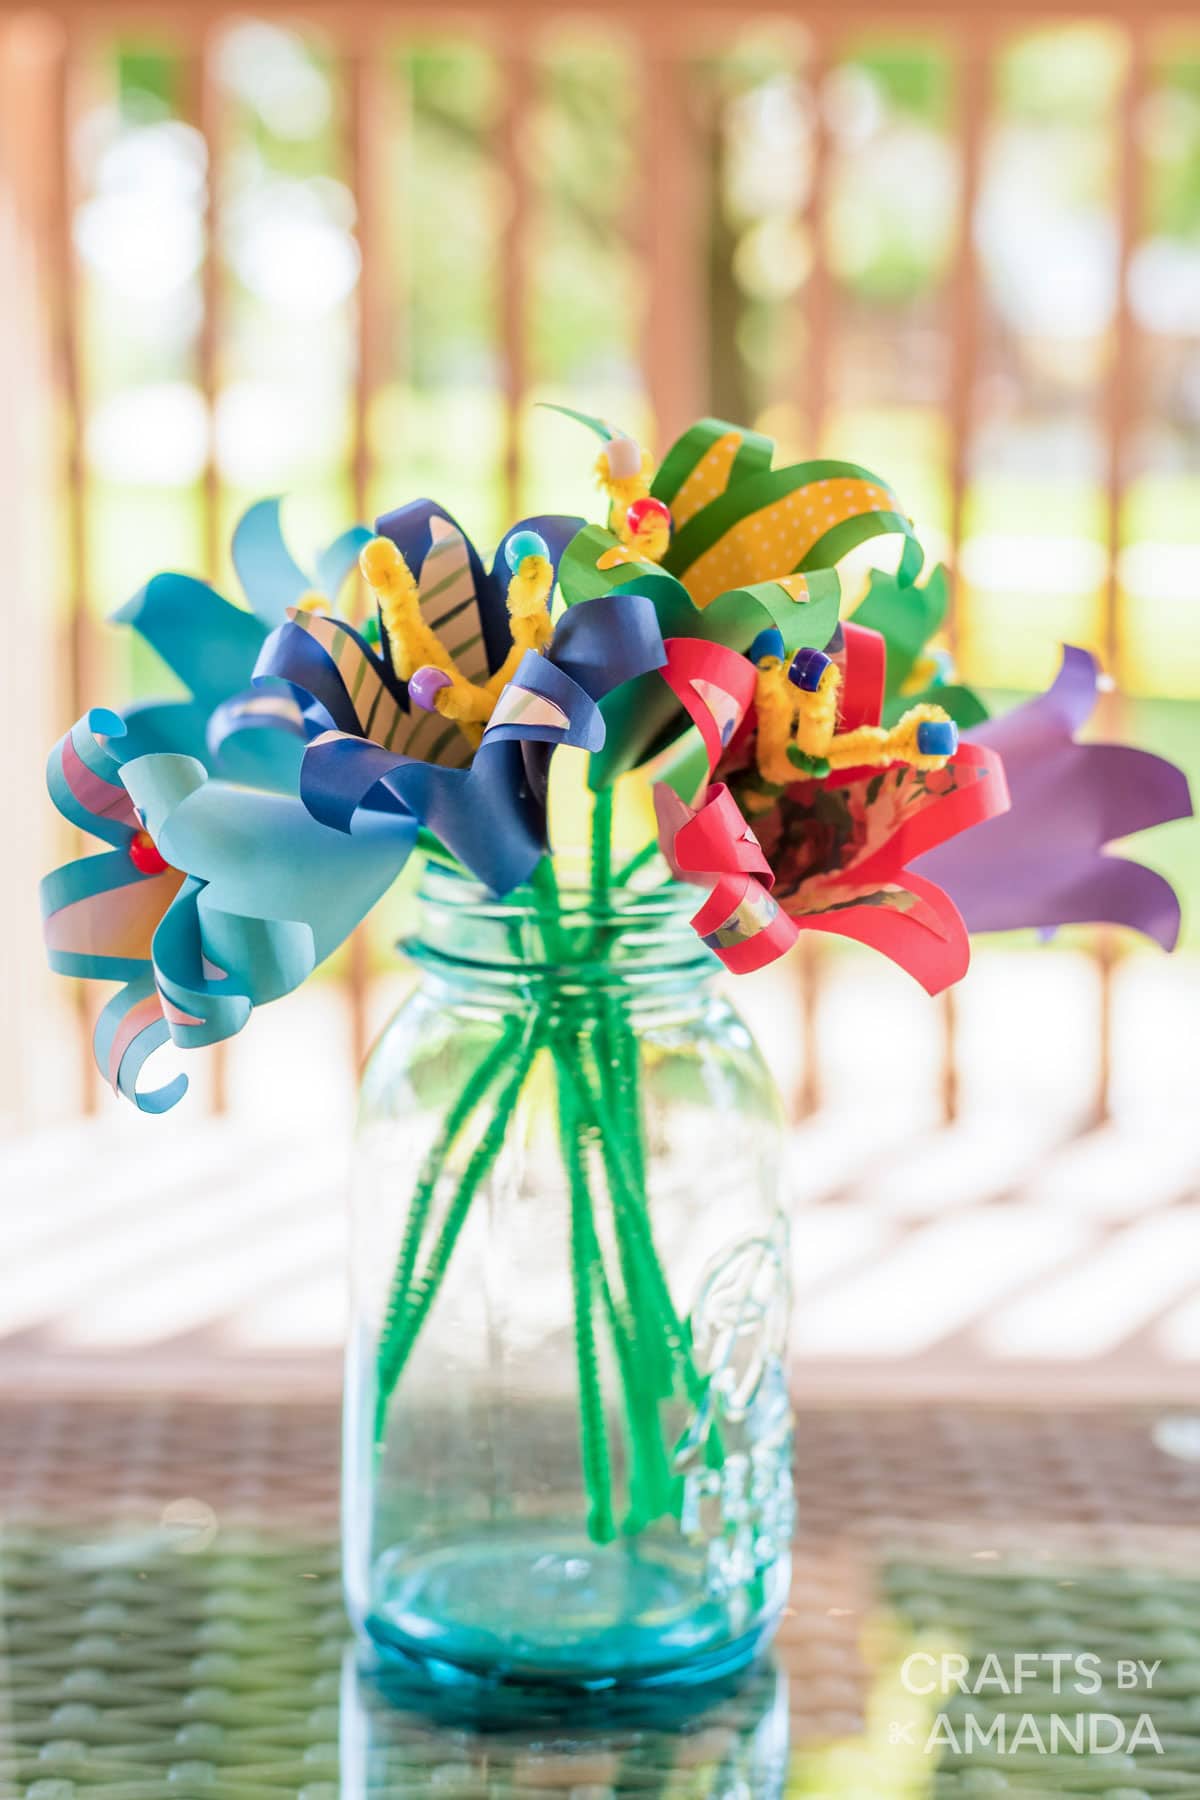
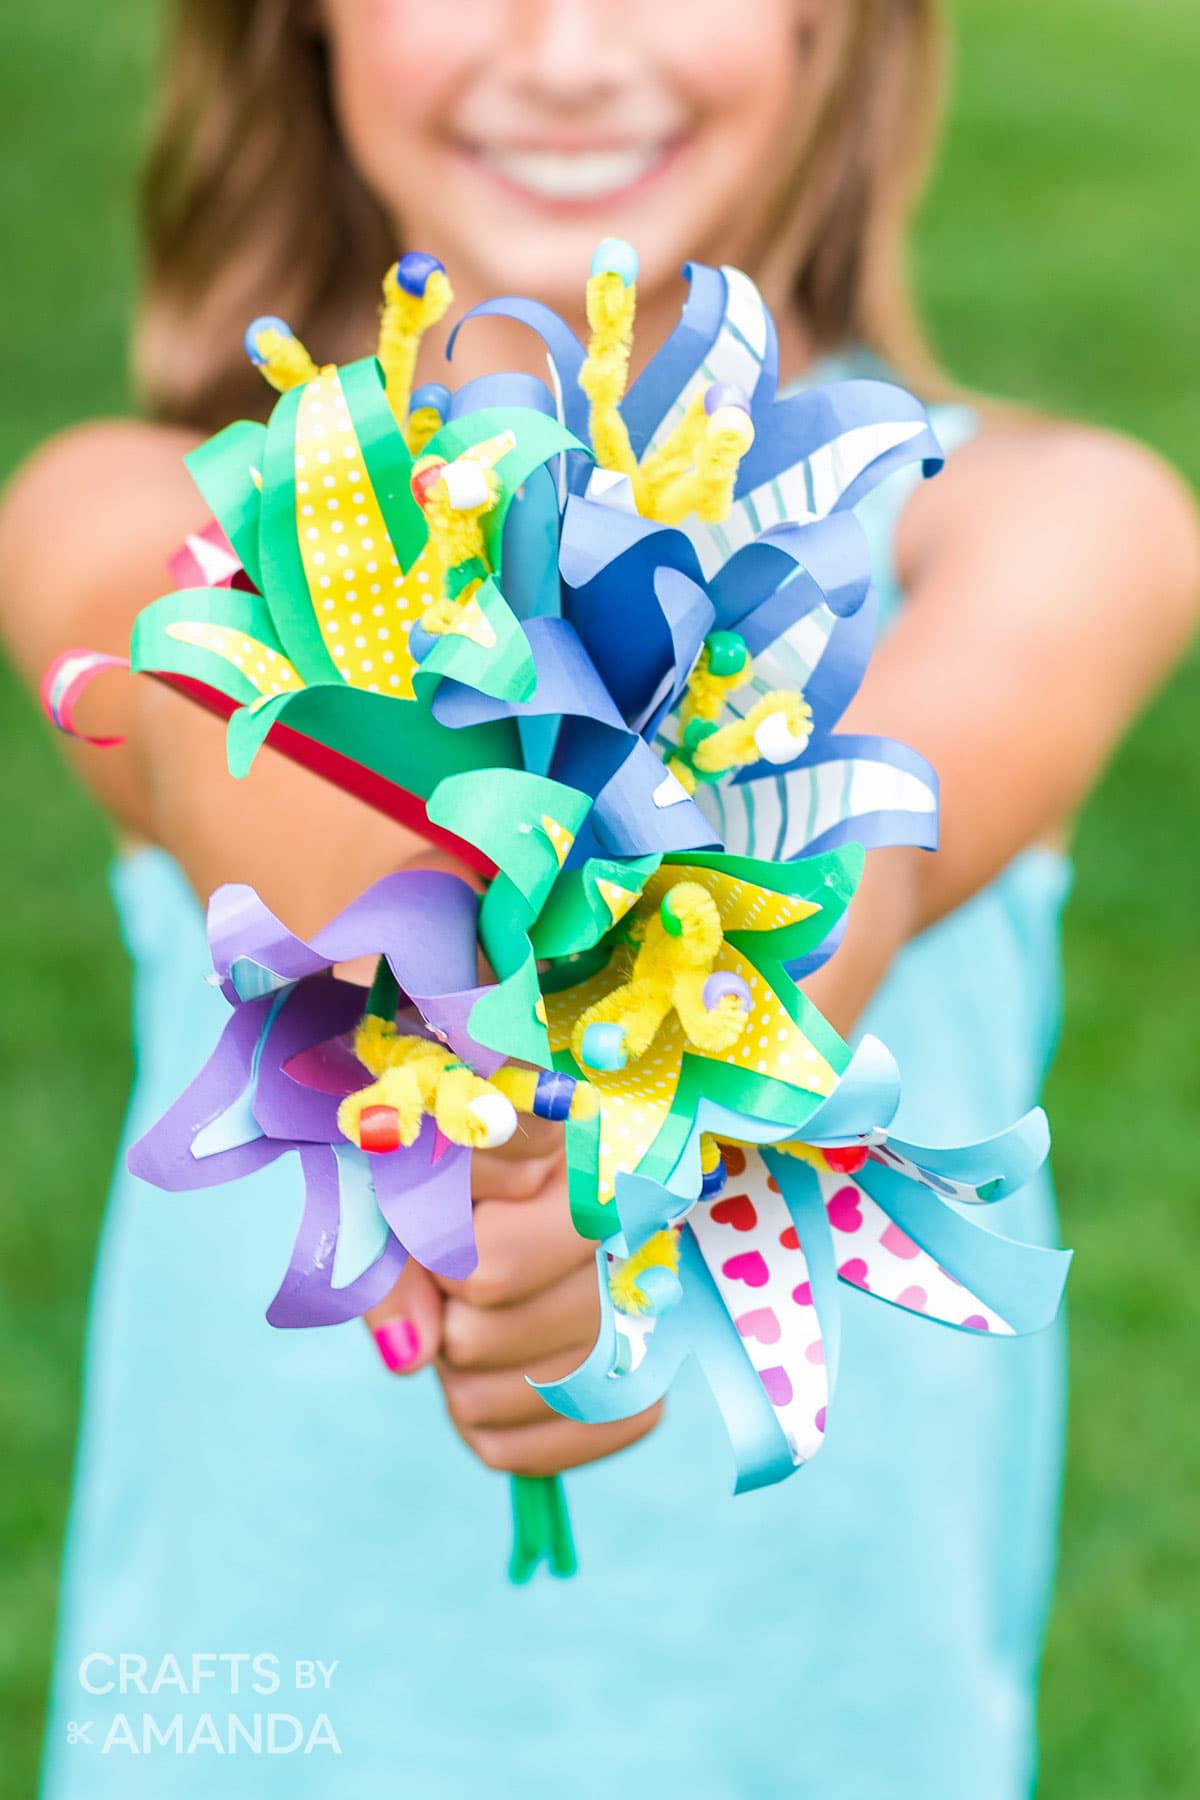
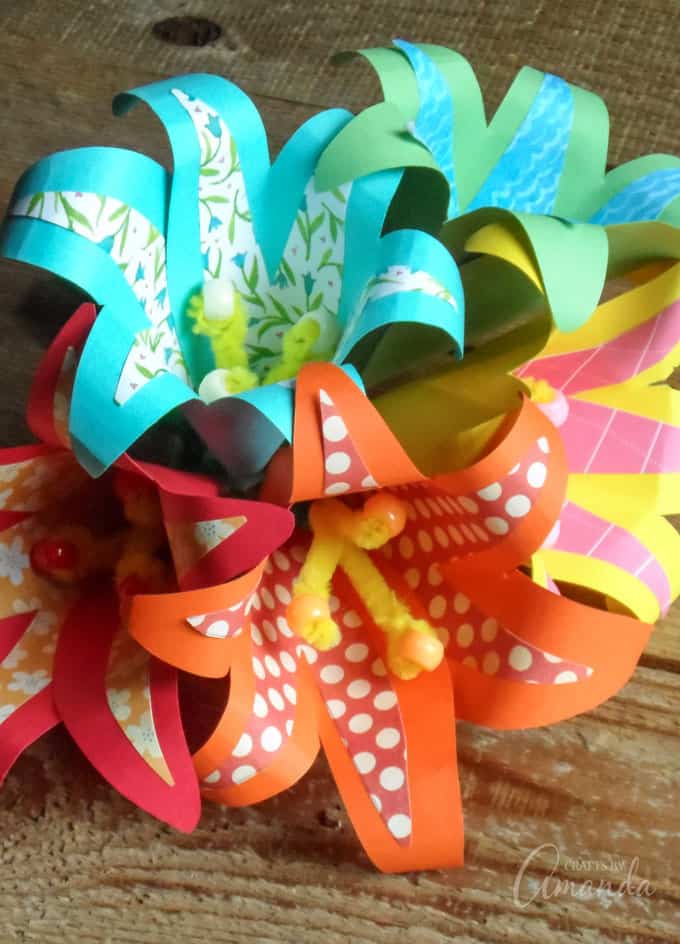
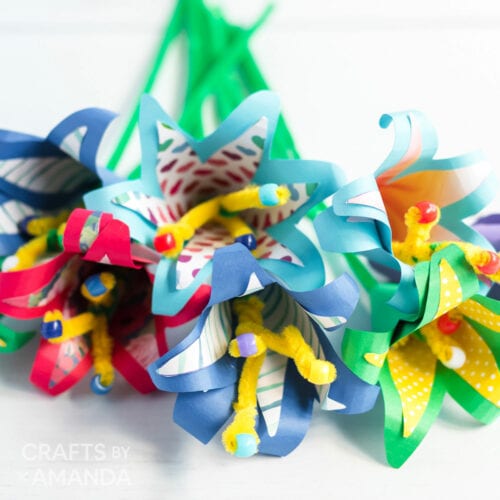
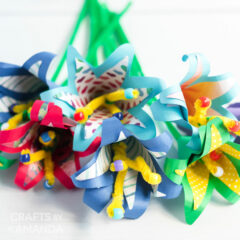
These bright and beautiful tropical paper flowers are made from scrapbook paper and card stock. This is a fun project for kids, adults, and seniors too. These tropical paper flowers would make great table decorations for a summer party!
Why this project works
These tropical paper flowers were inspired by the gorgeous tropical flowers in warm weather climates. Imagine you’re hosting a Hawaiian luau party or a summertime barbecue for friends where you decorate with colorful paper flowers as centerpieces or strung on a banner.
This is a great project for almost any age. We’ve seen photos of these flowers made in senior centers, children’s summer camps, and even during a girl’s night out! My tropical paper plate fish were so popular that I knew I needed to make an adult-friendly tropical project too.
I live in Wisconsin, so aside from lilies in the summer, we don’t get to see a lot of tropical foliage. I remember a trip I made to San Diego one year and how I was so blown away at all the beautiful flowers!
If someone asked me to use only one word to describe San Diego, that word would be “botanical”. Seemed like just about every house we passed had gorgeous, colorful flowers in their yard and in flower boxes. Stunning!
So whether you simply enjoy paper crafting or you’re like me and can’t have the real thing, then here’s how you make these tropical paper flowers.
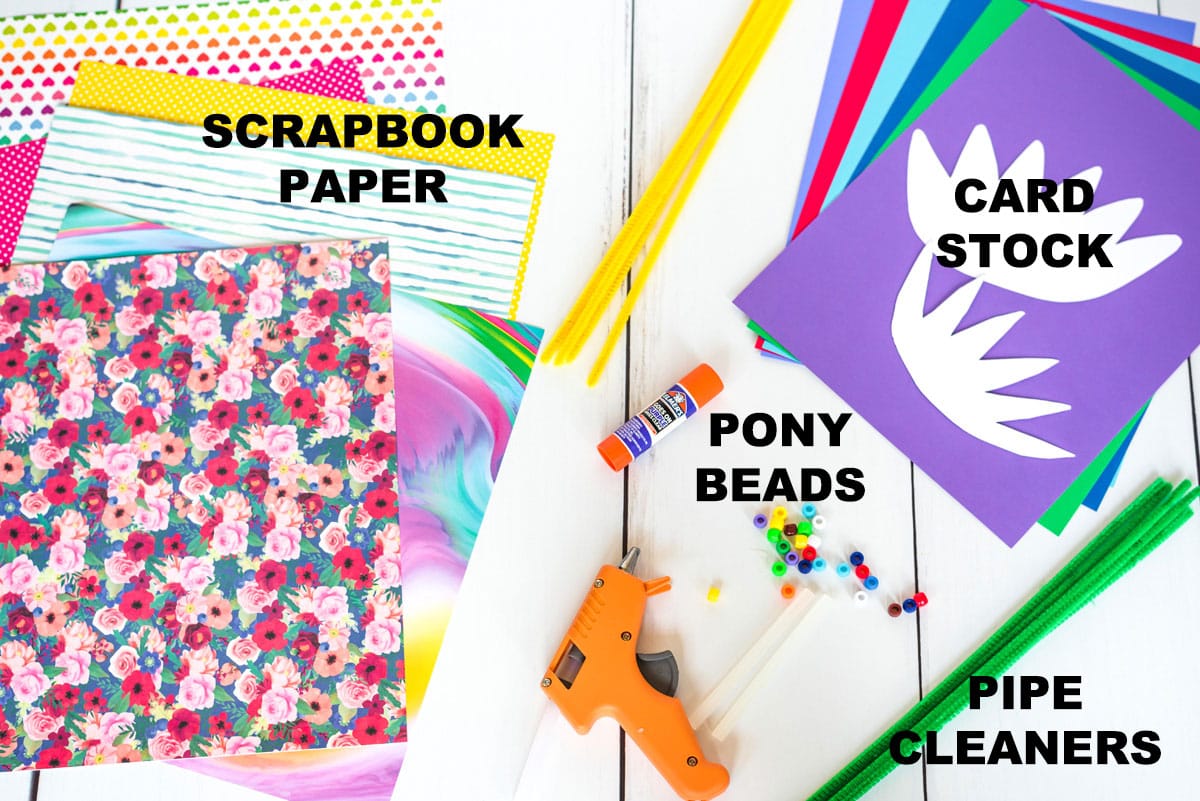
Craft supplies you will need
RELATED: How to Choose the Best Glue for Your Craft Projects
Helpful Project Information:
- Age Level: 6 and up
- Mess Factor: Low
- Level of Difficulty: Easy
- Time to Complete: 20 minutes
- Cost Estimate: Less than $3.00
How to Make Tropical Paper Flowers
These step by step photos and instructions are here to help you visualize how to make this project. Please scroll down to simply print out the instructions!
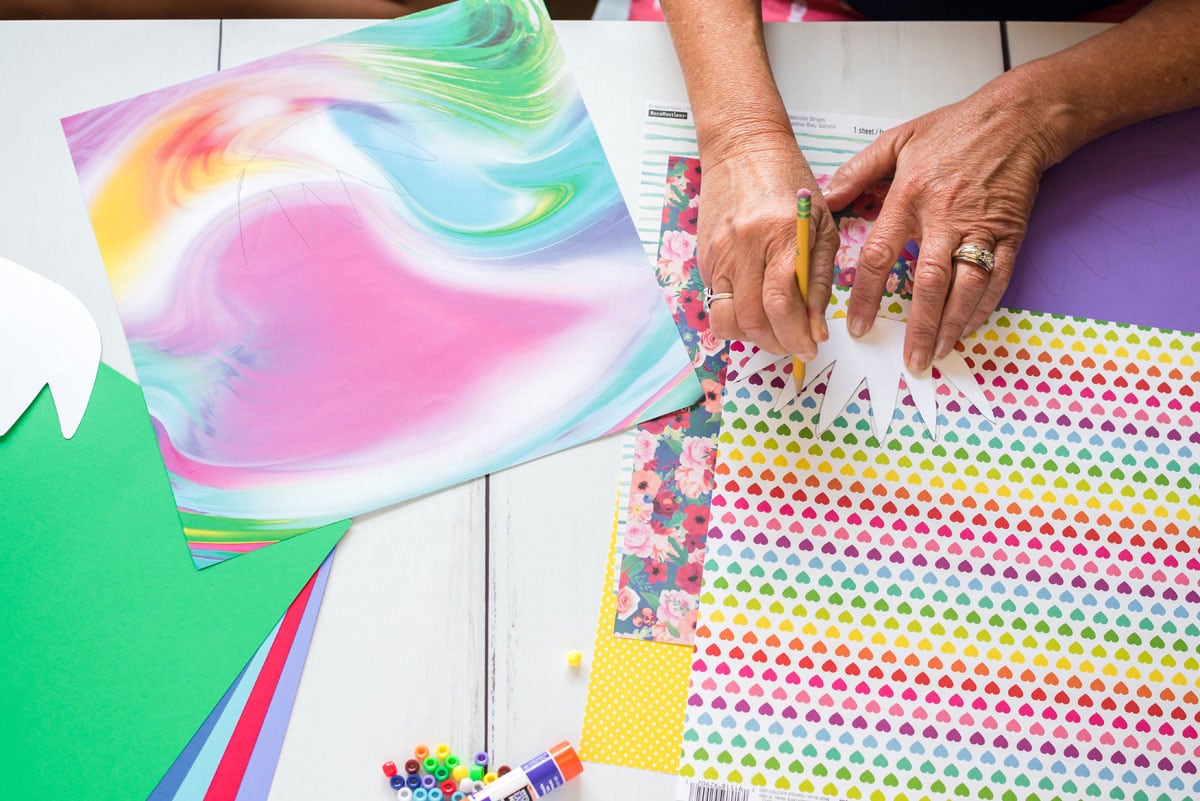
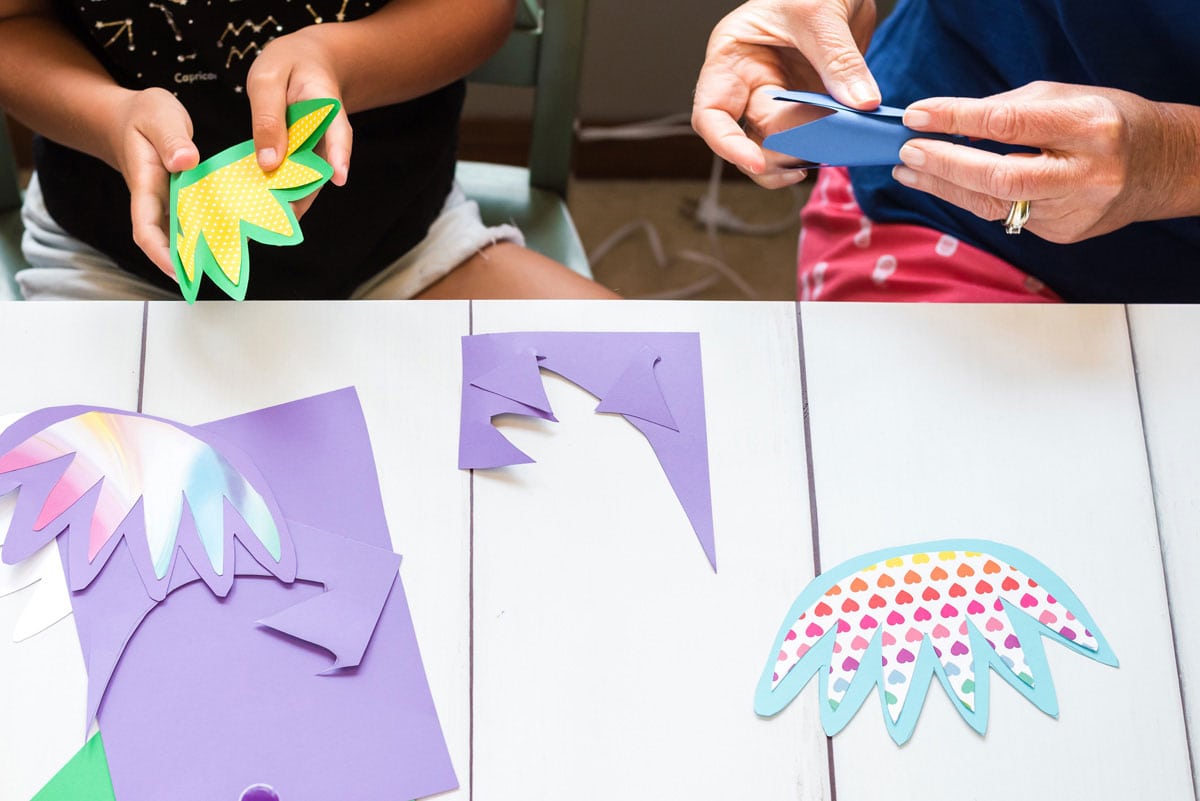
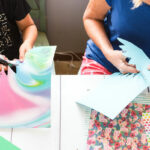
- Print out pattern. Trace the larger template onto card stock and the smaller template onto scrapbook paper.
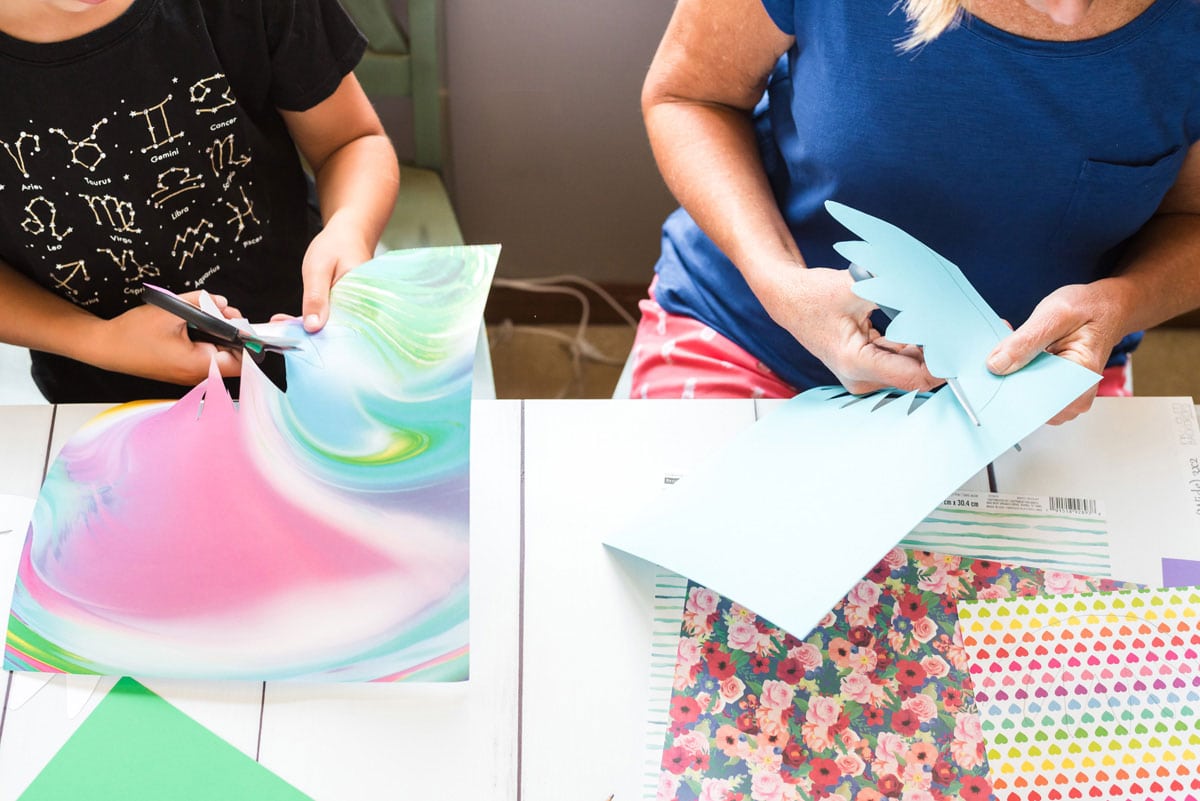
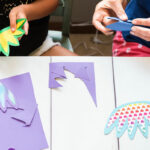
- Use the smaller template to cut out scrapbook paper pieces.
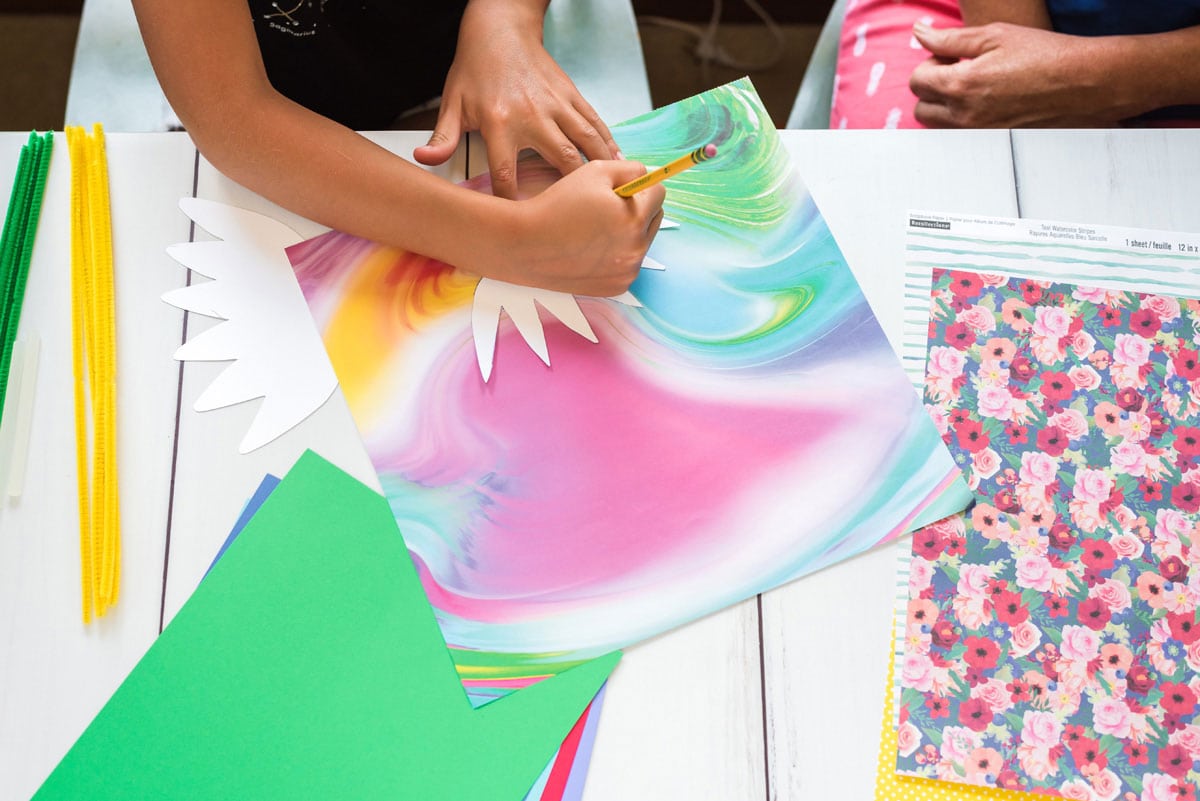
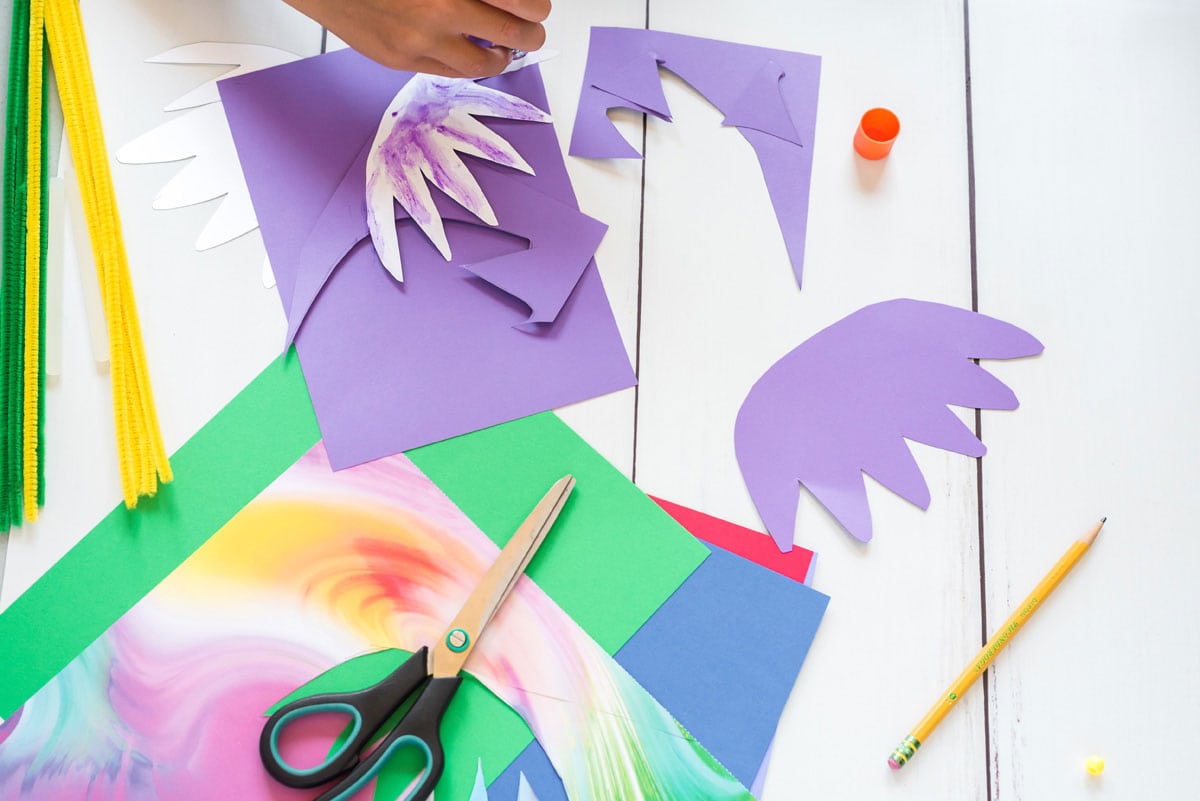
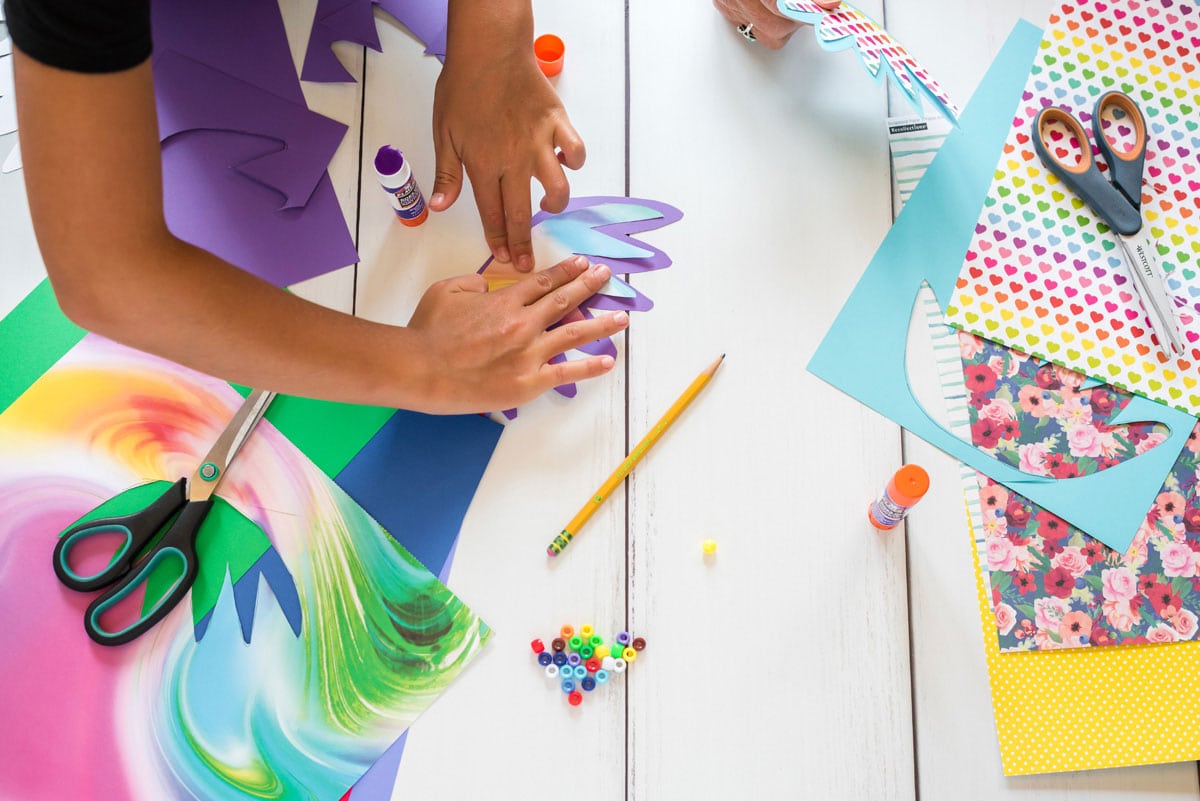
- Use a glue stick to attach the small scrapbook paper flower to the larger card stock flower.
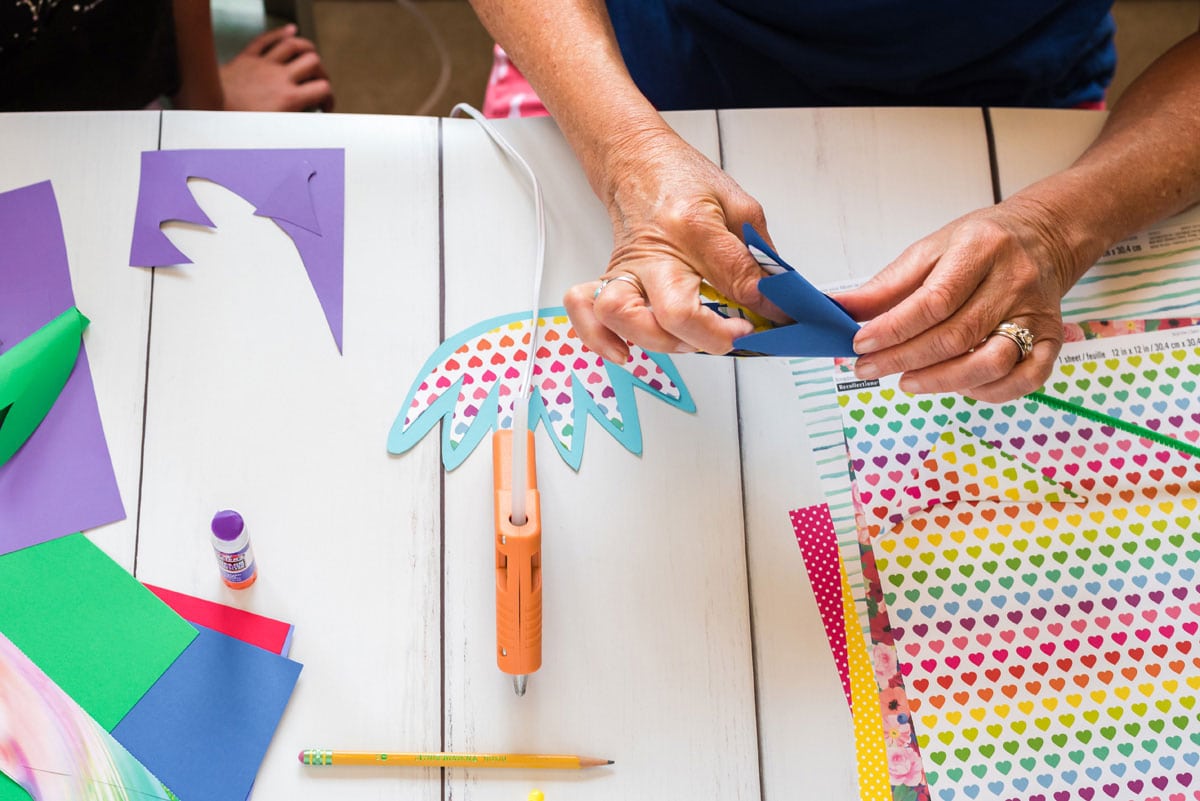
- Roll the flower up tight, spread the top out as if you were forming a cone shape.
- Seal cone shape with a glue dot.
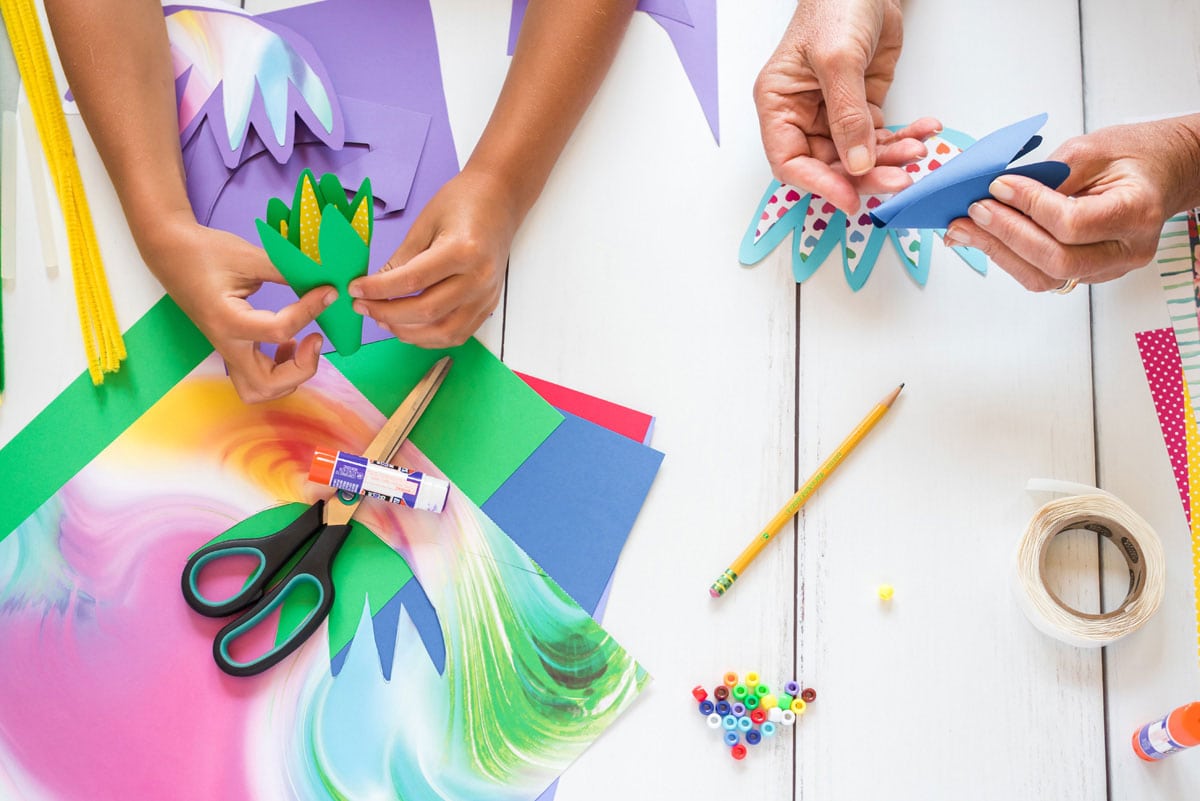
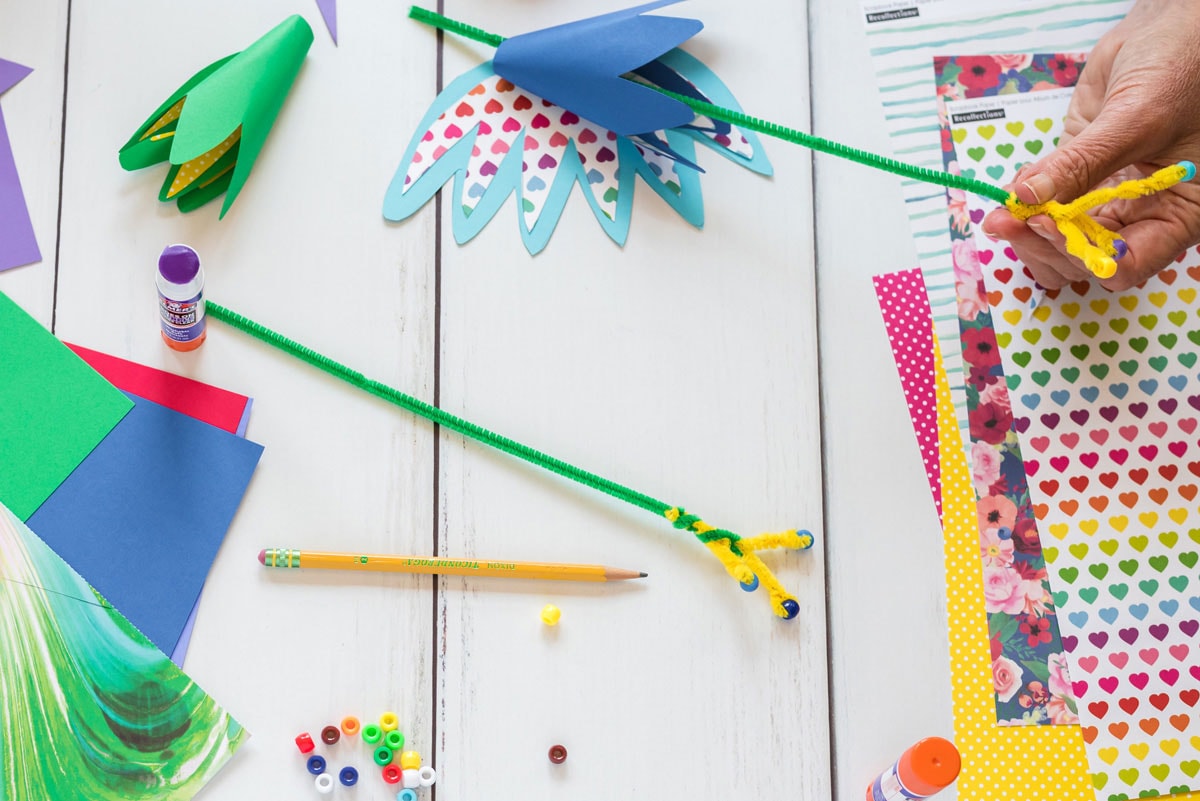
- Thread a pony bead onto one of the short yellow pipe cleaners.
- Bend at the top to close it around the bead.
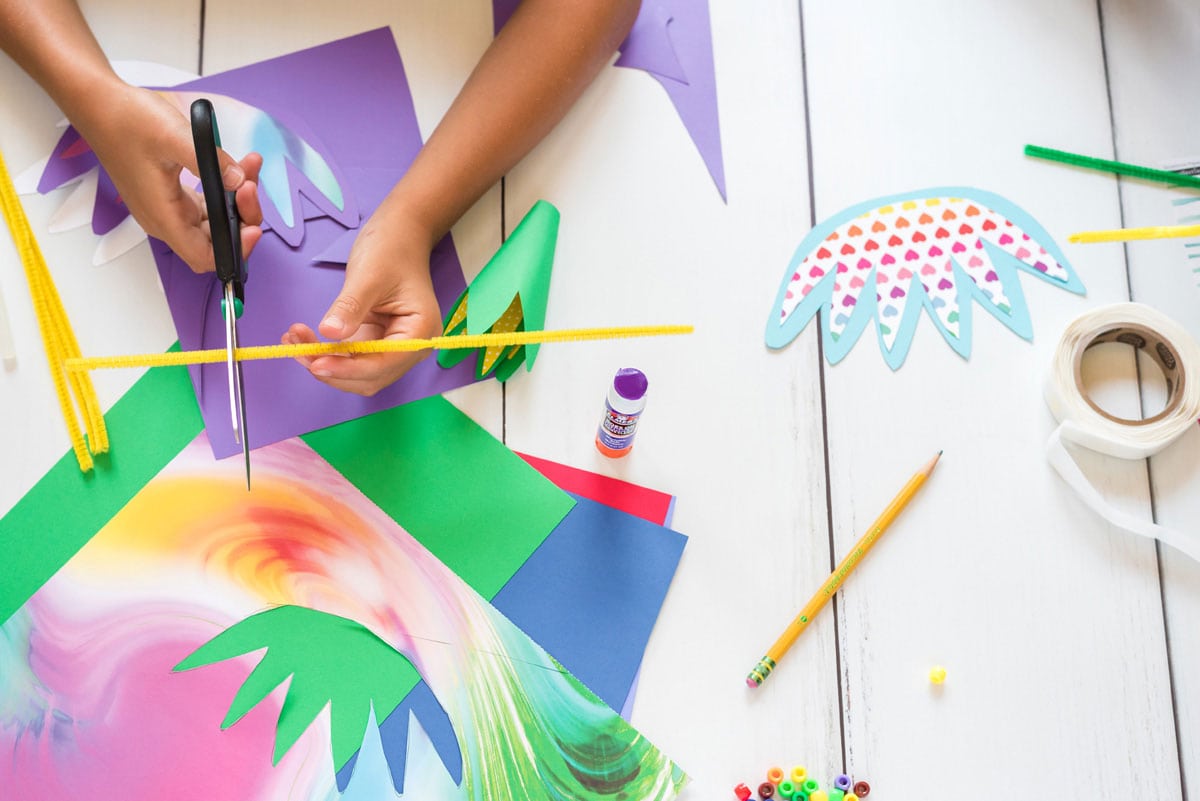
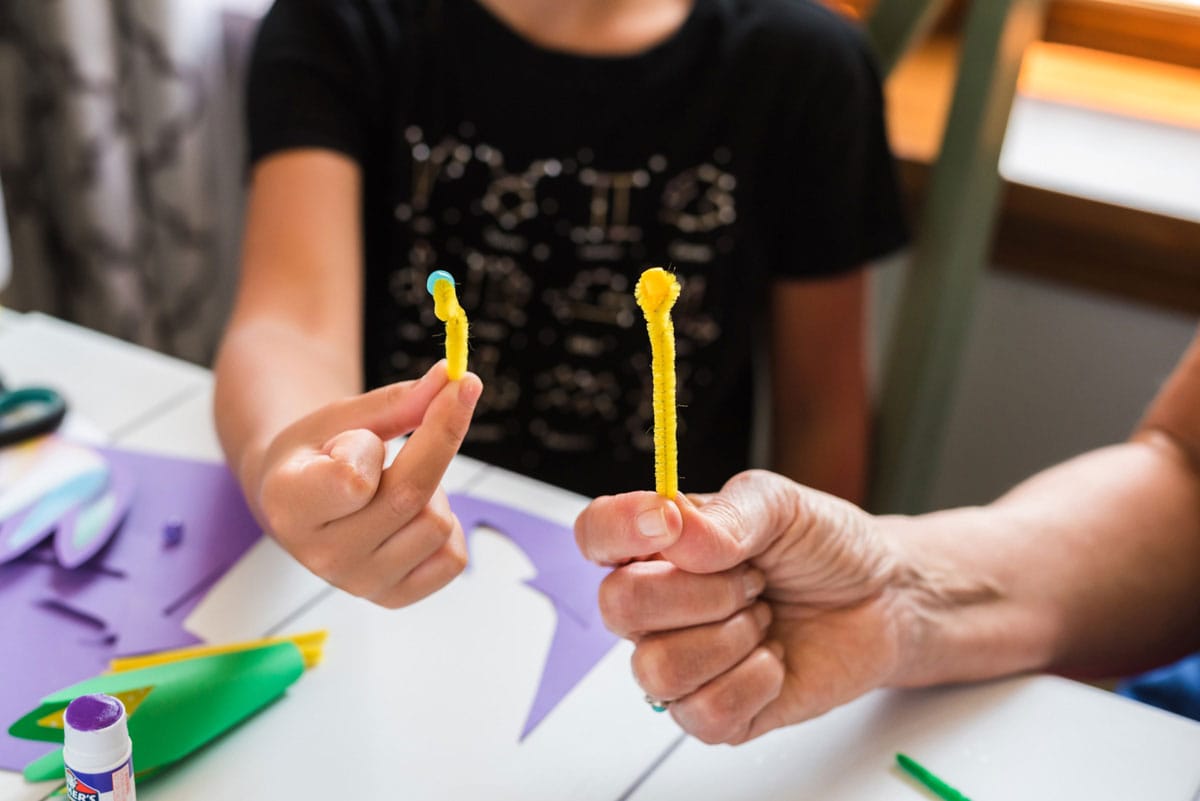
- Repeat this for a total of three.
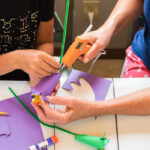
- Wrap the ends together with the end of a green pipe cleaner to attach them all together. Poke the end of the green pipe cleaner down into the center of the flower. Hot glue in place.
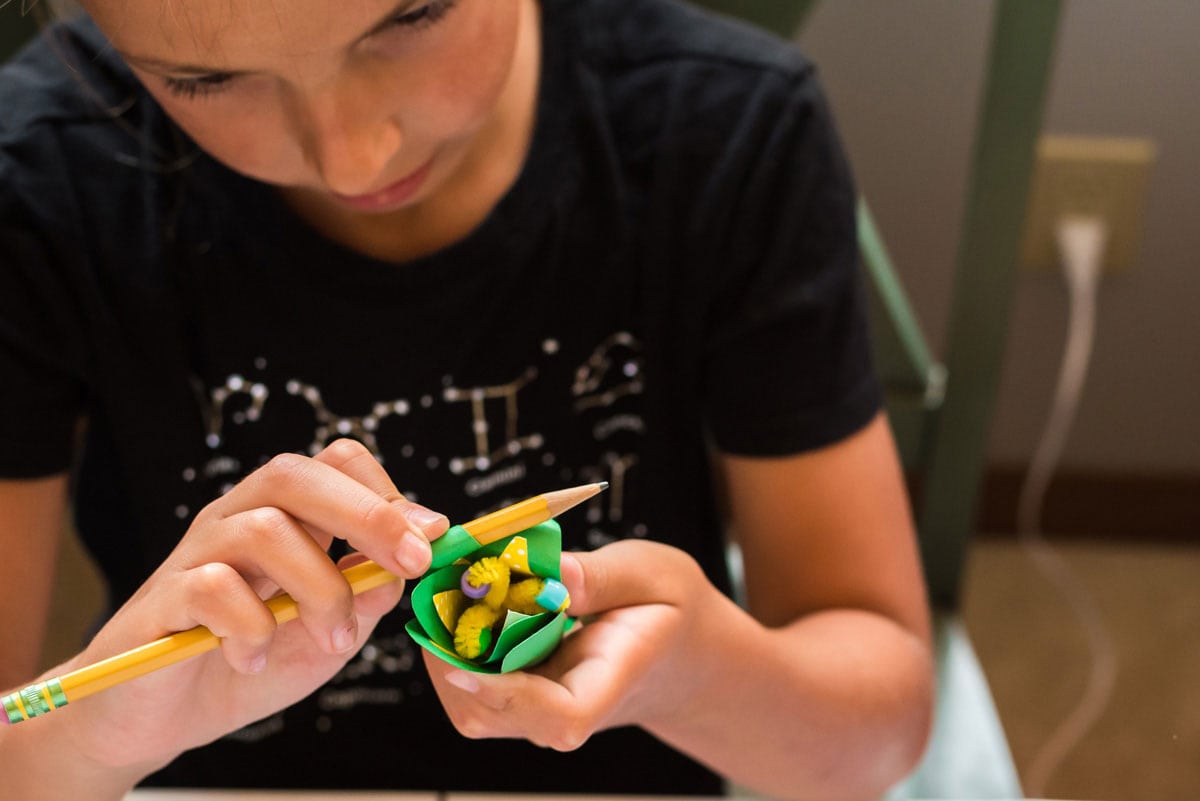
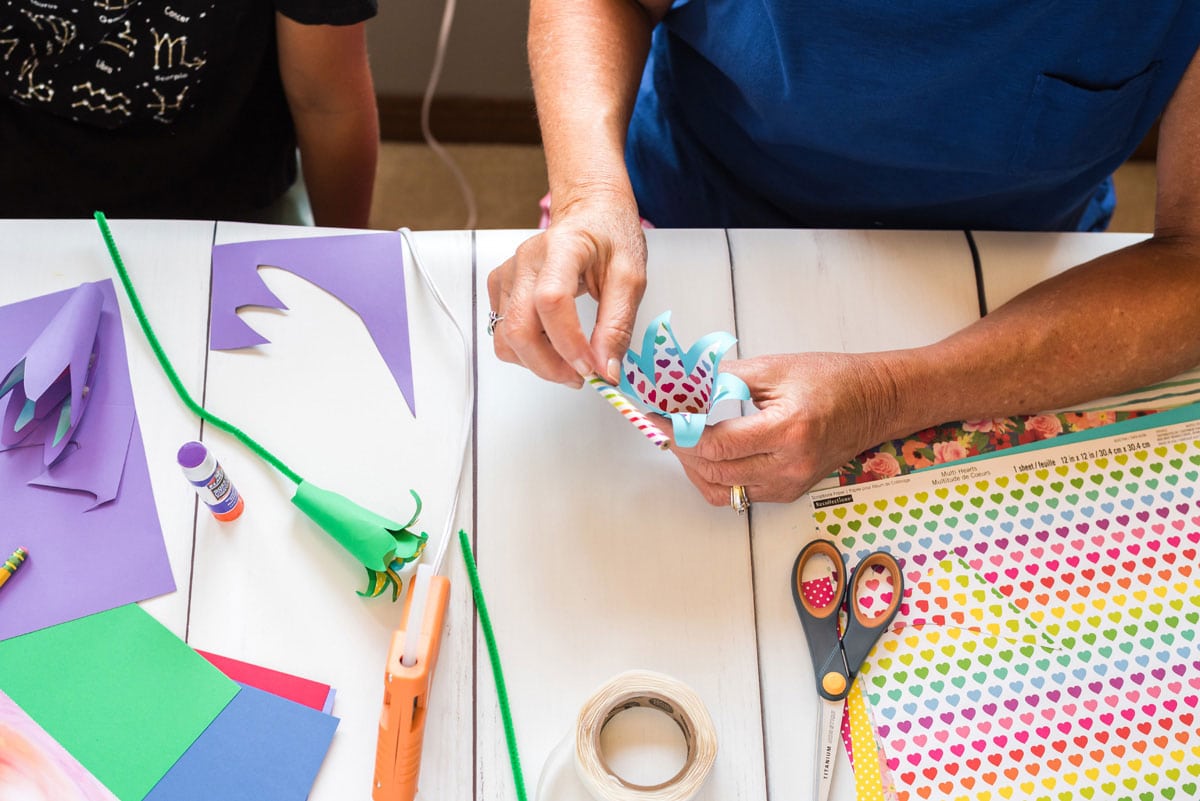
- Wrap each flower petal around a paintbrush or a pen to curl them.
Expert Tips and FAQs
- Use whatever colors you like. Brightly colored card stock works best with patterned scrapbook paper.
- This project is great for all ages, but a grown-up might need to help kids with the glue gun.
More flower crafts
If you like this, you may also like some of my other flower crafts! I’ve hand-picked several for you below.
- Bendable Fabric Flower
- Recycled Denim Flower Magnets
- Flower Bracelet from Wooden Beads
- Doily & Fabric Flower Pin
These paper flowers are a great craft project for adults, seniors, and kids. They are pretty and fun and easy to make. They also are the perfect homemade gift for Mother’s Day and Grandparent’s Day!
Tropical Paper Flowers
Supplies
- Card stock in bright colors orange, red, bright green, turquoise, yellow
- Scrapbook paper in colors that compliment card stock colors
- Flower pattern
- 5 green pipe cleaners 1 per flower
- 15 pony beads 3 per flower
- 5 yellow pipe cleaners (1 per flower) cut into thirds
- Glue stick
- Glue dots
Craft tools
- Color printer
Instructions
- Print out pattern. Use the larger template to cut out card stock pieces. Use the smaller template to cut out scrapbook paper pieces.
- Use glue stick to attach the small scrapbook paper flower to the larger card stock flower.
- Roll the flower up tight, spread the top out as if you were forming a cone shape.
- Thread a pony bead onto a one of the short yellow pipe cleaners and bend at the top to close it around the bead. Repeat this for a total of three. Wrap the ends together with the end of a green pipe cleaner to attach them all together.
- Poke the end of the green pipe cleaner down into the center of the flower. Hot glue in place.
- Seal cone shape with a glue dot. Wrap each flower petal around a paintbrush or a pen to curl them.
Expert Tips & FAQs
- Use whatever colors you like. Brightly colored card stock works best with a patterned scrapbook paper.
- This project is great for all ages, but I grown up might need to help kids with the glue gun.
When I decided to make these flowers, I drew my initial inspiration from these beautiful felt flowers from Crafty Staci. Hers were so pretty and colorful that they caught my eye the very first time I saw them! I decided to use paper because there are so many pretty patterns available in scrapbook paper that you just can’t get in felt. And I love the way that the patterned paper compliments the solid colors of the card stock.
This post originally appeared here on June 21, 2014 but has since been updated with new photos.
- Winter Luminaries: Snowy Pinecone Candle Jars - November 19, 2024
- Pinecone Owls - November 12, 2024
- Thanksgiving Handprint Tree - November 1, 2024




vicki wolf says
There is only one template to print. I don’t see the small template.
Natasha says
I can’t seem to find the template to print for some reason, could this be emailed to me at all?
Amanda Formaro says
Hi Natasha. Right underneath the “Expert Tips and FAQs” section there’s a blue box that shows you how to get the template :) Fill that out and you’ll get an immediate download.
Buske Azariah says
So much fun my family will love them. Thank you so munch and also what is your influence or reason to do these arts and crafts also I’ve been checking out other stuff nothing compared to yours.🥳🎮😉😊😃🍧🌹😂♾🤯
Amanda Formaro says
Thanks so much! Crafting is relaxing to me :) and I hope others feel the same. Makes me want to share the how-to’s!
Kara says
These are beautiful! I just might have to make these during one of my paper crafting workshops!
Amanda Formaro says
Thank you Kara, hope you get a chance to make them! :)
Dani Sherlock says
These are so lovely. Definitely the best paper flower tutorial that I’ve seen. Thanks so much.
Amanda Formaro says
Thank you so much Dani, that’s so nice of you to say!
janssen says
et où est le modèle ? merci
Amanda Formaro says
Click the link that says “Flower pattern”
Kathy Jobe says
An adorable craft project for most any time of year. My first thought was that these will make any gift-wrapped package “bloom” with beauty and imagination by attaching one or two two on top of a big bow! Can’t wait to try it for my grown-up daughter’s birthday coming up soon. One more idea: make them in red (or gold or whatever color you use for the holidays) and attach them to green garland or nestle them among your tree branches for Christmas decorations!Thanks so much for this wonderful tutorial!
Amanda Formaro says
Fun idea for Christmas Kathy! I actually was planning on doing a Christmas variation, so you may see that on here soon!
lavardecorinne says
très jolie ces fleurs maisou peut on ce procure le materiel ailleur que sur internet svp merci
beverly schwartz says
I can not print out the template could you send it to my email please
LYNN says
I can`t wait to make some.I love to make paper flowers.Thank you.
Amanda Formaro says
Hope you have fun Lynn!
Evonne says
What a wonderful project thank you for sharing :)
Amanda Formaro says
Thank you Evonne, I appreciate that!
Ann Whitby says
These are beautiful! Summer is perfect for them but they just might help to get through the cold winters! Thanks!
Amanda Formaro says
I agree Ann, a great way to keep summer around, thanks!
Martha Lofton says
I really love these flowers. thanks for putting them on here. I will make them when I get the items needed. and will send you a picture of them also. like I have said many times ,I make my crafts for friends and family. not to sell but as gifts. God has given me a gift of crafting so that is why I do them.
thanks again,
Martha Lofton
Misty Morgan says
Great tutorial! Thanks for sharing!
Amanda Formaro says
Thanks so much Misty!