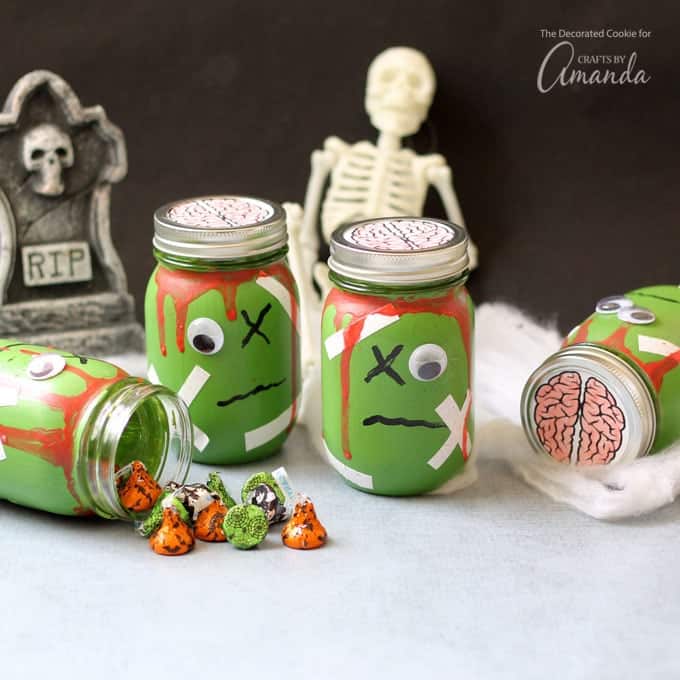
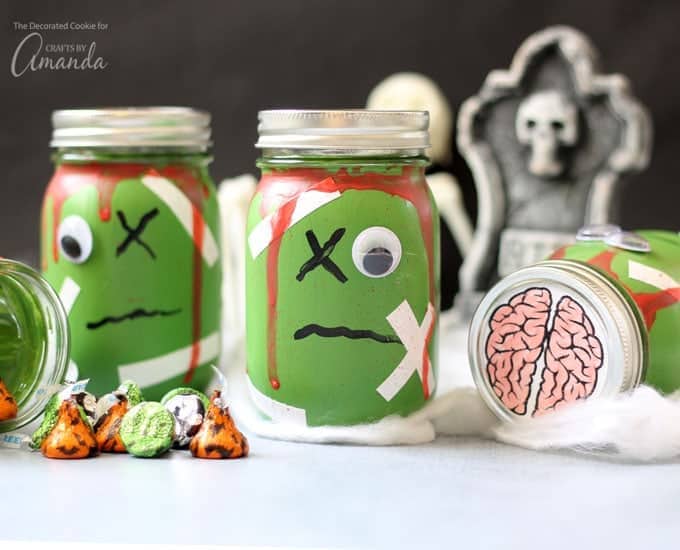
These zombie mason jars are pretty scary, huh? Especially with an unobstructed view of brains. BRAAAINS!! For your Halloween party, The Walking Dead viewing (check out these Barbie zombies!), an impending apocalypse, Halloween decor, or just for every day scaring, this easy mason jar craft has you covered.
These would make a cute take-home favor jar for a Pumpkin Painting Party!
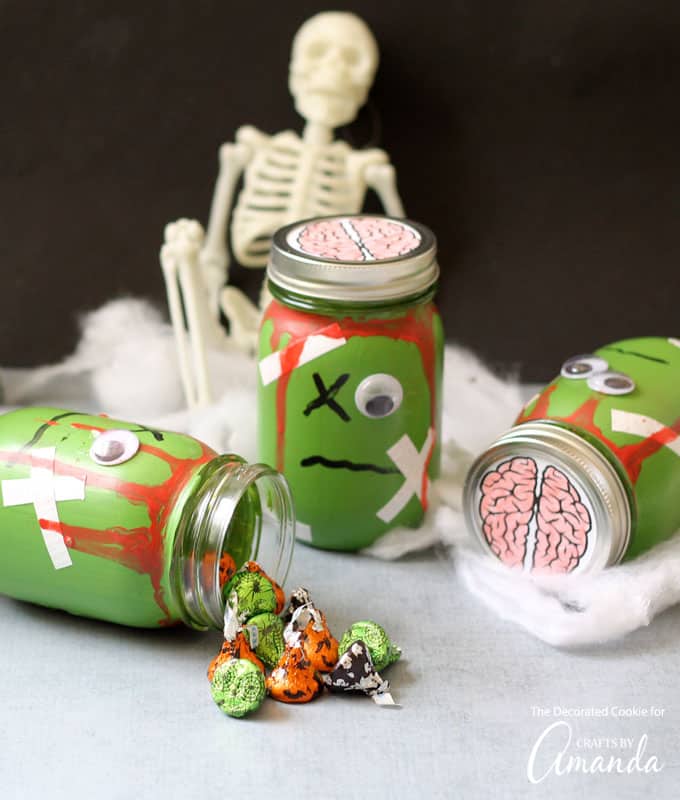
zombie Mason jars
These scary Mason jar zombies use easily-available supplies, and you can add more or less of anything to create your own zombies. Don’t you love fun diy Halloween decorations? We do!
Here, to paint the zombie mason jars green (you may also try purple or gray), I used simple acrylic craft paint, available from the craft store. For a more permanent paint, consider using acrylic enamels or chalk paint, also available from the craft store, both of which work very well on glass surfaces.
I stuck with acrylic craft paint because I figured if the paint chipped away over the years, the effect would be even more zombie-like.
The provided free brains printable is optional, but I think it adds a perfect finish. As long as the paint and decorations are toxic-free, you can use these jars for giving Halloween treats or fill them with scary toys.
What you’ll need for zombie Mason jars
- mason jars
- green craft paint (acrylic, acrylic enamel, or chalk paint)
- large googly eyes
- hot glue gun
- black craft paint
- red craft paint
- school glue
- lollipop stick or straw
- paintbrushes
- thin, white duct tape
- toothbrush (optional)
- FREE BRAINS PRINTABLE (optional)
- white cardstock paper (optional)
- peach or pink marker (optional)
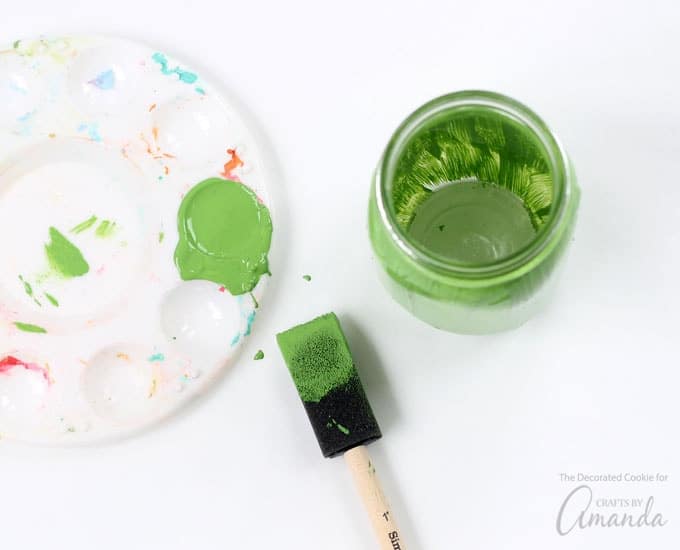
Paint the mason jar with green paint. Let dry completely. You may need to use 2 to 3 coats of paint.
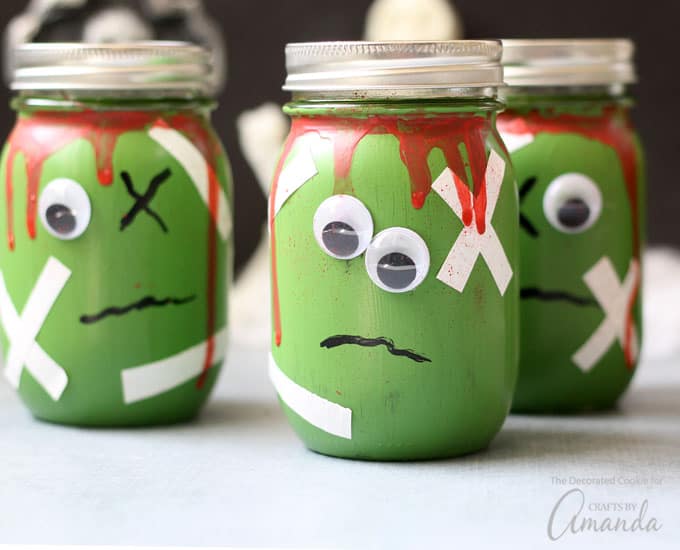
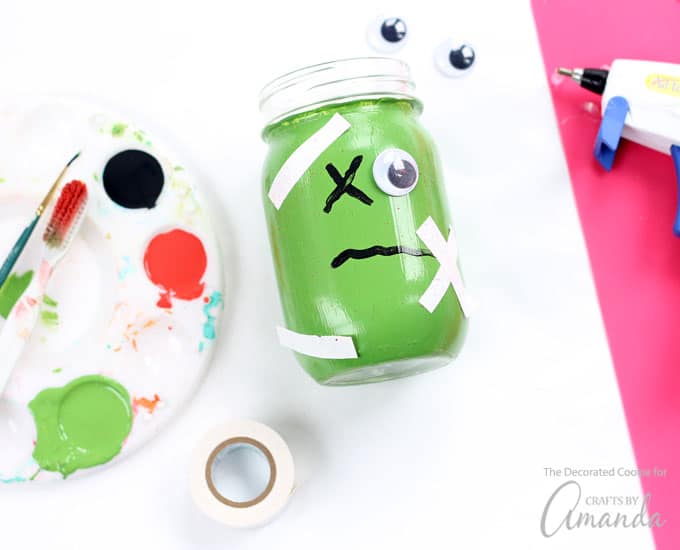
Use the hot glue gun to attach one or two googly eyes. With the black paint, paint an “X” for an eye and paint a mouth or any other marks you’d like to make. Cut strips of white duct tape and adhere to make “bandages.”
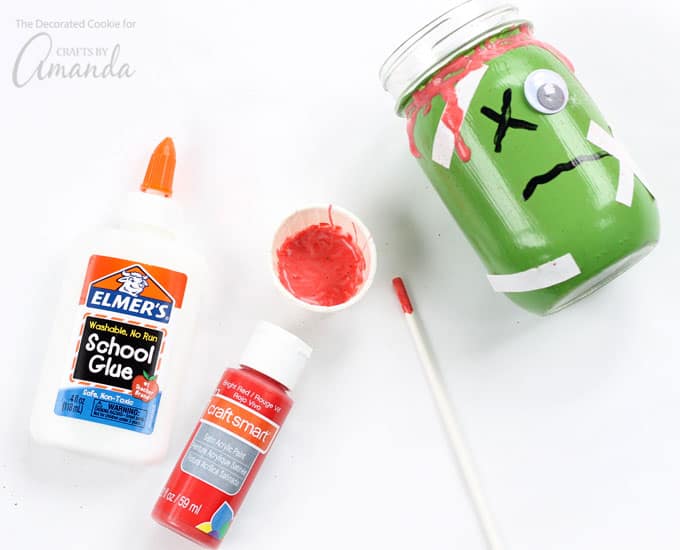
For the dripping blood, mix a few drops of red paint into some school glue. Use the stick or straw to drape the glue mixture around the top of the mason jar, just under the lid. Let the glue mixture drip down the sides of the jar.
If desired, dip a toothbrush in red craft paint and use your thumb along the brush to splatter red paint on the jars.
Let dry completely.
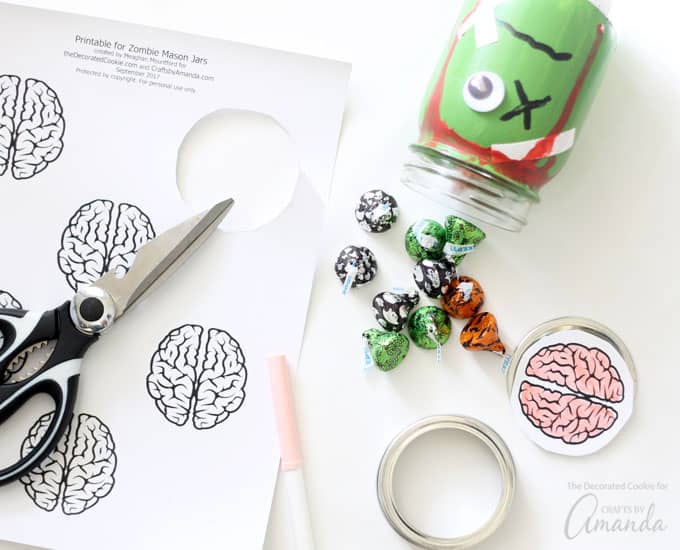
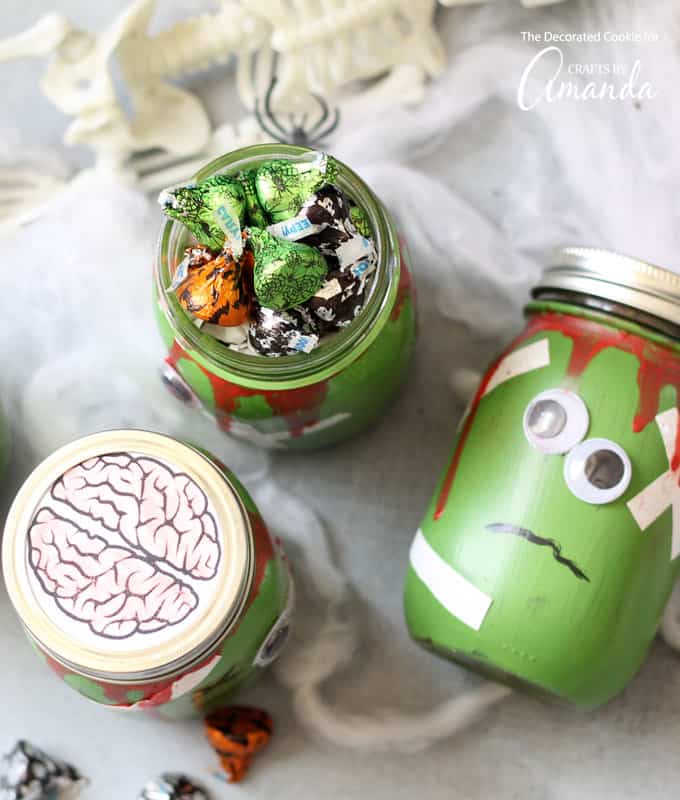
Print the printable on the cardstock paper and fill the brains in with the marker. Cut out the circles and attach to the mason jar lids.
Fill your zombie mason jars with Halloween candy or spooky toys.
Need more zombies? (Who doesn’t?) Make some zombie candy pops or zombie pretzels to match.
These zombie mason jars are part cute, part spooky, and part silly. (I’d say the spooky part is the smallest, except for the whole visible-brain thing.) Fill them with toys for a candy-free Halloween party favor. Or, just use them to decorate your house. Zombies work in pretty much any scenario.
For more fun Halloween decor check out these Paper Halloween Luminaries. By day they are fun colorful shelf decorations and by night they are spooky Halloween luminaries. Easy enough for kids to join in on the crafting!
Or you may like these Glowing Jack O Lantern Jars. Made using mason jars, paint pens and glow sticks you’ll have awesome night-of Halloween luminaries for your party or outdoor decor!
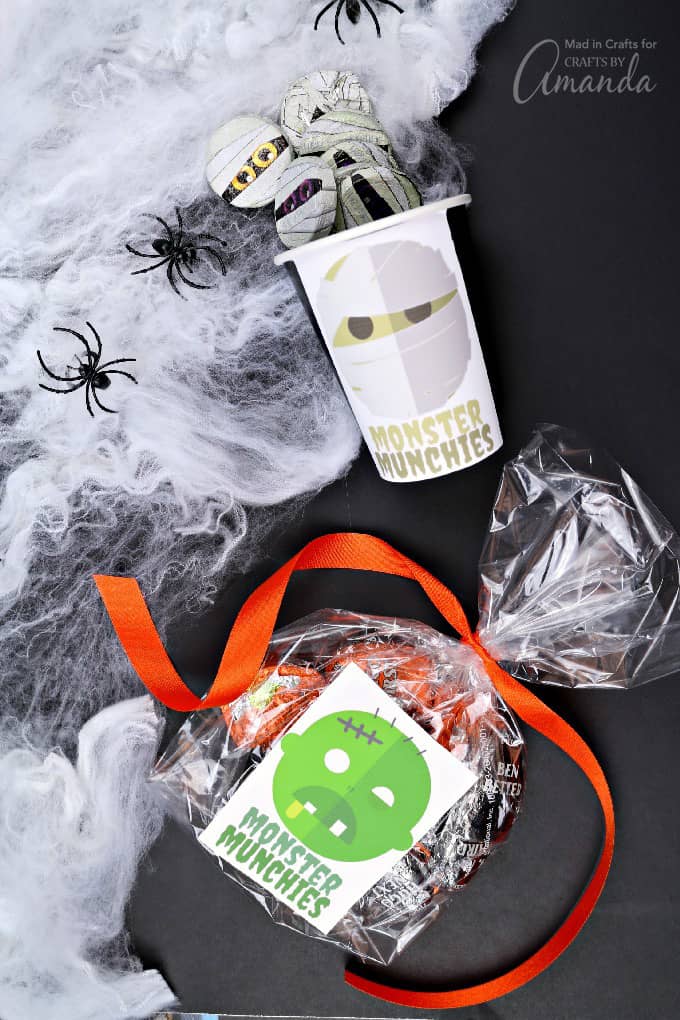
If you’d like another cute goodie bag idea, our printable monster stickers are perfect for Halloween party treat cups or candy favors!
If you have any leftover canning bands, try my mason jar lid pumpkins!
More Halloween Ideas
- Balloon Ghosts
- Twirling Paper Ghosts
- Halloween Ribbon Wreath
- Halloween Painted Wine Glass Candle Holders
- Halloween Keep Out Door
- Paper Halloween Luminaries
- Clay Halloween Village
Zombie Mason Jars
Supplies
- mason jars
- green craft paint acrylic, acrylic enamel, or chalk paint
- large googly eyes
- hot glue gun
- black craft paint
- red craft paint
- school glue
- lollipop stick or straw
- paint brushes
- thin white duct tape
- toothbrush optional
- FREE BRAINS PRINTABLE optional
- white cardstock paper optional
- peach or pink marker optional
Instructions
- Paint the mason jar with green paint. Let dry completely. You may need to use 2 to 3 coats of paint.
- Use the hot glue gun to attach one or two googly eyes. With the black paint, paint an "X" for an eye and paint a mouth or any other marks you'd like to make. Cut strips of white duct tape and adhere to make "bandages."
- For the dripping blood, mix a few drops of red paint into some school glue. Use the stick or straw to drape the glue mixture around the top of the mason jar, just under the lid. Let the glue mixture drip down the sides of the jar.
- If desired, dip a toothbrush in red craft paint and use your thumb along the brush to splatter red paint on the jars.
- Let dry completely.
- Print the printable on the cardstock paper and fill the brains in with the marker. Cut out the circles and attach to the mason jar lids.
- Fill with Halloween candy or spooky toys.
This post originally appeared here on Sept. 1, 2017.
- How to Paint Wine Glasses - January 17, 2025
- Mason Jar Lid Snowman - December 27, 2024
- Macrame Sea Glass Necklace - August 20, 2024


Deb says
Hello Amanda, did you paint the inside or the outside of the jar?
Amanda Formaro says
Hi Deb! You paint the outside of the jars :)
Nina Lewis says
Such a wonderful idea to do with my grandkids!!