
While you won’t want to try floating it, this DIY concrete and driftwood sailboat is a breezy nautical or coastal decor idea for your home or cottage. It would look great in the same room displaying this DIY Driftwood Crab Wall Art!

DIY Concrete and Driftwood Sailboat
Hello! Sonja from Sustain My Craft Habit here. Ever since I made these DIY stepping stones with the kids this summer, the urge to make stuff with concrete has hit. There’s just something so gratifying about mixing fluid ingredients like sand, cement, and water together to make something solid, and well… concrete!
We’ve been making over our small family cottage over the past few months. We decided that a concrete and driftwood sailboat would be the perfect nautical touch to our beach-themed bedrooms.
We love the irony of the base being the least likely thing on Earth to float: concrete! In the end, the industrial hard concrete boat with the rustic natural driftwood mast make the perfect combination.

Check out the video for making these adorable driftwood sailboats below!
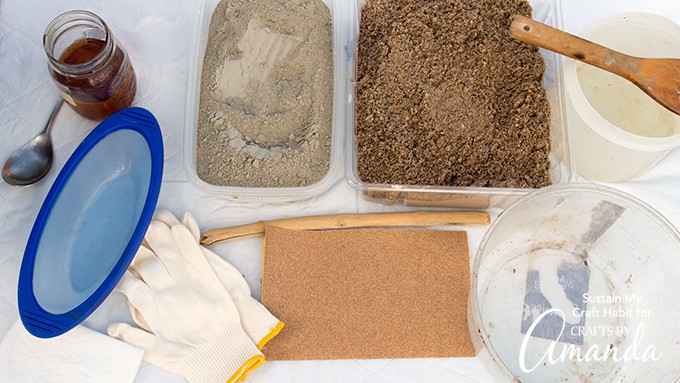
Supplies Needed for these Sailboats
- boat-shaped mold (e.g. a beach toy)
- straight driftwood piece, about 12” long
- vegetable oil
- sand for concrete
- Portland cement
- container with water
- container for mixing
- measuring cup
- spoons for scooping ingredients and for mixing
- sandpaper
- drill and small drill bit
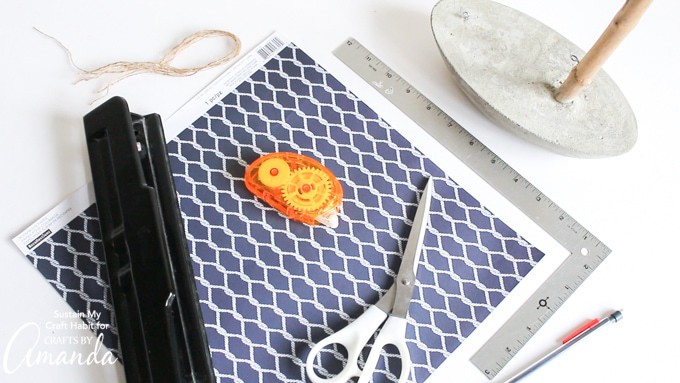
- 3 eyelets
- 12”x12” nautical themed scrapbook paper
- natural twine
- hole punch
- pencil, ruler
- scissors, glue
Instructions for Making a DIY Concrete and Driftwood Sailboat
Making the Concrete Boat
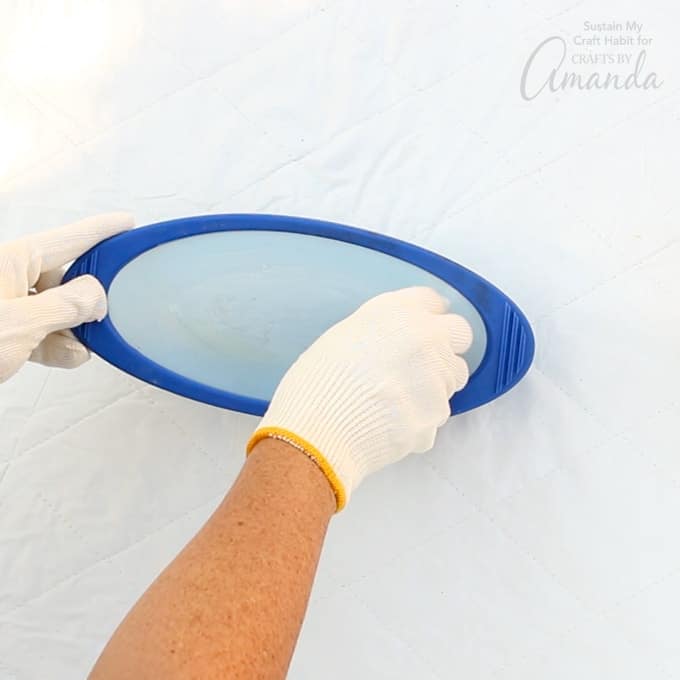
- Start to make your DIY concrete and driftwood sailboat by generously coating your boat mold with a release agent such as vegetable oil.
- Use a measuring cup to measure equal amounts of sand and cement (two cups of each in this case). Thoroughly blend them together.
- The amount of water that you need to add to the mixture will depend on the moisture level of the sand to begin with. Start by adding a half part (e.g. 1 cup) of water to the cement mixture. It’s better to start with less water and then add more if needed. You’re aiming for a thick dough-like consistency.
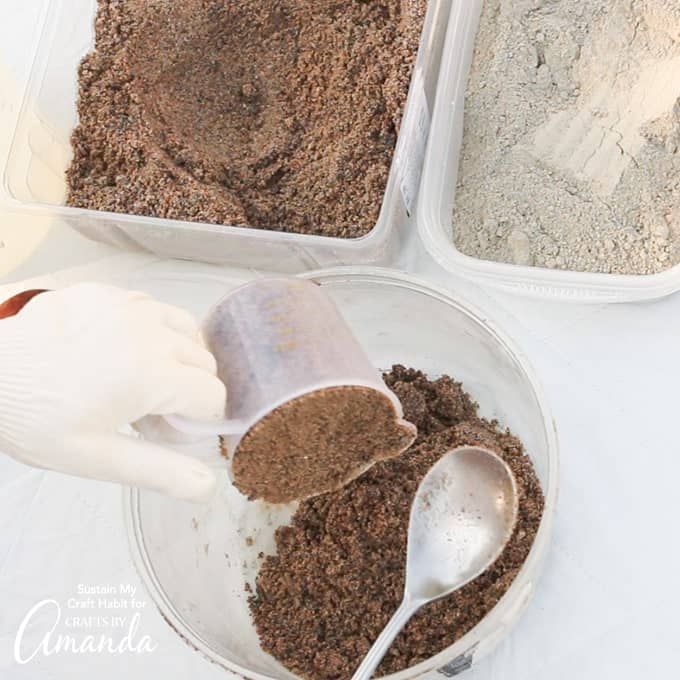
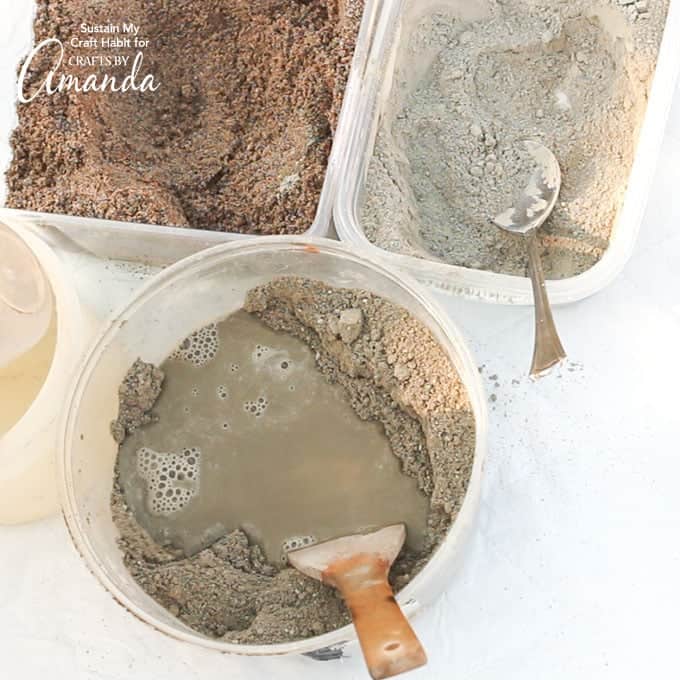
- My mixture felt quite thin, so I added a bit more each of the sand and cement to the mixture.
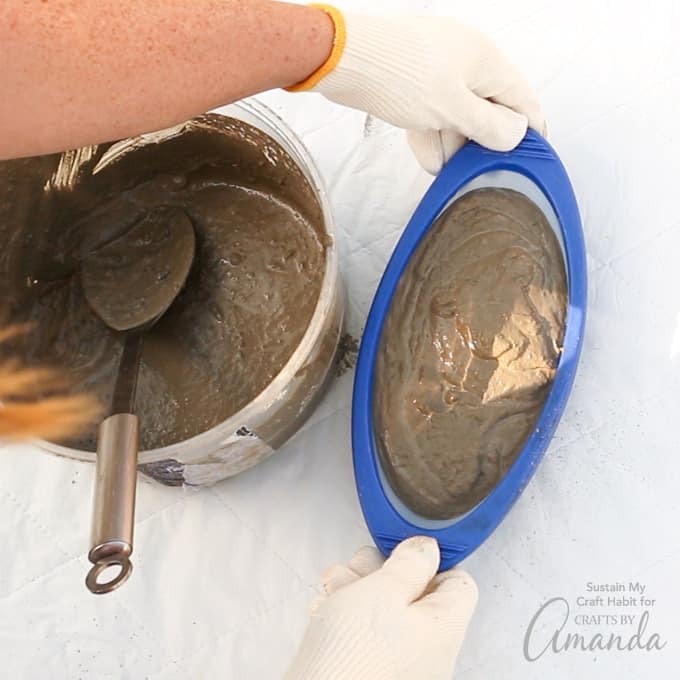
- Either pour or scoop your concrete mixture in your mold. Don’t overfill.
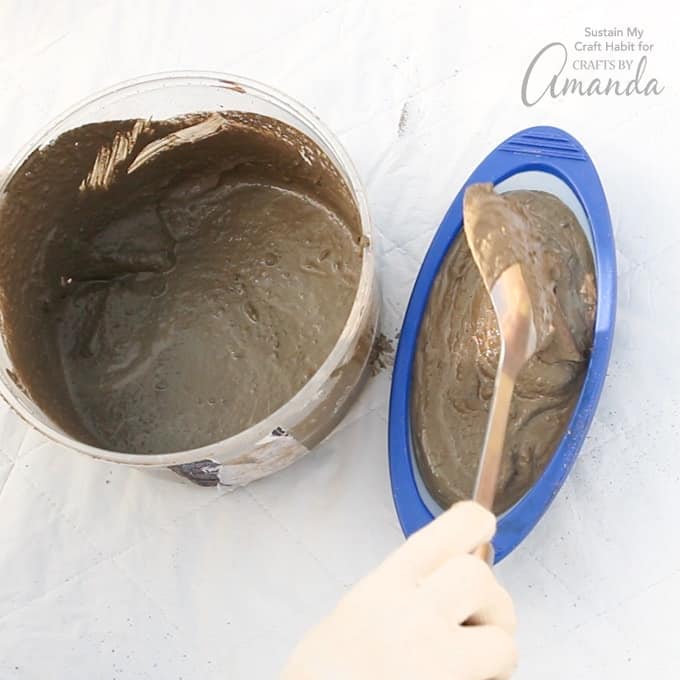
- Gently tap the mold on the table top to level the concrete and help move air bubbles to the surface.
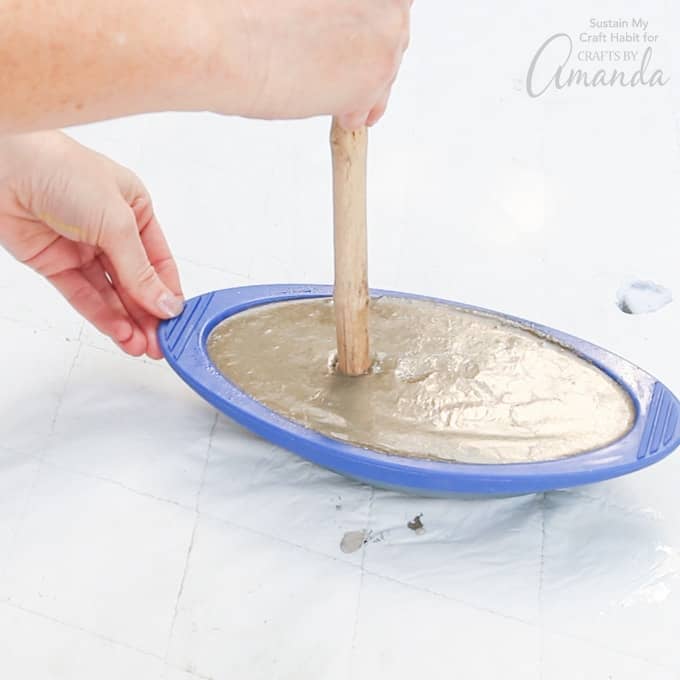
- Place the filled boat mold on a level surface and let sit for at least one hour before inserting the driftwood mast.
Note: If the concrete appears to be drying too quickly (e.g. hot weather), consider spraying the surface with water at the beginning to keep it from cracking. Cement cures not dries and needs to stay moist to cure properly.
Adding the Sailboat Mast and Eyelets
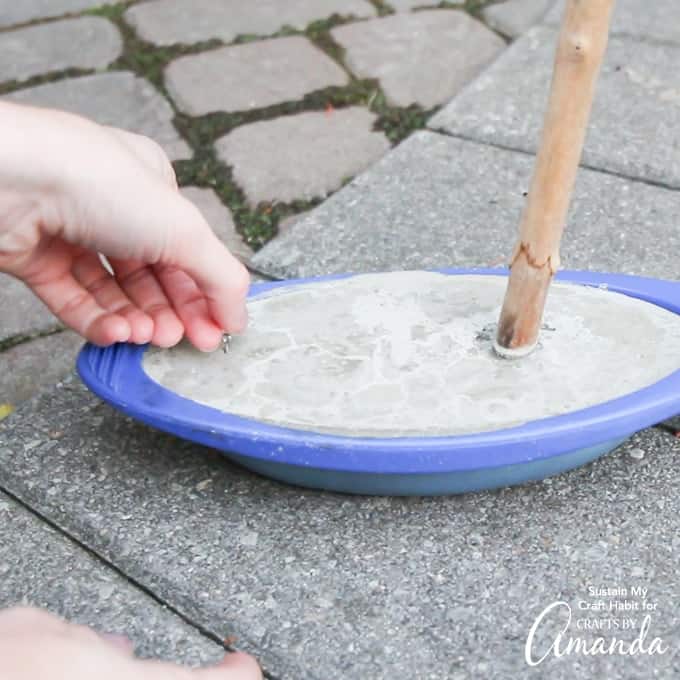
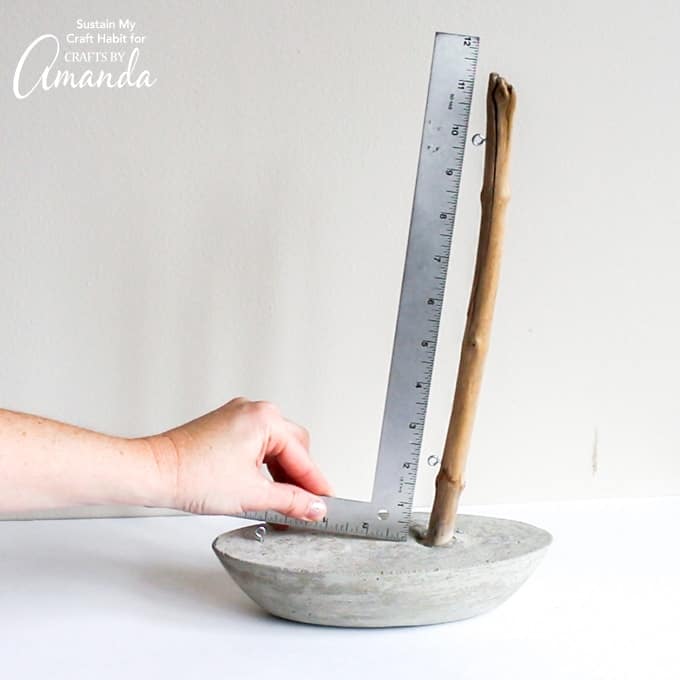
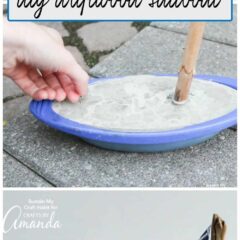
- Once the concrete has firmed up a bit, try inserting the driftwood mast, about 1/3 of the way from the front of the boat. It should be able to stand up on its own. If not, wait another hour and try to insert the driftwood again. Jiggle the boat to help the cement settle around the driftwood.
- Insert a small eyelet close to the back of the boat before the concrete sets completely. Let the concrete boat completely cure 24-48 hours.
- Remove concrete from mold.
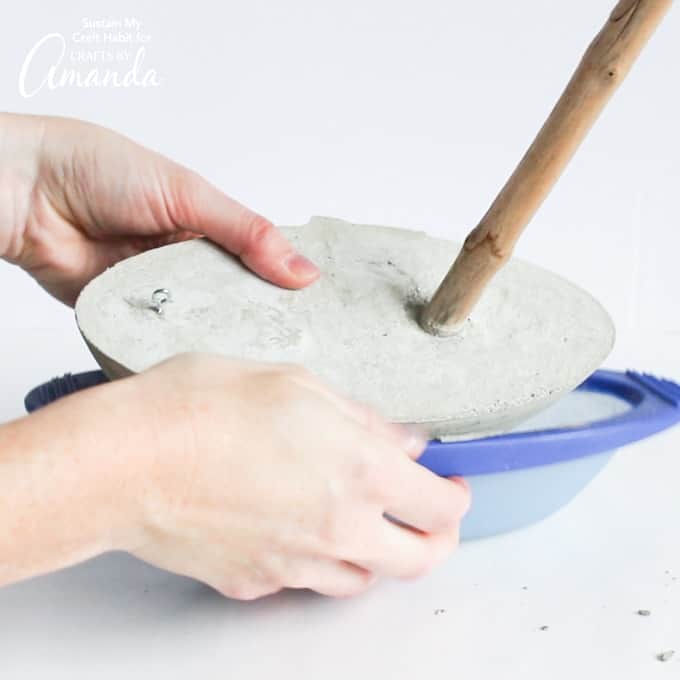
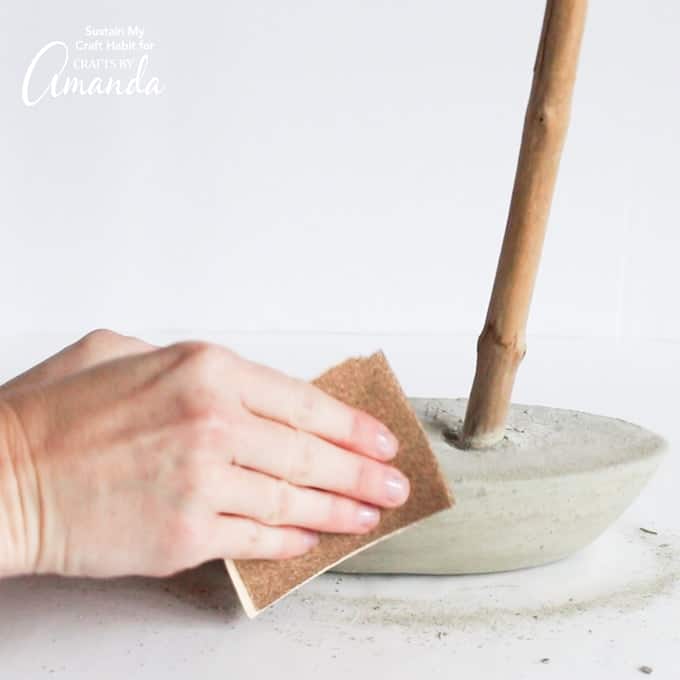
- Gently sand all edges.
- Drill two small eyelet holes in the driftwood mast: 1” from the top and 1” from the surface of the concrete boat. Ensure that the holes are facing towards the back of the boat.
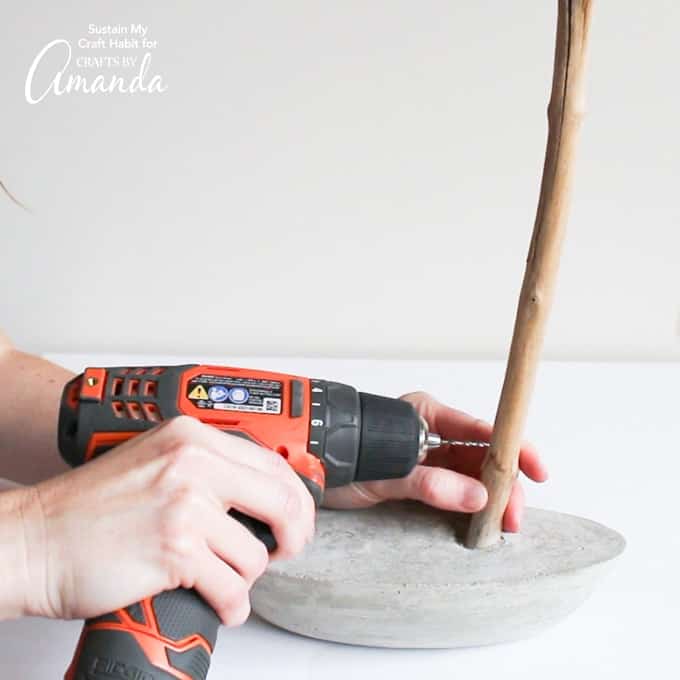
- Screw eyelets into each of the drilled pilot holes.

Mounting the Sail
- Measure the distances between the three eyelets to determine how the sail needs to be cut. Add an extra 1” to the length and width of the triangle.
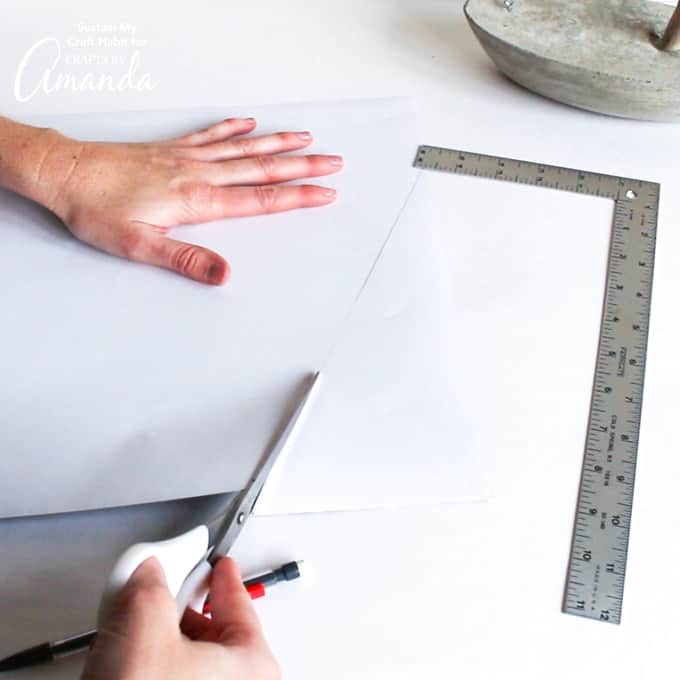
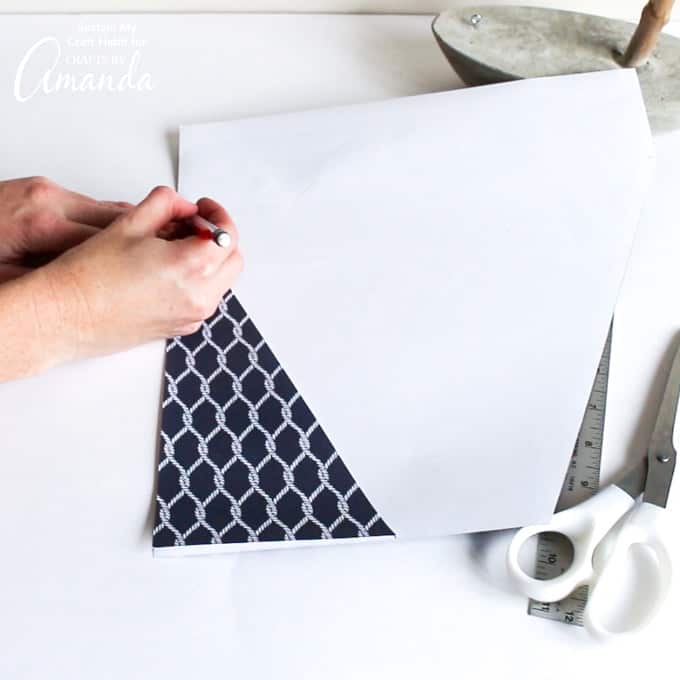
- Use those measures to mark and then cut a triangular shaped sail from the nautical scrap book paper.
- Use the cut sail as a template to cut a second sail. Ensure that the pattern on the print is in the same direction for both pieces of paper. (Note: this step isn’t necessary if you use 2-sided scrapbook paper).
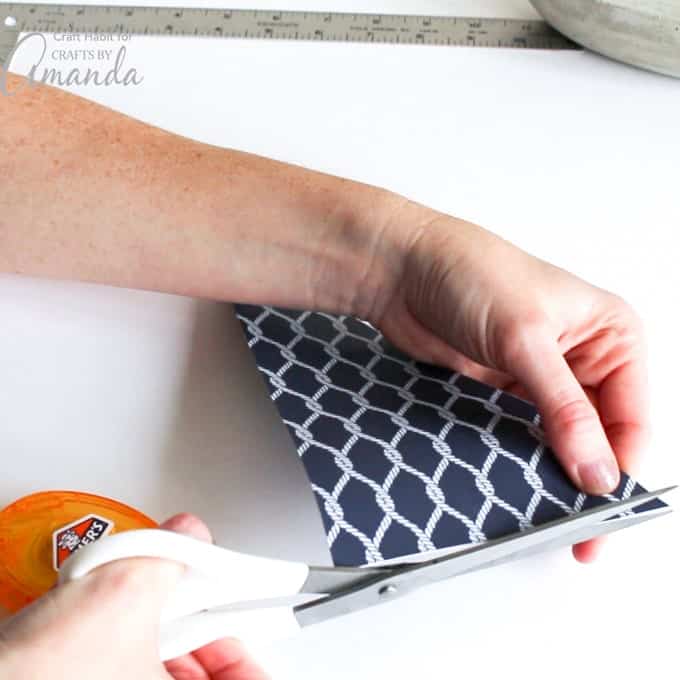
- Using a double sided tape, apply tape to back side of one cut triangle. Stick the two wrong sides together and trim away any uneven edges.
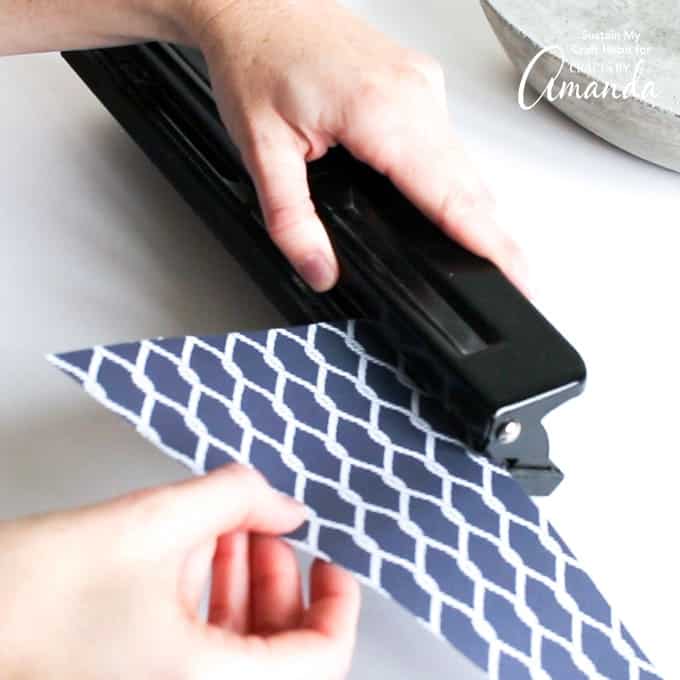
- Hold the cut triangle up to your sailboat to roughly mark the placement of the holes. Alternatively, you can measure the distance between the eyelets (length and width) and mark them onto the triangle cut paper. Using a hole punch, insert your cut paper and punch one hole over top of your markings.
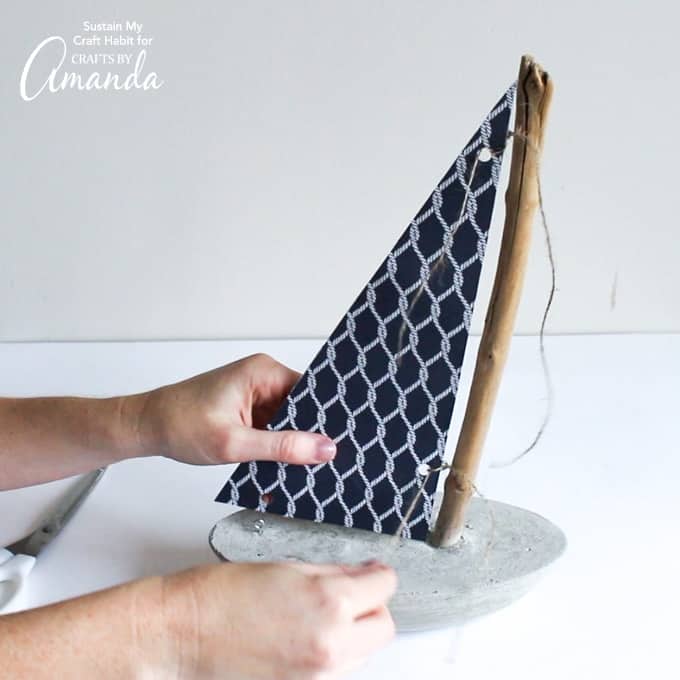
- Begin attaching the sail to the boat by aligning the hole punches on the paper with the eyelets on the boat. Loosely tie them together using a pieces of cut twine.
There you go! A beautiful nautical driftwood sailboat that’s perfect for your coastal decorating. We think this piece would be great for the cottage or home, especially in a beach-themed nursery or bedroom. It would also make a great gift idea for any sailboat lover!

Where would you put your DIY concrete and driftwood sailboat? Looking for more nautical and beach themed home decor? Make sure to check out the projects below!
- DIY Driftwood Signs
- Clay Pot Lighthouse
- Driftwood Art with Starfish
- Cottage Style Beach Frames
- Coastal Branch Tree for Christmas
- Weathered Beach Flag
DIY Concrete and Driftwood Sailboat
Supplies
- boat-shaped mold e.g. a beach toy
- straight driftwood piece about 12” long
- vegetable oil
- sand for concrete
- Portland cement
- container with water
- container for mixing
- measuring cup
- spoons for scooping ingredients and for mixing
- sandpaper
- drill and small drill bit
- 3 eyelets
- 12 ”x12” nautical themed scrapbook paper
- natural twine
- hole punch
- pencil ruler
- scissors glue
Instructions
Making the Concrete Boat
- Start to make your DIY concrete and driftwood sailboat by generously coating your boat mold with a release agent such as vegetable oil.
- Use a measuring cup to measure equal amounts of sand and cement (two cups of each in this case). Thoroughly blend them together.
- The amount of water that you need to add to the mixture will depend on the moisture level of the sand to begin with. Start by adding a half part (e.g. 1 cup) of water to the cement mixture. It’s better to start with less water and then add more if needed. You’re aiming for a thick dough-like consistency.
- My mixture felt quite thin, so I added a bit more each of the sand and cement to the mixture.
- Either pour or scoop your concrete mixture in your mold. Don’t overfill.
- Gently tap the mold on the table top to level the concrete and help move air bubbles to the surface.
- Place the filled boat mold on a level surface and let for at least one hour before inserting the driftwood mast.
- Note: If the concrete appears to be drying too quickly (e.g. hot weather), consider spraying the surface with water at the beginning to keep it from cracking. Cement cures, not dry. And needs to stay moist to cure properly.
Adding the Sailboat Mast and Eyelets
- Once the concrete has firmed up a bit, try inserting the driftwood mast, about 1/3 of the way from the front of the boat. It should be able to stand up on its own. If not, wait another hour and try to insert the driftwood again. Jiggle the boat to help the cement settle around the driftwood.
- Insert a small eyelet close to the back of the boat before the concrete sets completely. Let the concrete boat completely cure 24-48 hours.
- Remove concrete from the mold.
- Gently sand all edges.
- Drill two small eyelet holes in the driftwood mast: 1” from the top and 1” from the surface of the concrete boat. Ensure that the holes are facing towards the back of the boat.
- Screw eyelets into each of the drilled pilot holes.
Mounting the Sail
- Measure the distances between the three eyelets to determine how the sail needs to be cut. Add an extra 1” to the length and width of the triangle.
- Use those measures to mark and then cut a triangular shaped sail from the nautical scrapbook paper.
- Use the cut sail as a template to cut a second sail. Ensure that the pattern on the print is in the same direction for both pieces of paper. (Note: this step isn’t necessary if you use 2-sided scrapbook paper).
- Using a double sided piece of tape, apply tape to back side of one cut triangle. Stick the two wrong sides together and trim away any uneven edges.
- Hold the cut triangle up to your sailboat to roughly mark the placement of the holes. Alternatively, you can measure the distance between the eyelets (length and width) and mark them onto the triangle cut paper. Using a hole punch, insert your cut paper and punch one hole over top of your markings.
- Begin attaching the sail to the boat by aligning the hole punches on the paper with the eyelets on the boat. Loosely tie them together using a piece of cut twine.
- There you go! A beautiful nautical driftwood sailboat that’s perfect for your coastal decorating. We think this piece would be great for the cottage or home, especially in a beach-themed nursery or bedroom. It would also make a great gift idea for any sailboat lover!
Video
This post originally appeared here on Oct 27, 2017.
- Pressed Flower Resin Magnets - May 26, 2026
- Pressed Flower Art - May 8, 2026
- DIY Easter Egg Wreath - March 20, 2026


jam T says
you sisters are genius….. this is something you can out anywhere… and so easy to make one too…
loved your craftiness… :)
Jane and Sonja says
Thank you so much Jam! We really appreciate your kindness.