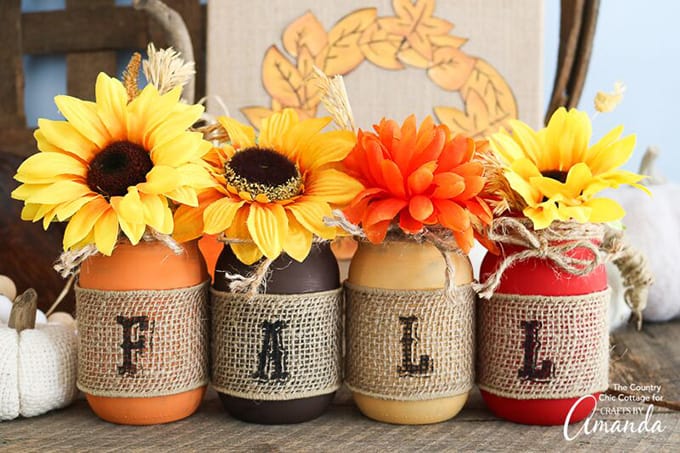
You can make some painted fall mason jars in minutes that will look great in your farmhouse style home. I love all things mason jar and burlap. This craft idea combines both of those into a gorgeous centerpiece that is perfect for a fall dinner party or Thanksgiving dinner.
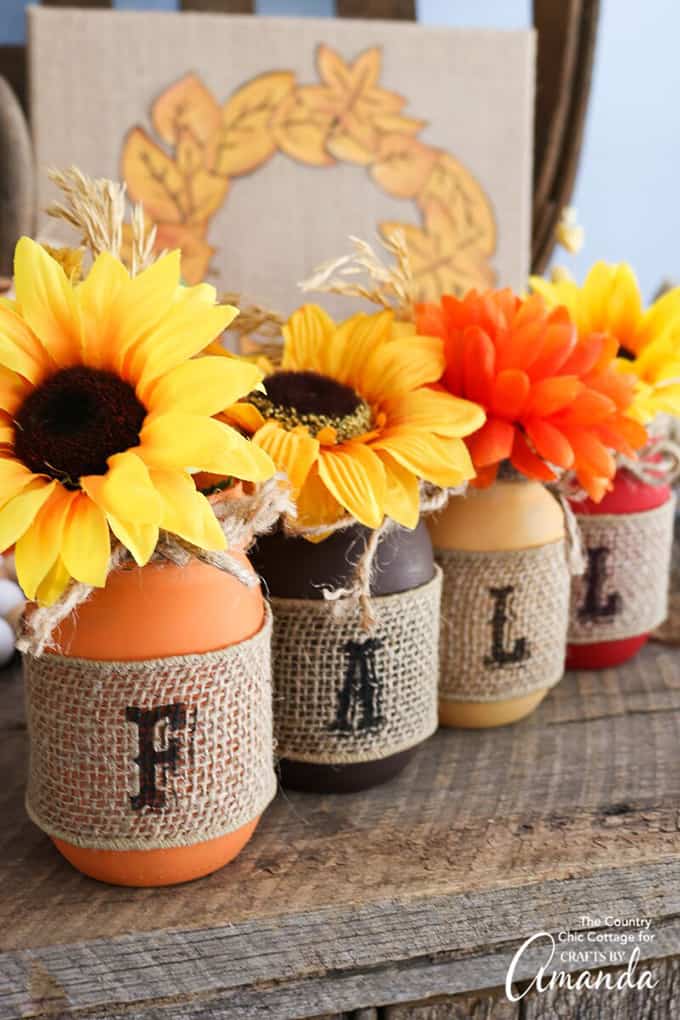
Fall Mason Jars
I used these jars to spell the word “FALL” but you can change up the wording on this one as well. For example, some jars that spell “THANKS” would be great for your Thanksgiving table. You could also change up the colors and spell “JOY” for a Christmas display. Once you learn this technique, you will be creating painted jars for every holiday!
Don’t forget to save your canning lids from your mason jars crafts to make these adorable mason jar lid pumpkins for fall!
– You might also like this project – Sunflower Welcome Sign

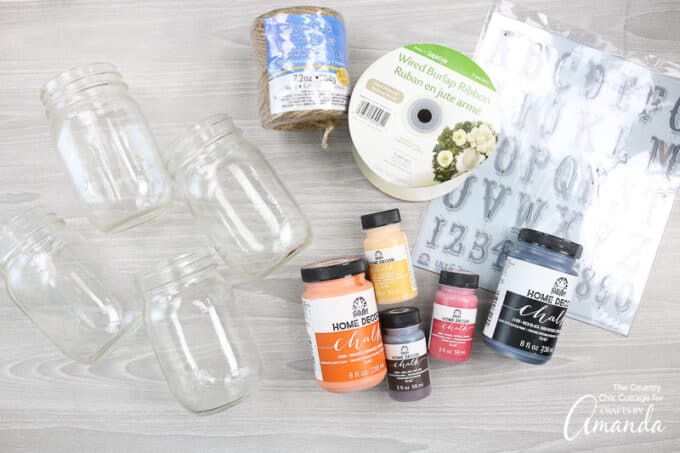
Supplies needed to make these painted jars
How to Make Fall Mason Jars:
- Start by painting your jars with the chalk paint. You will want to make sure the jars are clean and dry. I like to clean mine with rubbing alcohol and allow them to dry before painting.
- Set aside the jars and allow the paint to dry.
- Cut the burlap ribbon into 11 1/2 inch long strips.
- Use the black paint to stencil the letters onto the center of your burlap strips.
NOTE: The stencils I used are a layer stencils so each one had to be done twice. You can use a regular stencil if you would like. - Allow your burlap pieces to dry.
- Once everything is dry, wrap the burlap piece around your jar and secure in the back with some hot glue. Repeat for all four jars.
- Then add in some fall florals to complete your display.
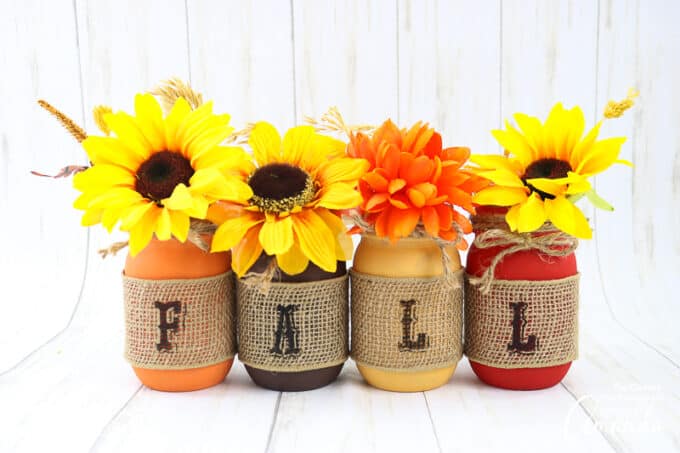
These fall mason jars are the perfect thing to display around your farmhouse-style home!
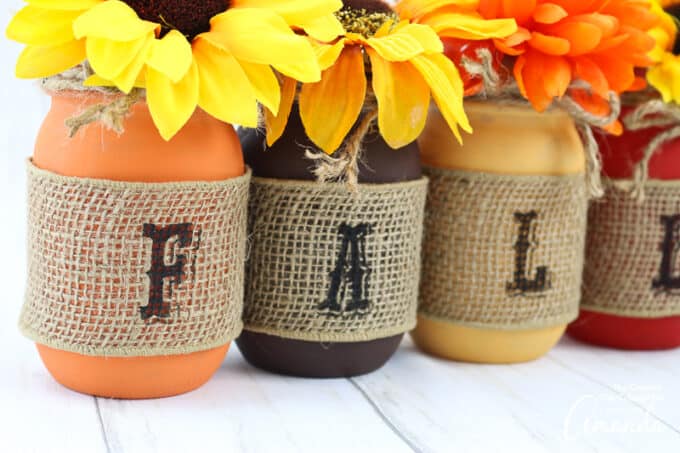
They will look great on a mantel or used as a table centerpiece. Plus they are so easy to make! You really can’t go wrong with some painted mason jars in fall colors.
We have many more mason jar crafts to browse through as well as plenty of fun fall projects listed below!
- Fall Napkin Luminaries
- Burlap Pumpkin Wreath
- Fall Candles
- Decorative Jars For Fall
- Halloween Luminaries
Fall Mason Jars
Supplies
- Pint size mason jars
- Twine
- Burlap ribbon
- Letter stencils
- Home Decor Chalk Paint
in orange, yellow, red, brown, and black
- Scissors
- Paintbrushes
- Hot glue and glue gun
- Fall florals
Instructions
- Start by painting your jars with the chalk paint. You will want to make sure the jars are clean and dry. I like to clean mine with rubbing alcohol and allow them to dry before painting.
- Set aside the jars and allow the paint to dry.
- Cut the burlap ribbon into 11 1/2 inch long strips.
- Use the black paint to stencil the letters onto the center of your burlap strips. NOTE: the stencils I used are a layer stencils so each one had to be done twice. You can use a regular stencil if you would like.
- Allow your burlap pieces to dry.
- Once everything is dry, wrap the burlap piece around your jar and secure in the back with some hot glue. Repeat for all four jars.
- Then add in some fall florals to complete your display.
Video
- Scrap Wood Frames - November 15, 2024
- Clay Pot Lighthouse - July 2, 2024
- Mason Jar Bird Feeder - April 9, 2024


Marybeth says
What type of paintbrush did you use with the stencils for the lettering?
Amanda Formaro says
It’s a stencil brush, they look like this https://amzn.to/44dy2oo
wendy terrill says
I absolutely love this. Thank you for sharing it.
Lesley Reynard says
I love all the projects you email me. Thank you so much.
Marilyn says
Cute jars!
Have a great day!
Marilyn ❤️