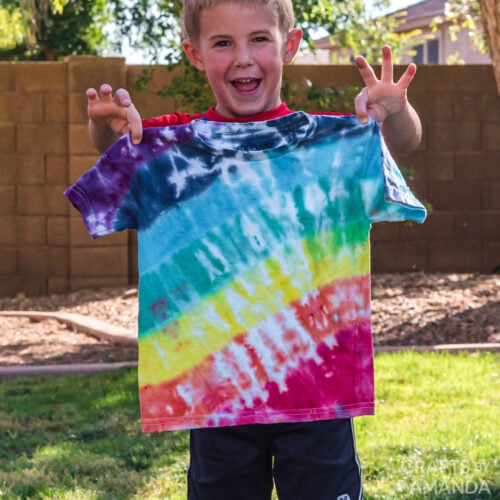
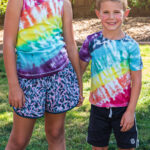
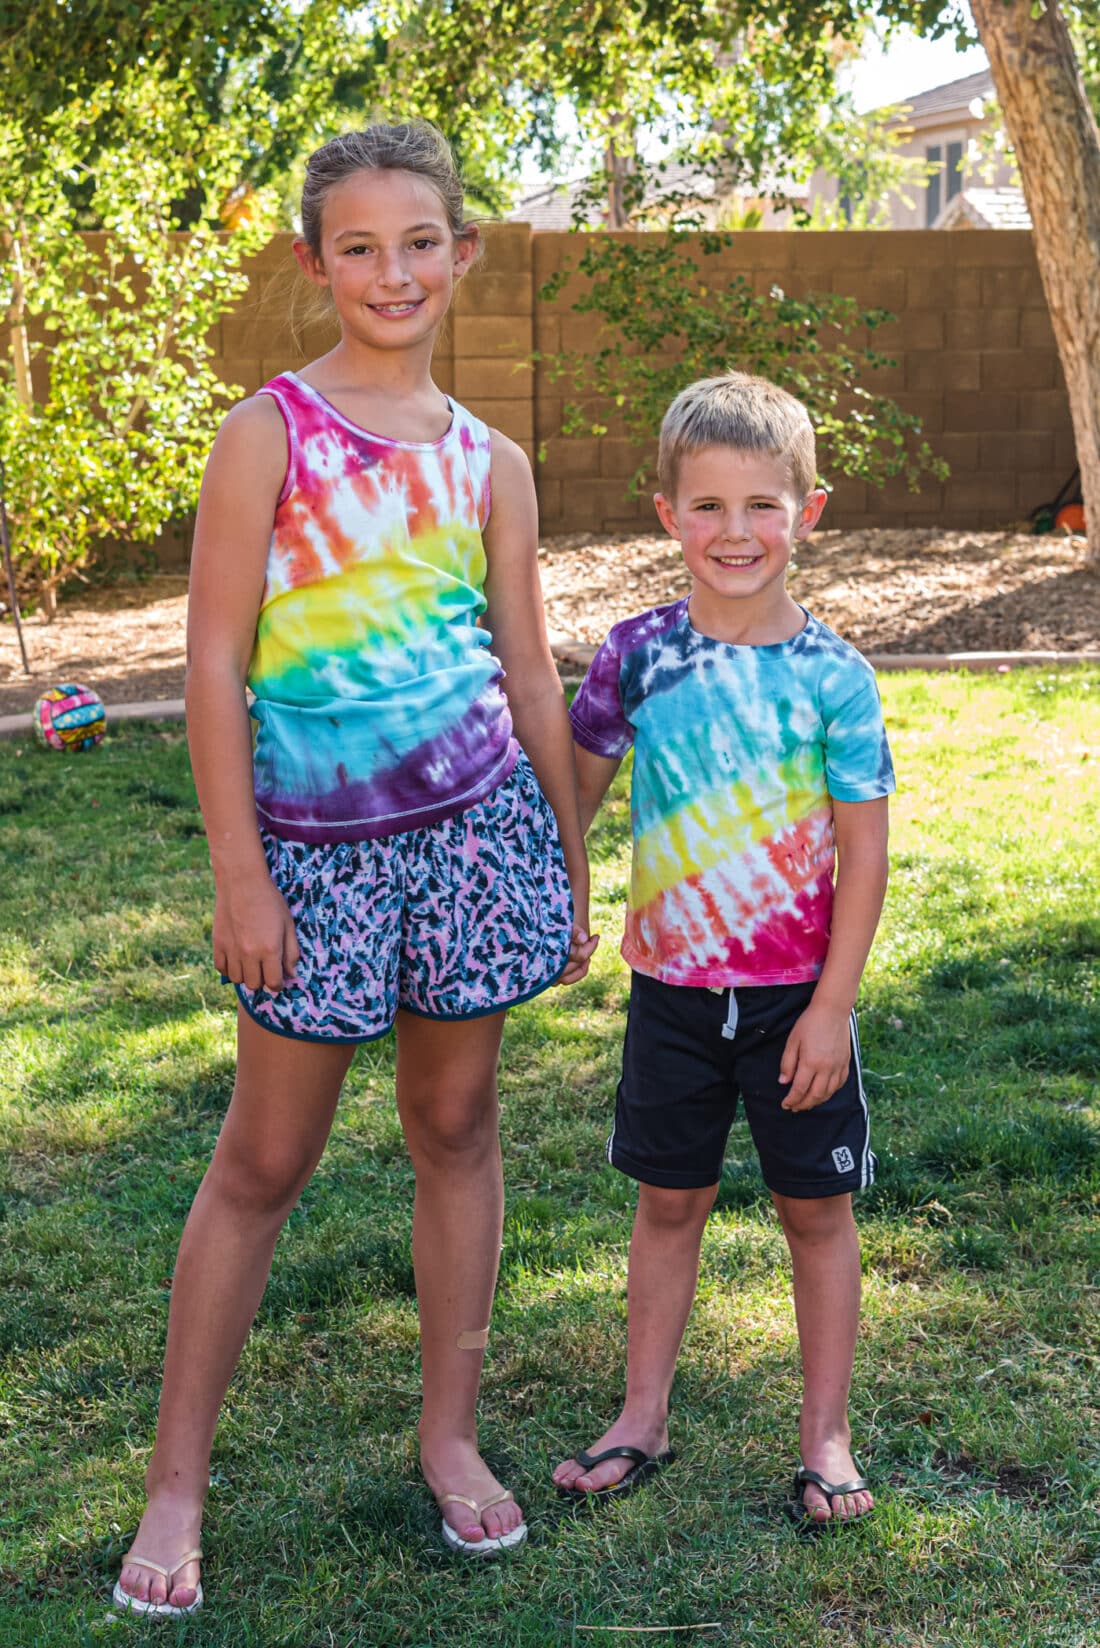
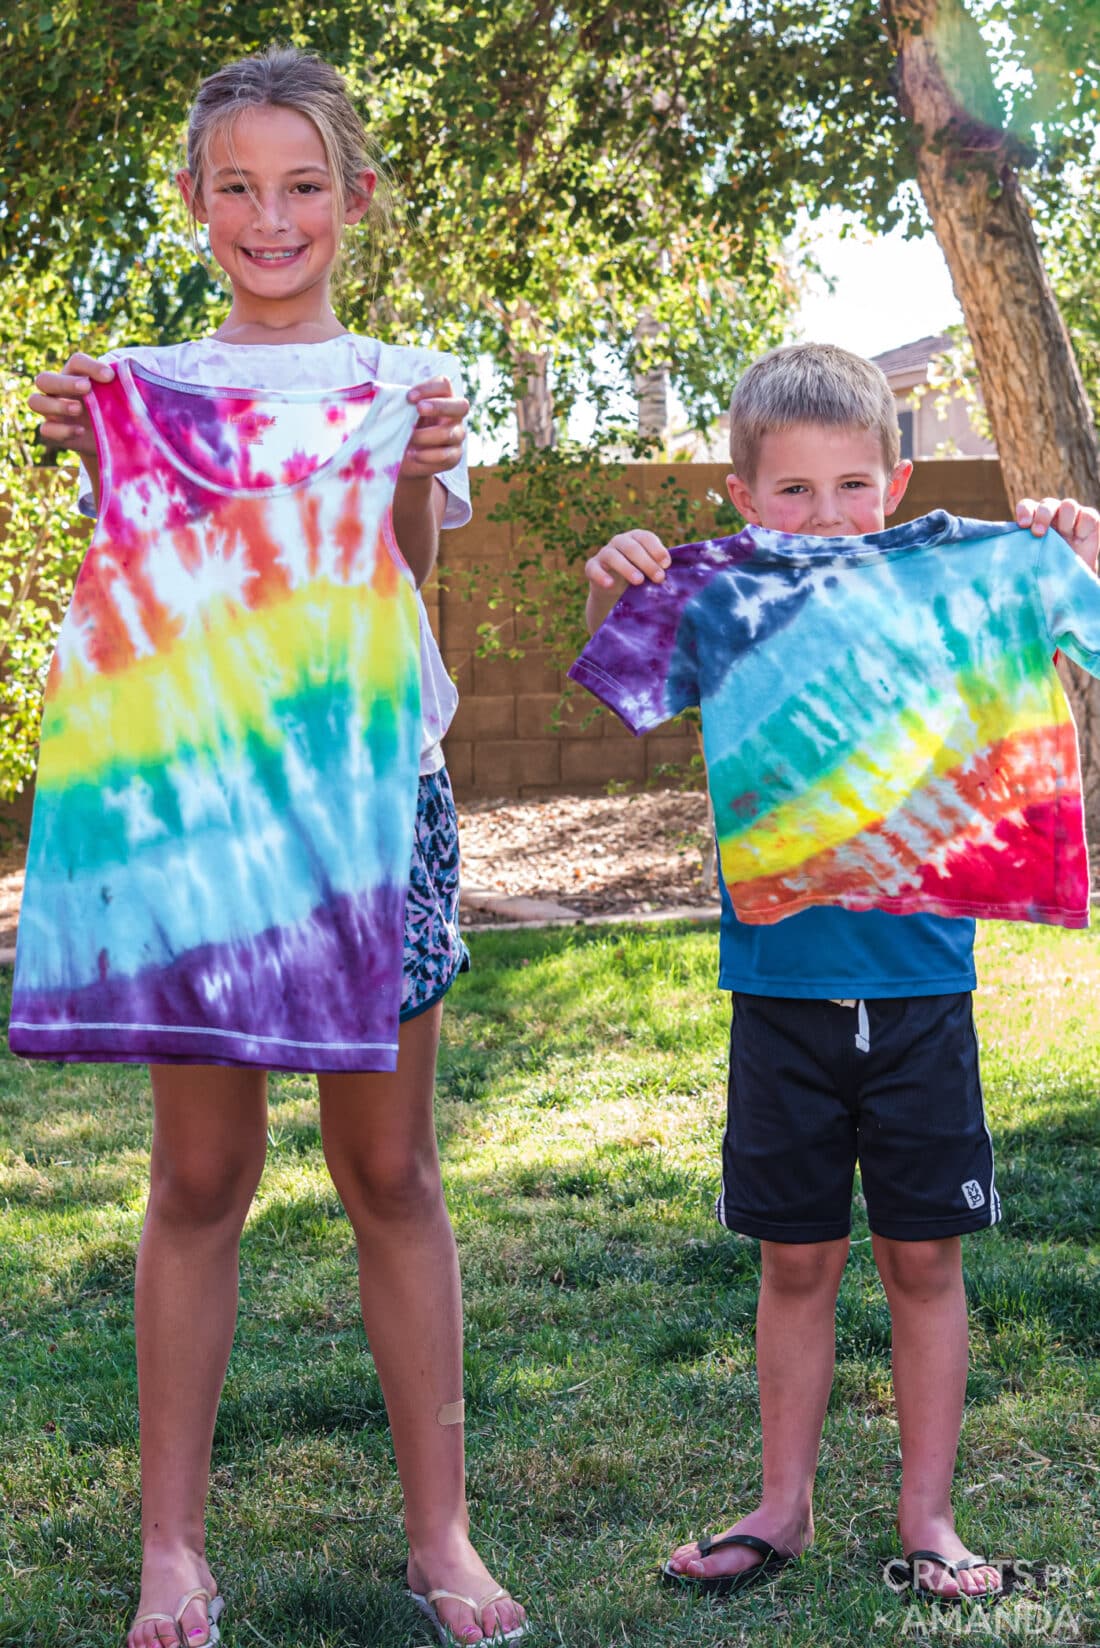
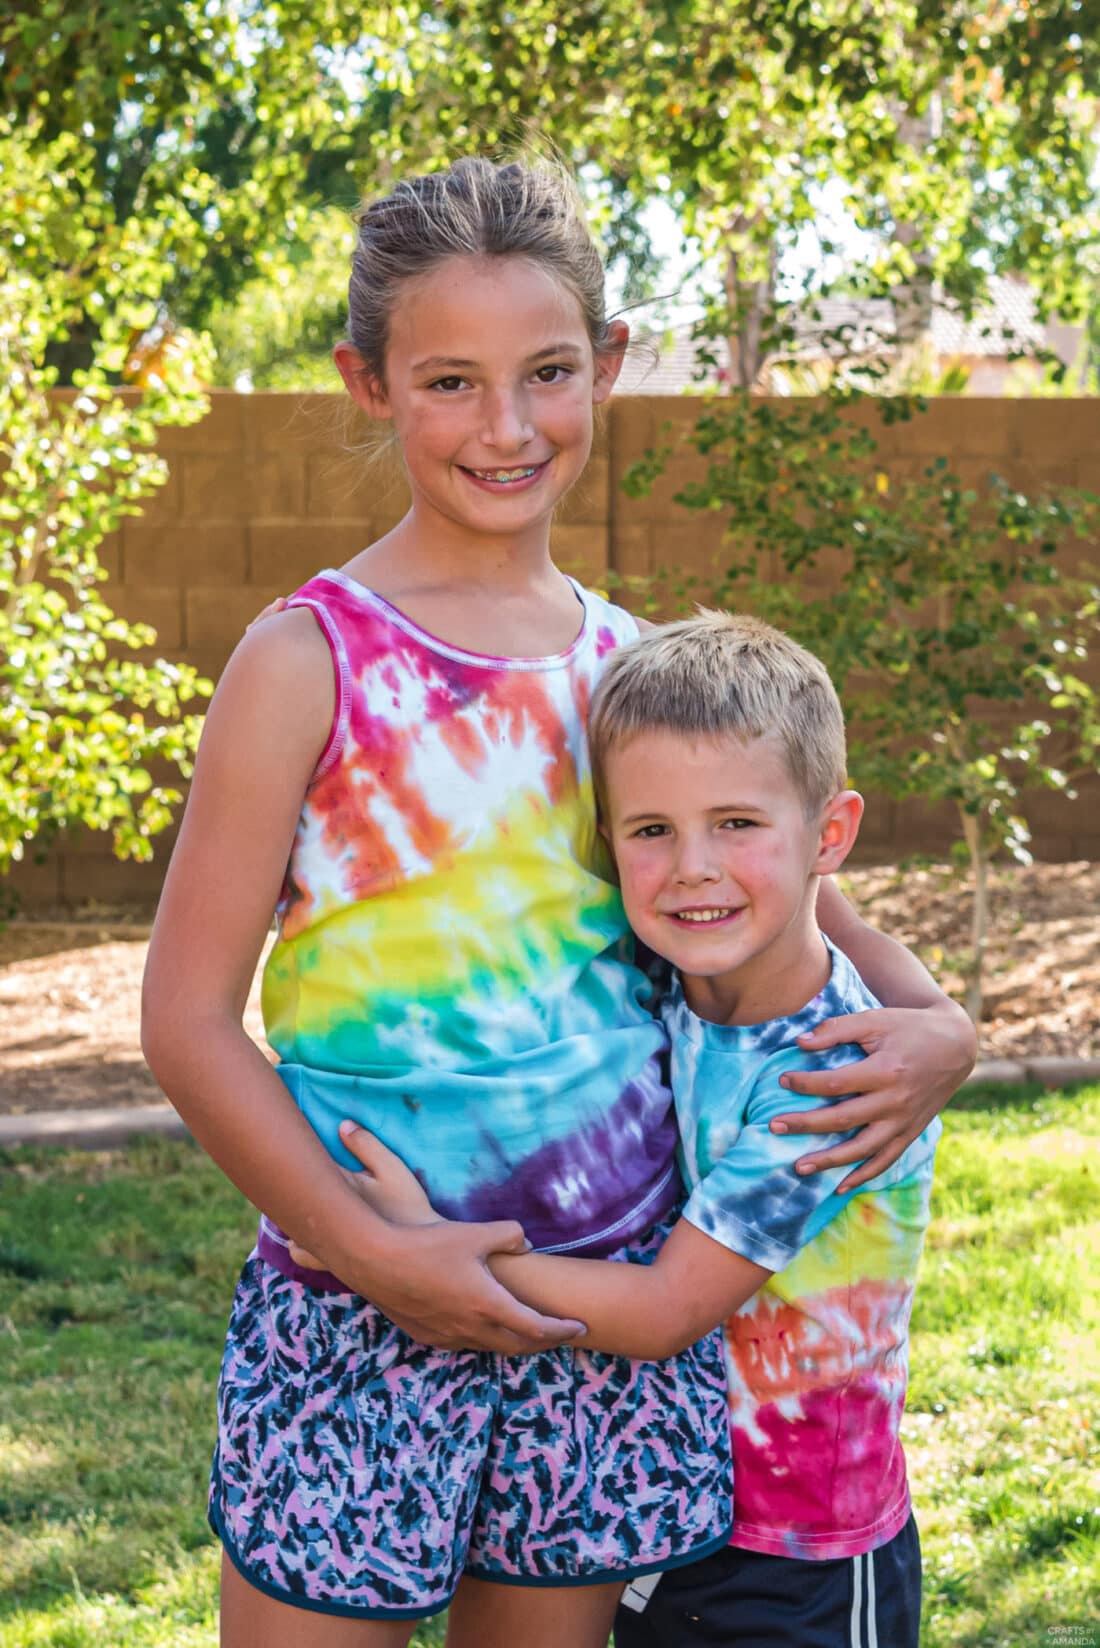
Colorful rainbow tie dye shirts are so easy to make and are a fun activity for kids and adults alike! We can show you how to make this fun pattern using bright cheery colors and a handful of supplies.
Why we love this project
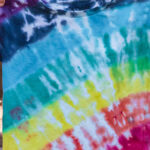
Tie-dying is loads of fun and is a great way to spend the afternoon. You can use old white t-shirts, tank tops, hats, socks, sweatshirts, or buy crisp new clothing for this project and turn it into an explosion of colors. These rainbow tie dye shirts resemble… you guessed it, a rainbow beaconed in the sky during the aftermath of a rain shower!
Tie dye makes a good summer project since we like doing it outside to avoid the dye potentially getting somewhere in the house. While you’re waiting on the shirts to rest, spend some outdoor time doing a summer scavenger hunt around the yard or play a game of sponge bombs!
Helpful Project Information:
- Age Level: 6 and up with the young ones having supervision
- Mess Factor: High (squeeze bottle dye)
- Level of Difficulty: Easy
- Time to Complete: Less than 30 minutes
- Cost Estimate: Less than $15.00
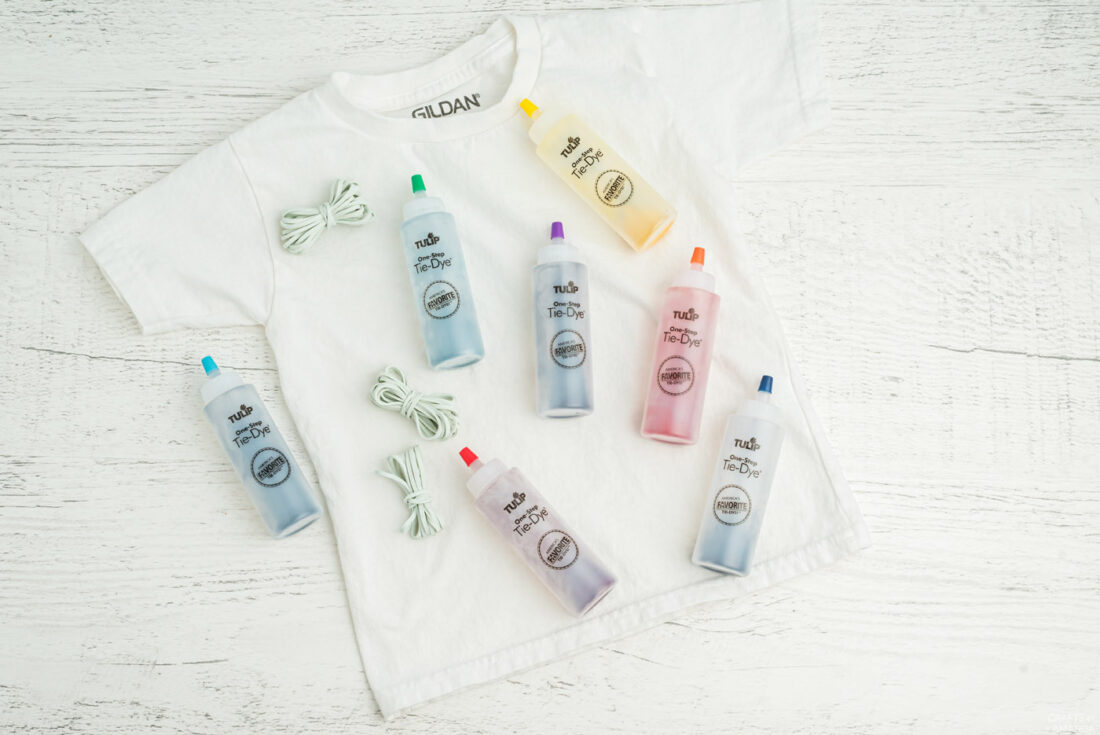
Craft supplies you will need
Get full list of supplies and directions in the printable version at the end of this post.
How to a Make Rainbow Tie Dye Shirts
These step by step photos and instructions are here to help you visualize how to make this project. Please scroll down to simply print out the instructions!
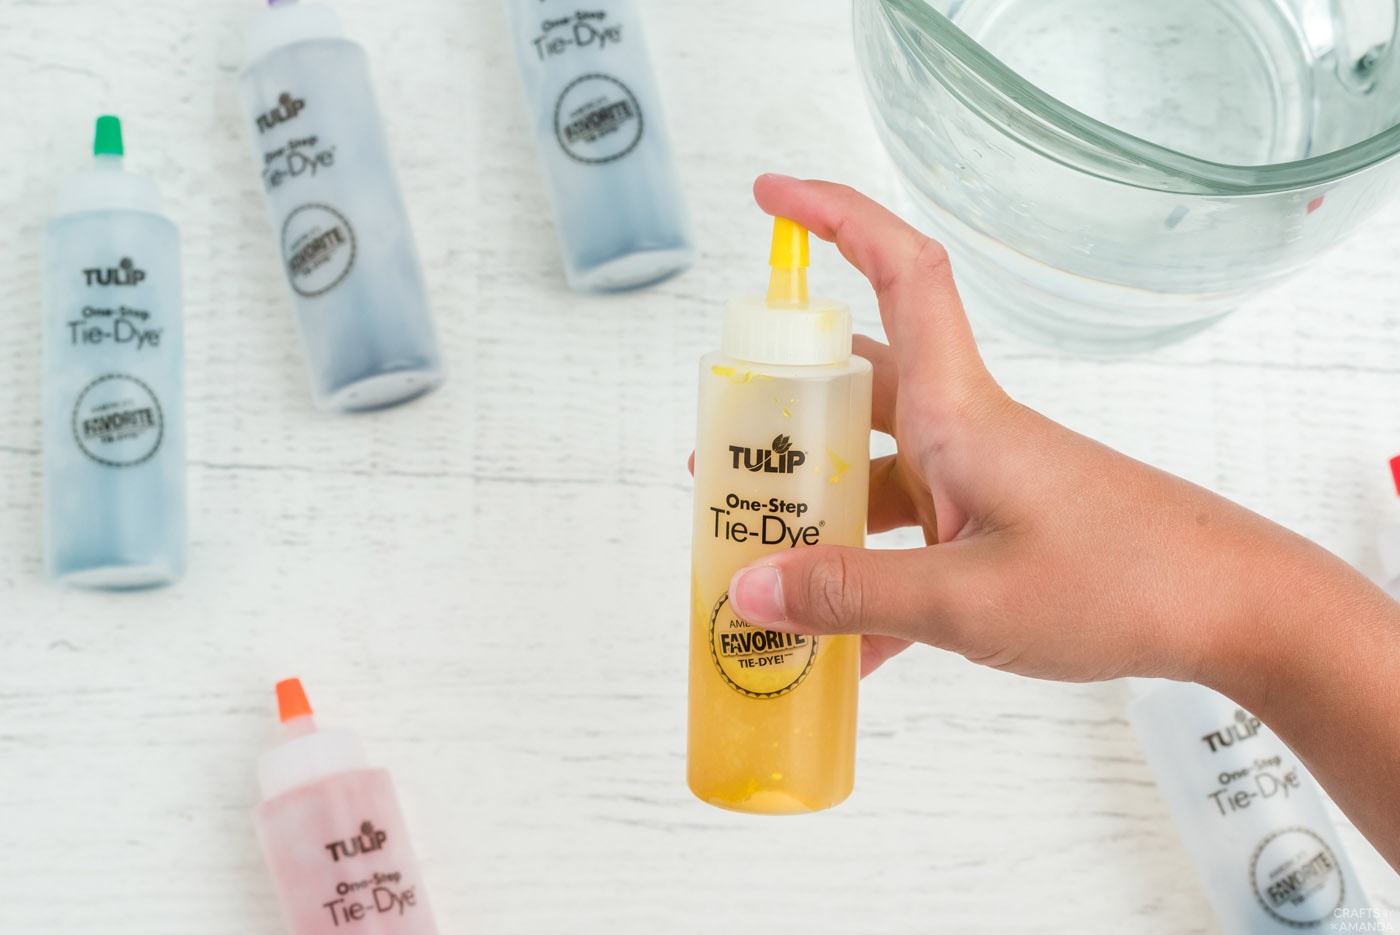
- Prepare your squeeze bottles with dye, we’re using Tulip’s One-Step Tie Dye Kit.

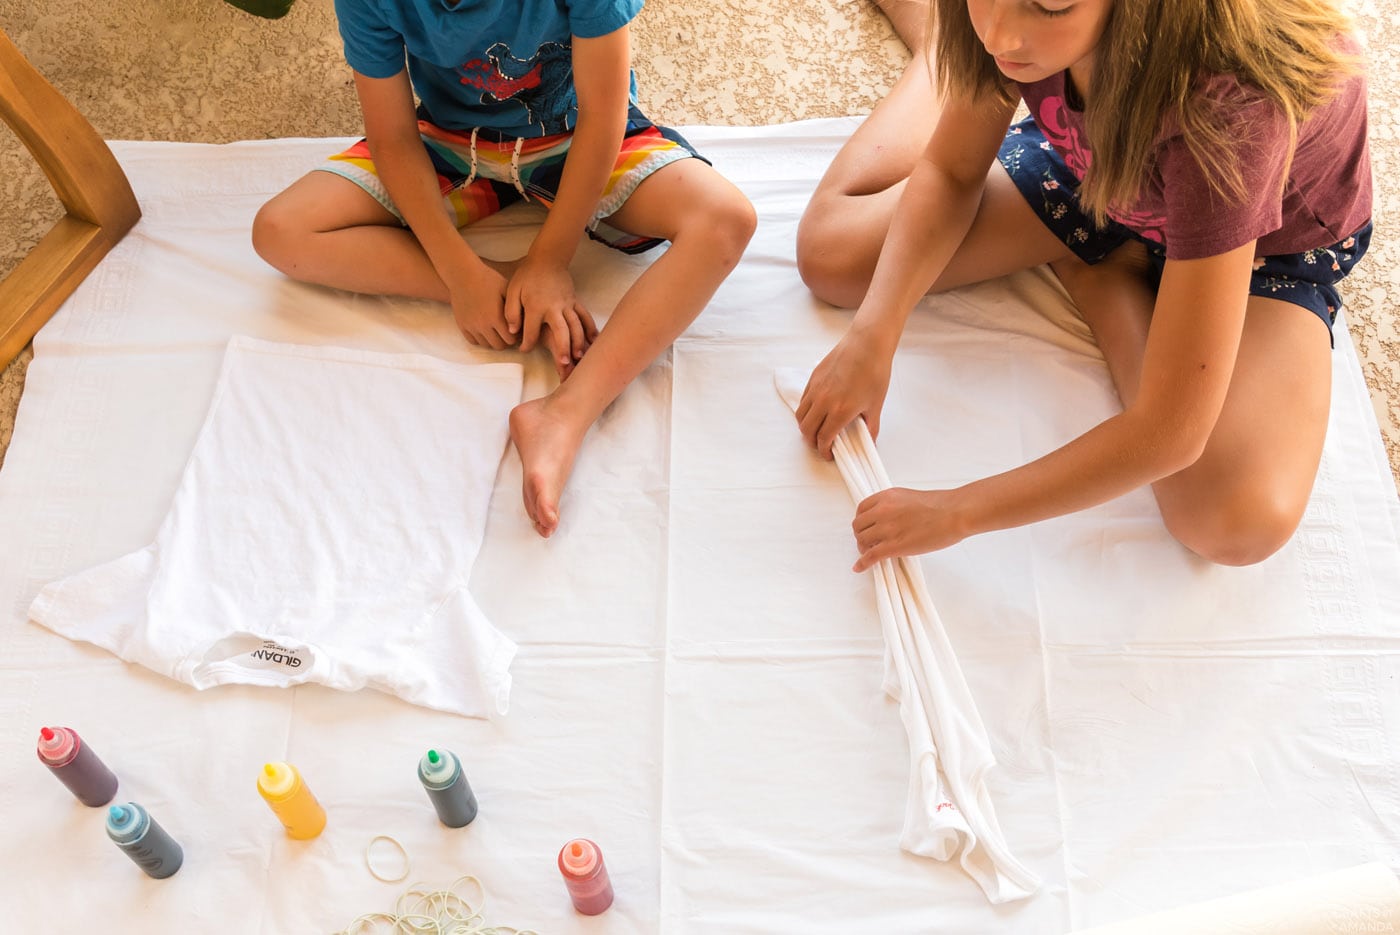
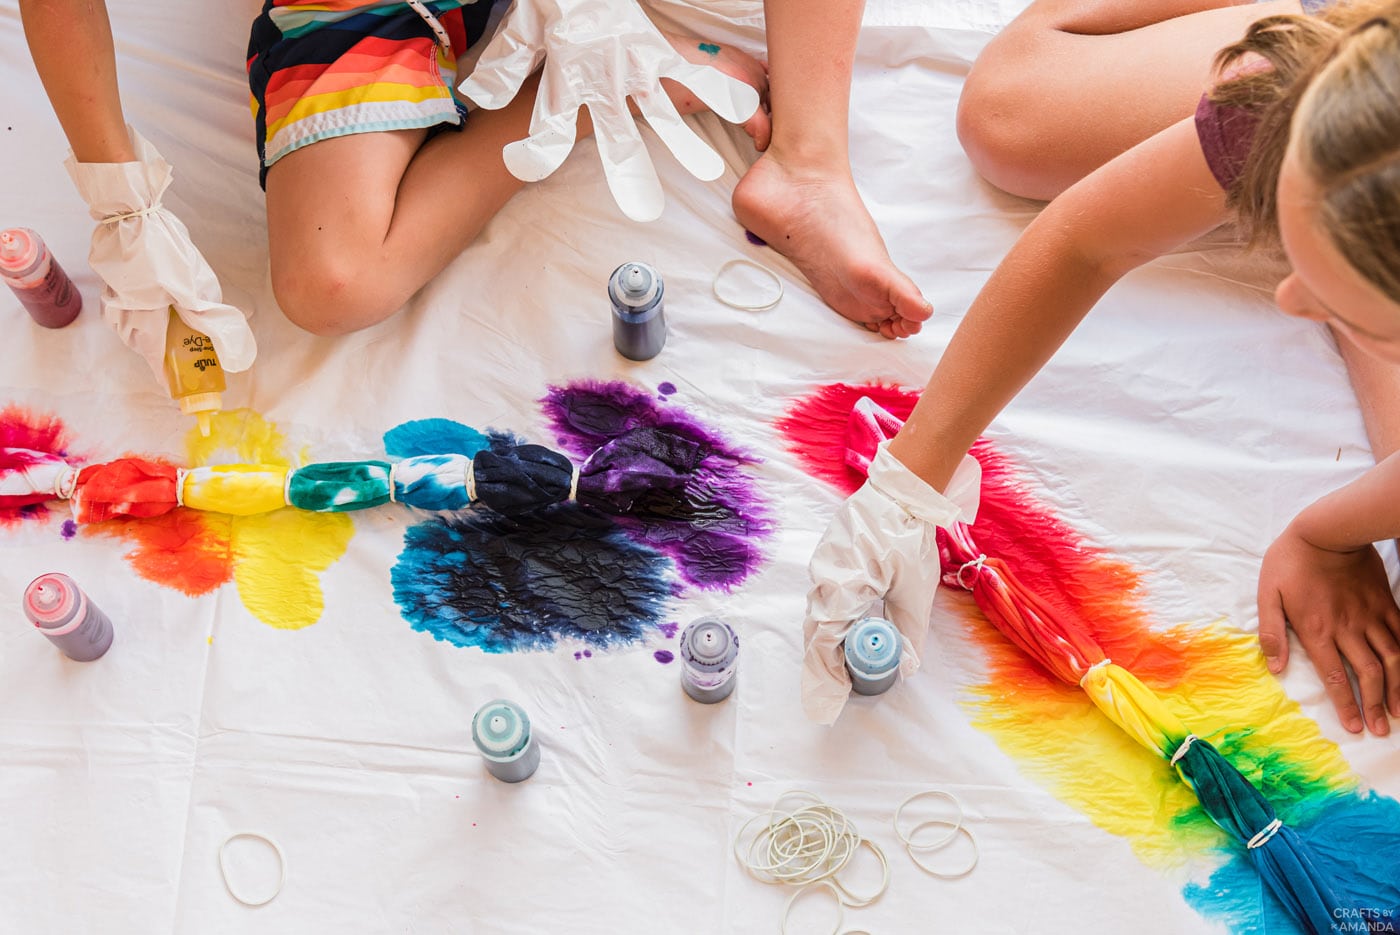
- Cover the surface you’ll be working on. Spread the shirt flat onto the covered surface while it’s still damp. Scrunch/pleat the shirt together starting from the bottom right corner until the shirt is fully pleated.
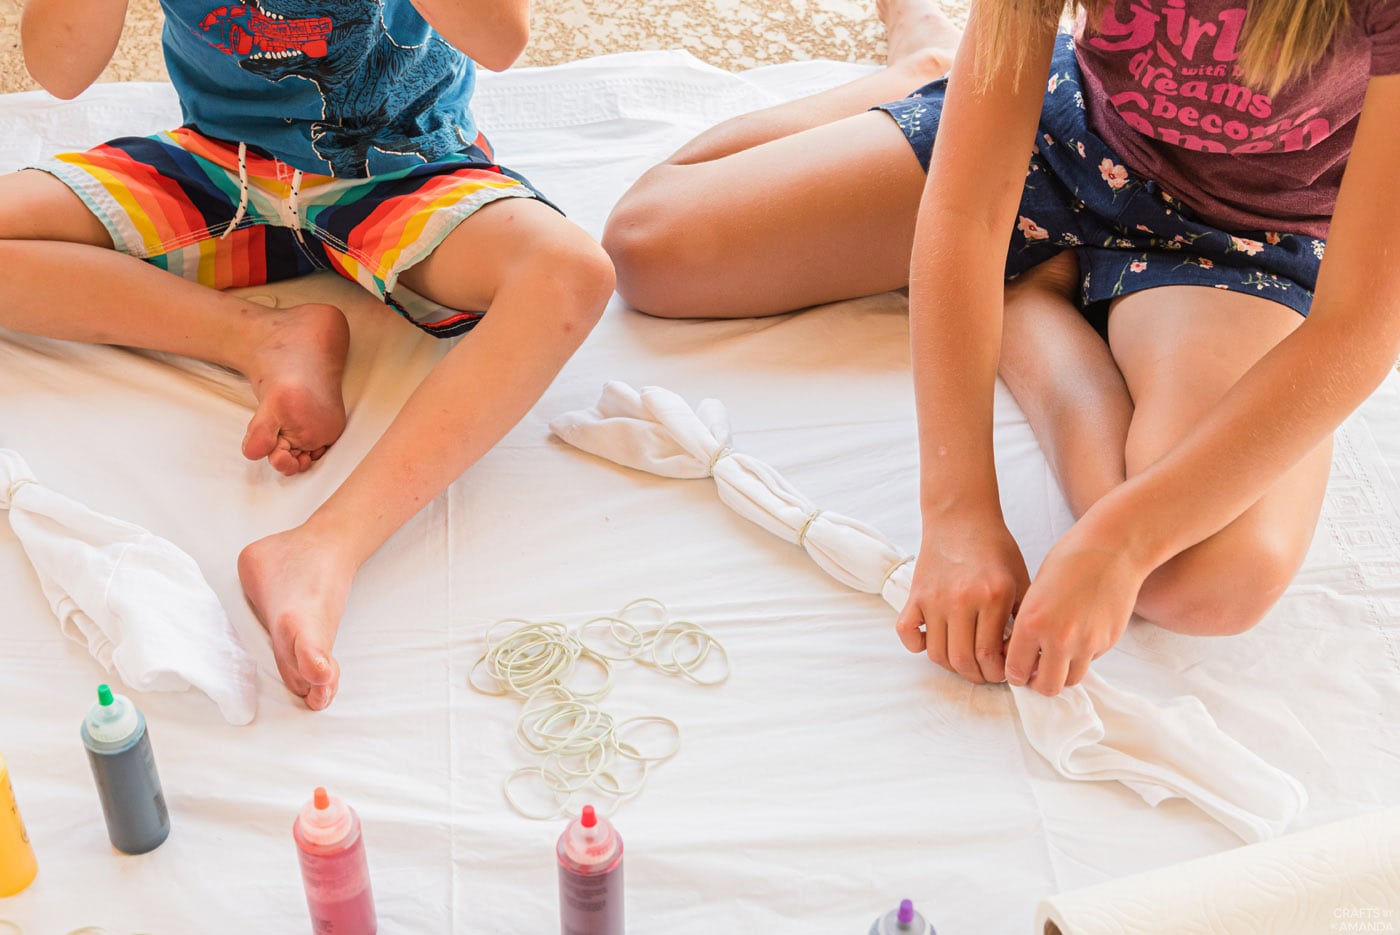
- Squeeze the shirt tightly together and secure them into 4 sections using rubber bands.
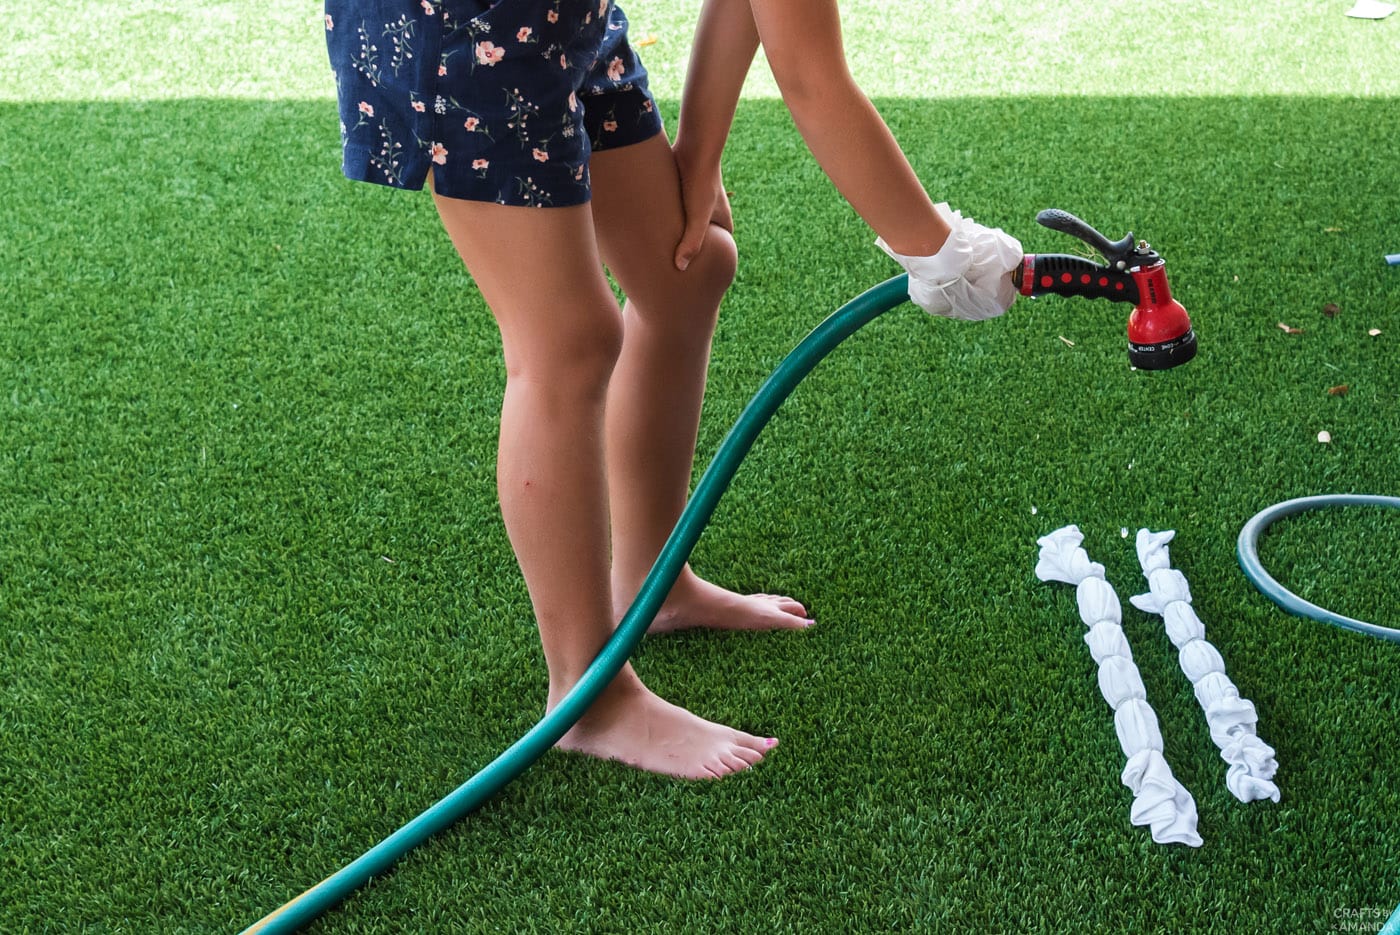
- Prewash without drying your shirts or dampen with a spray bottle or hose.
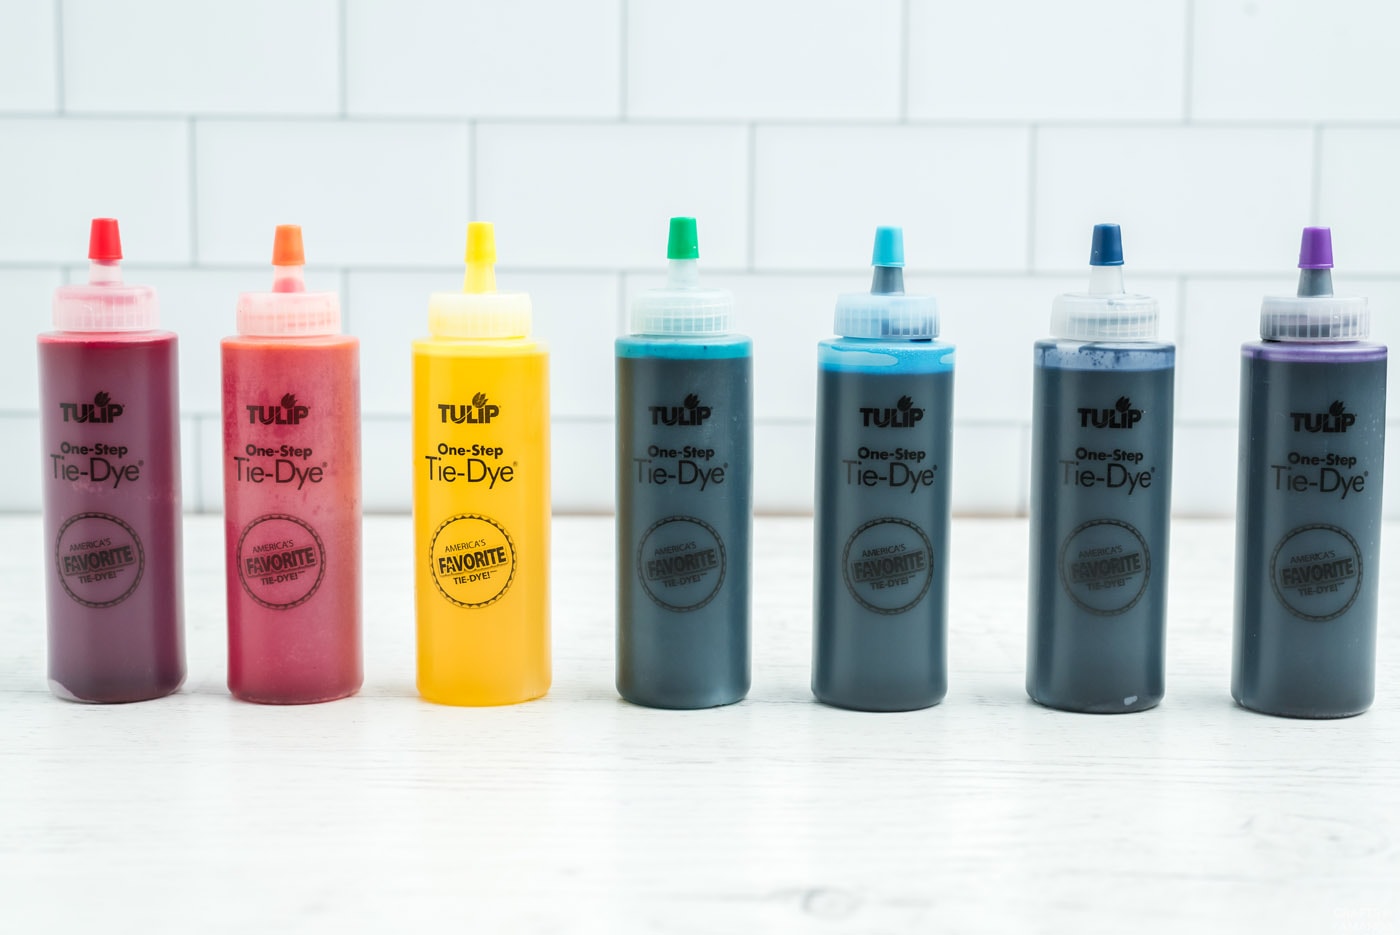
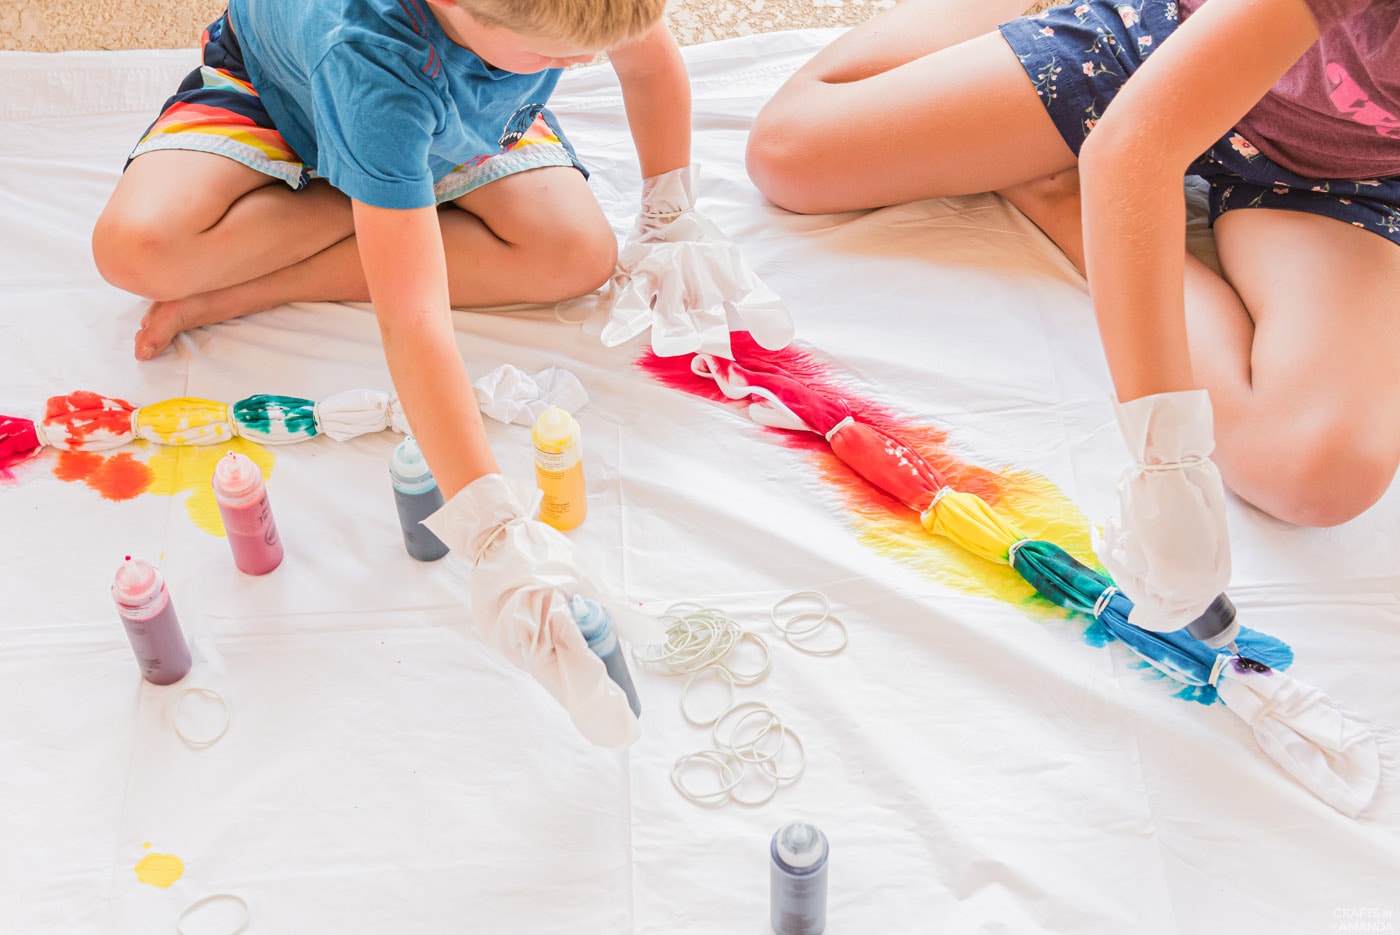
- Generously apply the colors to each individual section beginning with red on the bottom then yellow, green, blue, and violet, or follow any color pattern you’d like.
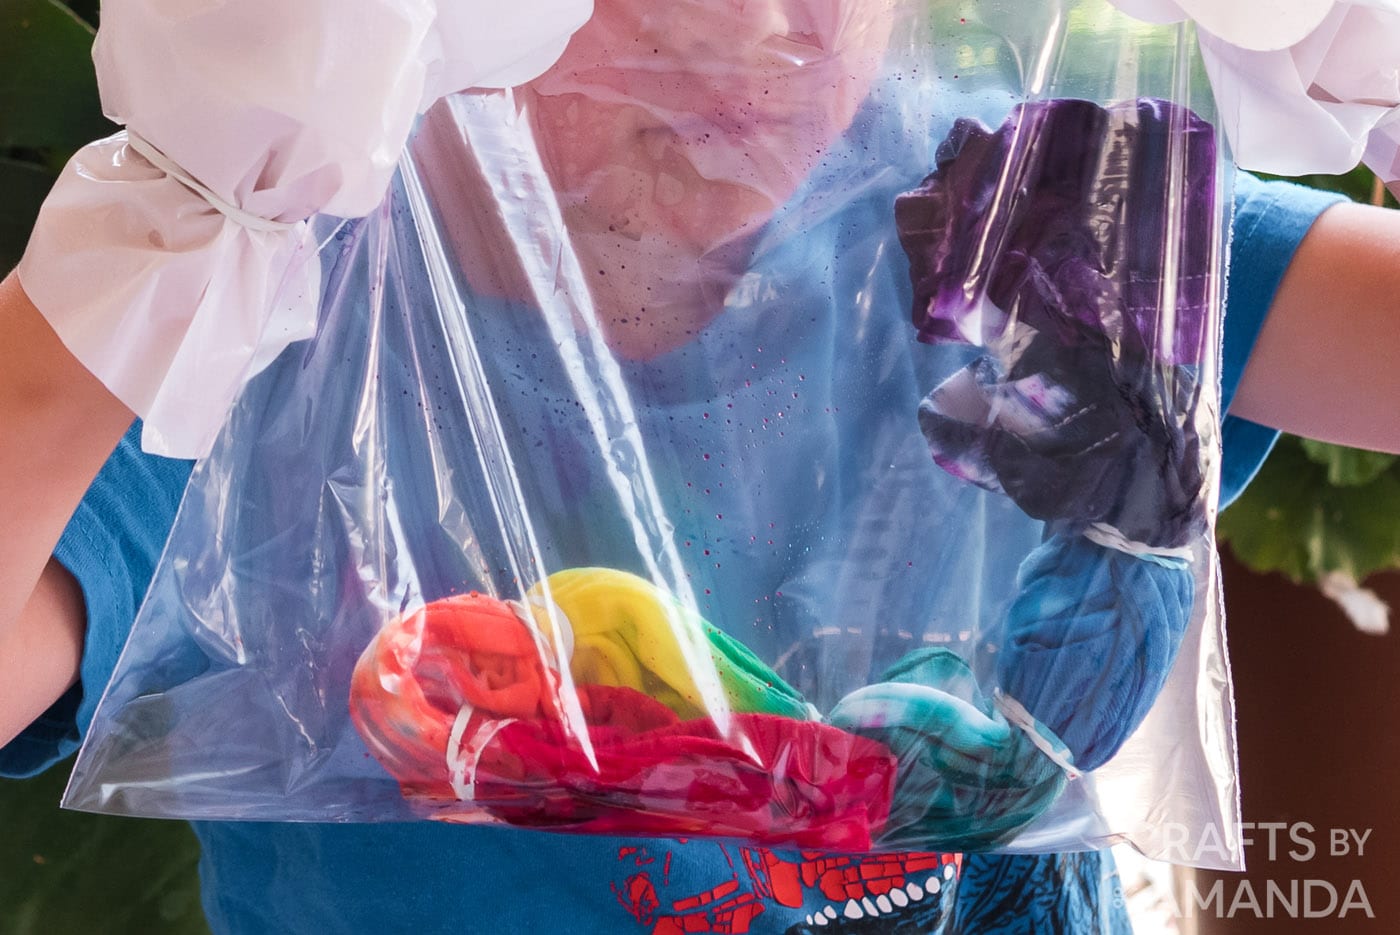
- Wrap the dyed shirt in plastic wrap or in a Ziplock bag and allow to sit for 6-8 hours.
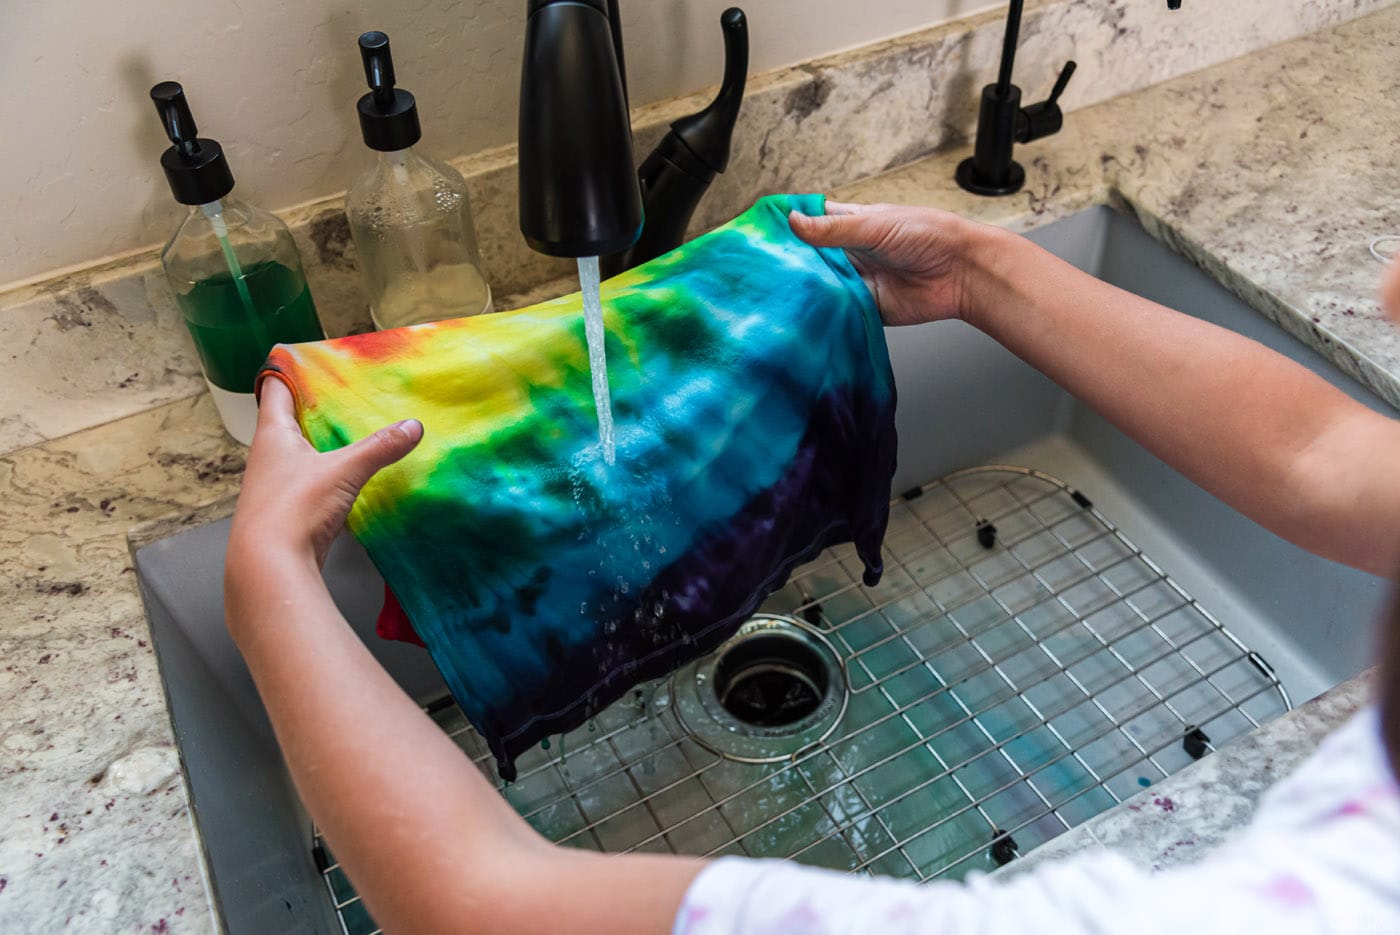
- Remove rubber bands then rinse the shirts using warm water. Switch to cool water, then back to warm, ending with cool water. Follow with running through the washing machine.

Expert Crafting Tips
- Be sure to wear disposable gloves! Smocks are also a smart choice for the young ones joining the fun.
- If you want to create your own colors, you don’t need to mix the dyes in a bottle together, just squeeze the colors right onto the fabric. You can create the shirt pattern in whatever color sequence you want.
- You’ll want your shirts to be damp, but not soaking. You can either use a clean shirt and dampen it with a spray bottle or hose or prewash the shirt without drying it before beginning.
- We like using a tablecloth that has a plastic backing on it but a regular plastic tablecloth will do the trick as well.
The versatility in color creation is all in your own hands. Want to add orange to the mix? Squeeze yellow and red dye onto the section you want. The same goes for any secondary colors you’d like to incorporate!
More Tie Dye Projects
- Drip Dye Tees
- Shibori Tie Dye
- How To Tie Dye Cool Stripes
- Sunshine Ombre Shibori Tie Dye
- Tie Dye Beach Towels
- Drip Tie Dye Backpack
I love to create and share my projects with you! I know it’s hard to remember to come back and search, so I’ve made it easy for you with my weekly newsletter! You can subscribe for free and I’ll send you fun crafts and delicious recipes every week right to your email.

Rainbow Tie Dye
Supplies
- Tie Dye in various colors. We used Tulip's One Step Tie Dye Kit
Craft tools
- Plastic tablecloth
- Disposable gloves
- – rubber bands
Instructions
- Prepare your squeeze bottles with dye according to package instructions.
- Cover the surface you’ll be working on. Spread the shirt flat onto the covered surface while it’s still damp. Scrunch/pleat the shirt together starting from the bottom right corner until the shirt is fully pleated.
- Squeeze the shirt tightly together and secure them into 4 sections using rubber bands.
- Dampen the shirt with a spray bottle or hose.
- Generously apply the colors to each individual section beginning with red on the bottom then yellow, green, blue, and violet, or follow any color pattern you'd like.
- Wrap the dyed shirt in plastic wrap or in a Ziplock bag and allow to sit for 6-8 hours.
- Remove rubber bands then rinse the shirts using warm water. Switch to cool water, then back to warm, ending with cool water. Follow with running through the washing machine.
Expert Tips & FAQs
- If you want to create your own colors, you don’t need to mix the dyes in a bottle together, just squeeze the colors right onto the fabric. You can create the shirt pattern in whatever color sequence you want!
- You’ll want your shirts to be damp, but not soaking wet. You can either use a clean shirt and dampen it with a spray bottle or hose or prewash the shirt without drying it before beginning.
We found the awesome instructions for this method from tie dye your summer!
- Paper Plate Tropical Fish Craft - July 19, 2024
- Tropical Paper Flowers - July 16, 2024
- DIY Mosquito Repellent Candles - July 9, 2024


Danielle says
I do tie dye for a living and these instructions are not very good if you want bright lasting shirts. Not to mention the prep work that you should do before even attempting.
Jan Allen says
This took me back to my early teens over 50 years ago ! Tie -dye t-shirts and shirts were so popular then and all we did was literally tie a few knots
in the garment, dissolve the dye powder in a bucket of cold water with salt added to make the dye “set” and just leave it for about an hour! A couple of rinsed and it was done. Happy days 😀
Mesh says
Hi Amanda,
If you wash the item in white vinegar it will *seal* the colors & prevent them from running & staining other items when washing day comes around. White vinegar can be added to any regular color wash to keep colors bright and run free.