
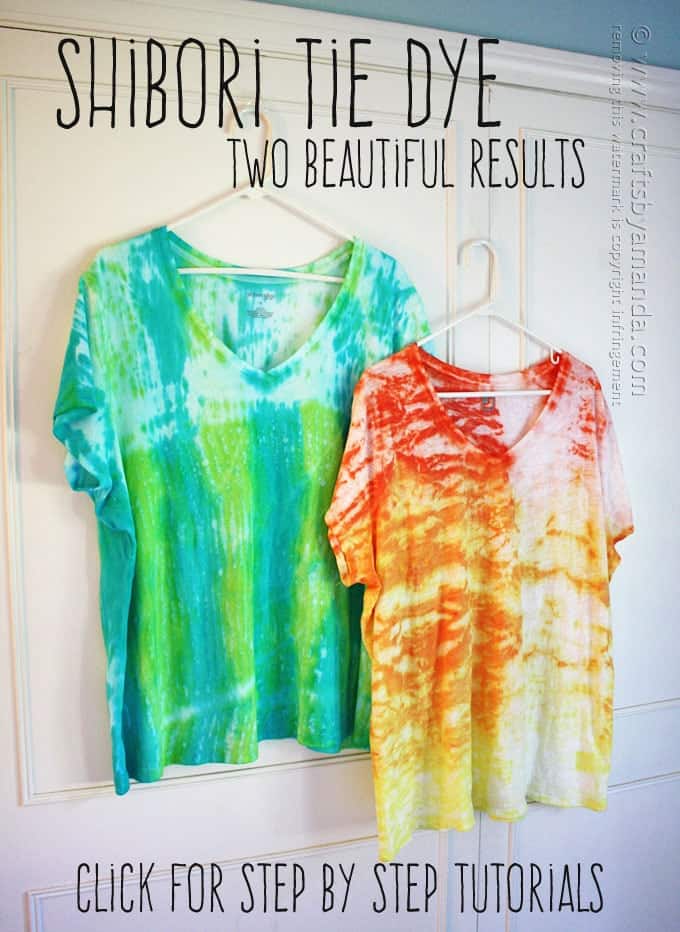
Last summer I learned about shibori tie dye, an ancient Japanese resist method that involves scrunching, twisting, folding and/or mashing a fabric and then dying it. There are quite a few different ways to do it, and the results are different every time. You’ll often see indigo used for shibori but colors are beautiful too, as I’m about to show you.
Shibori Tie Dye
One shibori tie dye method is to wrap fabric around a cylinder base. I used a 4-inch diameter PVC pipe, a pretty big tube. The amount of resist on your tee will depend on how many times the garment wraps around the tube as the fabric that’s touching the tube will receive less dye than the fabric that’s on the outside.
I’ll also show you a design using a smaller tube at the end of this tutorial.
Note: The PVC pipe I used cost me less than $10 and I can use it over and over again and make several shirts in different colors.
Note: some links below are affiliate links. That means if you happen to buy something, a small percentage of that sale goes back into this site, which enables me to continue to bring you free tutorials such as this one. So, thanks!
As always, a full printable supply list and instructions are at the end of this post.
For this shibori tie dye project you will need:
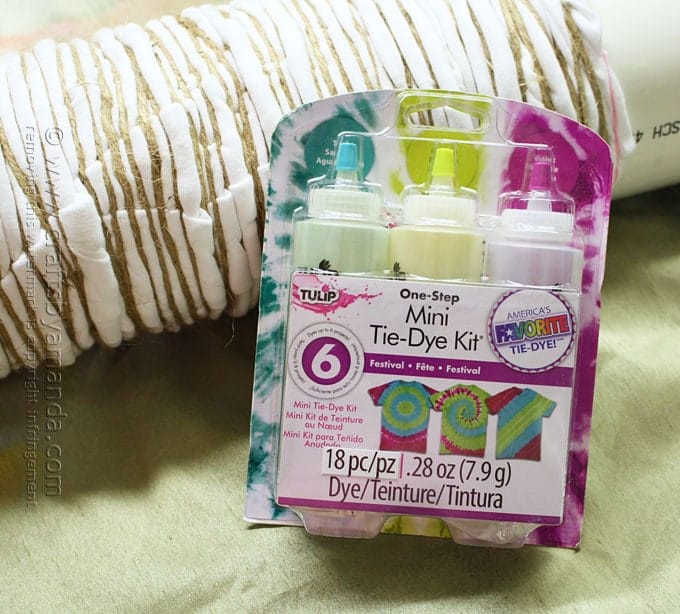
- Teal and Lime from Tulip ® One-Step Tie Dye ® Mini Kits (Festival)
- White tee
- PVC pipe – 24″ (long) x 4″ (diameter)
- 3 rubber bands (included in kit)
- Gloves (included in kit)
- Twine
- Spray bottle with water
- Plastic wrap

Place your tee face down on the table. Place the PVC pipe at the top of your shirt and roll the shirt around the pipe so that the neckline disappears inside. The final fabric to wrap should be the bottom of the tee.
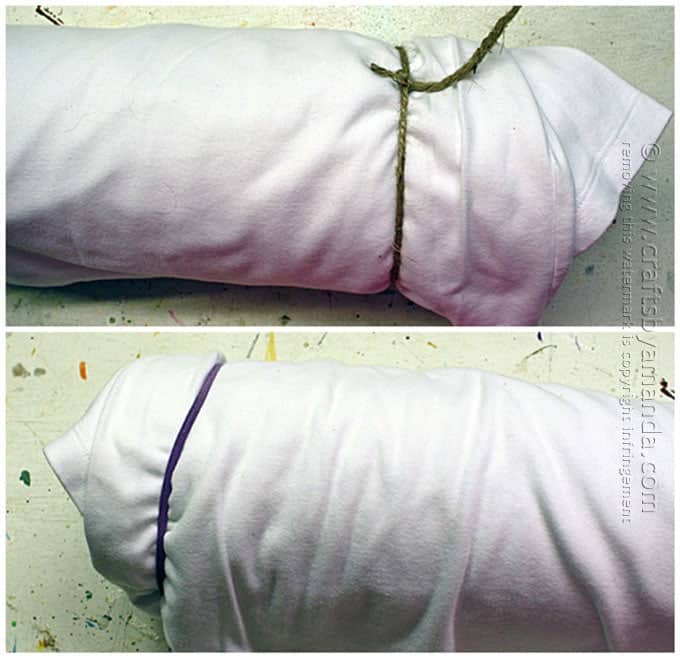
Place a rubber band around each end of the pipe/tee and one in the middle. This is not for resist purposes, it’s just to help hold the garment in place.
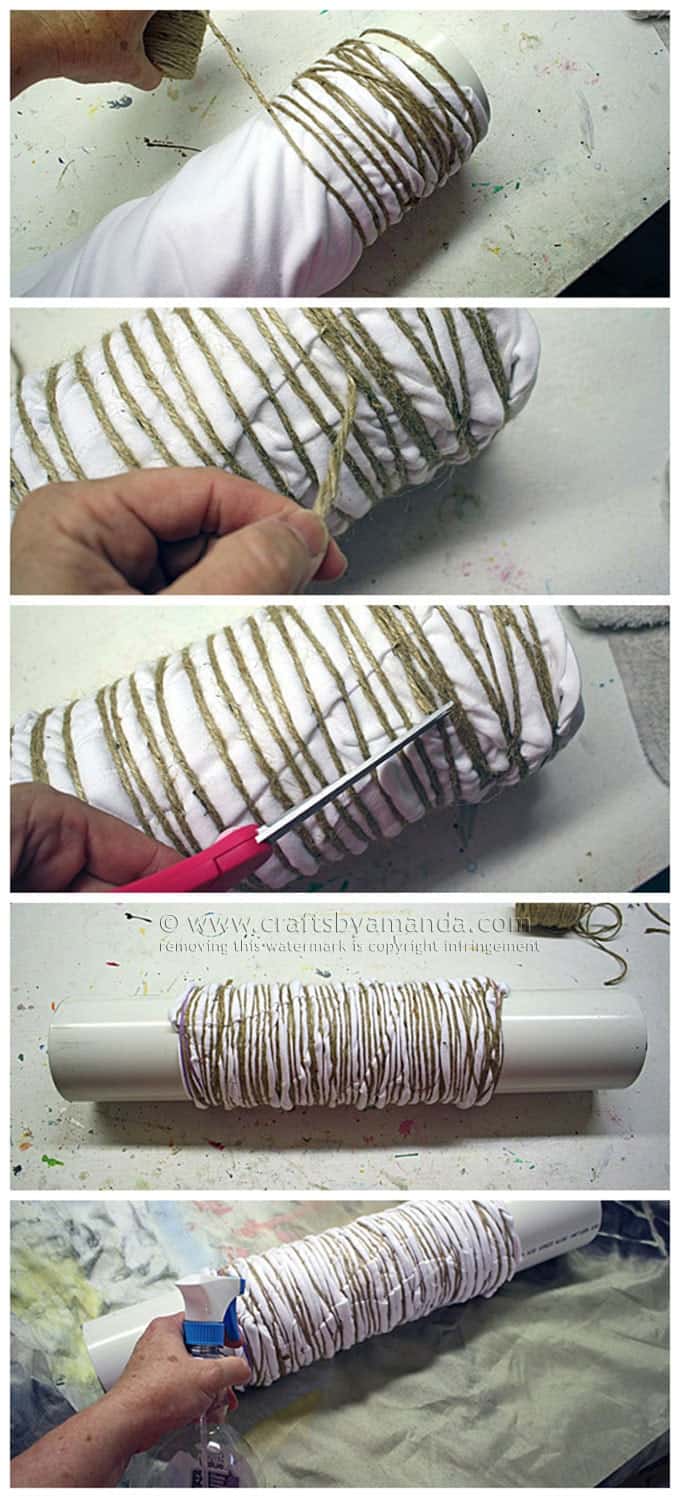
Tie the twine to one end of the pipe/tee. Wrap the twine all the way around the shirt and tie off at the end. Scrunch the tee as much as you can, pushing as much of the tee toward the center of the pipe as you can. Because the twine is tight, this can be a bit challenging, so another option is to scrunch the shirt first and then wrap (which I will demonstrate in the tutorial for the yellow shirt at the end of this post). Just be sure that the twine is tight. Mist the shirt with water in a spray bottle and dab with a towel. You want the shirt damp, not dripping.
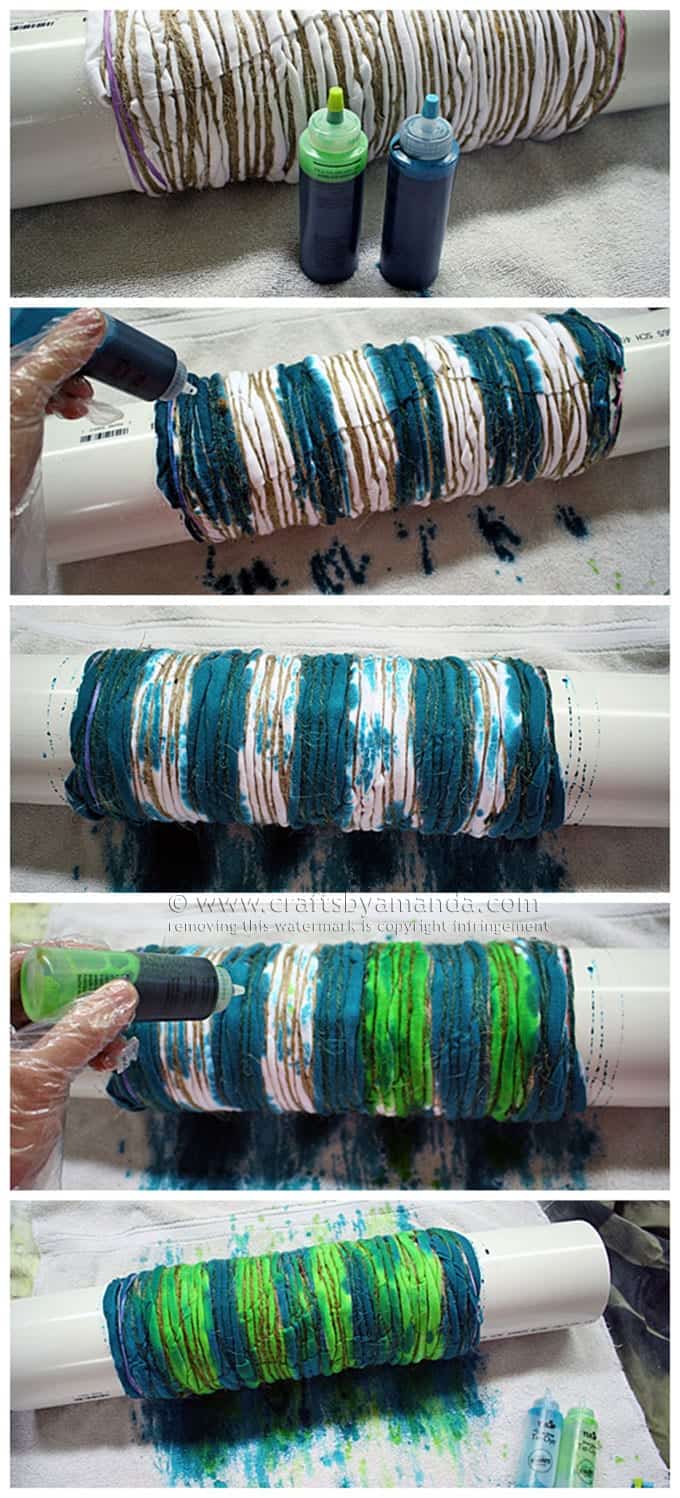
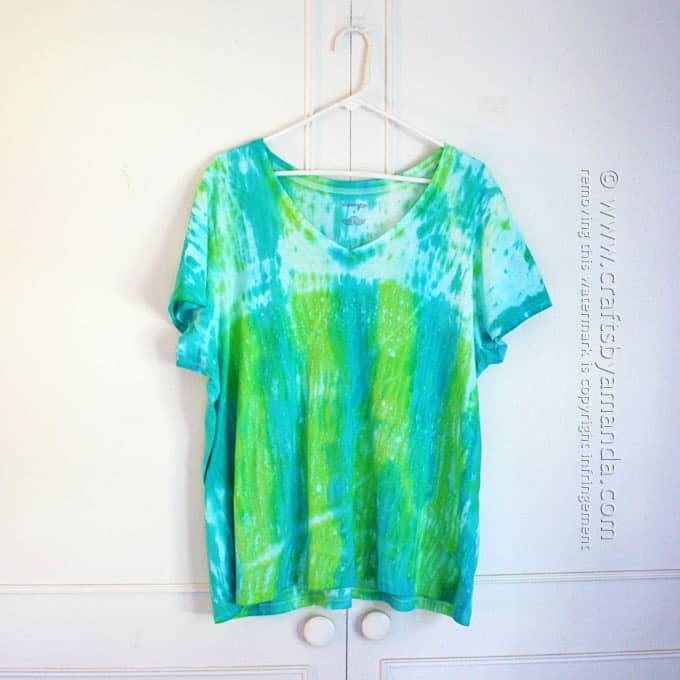
Mix the Teal and Lime dyes (add water and shake). Begin with teal, squeezing some dye onto the end of the tee, then skipping an inch or so, dying again, skipping, dyeing, until you reach the end of the tee. Fill in the white gaps with the lime dye.
Wrap the pipe/tee in plastic wrap to hold in the moisture and allow it to sit for 6 hours. Run the pipe under cool water to remove much of the dye. Carefully cut away the rubber bands and the end of the twine. Unwrap the twine and rinse tee completely. Follow instructions on the package for laundering.
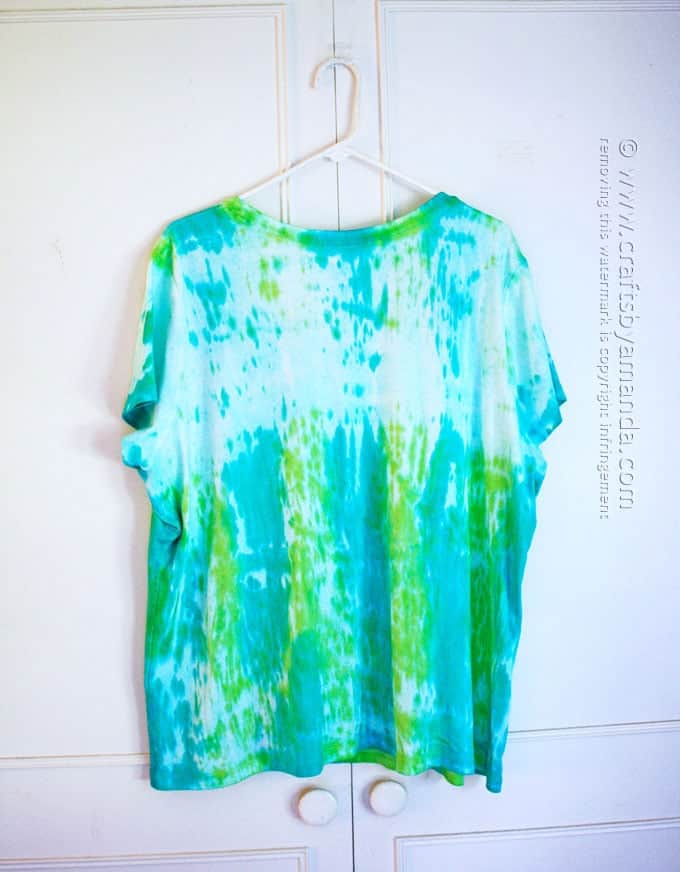
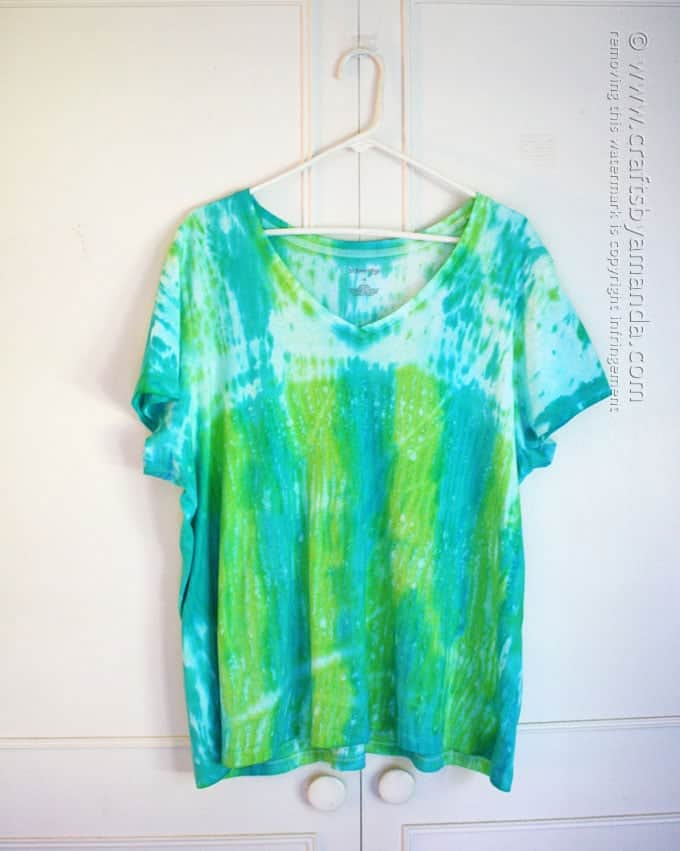
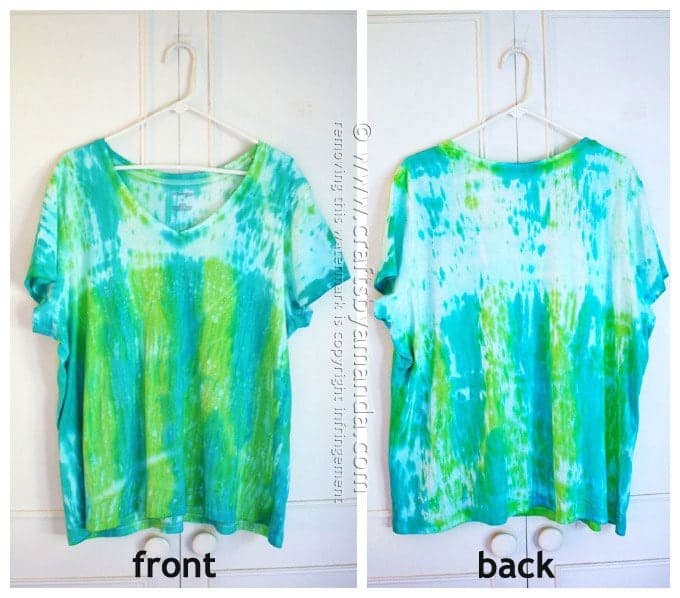
As you can see, the neckline of the tee resisted more of the dye than the bottom half of the tee. The neckline was rolled inside first, so there were more layers on top of the neckline and the bottom half of the tee remained on the outside of the pipe.
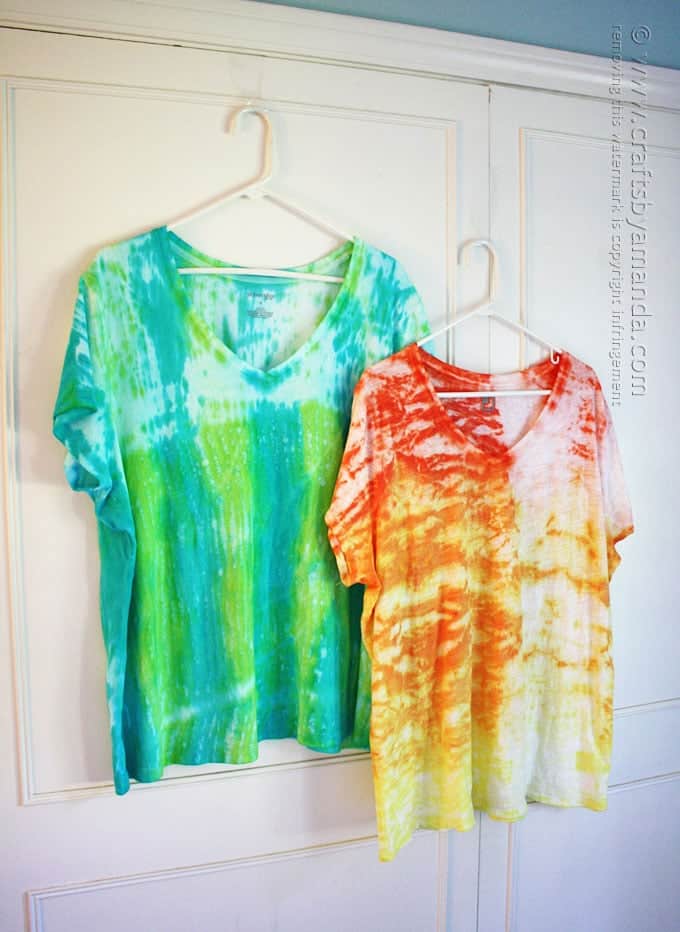
I love the way both of these came out and plan on making more in different color variations! Would you like to know how I made the other one? Head over to my tutorial for this other shibori tie dye shirt – Sunshine Ombre Tie Dye Top.
More you might like:
- How to Tie Dye Cool Stripes
- Jackson Pollock Inspired Tee
- Drip Dye Tees
- Rainbow Tie Dye Shirts
- Fabric Painted Tie Dye Shirts
- Tie Dye Beach Towels
- Drip Tie Dye Backpack
Shibori Tie Dye
Supplies
- Teal and Lime from Tulip ® One-Step Tie Dye ® Mini Kits Festival
- White tee
- PVC pipe - 24" long x 4" (diameter)
- 3 rubber bands included in kit
- Gloves included in kit
- Twine
- Spray bottle with water
- Plastic wrap
Instructions
- Place your tee face down on the table. Place the PVC pipe at the top of your shirt and roll the shirt around the pipe so that the neckline disappears inside. The final fabric to wrap should be the bottom of the tee.
- Place a rubber band around each end of the pipe/tee and one in the middle. This is not for resist purposes, it's just to help hold the garment in place.
- Tie the twine to one end of the pipe/tee. Wrap the twine all the way around the shirt and tie off at the end. Scrunch the tee as much as you can, pushing as much of the tee toward the center of the pipe as you can. Because the twine is tight, this can be a bit challenging, so another option is to scrunch the shirt first and then wrap (which I will demonstrate in the tutorial for the yellow shirt at the end of this post). Just be sure that the twine is tight. Mist the shirt with water in a spray bottle and dab with a towel. You want the shirt damp, not dripping.
- Mix the Teal and Lime dyes (add water and shake). Begin with teal, squeezing some dye onto the end of the tee, then skipping an inch or so, dying again, skipping, dyeing, until you reach the end of the tee. Fill in the white gaps with the lime dye.
- Wrap the pipe/tee in plastic wrap to hold in the moisture and allow it to sit for 6 hours. Run the pipe under cool water to remove much of the dye. Carefully cut away the rubber bands and the end of the twine. Unwrap the twine and rinse tee completely. Follow instructions on the package for laundering.
- Tie Dye Beach Towels - July 24, 2026
- Swirling Twirling Ladybugs - July 21, 2026
- Drip Tie Dye Backpack - July 17, 2026


Terry says
Nice tutorial. I thought a bit about securing the string wrap. If there was a slit at each end of the tube you could knot the cord, slip it into the slit then wrap tightly until the end where you could slip the cord into the other slit. The slits are like the nick in older thread spools to secure the thread on the spool. You may need a few wraps around the pipe until you get to the scrunched shirt.
rosa says
I am a Girl Scout leader and would like to tie dye my tee shirt with our troop numbers. How can I do that? Thank you so much.
Amanda Formaro says
Hmm, that’s an interesting question! Do you want the letters to be tie dye, or the shirts to be tie dye with white letters? If the latter, I would think you might be able to try a glue resist, but honestly with all the twisting and wrapping that happens with tie dye I don’t know for sure that it would work. Another option might be to tie dye the shirt, then after you do the rinsing step, use a bleach pen to write the numbers on, which may remove the dye from those areas. You would definitely have to experiment though! I have not tried either of these ideas.
Lavina says
You can use elmers glue and draw the number on the shirt. When the glue is completely dry dye the shirt. The glue will work as a resist.
dianne says
i love crafting
Pamela Early says
Love this idea thanks.
Gerry says
This is really beautiful. I am definitely going to try this with some wool that’s destined to become a rug!
Gerry says
may I share this with my rug hooking group via the Internet?
Amanda Formaro says
Hi Gerry. Please feel free to share via the social sharing buttons provided on the post!