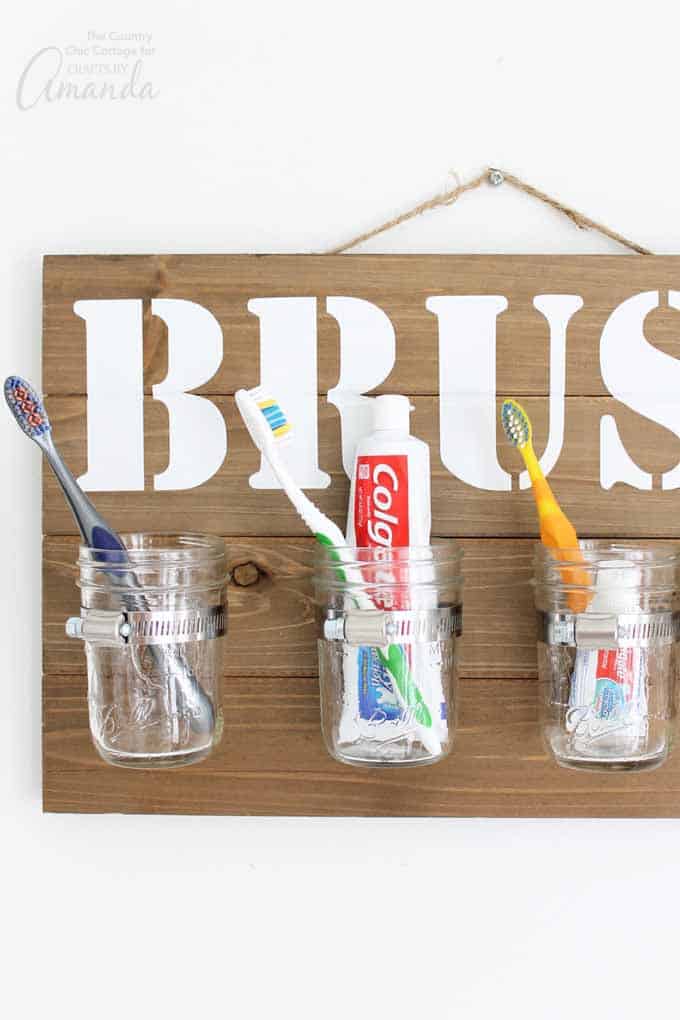
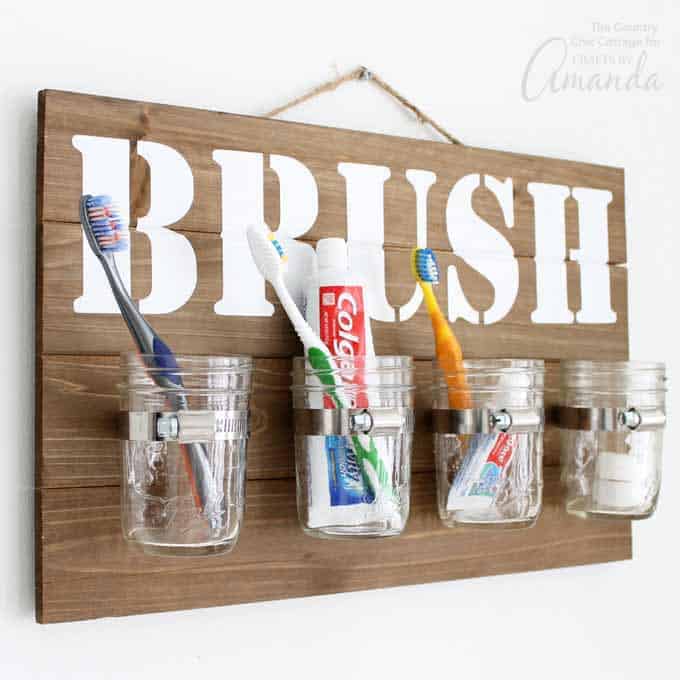
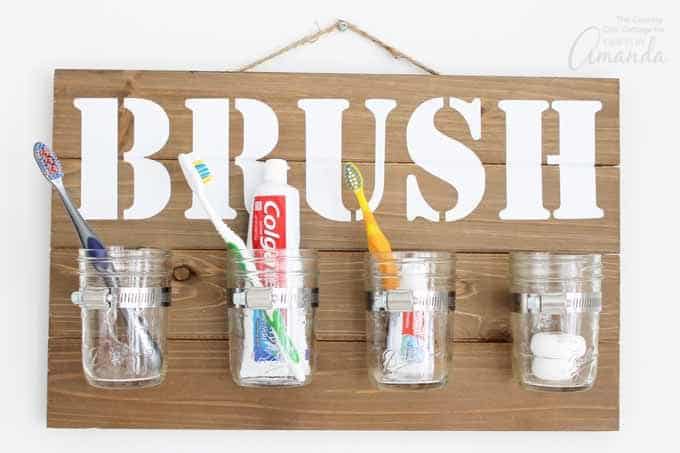
You will want to whip up this mason jar bathroom organizer because sometimes we all need a little organization in the bathroom. If you love farmhouse style, this one is definitely one that you will want to add to your project list. Plus, it keeps the toothbrushes separate for every member of the family.
Mason Jar Bathroom Organizer
Customize this project with the word of your choice or even add each family member’s name under the jars. Either way, you will be more organized in your home with this mason jar bathroom organizer, especially if you pair it with our mason jar tissue holder!
Related: Want more rustic ideas for the bathroom? Try this mason jar bathroom set or these rustic farmhouse bathroom ideas.
RELATED: Get your electronic cords organized!
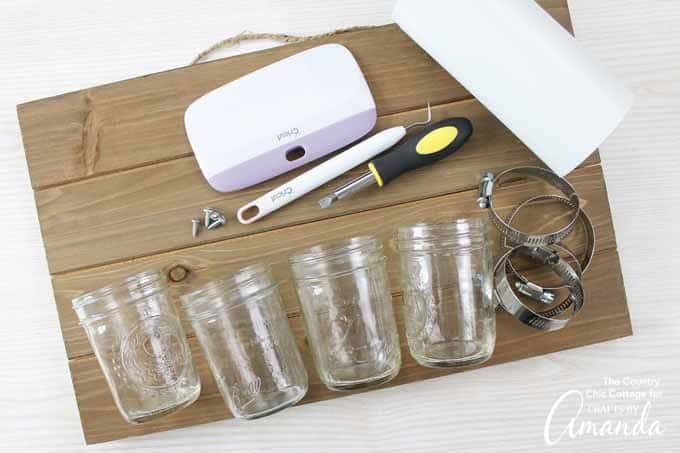
Supplies needed to make this mason jar bathroom organizer:
- Rustic wood panel
- Mason jars
- Pipe clamps
- White vinyl
- Transfer tape
- Craft cutting machine
- Weeding tools
- Scraper
- Screwdriver
- Drill
- Screws
How to make this mason jar bathroom organizer:
- Start by cutting the words you would like to add to your organizer from vinyl using a craft cutting machine. You can click here to download the file for the word brush if you would like.
- Weed away all excess vinyl from the cut.
- Apply transfer tape to the front then peel away the backing from the letters.
- Carefully add the words to your sign using a scraper tool. Be sure to press the vinyl down inside any cracks as you go along.
- Remove the transfer tape.
- Press the vinyl down well using the scraper tool.
- Measure and mark for locations for the holes to hold the pipe clamps. Use the mason jars to approximate location.
- Drill a hole in each pipe clamp large enough for your screws. Be sure to use an old piece of wood under the clamp to protect your surface.
- Then secure the pipe clamps to the panel with your screws.
- Add on your mason jars then tighten up the pipe clamps.
- Hang your mason jar bathroom organizer anywhere in your home and add in bathroom essentials.
What will you organize in your bathroom with this project? Use it for toothbrushes as shown here or you could also add in cotton swabs, cotton balls, and more. A mason jar bathroom organizer is easy to make and will look great hanging in your home.
Find more fun mason jar projects below!
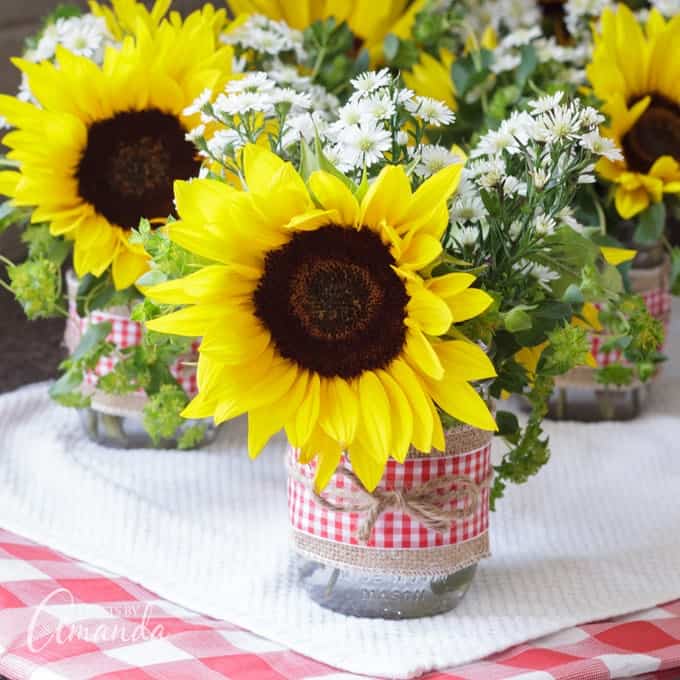
- Sunflower Mason Jar Centerpieces
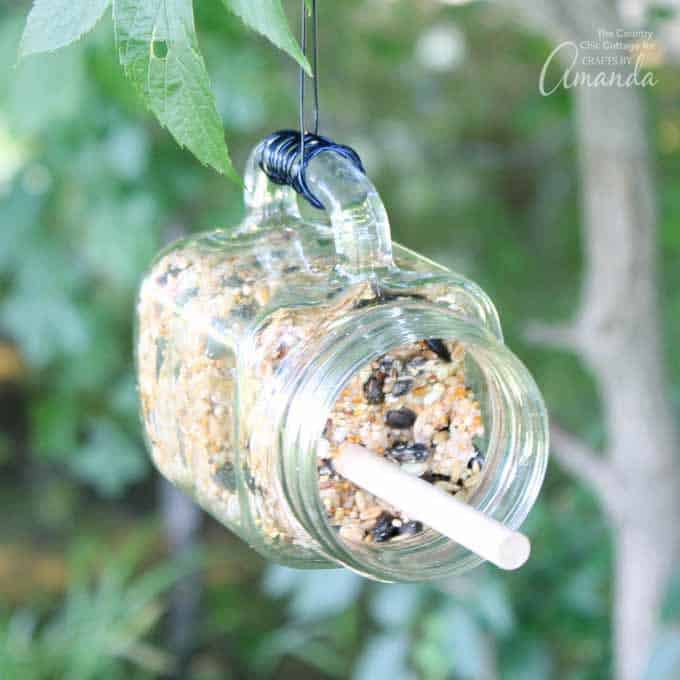
- Mason Jar Bird Feeder
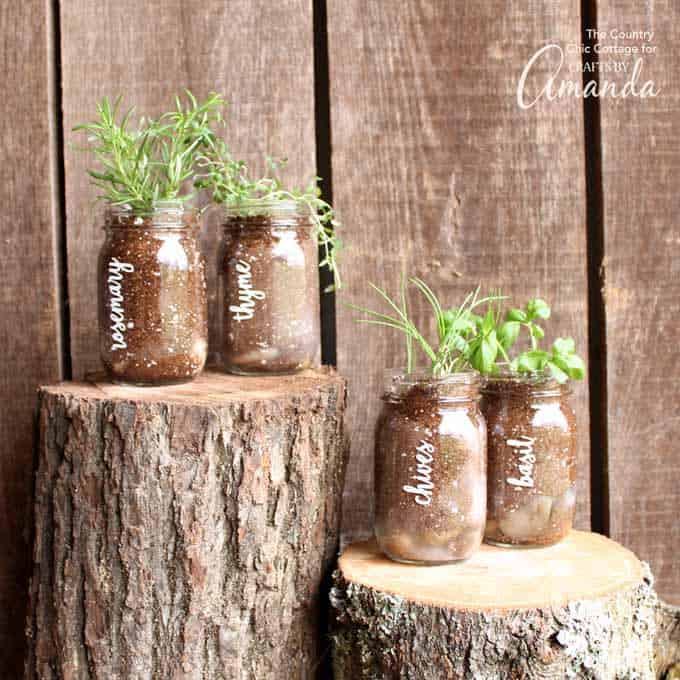
- Mason Jar Herb Garden
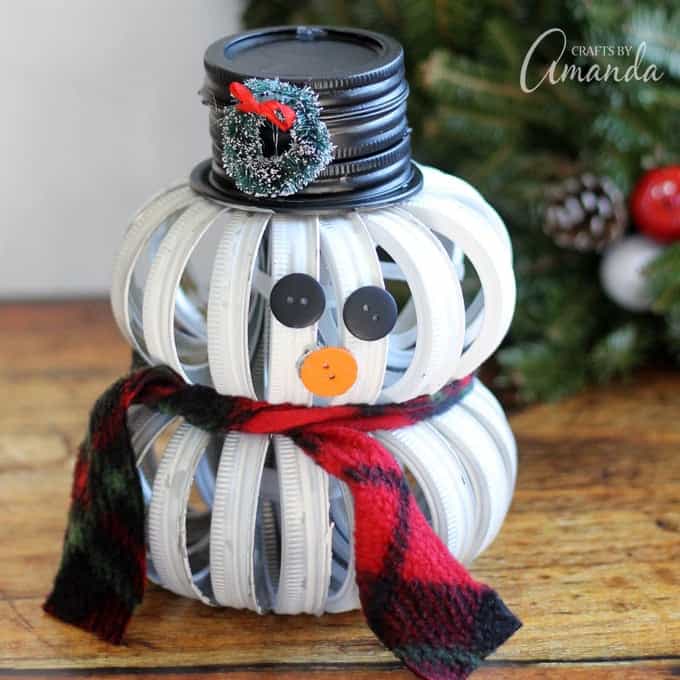
- Mason Jar Lid Snowman
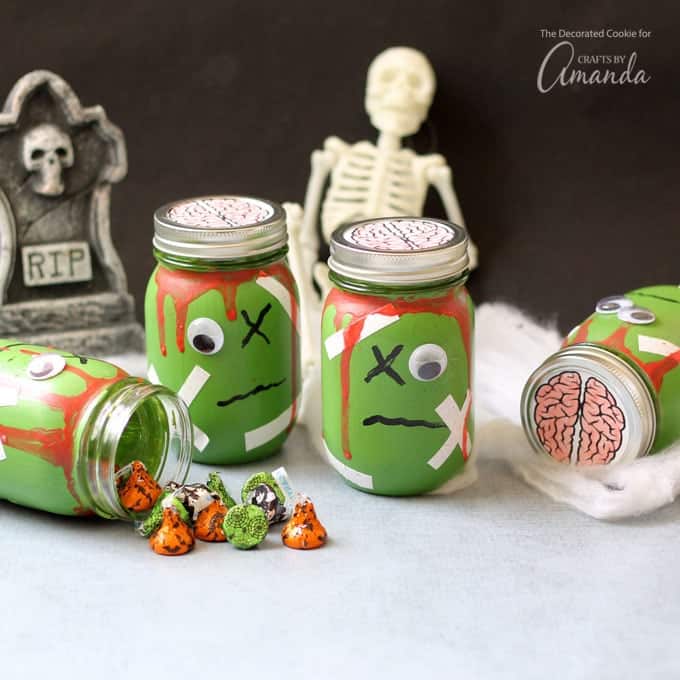
- Zombie Mason Jars
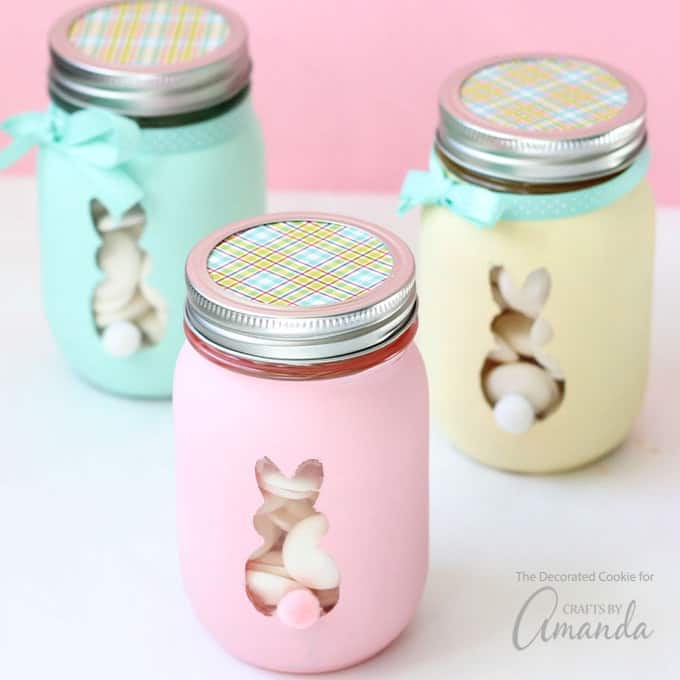
- Easter Bunny Mason Jars
Mason Jar Bathroom Organizer
Supplies
- Rustic wood panel
- Mason jars
- Pipe clamps
- White vinyl
- Transfer tape
- Craft cutting machine
- Weeding tools
- Scraper
- Screwdriver
- Drill
- Screws
Instructions
- Start by cutting the words you would like to add to your organizer from vinyl using a craft cutting machine. You can click here to download the file for the word brush if you would like.
- Weed away all excess vinyl from the cut.
- Apply transfer tape to the front then peel away the backing from the letters.
- Carefully add the words to your sign using a scraper tool. Be sure to press the vinyl down inside any cracks as you go along.
- Remove the transfer tape.
- Press the vinyl down well using the scraper tool.
- Measure and mark for locations for the holes to hold the pipe clamps. Use the mason jars to approximate location.
- Drill a hole in each pipe clamp large enough for your screws. Be sure to use an old piece of wood under the clamp to protect your surface.
- Then secure the pipe clamps to the panel with your screws.
- Add on your mason jars then tighten up the pipe clamps.
- Hang your mason jar bathroom organizer anywhere in your home and add in bathroom essentials.
This post originally appeared here on Aug 22, 2018.
- Scrap Wood Frames - November 15, 2024
- Clay Pot Lighthouse - July 2, 2024
- Mason Jar Bird Feeder - April 9, 2024



Leave a Reply