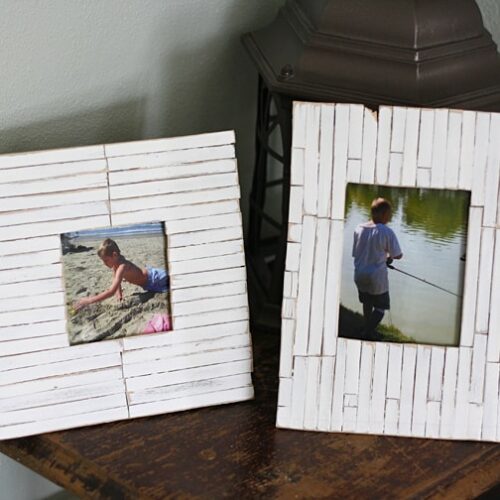
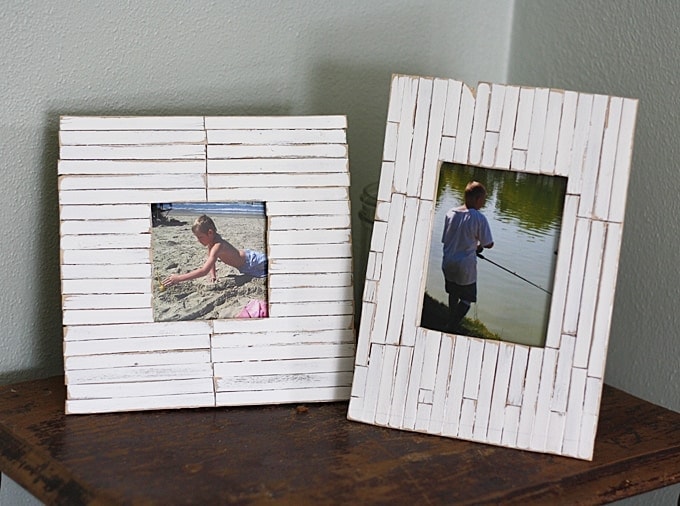
If you’re like me, you love the coastal look. I adore the beach and the serenity that comes with the sound of the crashing waves. The warmth of the summer sun and the soft sand between my toes. I was inspired to make these beach frames with a cottage slat look.
They pair so nicely with these pretty weathered beach signs I made a while ago.
Beach Frames – Cottage Slat Style
The cottage style look is really popular in coastal design. I love these beach frames, especially when I chose the photos to go into them. We’ve vacationed at the beach a few times and always had a good time; lots of great family memories. What a great way to display them!
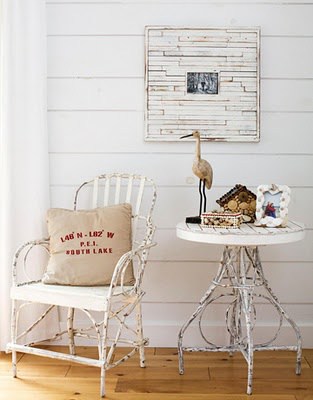
I was originally inspired by this photo of a frame made with some sort of wooden slats. I was only able to find the photo on other blogs that had no source for it. I’m assuming it was in a magazine or a catalog somewhere along the way.
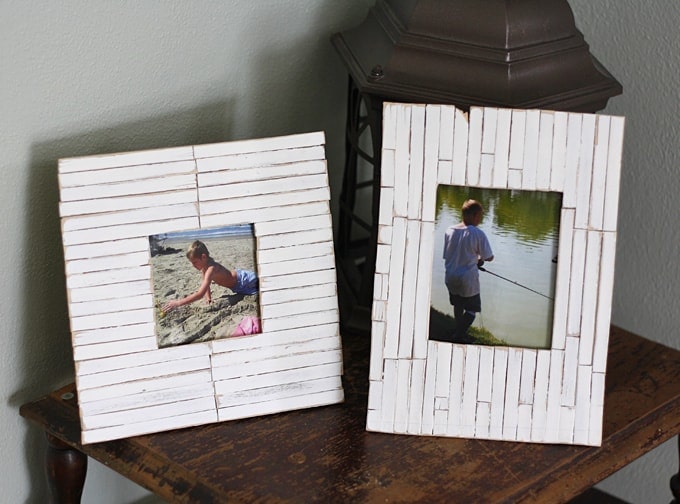
You may have seen these frames on my blog before. They made an appearance in this post for a thrift store bird makeover.
Beach Frame Tutorial
To make these Cottage Slat Frames you need a bunch of craft sticks. Super fun that you can turn popsicle sticks into beautiful beach decor for your home!
Supplies you need
- Flat wooden frame
- Craft sticks
- White craft glue
- Scissors or small wire cutters
- Craft paint: white and light brown
- Sandpaper
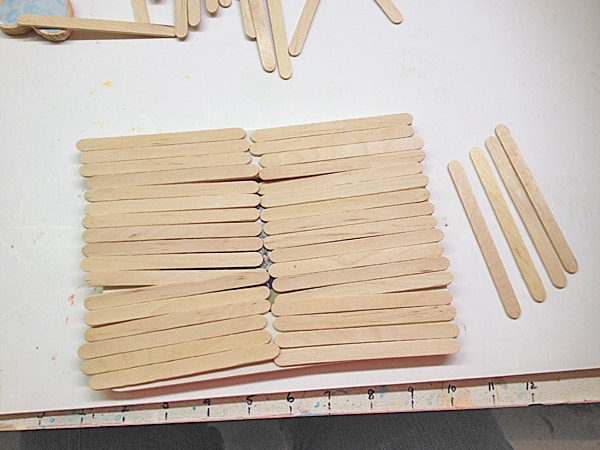
- To determine how many craft sticks you will need, lay your frame on the work surface and cover it with craft sticks. Add 3 or 4 more so that you have extra.
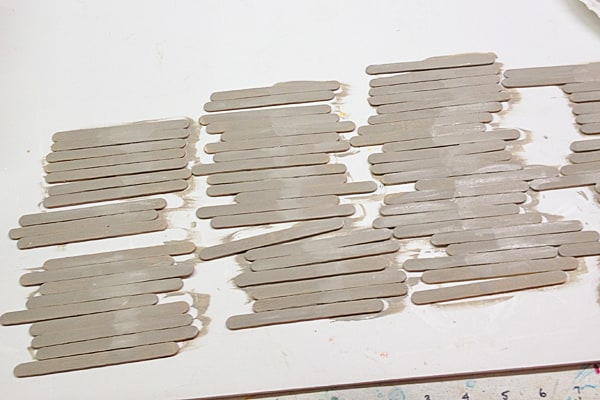
- Lay all the craft sticks out onto a piece of cardboard or foam core board. Paint the sticks with a coat of light brown paint (I used Americana, color = Driftwood)
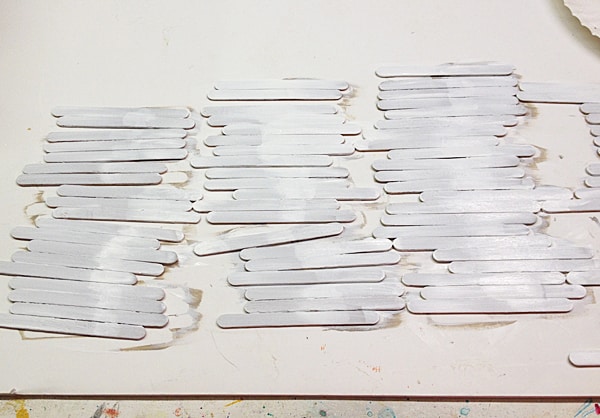
- When dry, add a coat of white (I used Americana, color = White Wash). Add 1-2 more coats, enough to cover so that the brown no longer shows through. Allow them to dry completely.
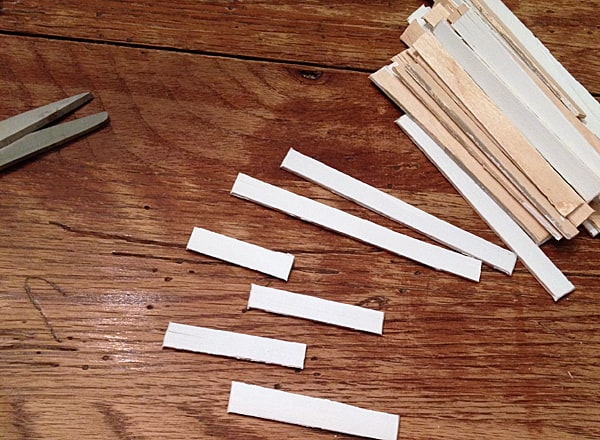
- Use scissors or wire cutters to cut the rounded ends off of the craft sticks.
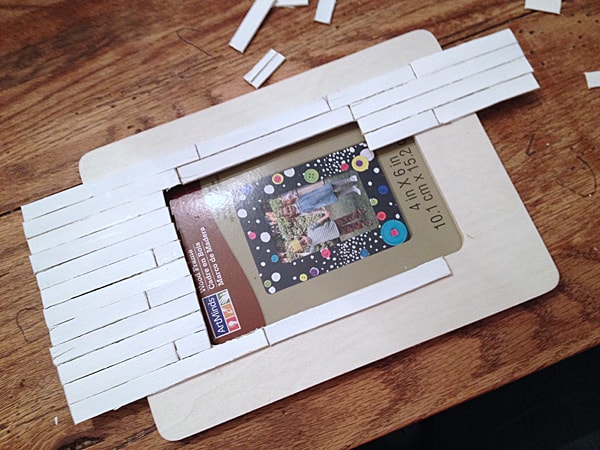
- Glue the sticks to the frame in whatever pattern is pleasing to you. For one frame I kept all of the pieces the same size and only trimmed the ones that went around the photo window. For the other frame I cut the sticks into varying lengths, which of course takes more time and attention. Let the glue dry overnight.
- Use a piece of sandpaper to rough up the edges, removing some of the white paint exposing the brown beneath it. Sand harder at the corners and edges, exposing the bare wood beneath it.
More Coastal Crafts
- Seashell Wreath
- Beach Terrarium
- Twig Coastal Wreath
- Beach Sign Ornaments
- Coastal Wood Slice Coasters
Cottage Slat Frame
Supplies
- Flat wooden frame
- Craft sticks
- White craft glue
Craft tools
- Scissors or small wire cutters
- Craft paint: white and light brown
- Sandpaper
Instructions
- To determine how many craft sticks you will need, lay your frame on the work surface and cover it with craft sticks. Add 3 or 4 more so that you have extra.
- Lay all the craft sticks out onto a piece of cardboard or foam core board. Paint the sticks with a coat of light brown paint (I used Americana, color = Driftwood)
- When dry, add a coat of white (I used Americana, color = White Wash). Add 1-2 more coats, enough to cover so that the brown no longer shows through. Allow them to dry completely.
- Use scissors or wire cutters to cut the rounded ends off of the craft sticks.
- Glue the sticks to the frame in whatever pattern is pleasing to you. For one frame I kept all of the pieces the same size and only trimmed the ones that went around the photo window. For the other frame I cut the sticks into varying lengths, which of course takes more time and attention. Let the glue dry overnight.
- Use a piece of sandpaper to rough up the edges, removing some of the white paint exposing the brown beneath it. Sand harder at the corners and edges, exposing the bare wood beneath it.
- St. Patrick’s Day Activity Sheets - March 4, 2025
- Watercolor Luminaries - February 11, 2025
- Free Valentine Printables: Cards, toppers, and tags - February 4, 2025


murli says
Good….
Glenda says
Oh my this is beautiful. Definitely my style. Thanks for sharing.