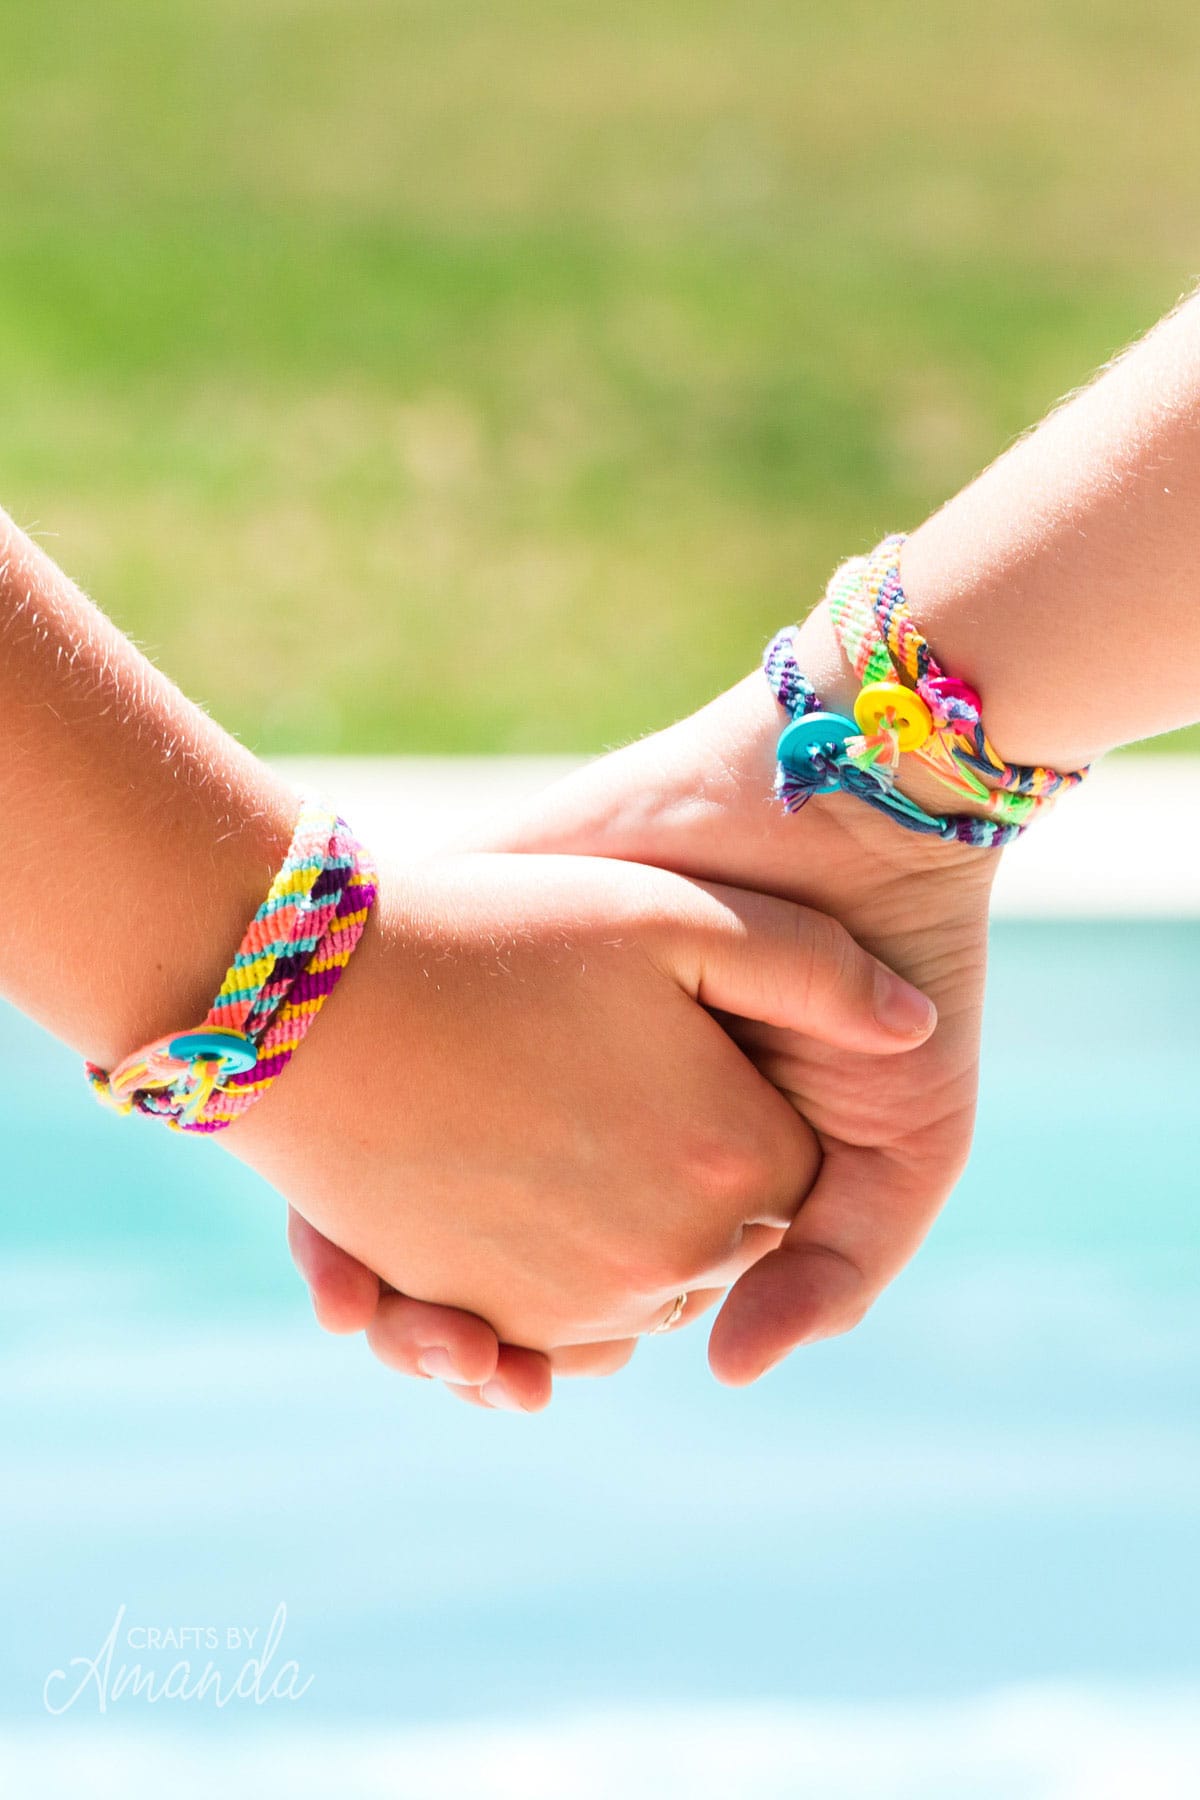
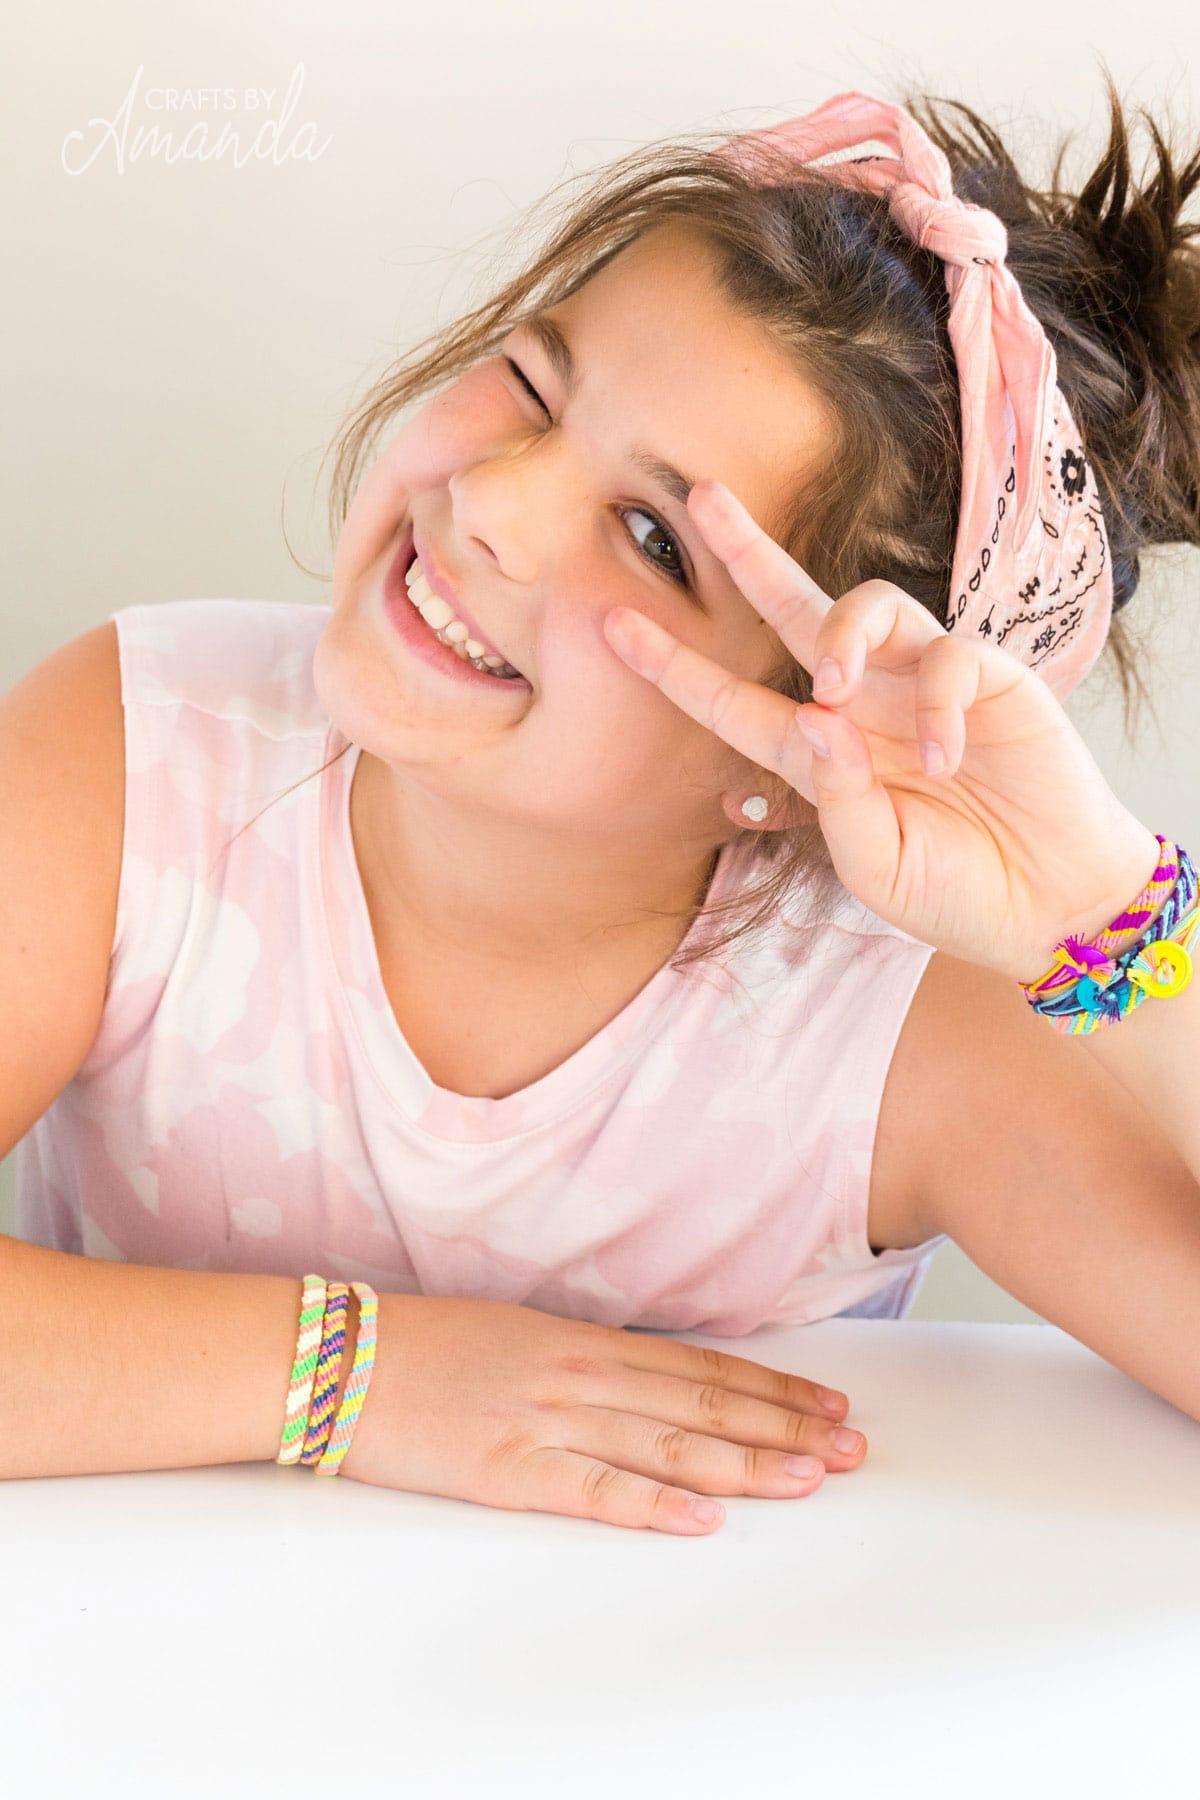
Kids can create these friendship bracelets in their favorite colors to share with friends! There’s nothing sweeter than a token of friendship to keep for years to come.
Why we love this project
Traditional friendship bracelets are tied on while the giver makes a wish for her friend. Once the bracelet finally falls off, it is said the wish will come true. Even though ours is made with a button closure, I’d still make a wish as I give a bracelet to a friend. That’s what friendship is about!
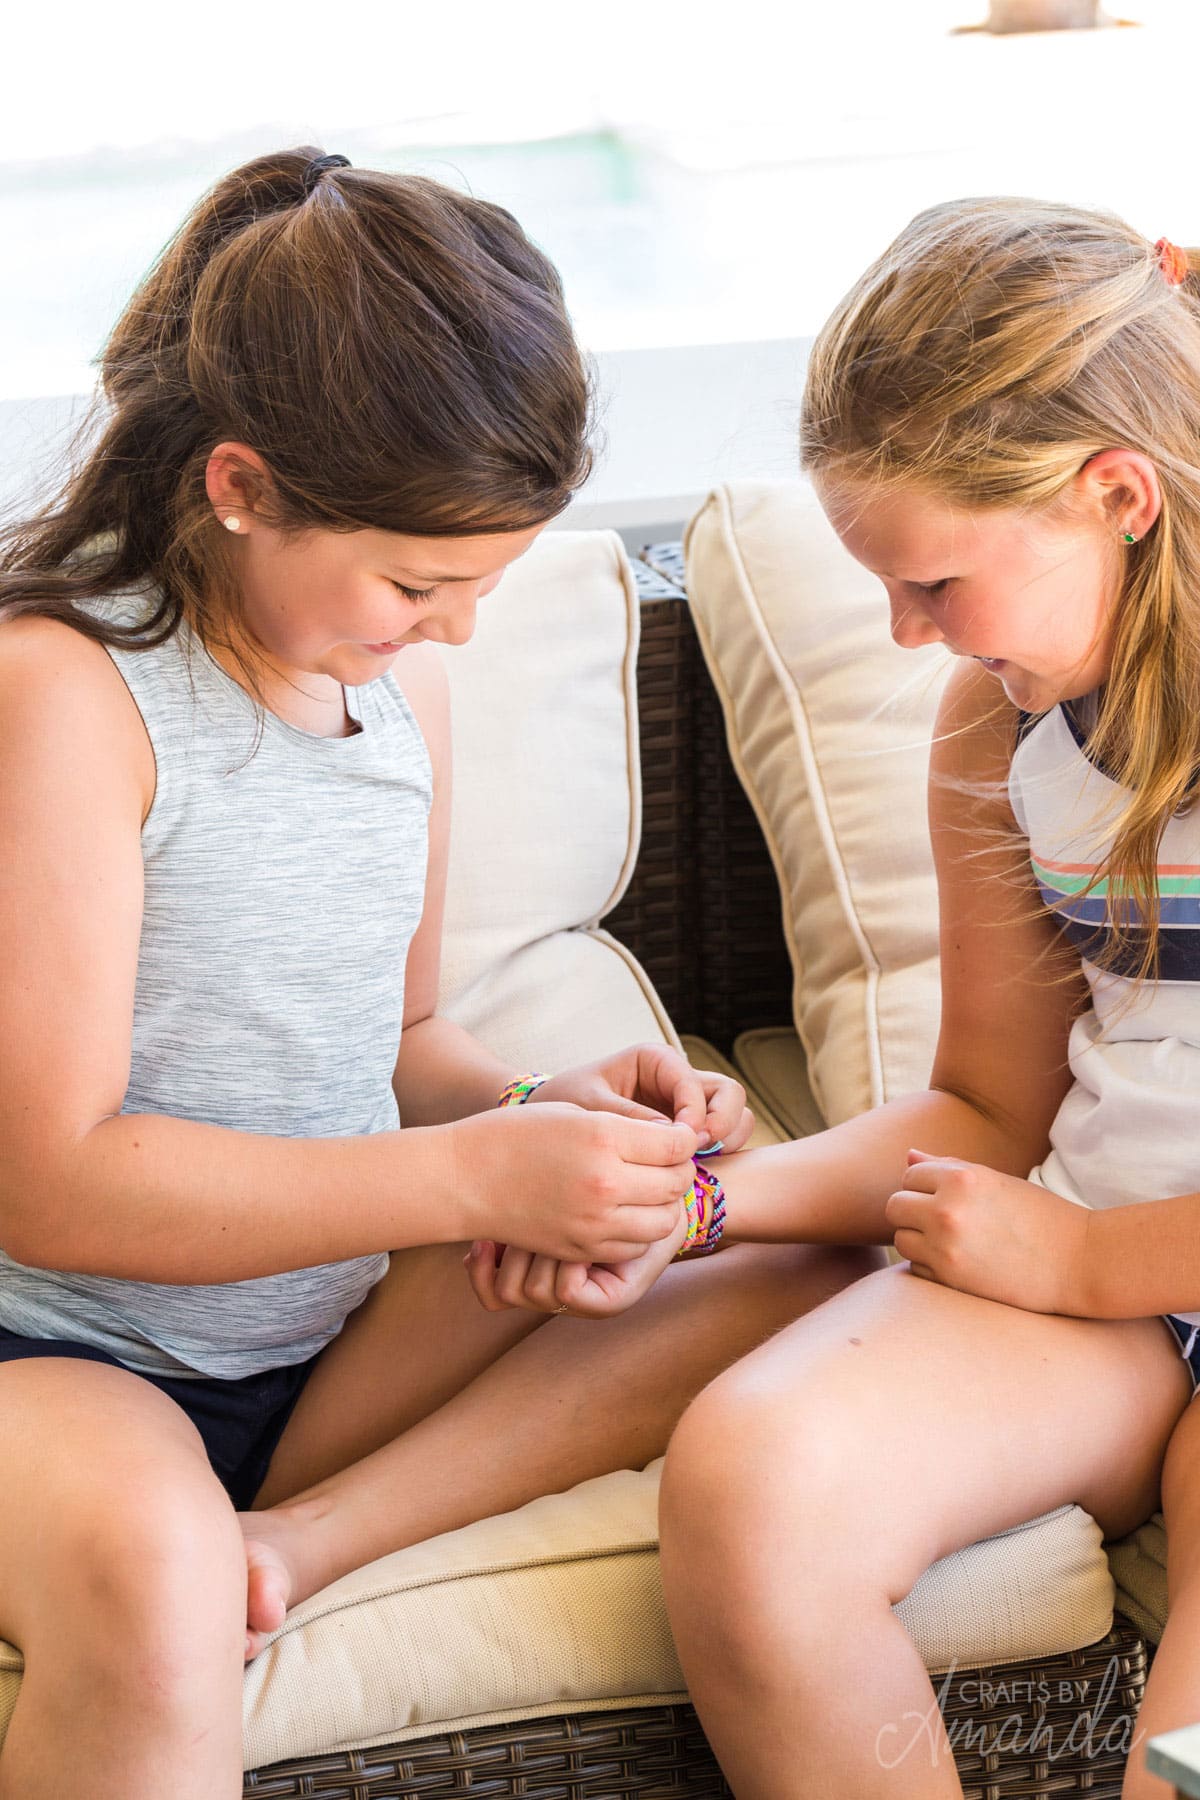
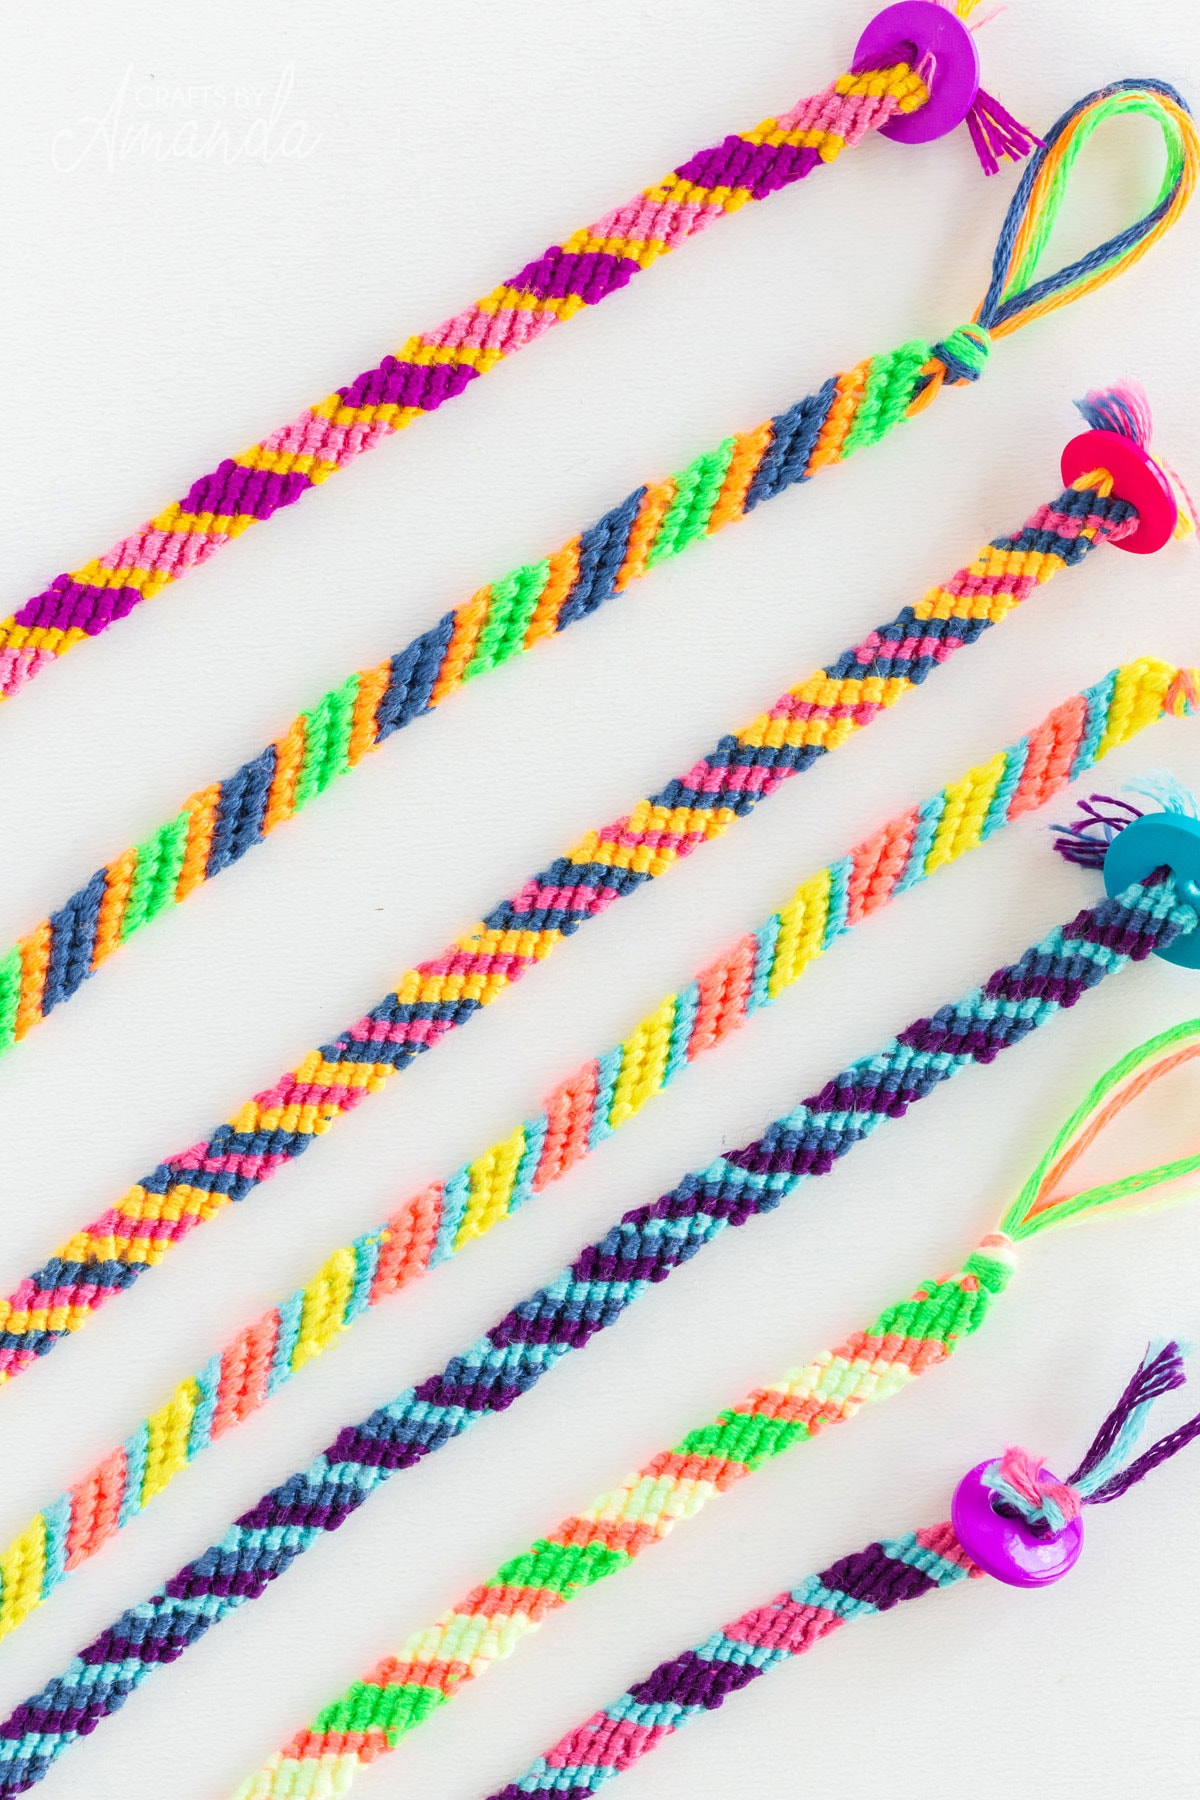
Friendship bracelets are all about patterns. This candy stripe diagonal pattern is a great one for beginners. You work in a pattern of making 2 knots per strand as you create a diagonal woven pattern.
If you’re giving this bracelet as a gift, pair it with a cute personalized stenciled frame with a photo of you and your friend!
Craft supplies you will need:
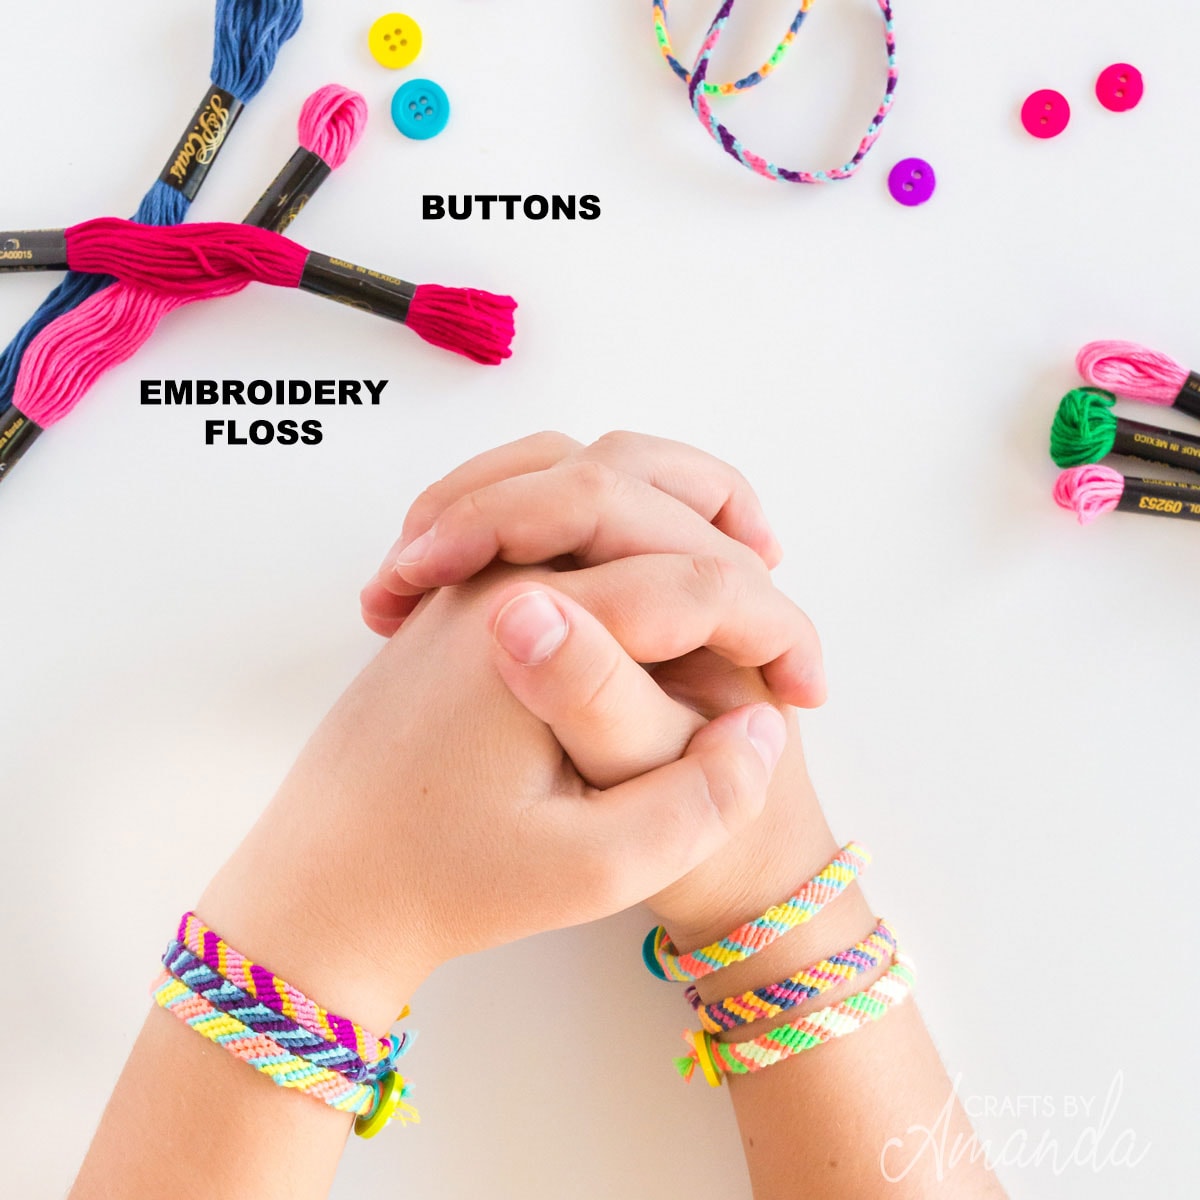
- Embroidery Floss – 3 assorted colors
- Scissors
- Tape
- Button
- Extra piece of floss approx. 12”
Craft information:
- Age Level: 10 years old
- Mess Factor: Minimal
- Time to Complete: 1 hour
- Cost estimate: 50-99 cents per bracelet
Crafting Tips:
- It is easier to work at a table. Have the loop end taped about arms-length on the table and let the floss hang off of the table right in front of you.
- If you want to take a break from knotting, finish the row of knots, then tape down the strand of floss on the far left, separate from other strands. When you are ready to start, simply remove the tape and start a new row of knots.
- If your bracelet starts to curl you can “block it” to make it lay flat. When your finished bracelet is done, tape it to a flat surface. Make sure it’s pulled nice and taut. Spray it with a good amount of water and let it dry like that. Then remove the tape.
How to Make Candy Stripe Friendship Bracelets:
Measure your wrist: Use the extra piece of floss to wrap around your (or your friend’s) wrist one time. Take floss off your wrist, holding the spot where the floss “connected” and cut that. This is the approximate length your bracelet needs to be.
Measure the floss: The general rule is to cut pieces of floss the length between your fingertips and shoulder. Hold the end of the floss in your fingers and stretch your arm out, do this 2x so you have 1 long piece of floss, double the length of your fingers to shoulder. Do this for all 3 colors of floss.
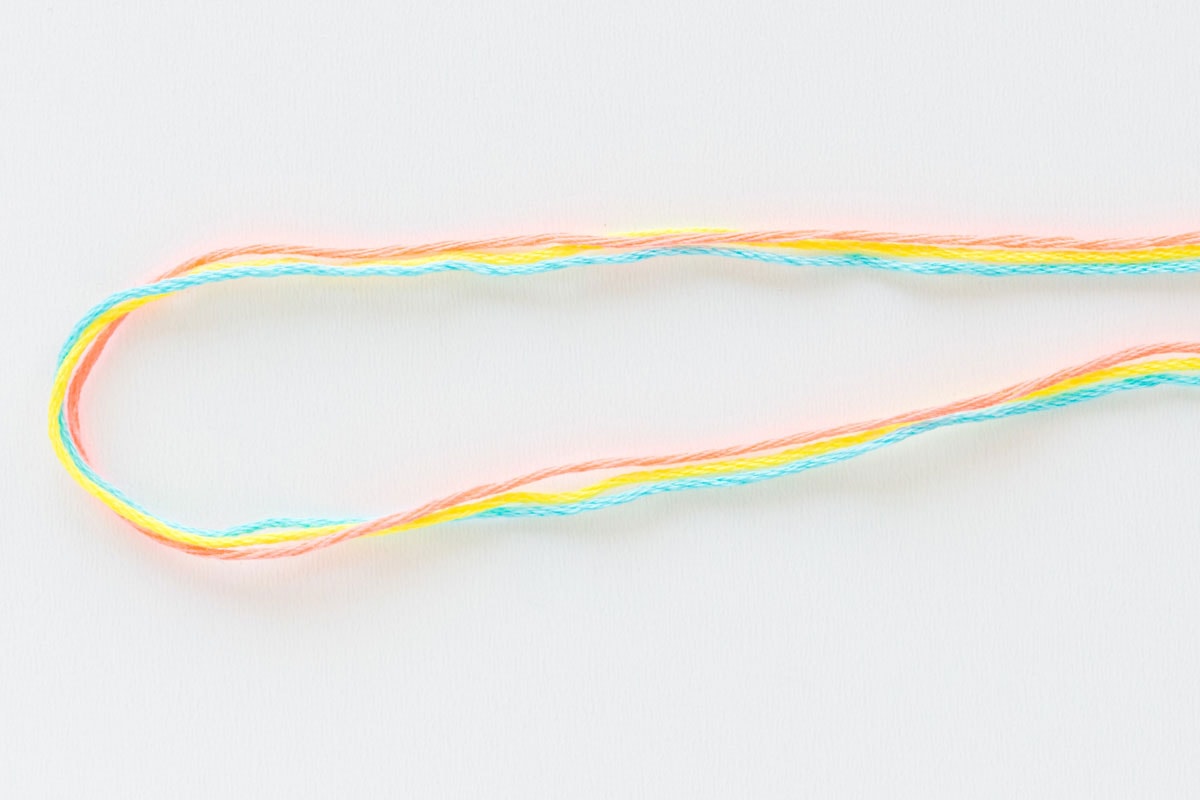
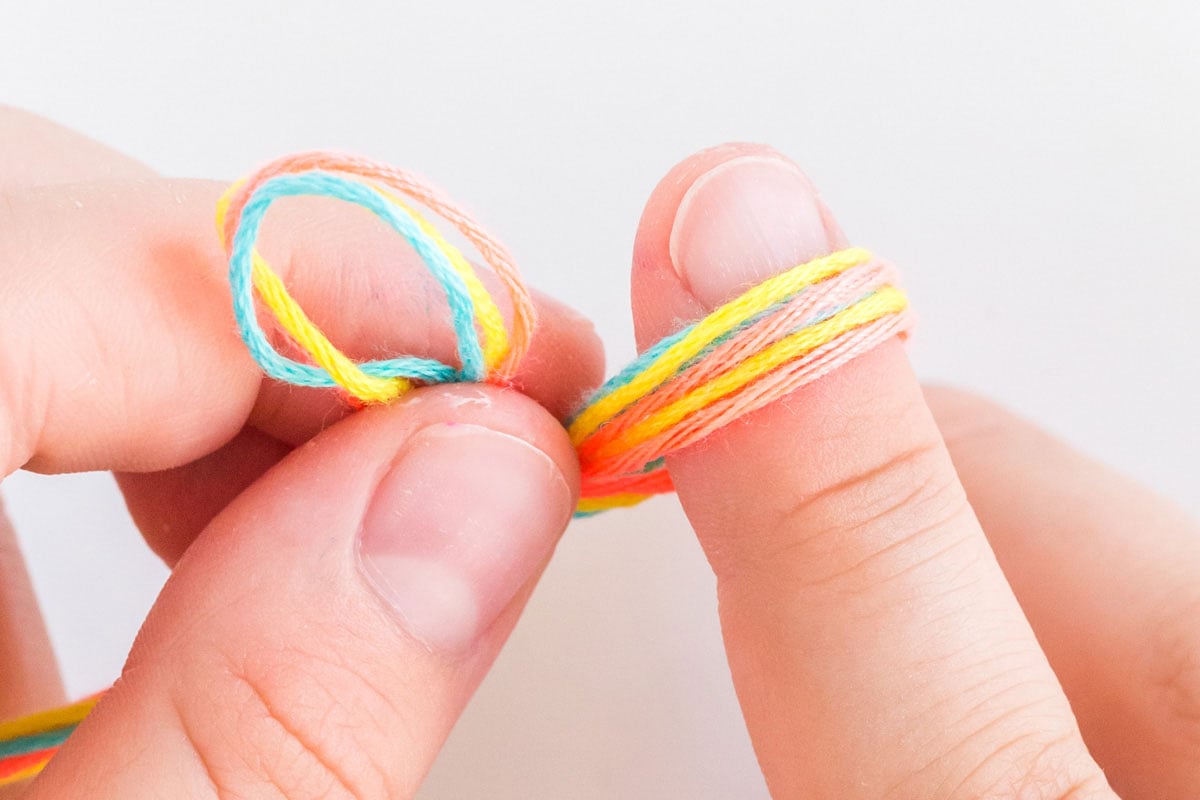
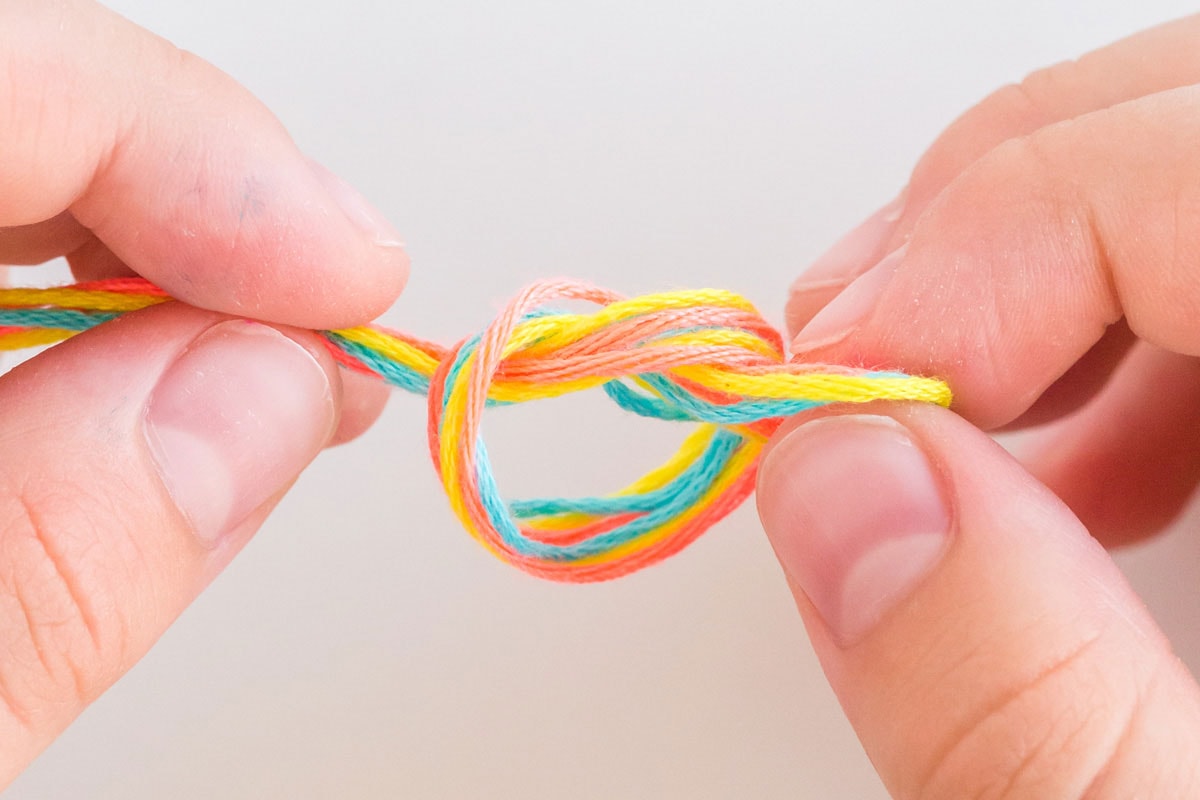
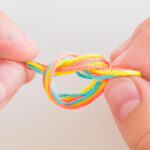
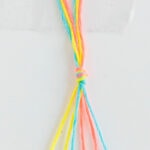
Make the loop for button closure: Take the 3 strands of floss together and fold them in half. Make an overhand knot at the fold, creating a little loop at the end where you are tying the knot. This will be the loop for your button closure.
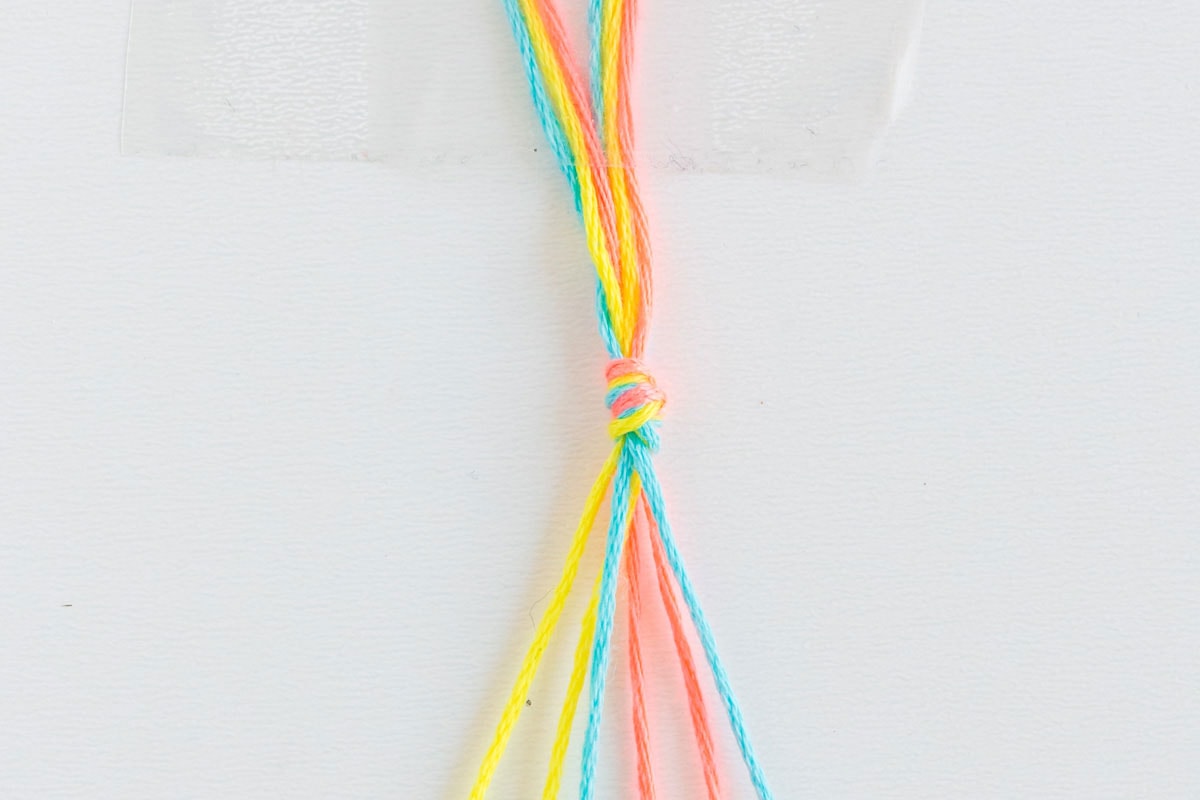
Tape down the loop end to the table.
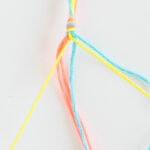
Arrange your 6 strands of floss in the order you want. The strand all the way on the left is the one that will make the first row. You will knot it around all the other strands of floss.
Note: If you have 2 of the same colors next to each other, you will have a wider band of that color in your bracelet.
Make the knots: This bracelet uses the “forward knot” which creates knots left to right, just the way we read.
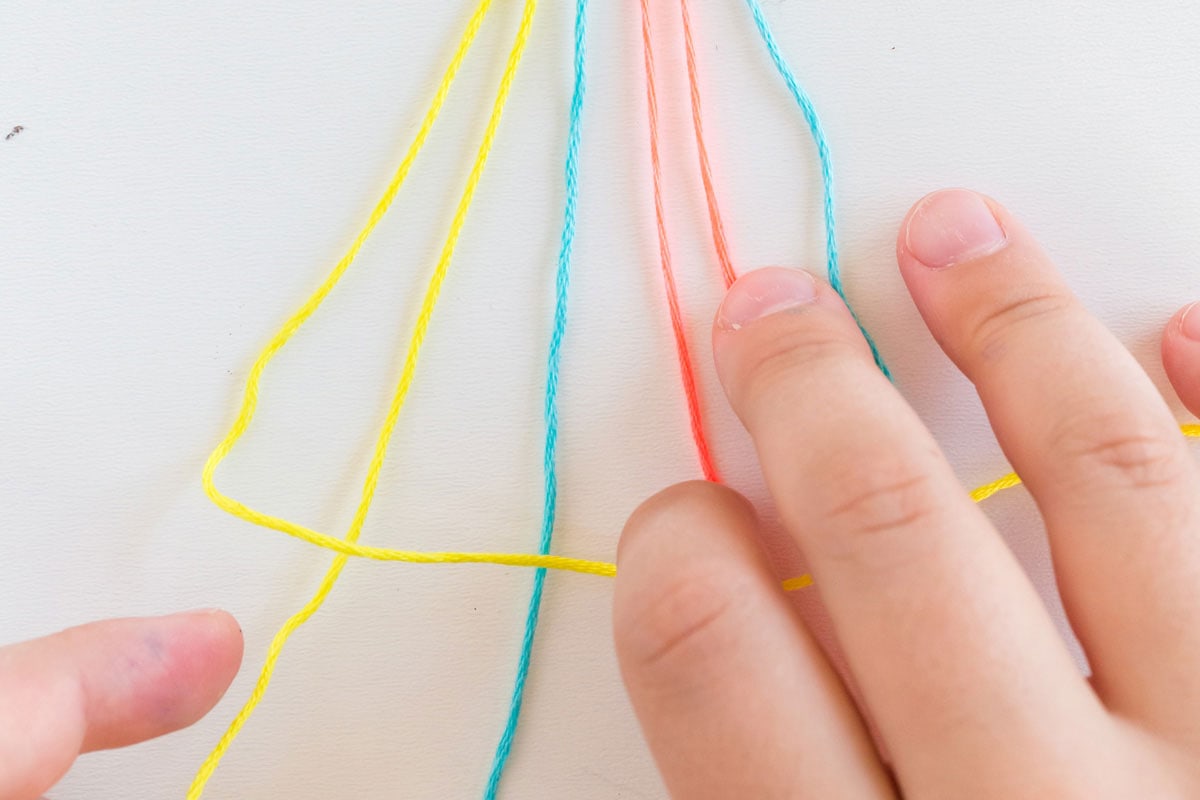
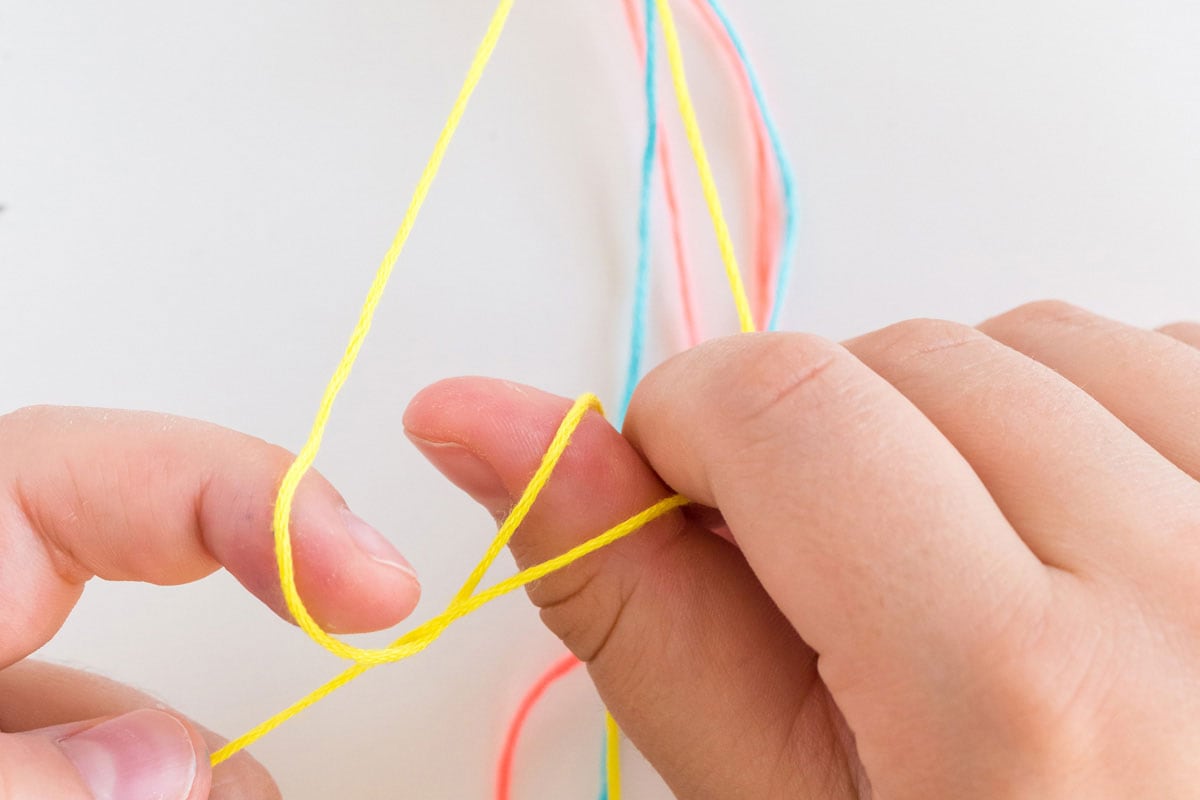
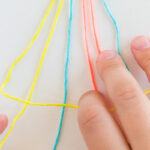
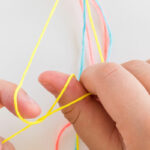
1. Take the first strand on the left, shape it into a number 4 with the 2nd strand next to it being the straight line of the “4”. Make sure the first strand goes over the second strand, and then behind as shown in the photo. It is important the first strand always goes OVER the second strand, it’ll give it the right look.
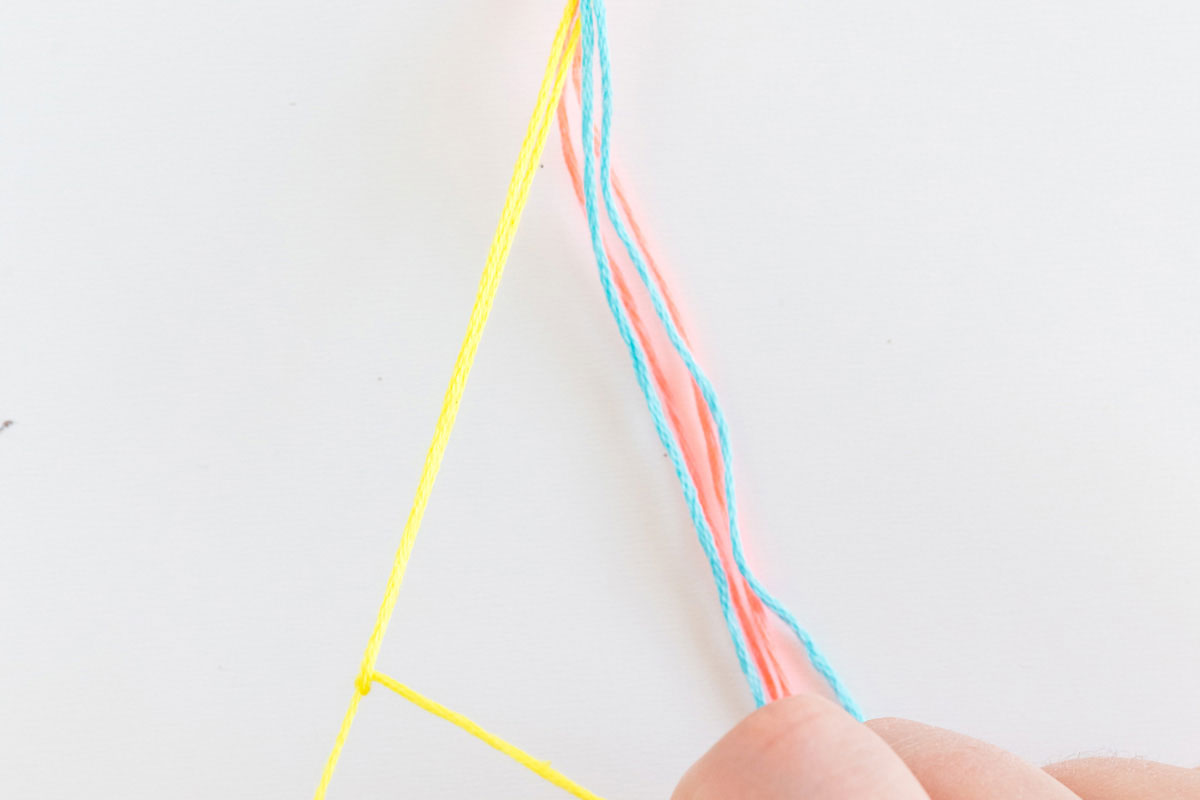
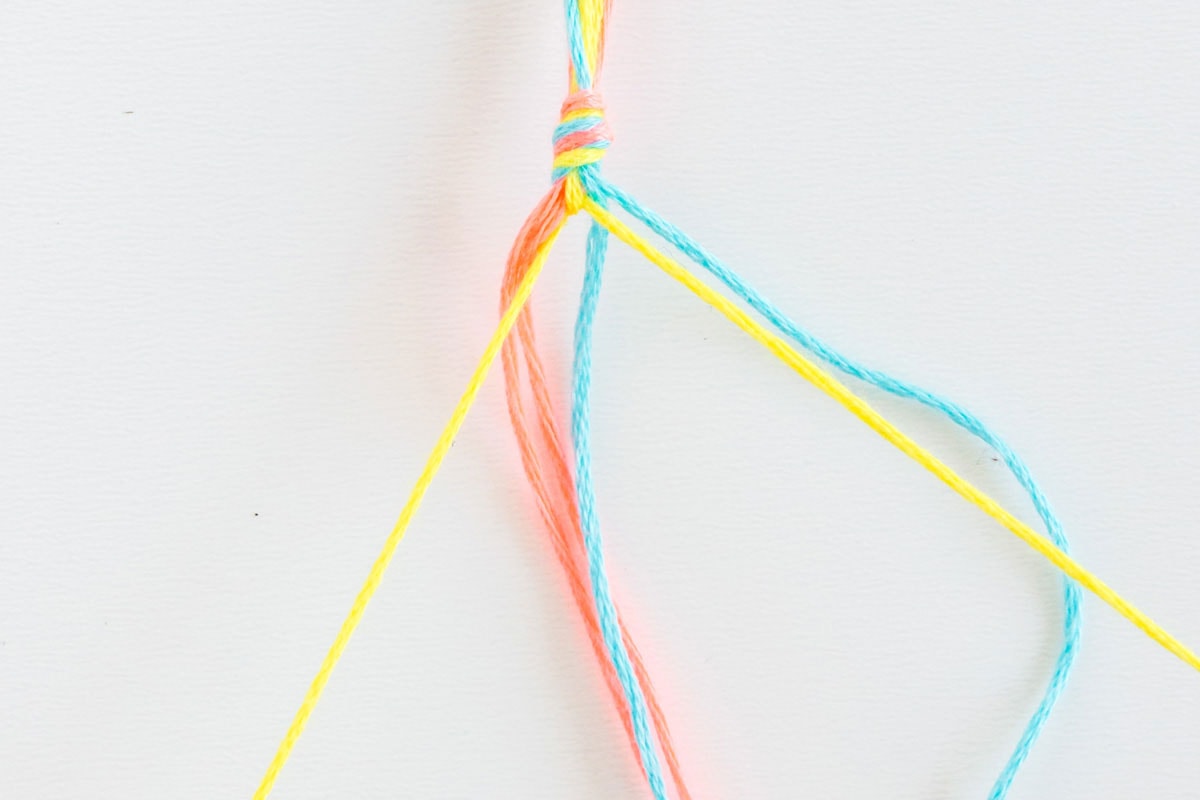
2. Now hold the second strand taut, and pull the first strand up and into the loop. Pull until you meet resistance, but not any harder! This will create a small knot on the second strand.
3. Make another knot by tying the first strand around the second strand again – by just repeating steps 1-2.
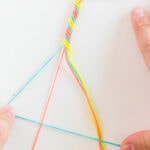
4. Continue moving across to the right, using the first strand to create two knots on each strand of floss/yarn in the bracelet.
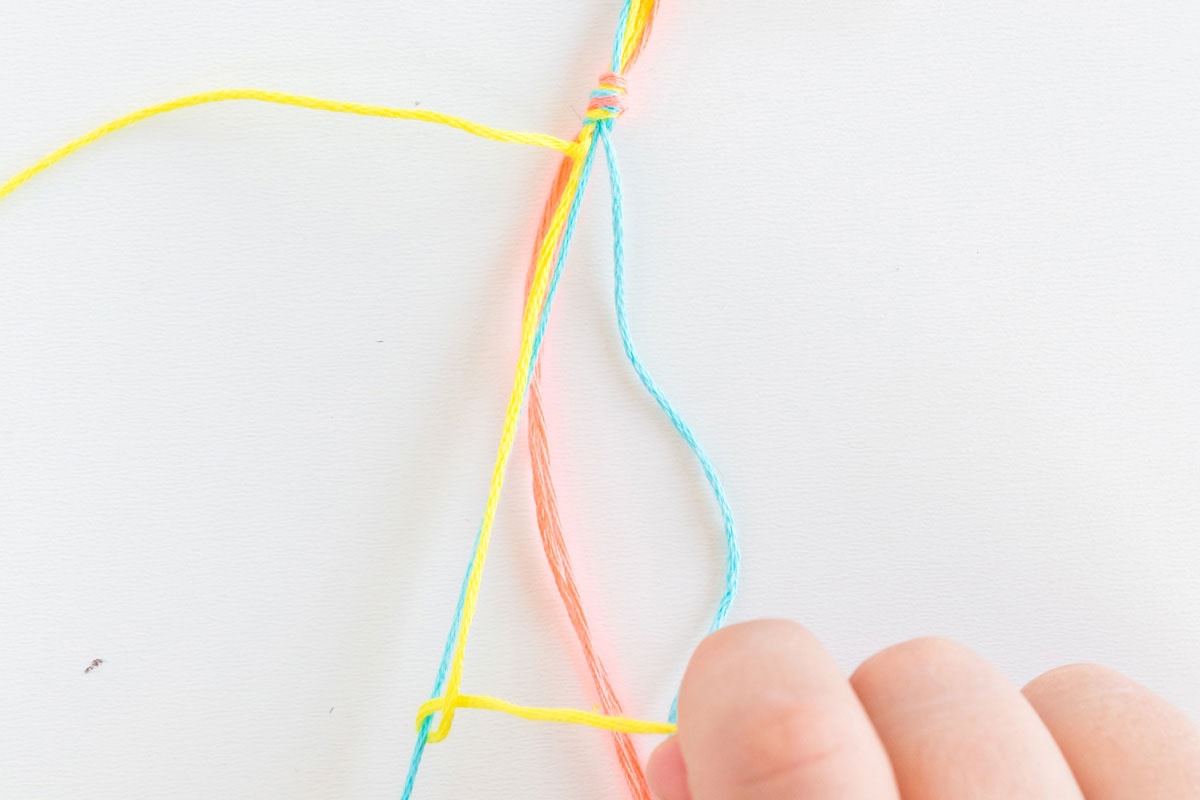
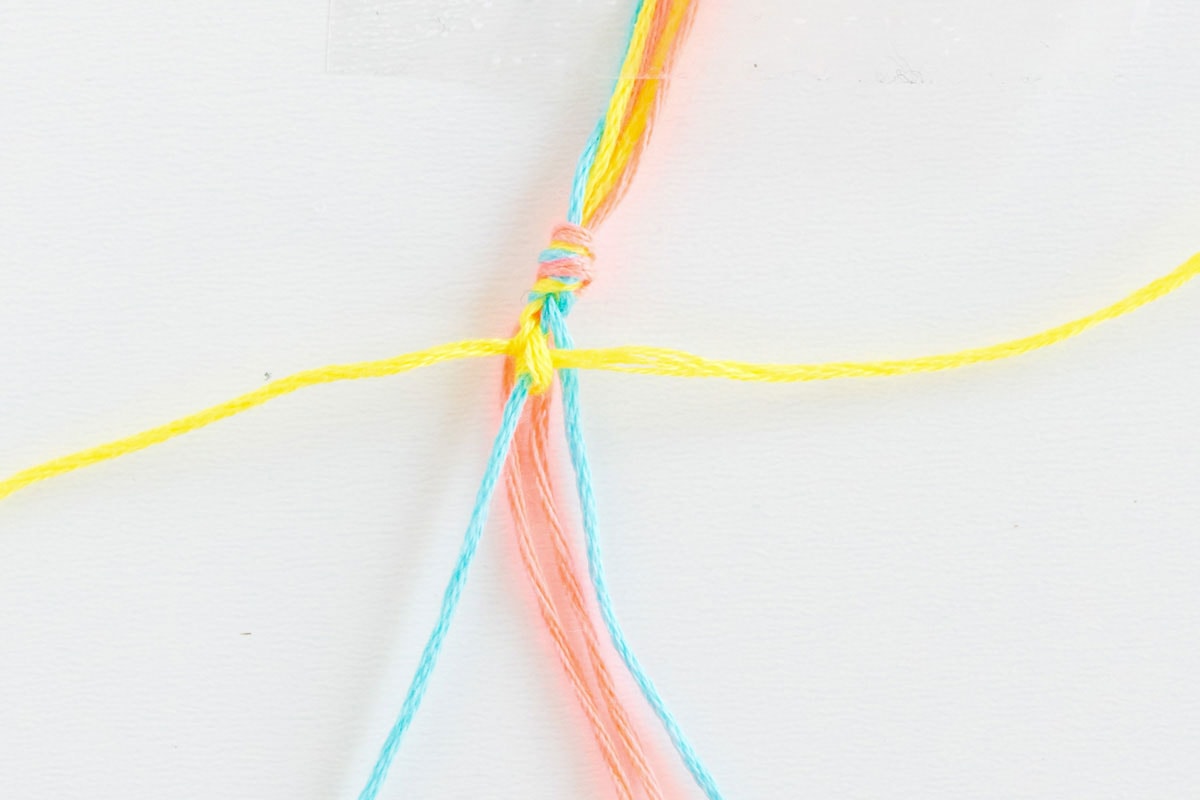
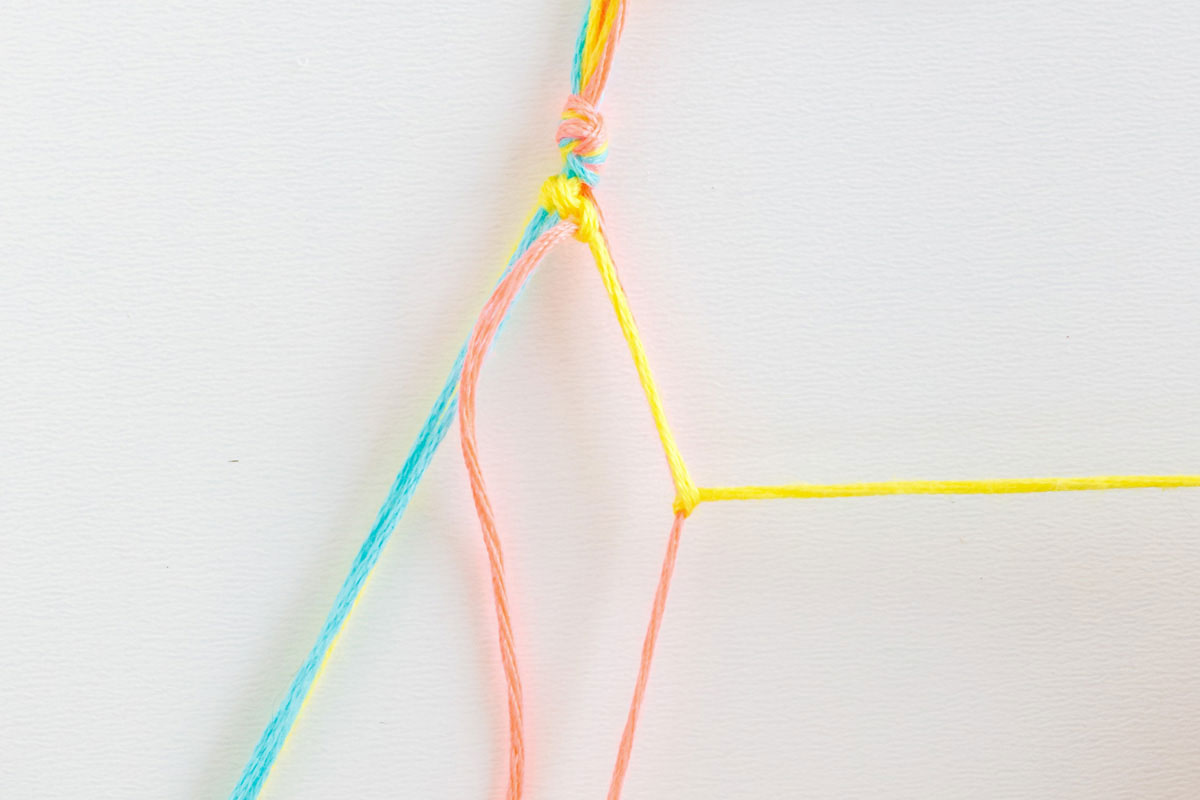
5. Once you’ve knotted all the way across to the right and reached the last strand of floss/yarn, begin again using the first strand on the left. Make sure you’re making TWO knots on each strand.
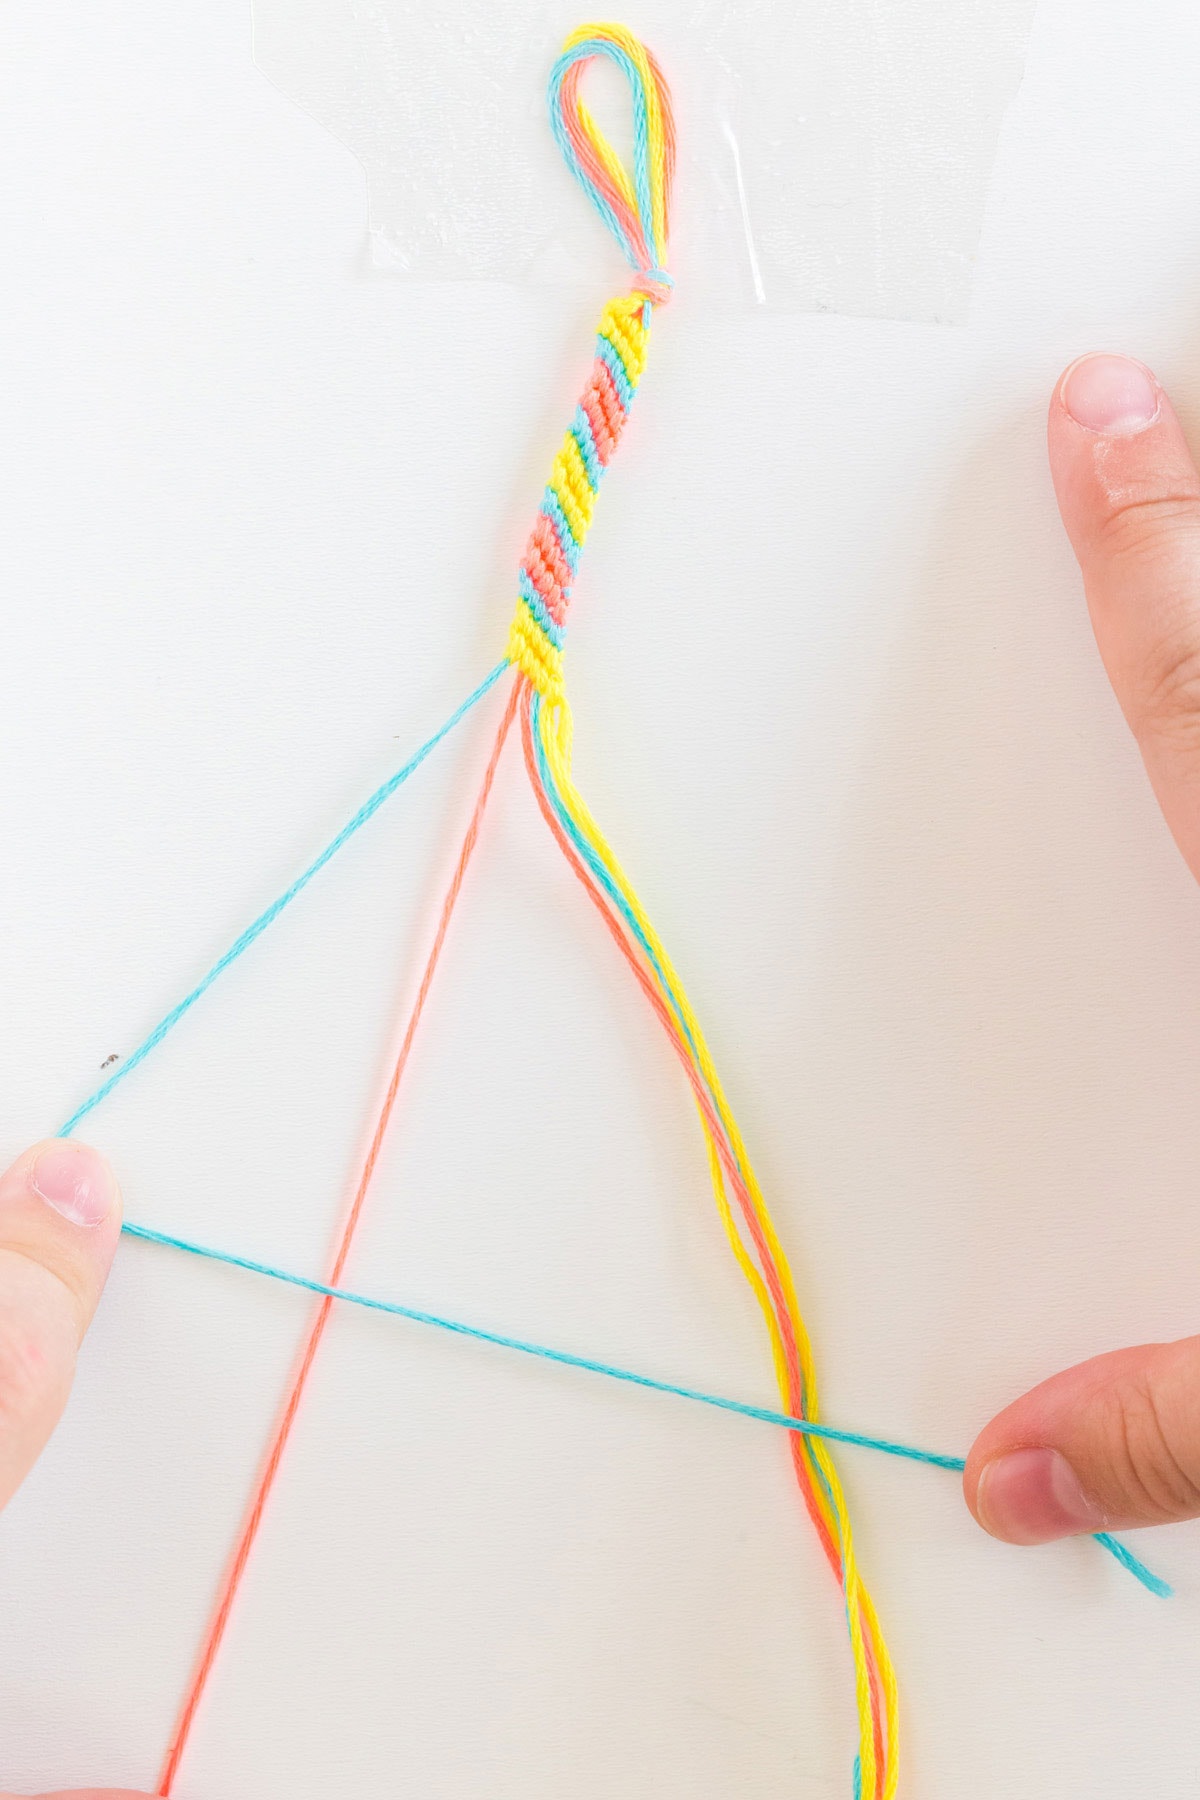
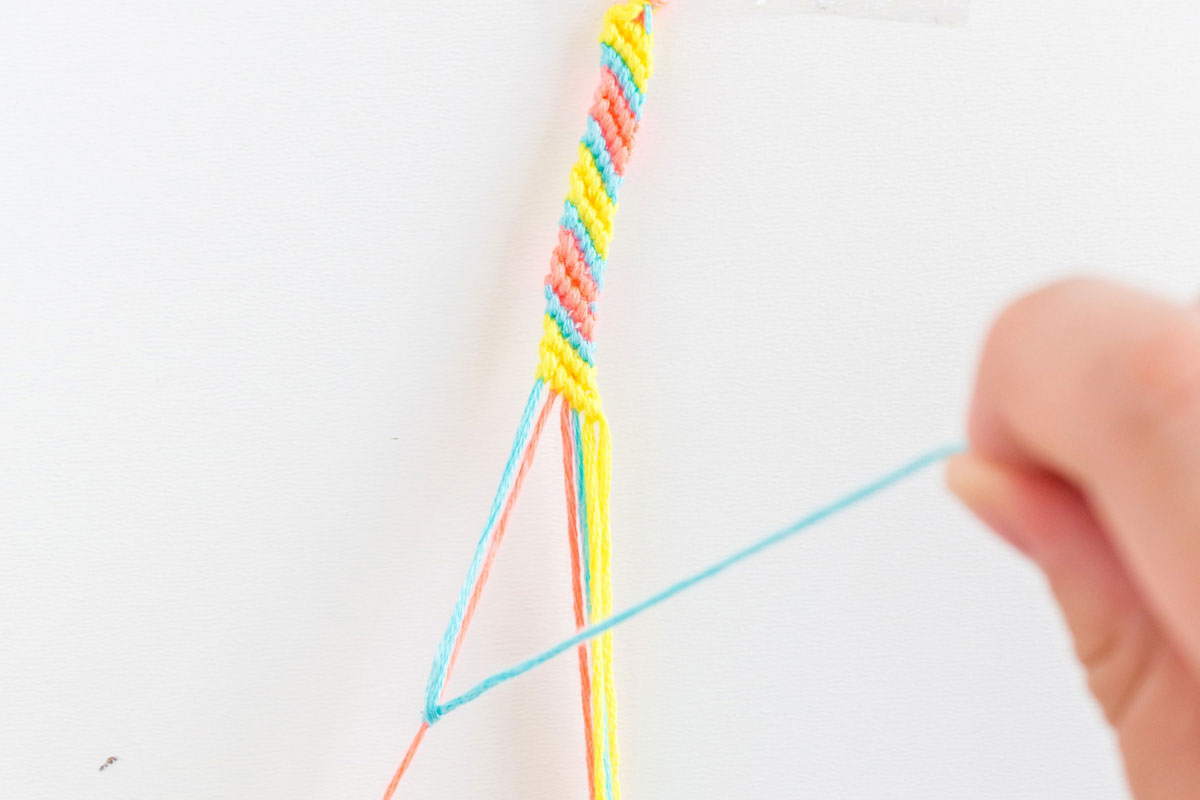
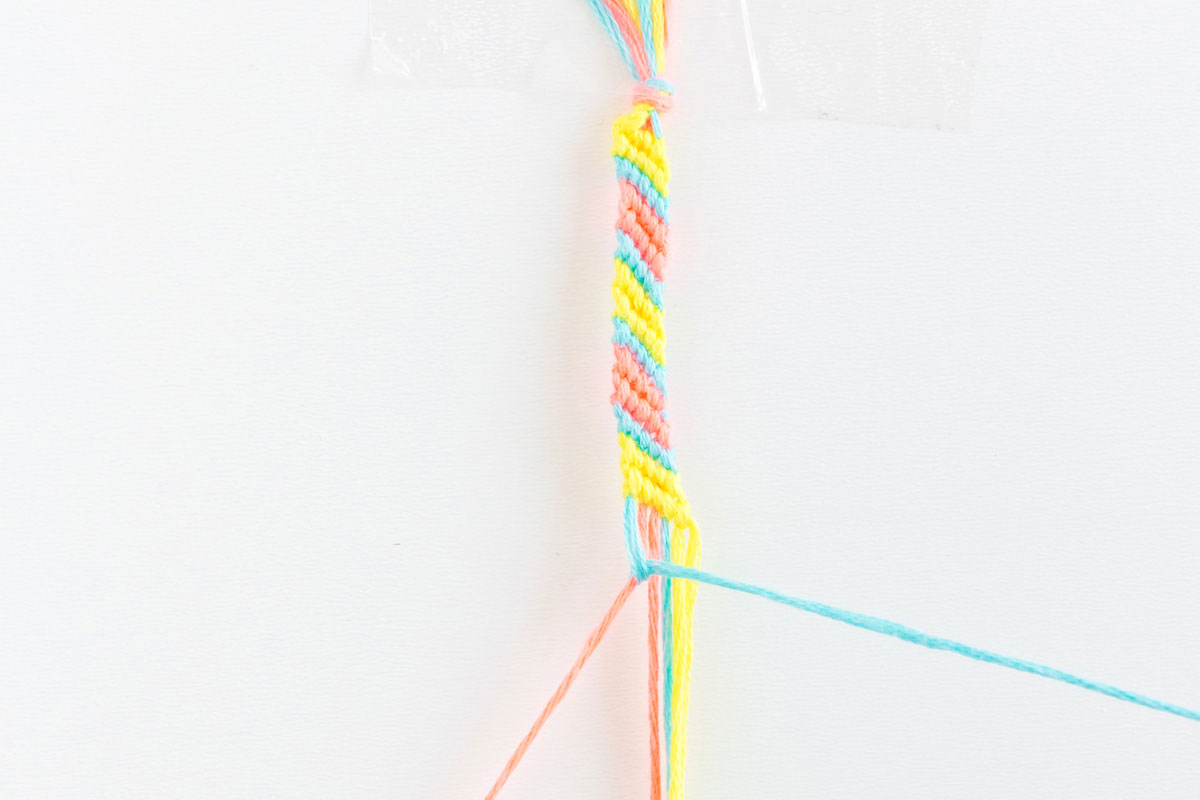
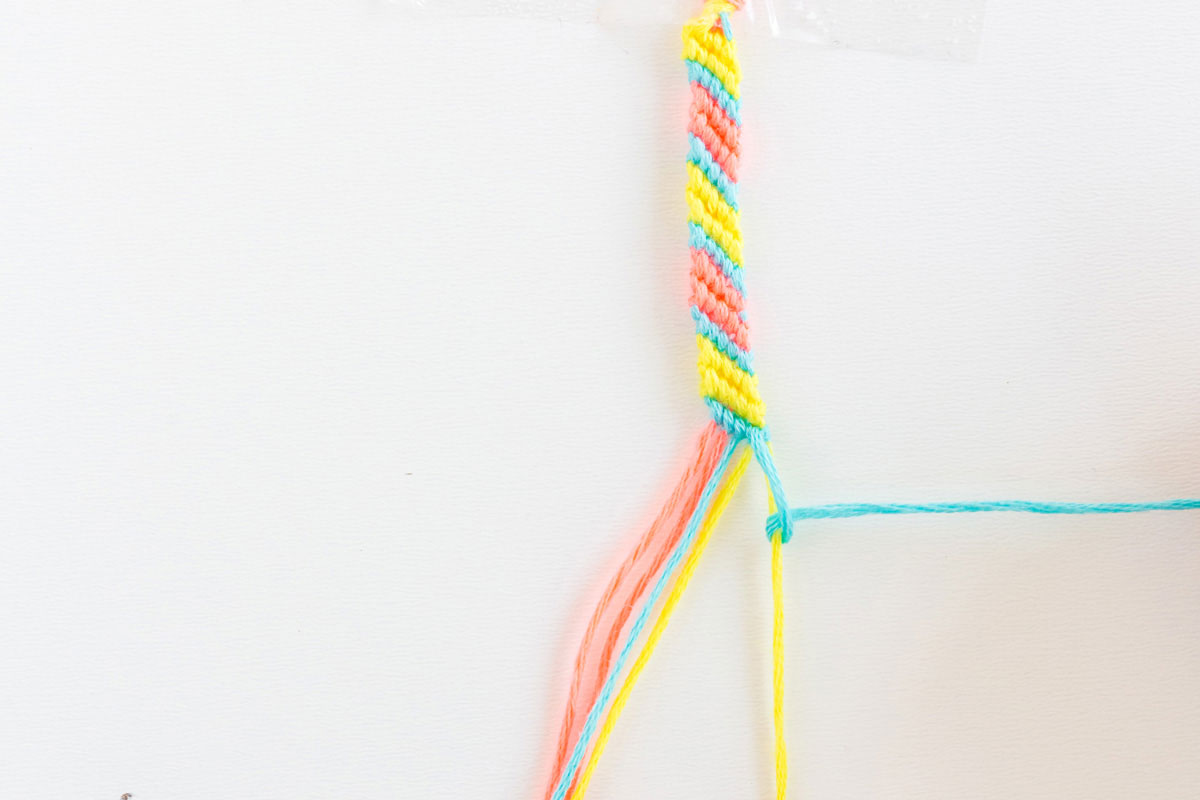
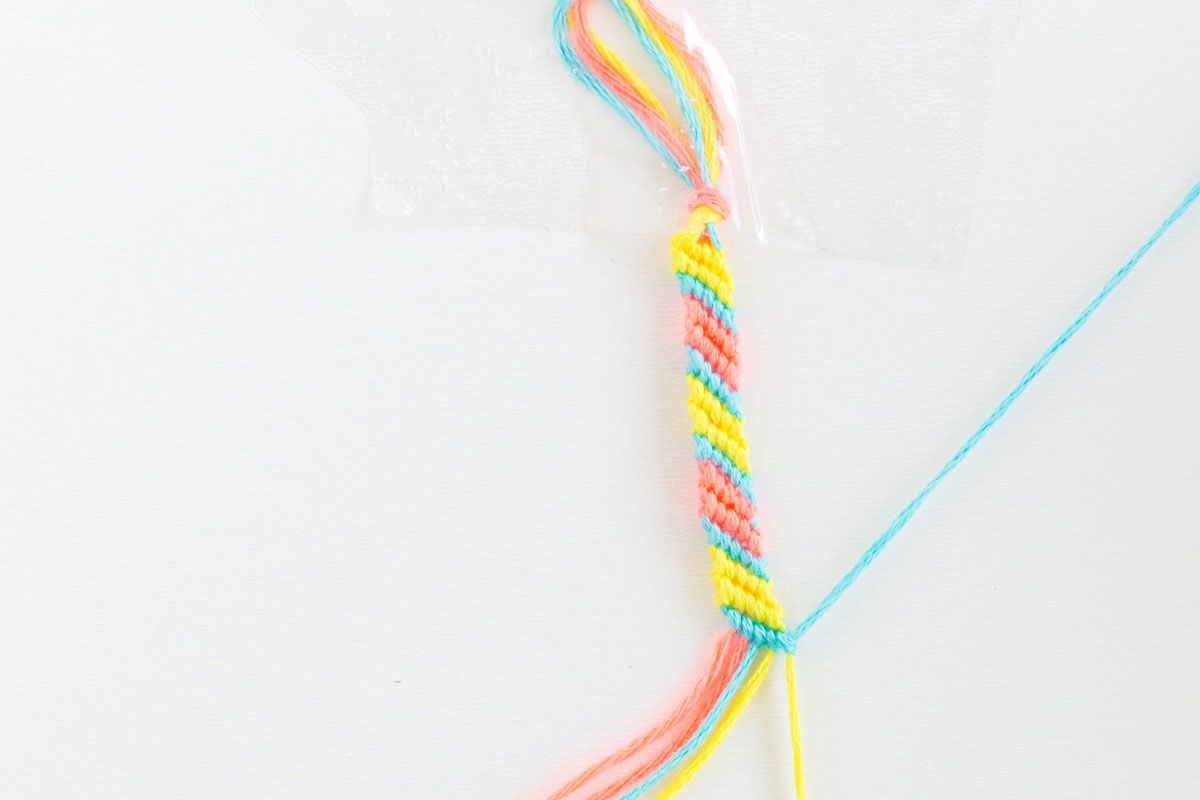
6. Keep knotting until you have the right measurement for your wrist. You can check by lining up the piece of floss you used to measure your wrist.
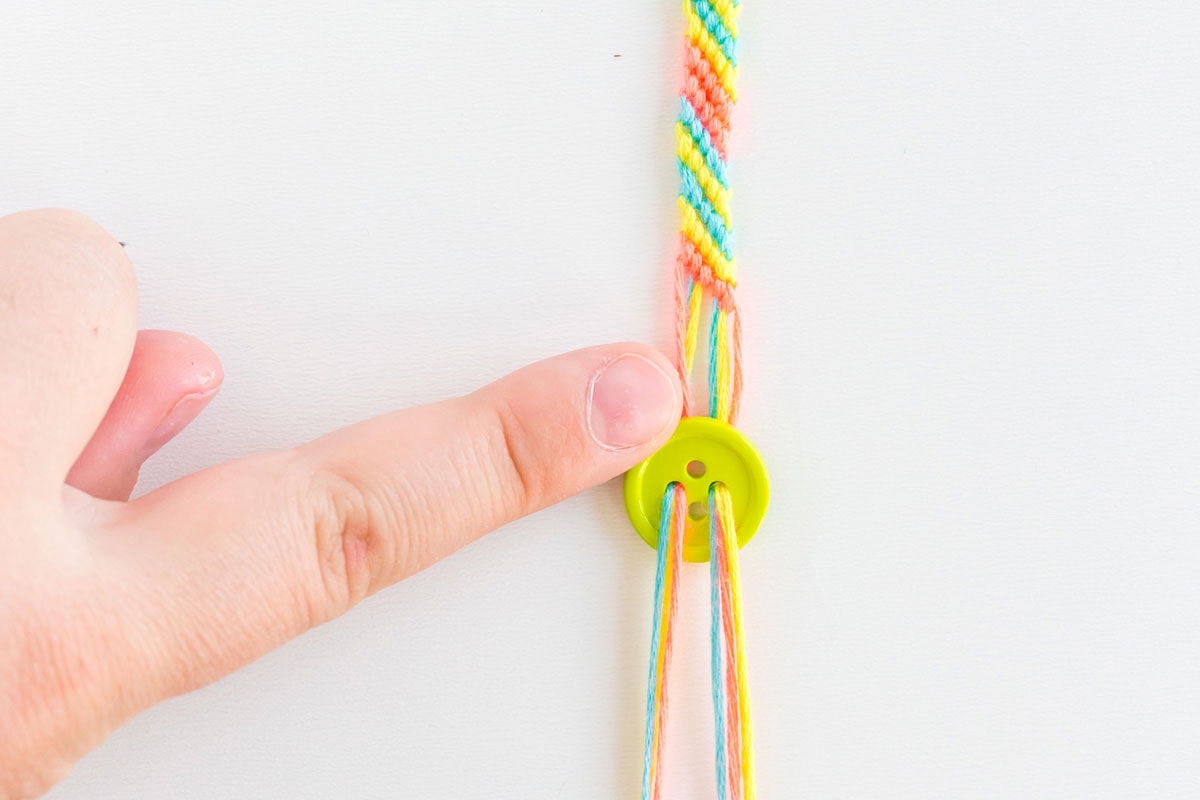
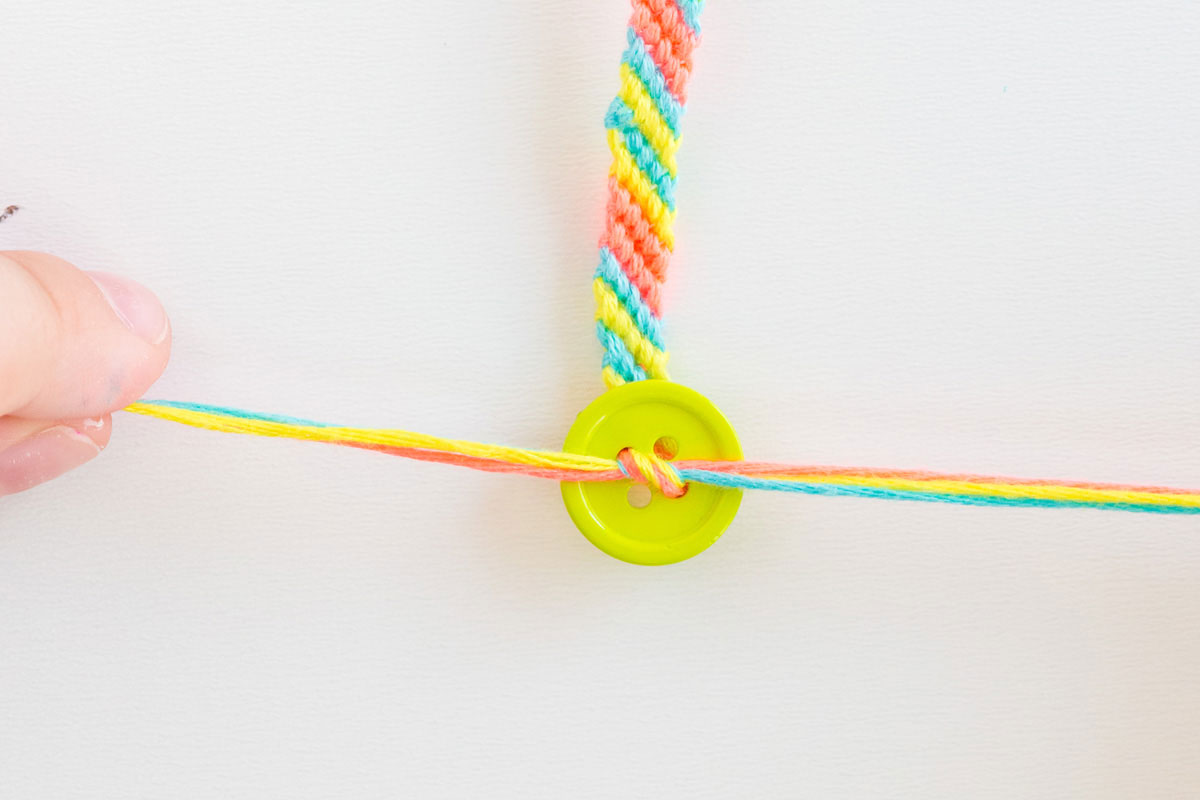
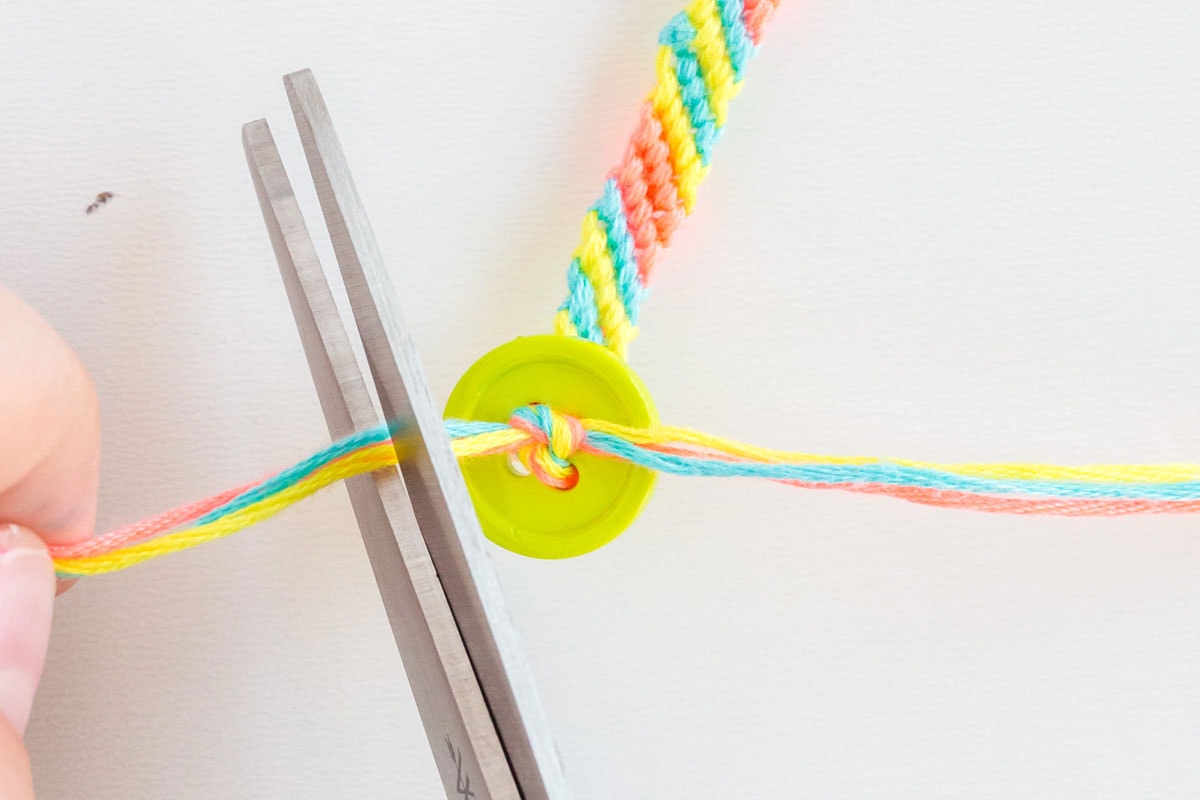
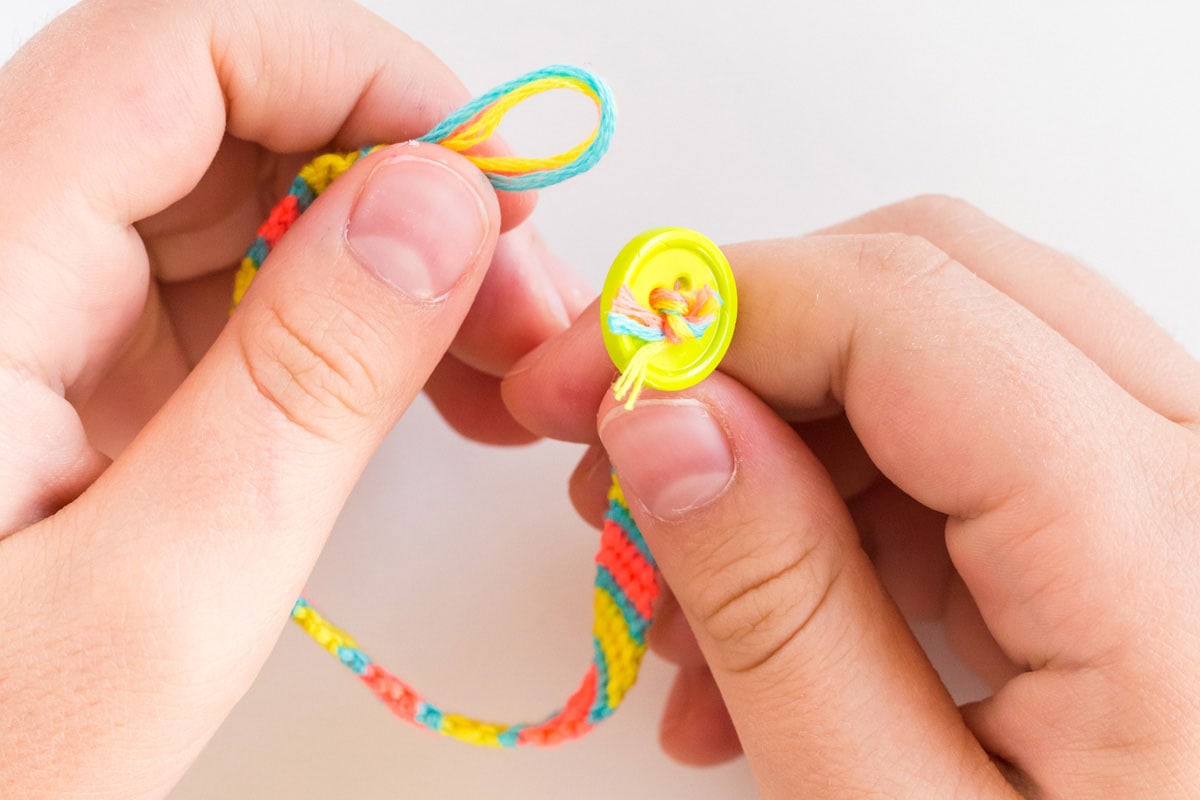
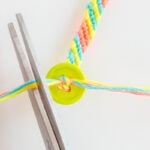
Add the button: Once the knots are done, take the button and slide 3 strands of floss into 1 hole and 3 strands of floss into the other hole. Note: you may need to roll the ends of the 3 strands together to get them to slide through the buttonhole. Tie the 2 strand sections together in a tight overhand knot. Trim loose floss off.
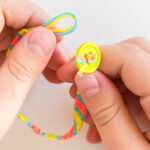
The bracelet is finished! Wrap the bracelet around your wrist and slide the button through the loop to secure it.
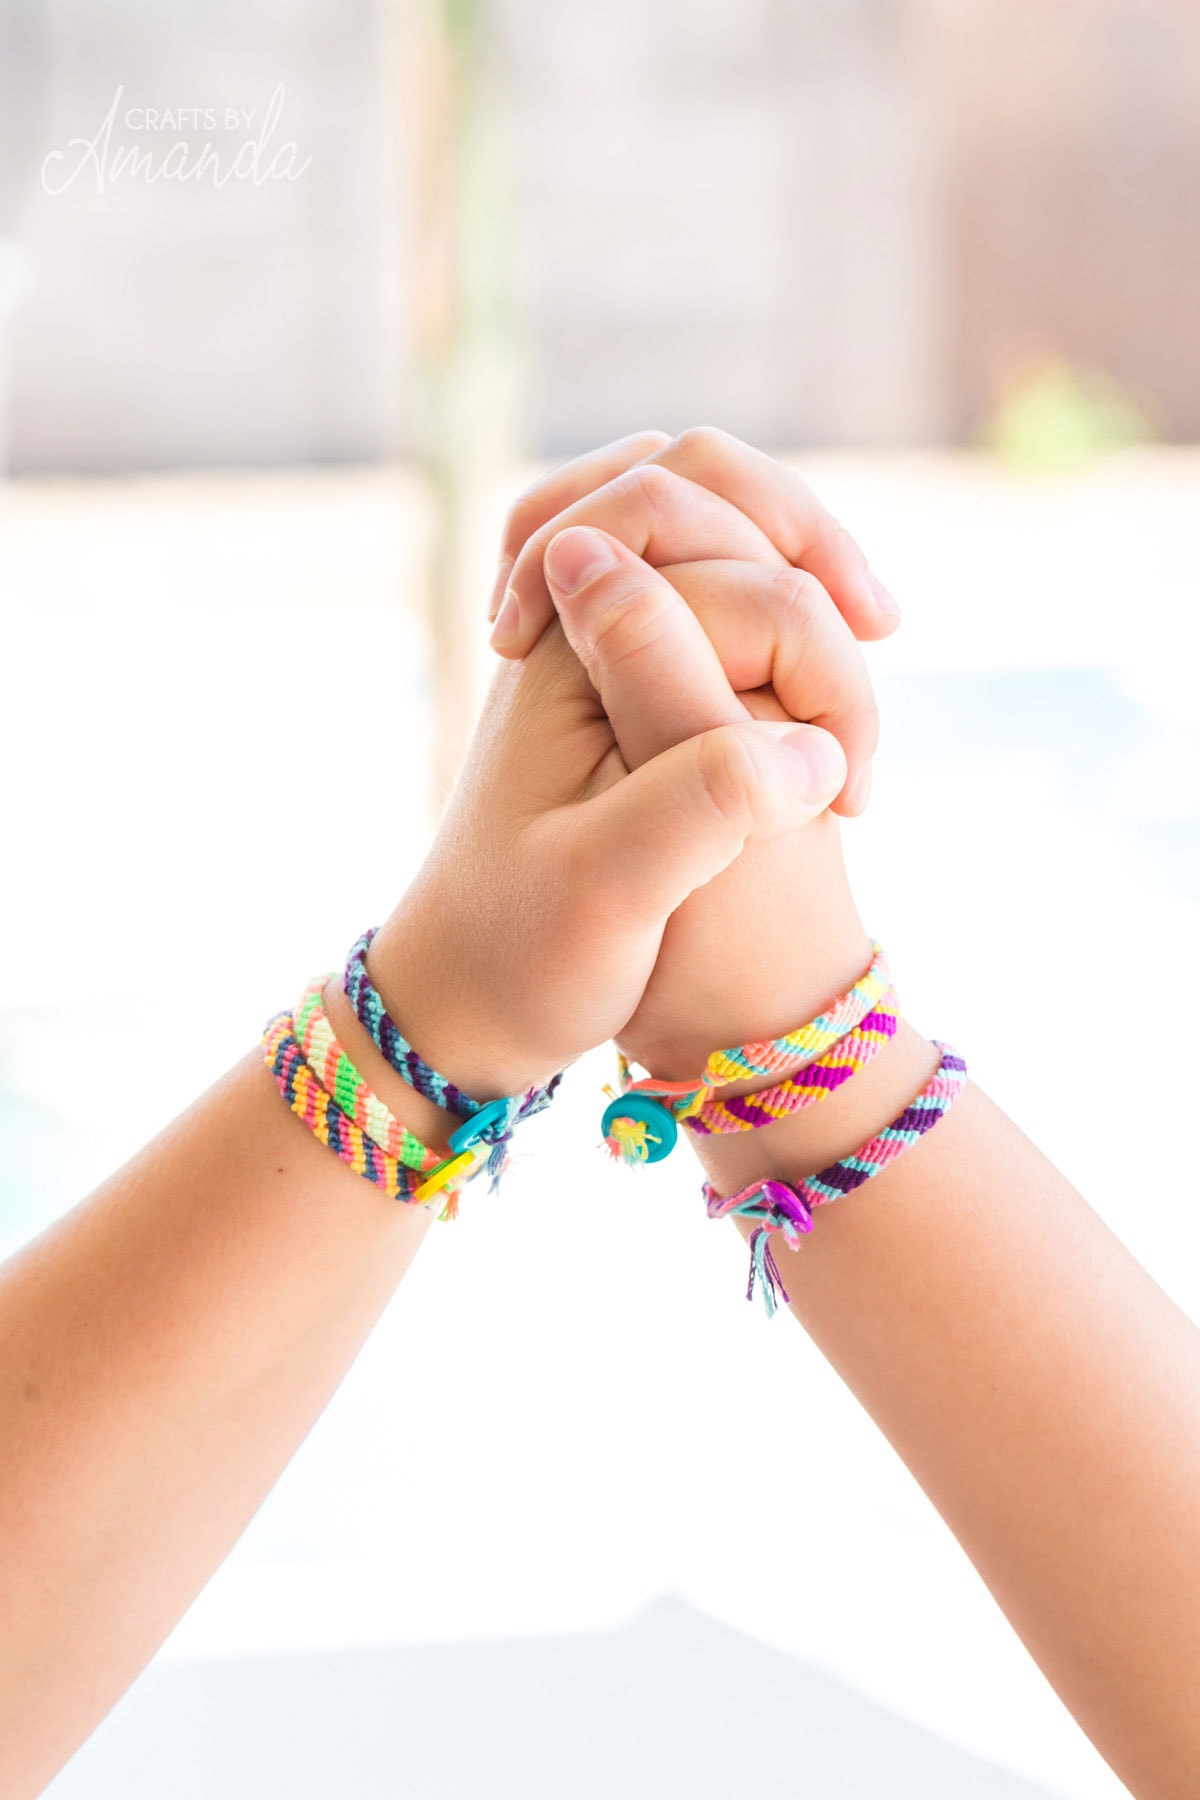
Friendship bracelets originate from Guatemala and made their way to the States in the 1970s. They are a form of macrame since the woven patterns are created by knots. It is traditional to make and give a bracelet to a friend as a sign of long-lasting friendship.
More Bracelet Making Ideas
- Popsicle Stick Bracelets
- Recycled T-Shirt Bracelets
- Rainbow Pony Bead Bracelet
- Safety Pin Bracelet
- Recycled Denim Beaded Bracelet
Friendship Bracelets
Supplies
Craft supplies you will need
- Embroidery Floss in 3 assorted colors
- Scissors
- Tape
- Button
- Extra piece of floss approx. 12”
Instructions
How to Make a Candy Stripe Friendship Bracelet:
Measure your wrist
- Use the extra piece of floss to wrap around your (or your friend’s) wrist one time. Take floss off your wrist, holding the spot where the floss “connected” and cut that. This is the approximate length your bracelet needs to be.
Measure the floss
- The general rule is to cut pieces of floss the length between your fingertips and shoulder. Hold the end of the floss in your fingers and stretch your arm out, do this 2x so you have 1 long piece of floss, double the length of your fingers to shoulder. Do this for all 3 colors of floss.
Make the loop for button closure
- Take the 3 strands of floss together and fold them in half. Make an overhand knot at the fold, creating a little loop at the end where you are tying the knot. This will be the loop for your button closure.
- Tape down the loop end to the table.
- Arrange your 6 strands of floss in the order you want. The strand all the way on the left is the one which will make the first row. You will knot it around all the other strands of floss. Note: If you have 2 of the same colors next to each other, you will have a wider band of that color in your bracelet.
Make the knots
- This bracelet uses the “forward knot” which creates knots left to right, just the way we read.Take the first strand on the left, shape it into a number 4 with the 2nd strand next to it being the straight line of the “4”. Make sure the first strand goes over the second strand, and then behind as shown in the photo. It is important the first strand always goes OVER the second strand, it'll give it the right look.
- Now hold the second strand taut, and pull the first strand up and into the loop. Pull until you meet resistance, but not any harder! This will create a small knot on the second strand.
- Make another knot by tying the first strand around the second strand again – by just repeating steps 1-2.
- Continue moving across to the right, using the first strand to create two knots on each strand of floss in the bracelet.
- Once you've knotted all the way across to the right and reached the last strand of floss/yarn, begin again using the first strand on the left. Make sure you're making TWO knots on each strand.
- Keep knotting until you have the right measurement for your wrist. You can check by lining up the piece of floss you used to measure your wrist.
Add the button
- Once the knots are done, take the button and slide 3 strands of floss into 1 hole and 3 strands of floss into the other hole. Note: you may need to roll the ends of the 3 strands together to get them to slide through the button hole. Tie the 2 strand sections together in a tight overhand knot. Trim loose floss off.
- The bracelet is finished! Wrap the bracelet around your wrist and slide the button through the loop to secure.
Expert Tips & FAQs
- It is easier to work at a table. Have the loop end taped about arms-length on the table and let the floss hang off of the table right in front of you.
- If you want to take a break from knotting, finish the row of knots, then tape down the strand of floss on the far left, separate from other strands. When you are ready to start, simply remove tape and start a new row of knots.
- If your bracelet starts to curl you can “block it” to make it lay flat. When your finished bracelet is done, tape it to a flat surface. Make sure it’s pulled nice and taut. Spray it with a good amount of water and let it dry like that. Then remove the tape.
This post originally appeared here on July 30, 2021.
- Friendship Bracelets - June 28, 2024
- Star Suncatchers - June 25, 2024
- Fingerprint Flower Pot - April 16, 2024


Sharon Hastings says
I’m excited to give it a try. Directions seem pretty easy to follow. I appreciate you sharing with us.
Shelby Bamesberger says
Super easy. My freshman Spanish class made these in High School when learning about Guatemala and the fact that our teacher could teach a group of freshmen girls and boys how to make these bracelets in one 45 min class period shows how easy it is to make these! I now teach my 7th graders how to make these every year and have never had a problem! Great instructions and visuals!
Estelle says
I followed this and on my first bracelet it was way to short, I tried a second time and managed to just about make it reach however it was messy in places despite following exact same instructions. This took a very long time to make and left me too tired to follow the button step. I wouldn’t recommend to children or beginners but overall it is a nice design and somewhat easy to follow.
Ursula says
Terrible! Absolutely does not work and takes at least 5 hours to make! Even though it looks simple, You pretty much have to be a professional with years and years of experience.
Jaelyn says
It might not be easy to you and of course it takes hours to make it. I was successful on my fist knot. And it absolutely does not take years to get experienced with this stuff. Besides this is not a great thing to say. If you don’t have anything nice to say about this article, don’t say anything.
Shan says
I personally found this fun and relatively easy to get the hang off, but what are you on about with “if you don’t have anything nice to say about this article, don’t say anything”?? It’s a review you’re supposed to be leaving your opinion, negative or positive
Jissy says
I did it in 15mins. Easy peasy. Not a pro.