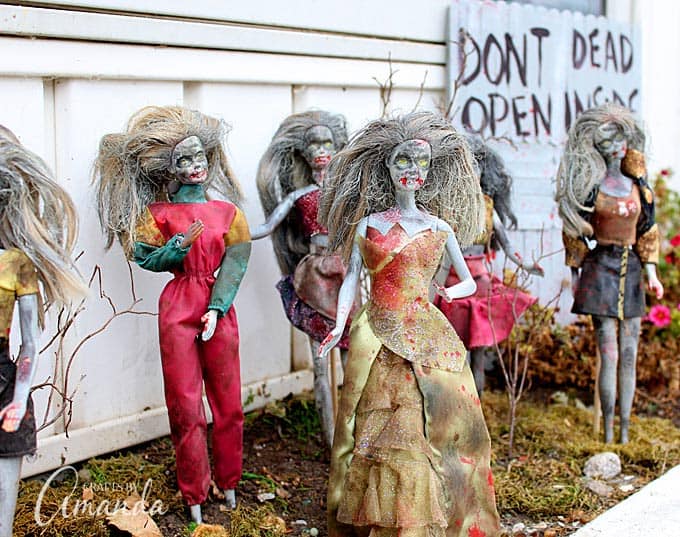
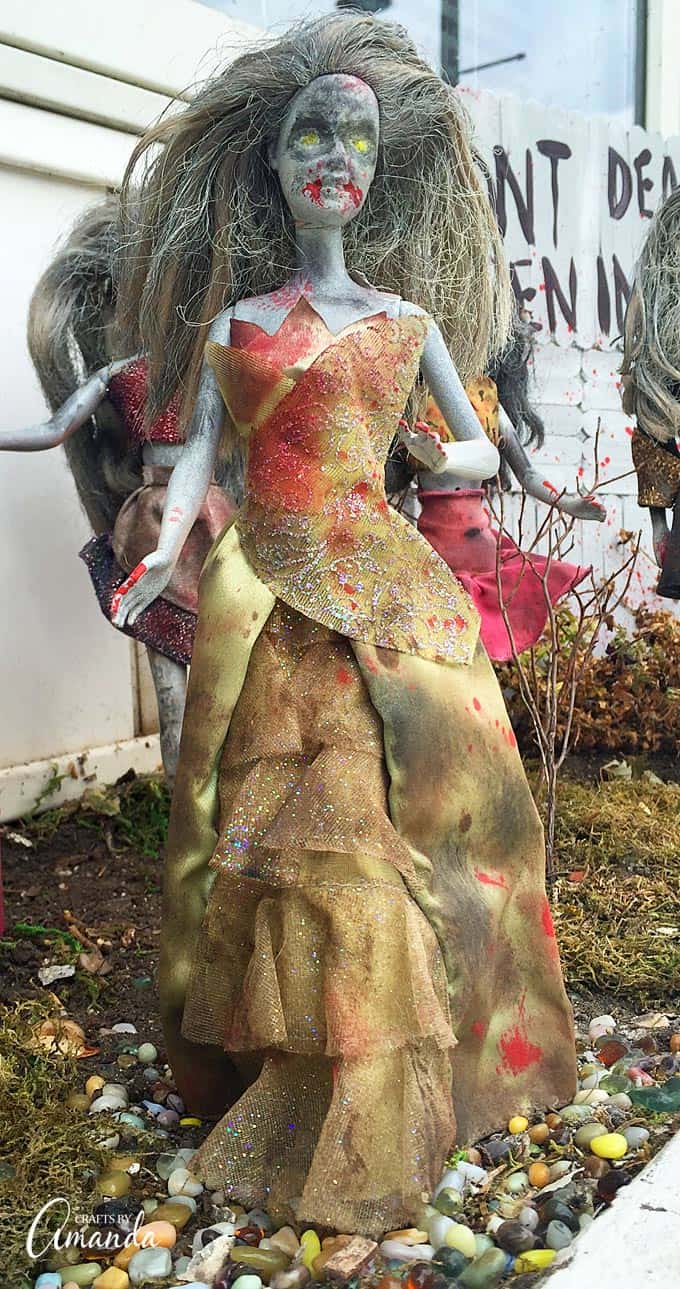
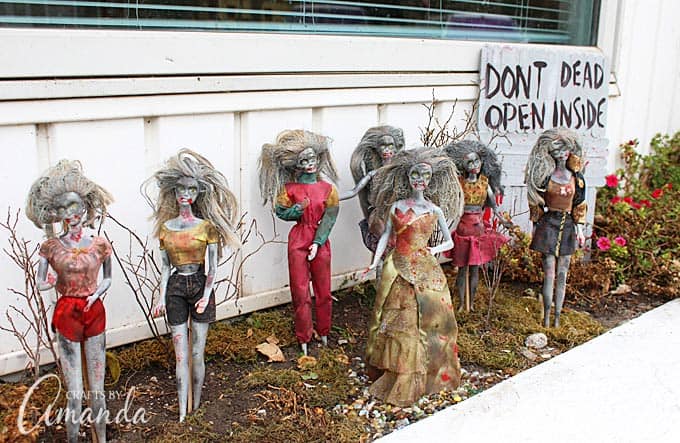
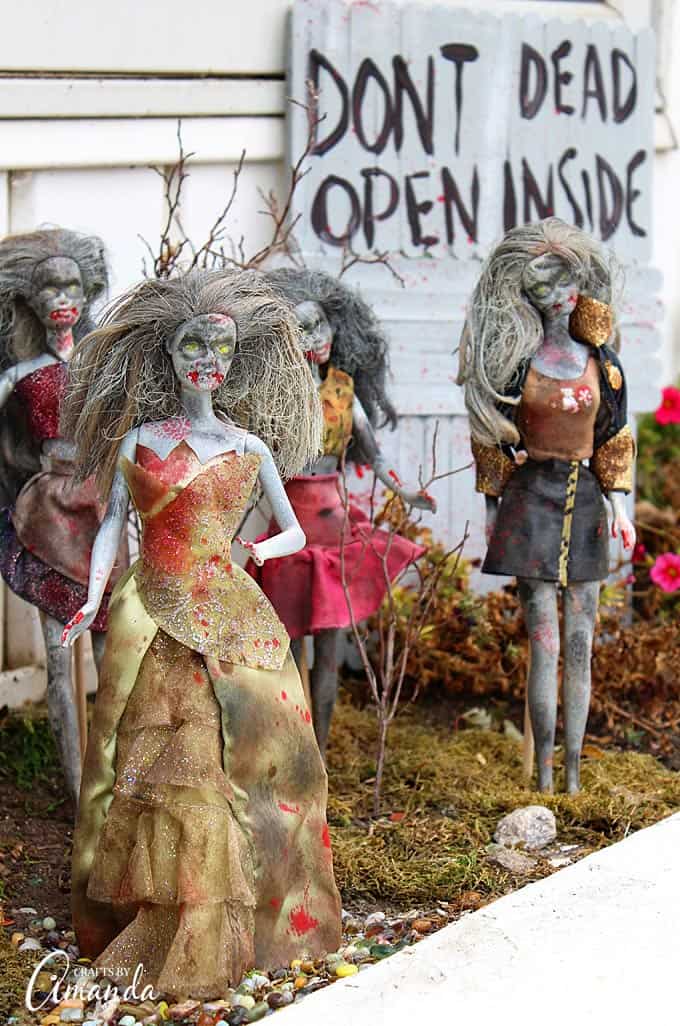
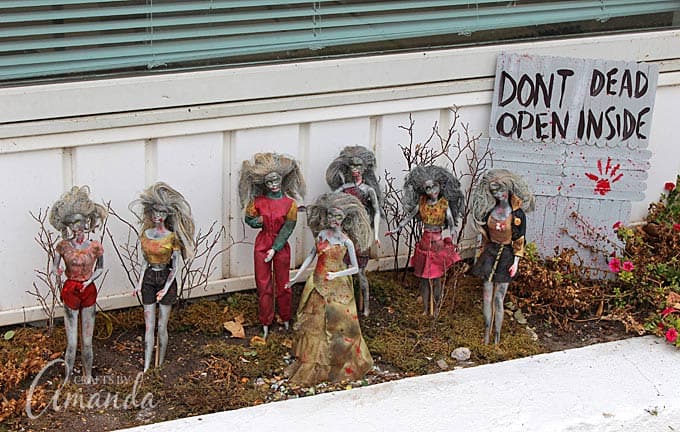
Last year I posted about my Barbie Zombies, inspired by one of my favorite shows on TV, The Walking Dead. This year, now that I’m in the studio and with summer over, it was time to replace the fairy garden display outside and put up some fun Halloween decorations. I didn’t want to just put the barbies outside without some sort of prop, so I decided to make that door from the first season of the show that says “don’t open, dead inside“.
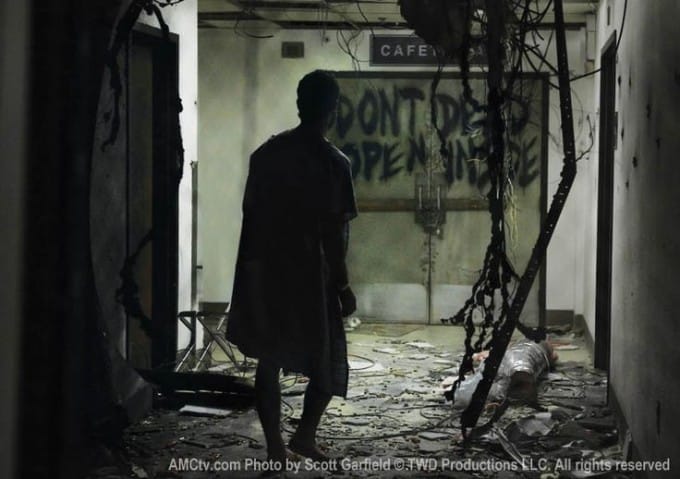
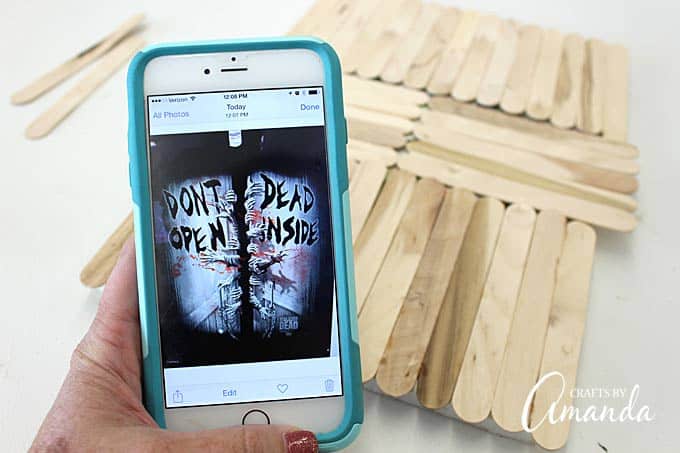
If you watch The Walking Dead then you know the door I am talking about. Below is a scene from the show.
Don’t Open, Dead Inside
In the first season, Rick regains consciousness only to find himself in an abandoned hospital.
Spray painted on the chained door leading to the cafeteria is “Don’t Open, Dead Inside”. Presumably this is where patients that have turned into zombies (or “walkers” as the main characters of the show refer to them as) are locked in.
As I said I really wanted to display my Barbie Zombies for the few weeks that lead up to Halloween. Once Halloween is over they’ll be packed away for another year.
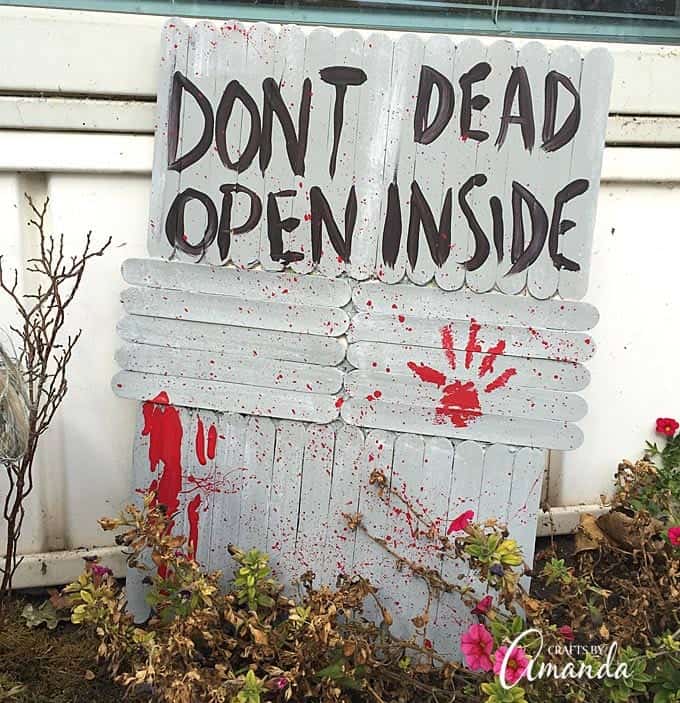
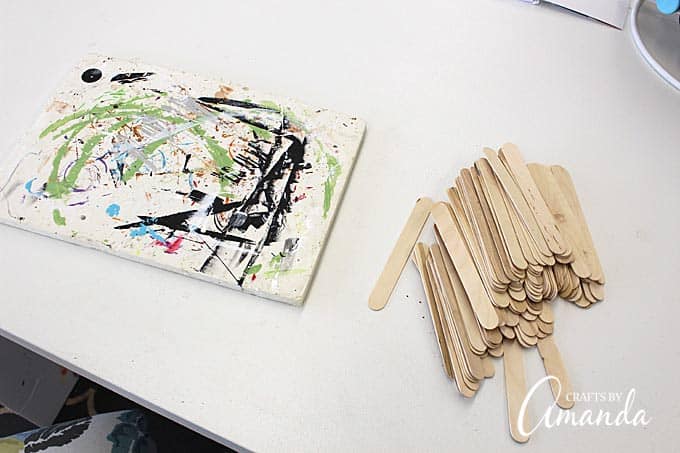
You can get the tutorial for the Barbie Zombies here, but this post will show you how I created the door with a bunch of jumbo craft sticks and a ratty piece of foam core board.
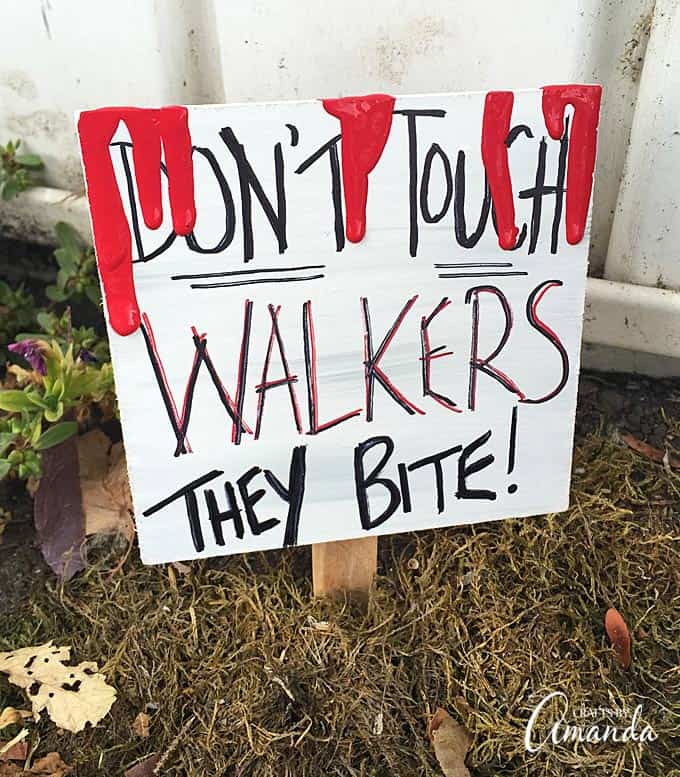
I also created a small sign that says “Don’t Touch Walkers, They Bite!”. I specifically created this sign in hopes of discouraging any passerby’s from picking up the dolls, especially kids! They’ve been outside for about a week now and they are holding up great.
My Barbie Zombies always generate some controversy. I’ve had women get upset with me, thinking I’m ruining perfectly good Barbies that some unfortunate little girl could have enjoyed. I want to ensure everyone that the Barbies I used were in bad shape and I can’t imagine any child would have really wanted them. Also, I purchased them from a thrift store whose profits go back into helping the community and those less fortunate. So I harbor no guilt. ;)
How to make a Don’t Open, Dead Inside door
Supplies needed:
- Jumbo craft sticks
- Foam core board
- Craft glue (I used Aleene’s Clear Gel Tacky Glue)
- Gray, black, white and red acrylic craft paint
- Hot glue gun
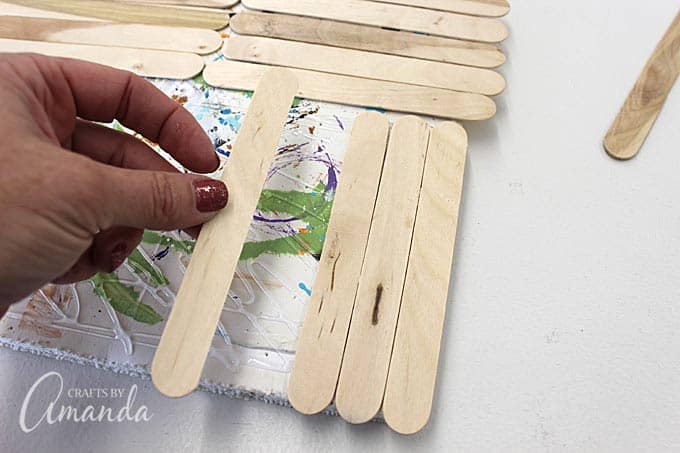
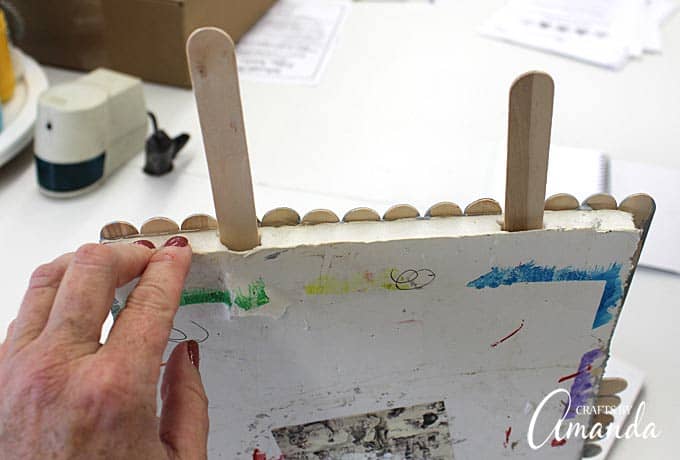
I didn’t measure the board, but it’s somewhere between 8×10 and 11×14. The size is up to you. I covered the board with glue and just started adding craft sticks. I did a row of vertical sticks on the bottom and on the top, then added horizontal sticks in the center to fill the gap. After letting it dry for a while, I did notice that some of the sticks weren’t laying flat. So for those I stuck them down using a glue gun.
It’s not exactly like the door from the show, just like this artists’ rendition isn’t the same.
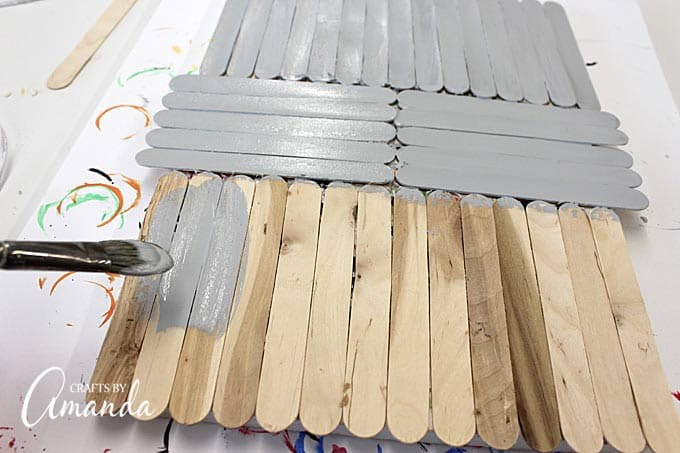
Next I painted the whole thing with gray paint. I dry brushed some white paint all over it to give it some dimension.
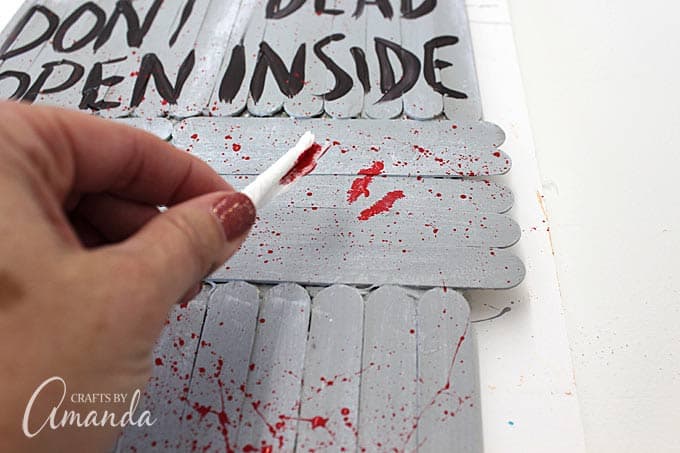
I wrapped a small corner of paper towel around a toothpick then dipped it in red paint to create the red handprint. I also dipped a toothbrush in red paint and splattered the board with it.
Finally, because this would be outside and I didn’t want it to fall over, I inserted two craft sticks into the board at the bottom. I added some hot glue to hold them in place. This way I was able to push the sticks down into the dirt.
I laughed the other day. There were two guys standing outside talking. I saw one of them taking a picture of the Barbies on his phone. Must have been a Walking Dead fan!
More Walking Dead DIY Ideas:
- My Barbie Zombies of course ;)
- The Governor’s “Fish” Tank of Heads
- Walking Dead Party Lantern
- Bloody Zombie Hunter Tee
- Walking Dead Zombie Magnets
- Daryl’s Ear Necklace Cookies
- Pumpkin Painting Party - October 11, 2024
- Halloween Door – Keep Out - October 8, 2024
- Ghost Candles - October 4, 2024


Brittany L Asher says
Hellow there. How did you make the barbies look that? Their clothing and hair, etc.??!
Amanda Formaro says
Hi, Brittany! In the first sentence, I link to the Barbie Zombies, and I will link them here as well for you to find them! I hope that helps :)
Alana says
WOW these are amazing….!!!
Amanda Formaro says
Thanks Alana!