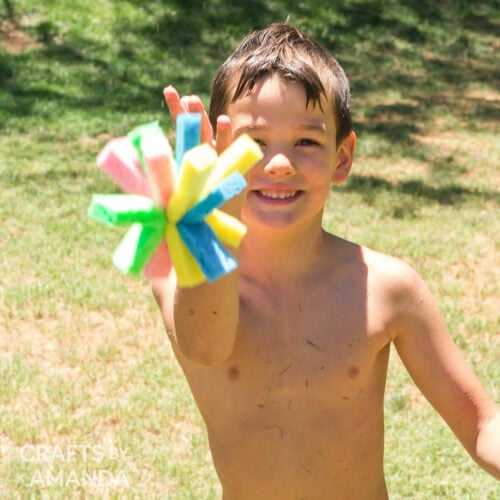
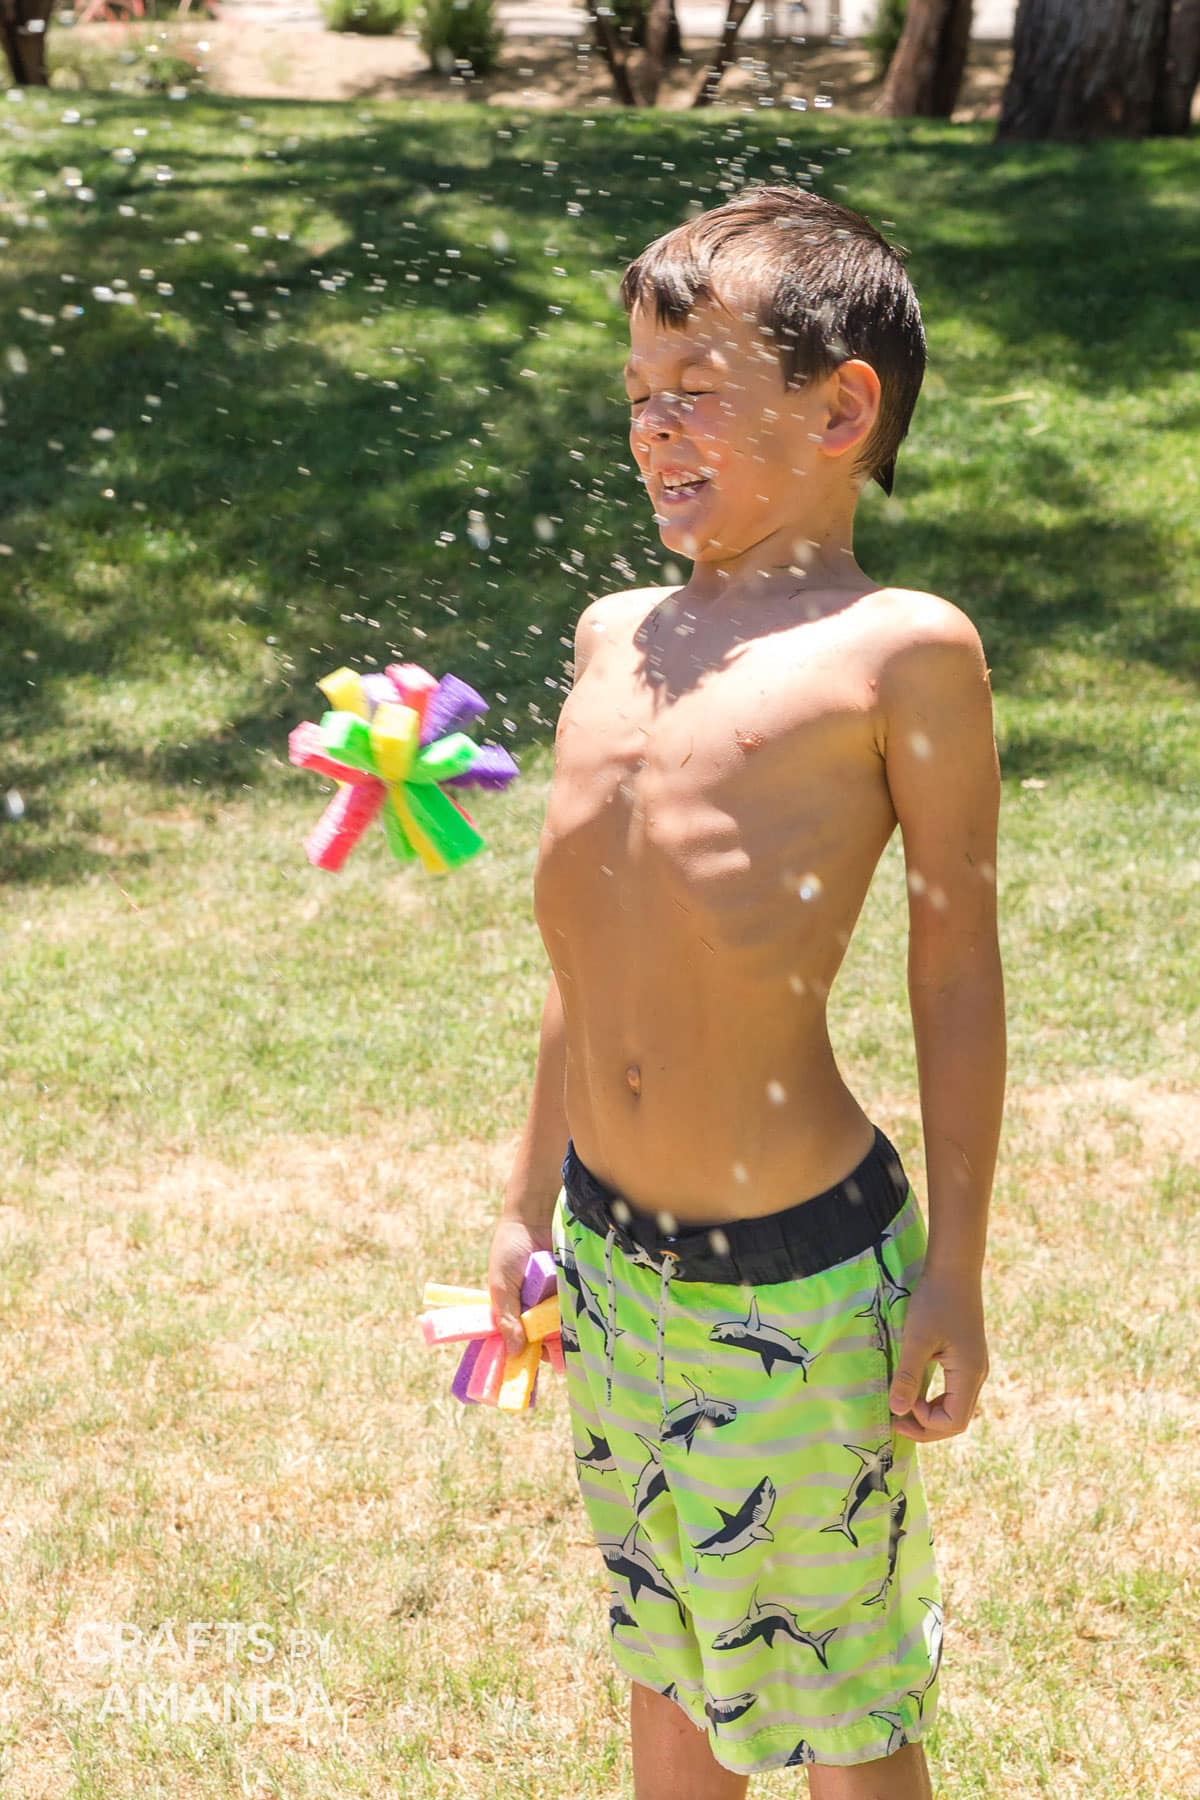
Have you ever heard of sponge bombs, or played the sponge toss water game? This is a really fun activity for a hot summer day that you and the kids will love!

Why this game is a hit
Who doesn’t love a water game or activity in the dog days of summer? Cooling off on a hot day is a great way to get the whole family outside to play.
While you can certainly play the sponge toss water game, you can also play catch or even have a sponge bomb fight! Tossing these soaked sponges around is a lot of wet fun, and they don’t hurt.
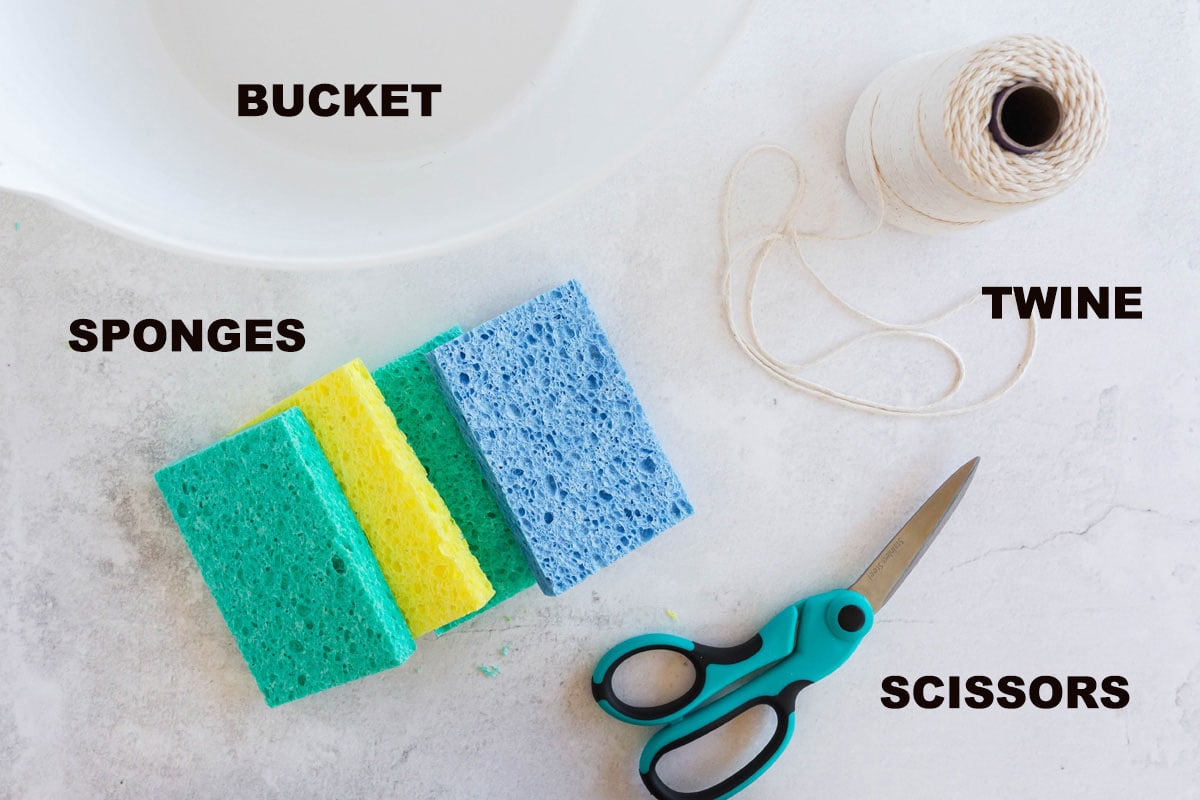
Supplies you will need
You can use one color sponge if that’s what you have on hand. We like making colorful sponge bombs so we’ve used multiple colors of sponges. We found the best sponges at Target.
Helpful Project Information
- Age Level: 5 and up
- Mess Factor: Low
- Level of Difficulty: Easy
- Time to Complete: 5 minutes
- Cost Estimate: Less than $2.00
How to Make Sponge Bombs
These step by step photos and instructions are here to help you visualize how to make this project. Please scroll down to simply print out the instructions!
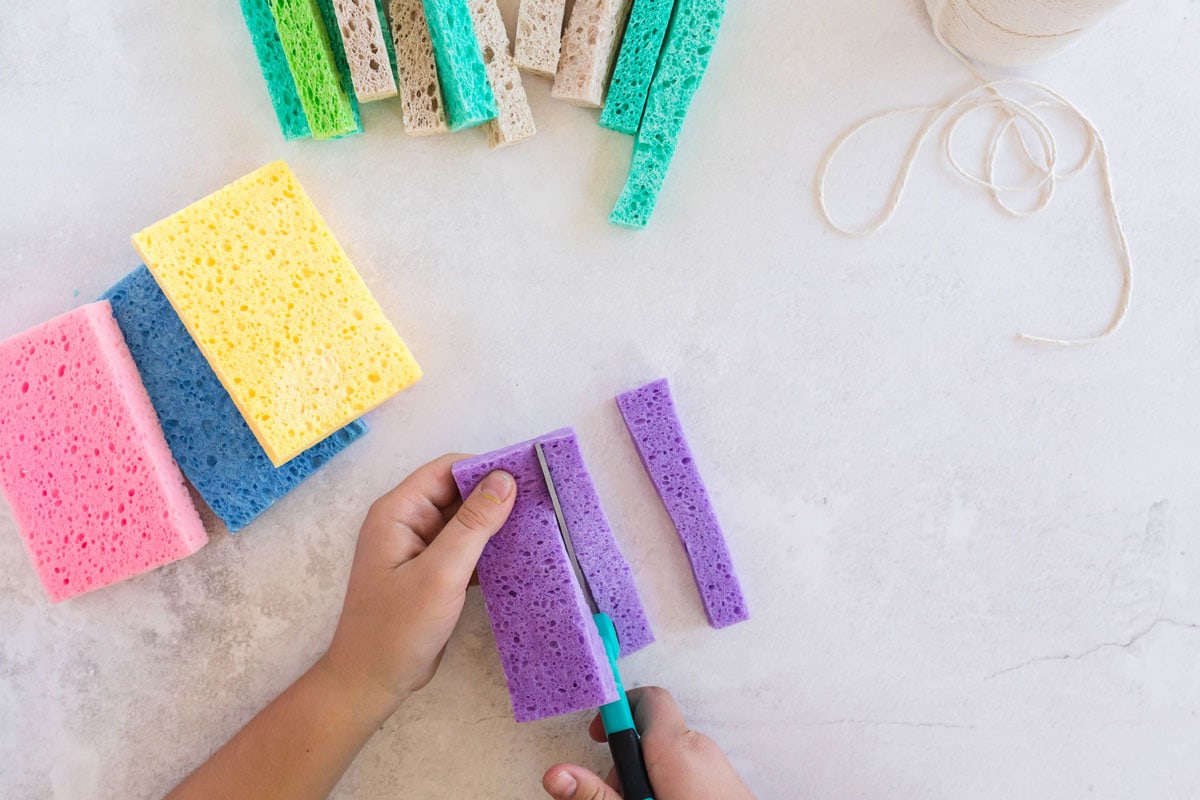
- Start by getting the sponges wet, then squeezing out as much water as you can. This makes them much easier to cut and work with.
- You will need 2 sponges per sponge bomb. Cut each sponge lengthwise into 4 strips.
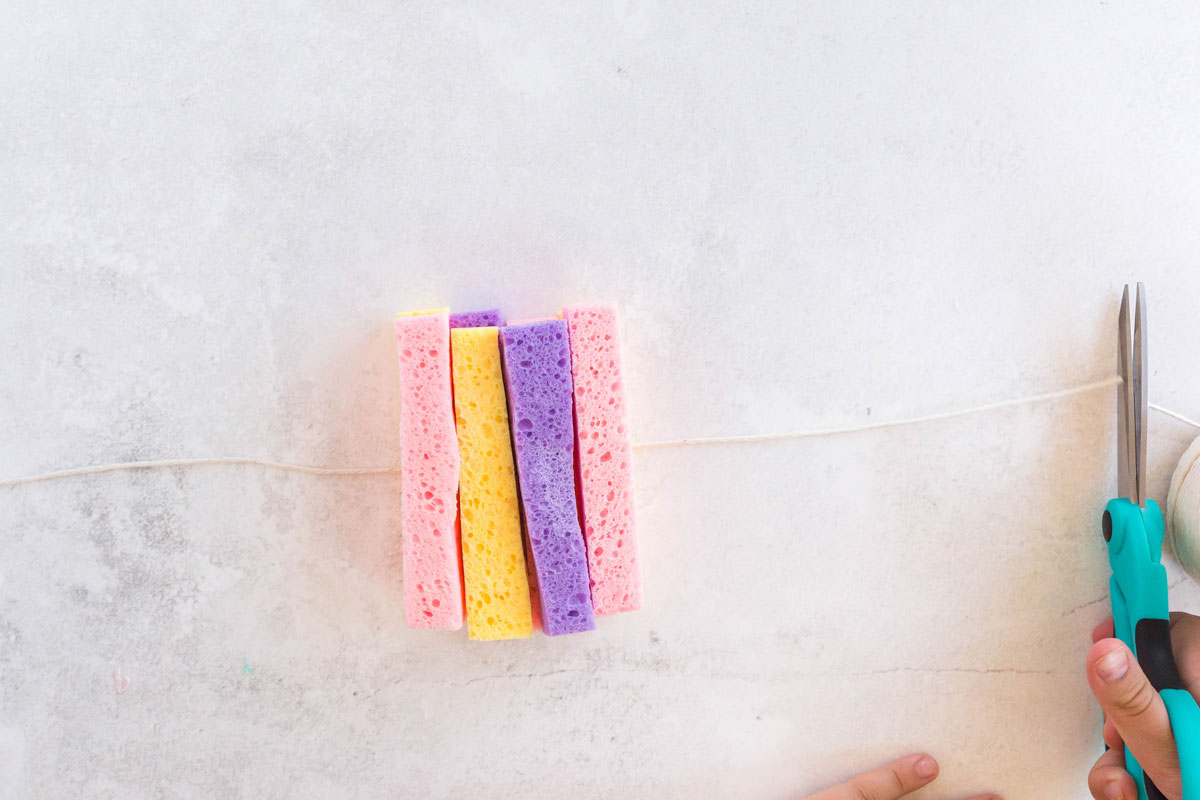
- Measure out 12 inches of twine.
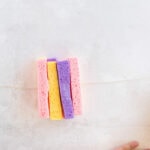
- Lay 4 sponge strips across the twine.
- Stack 4 more sponge strips on top of the first 4.
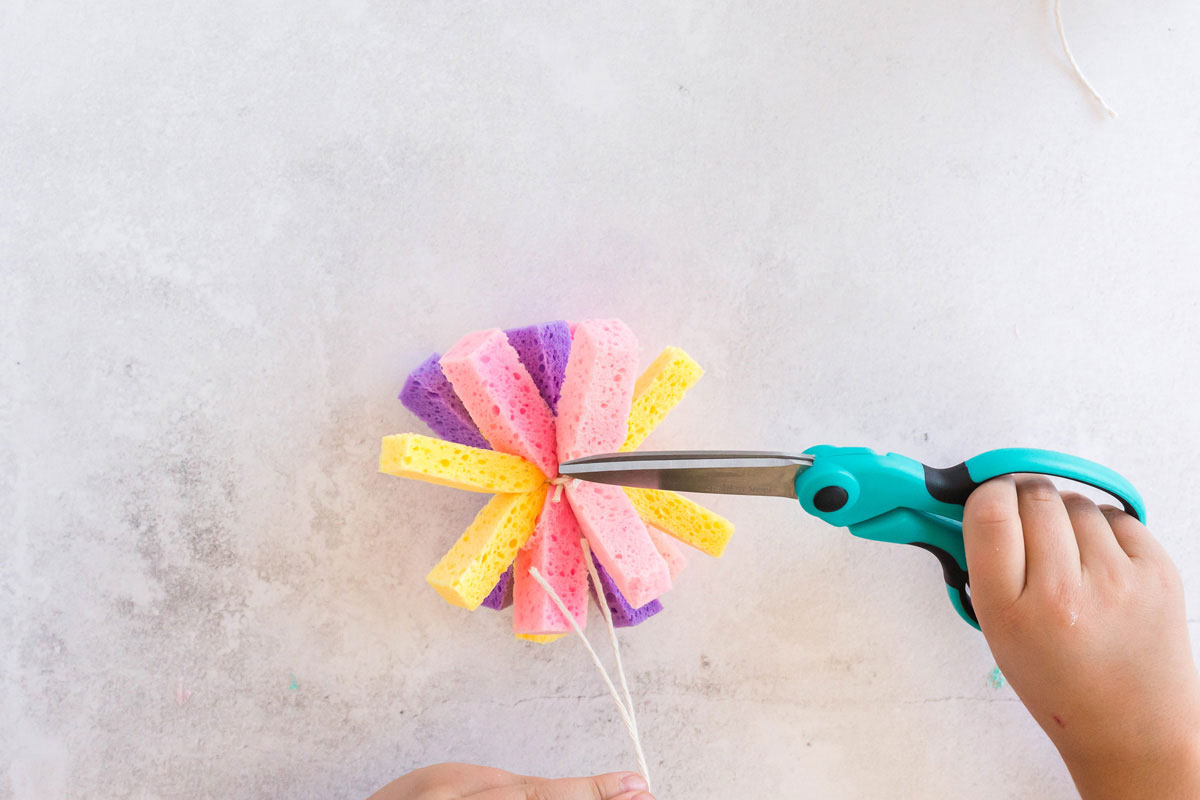
- Bring the twine up and tie it in a tight knot in the center of the sponge strips. This will make the sponges all come together to form a ball shape.
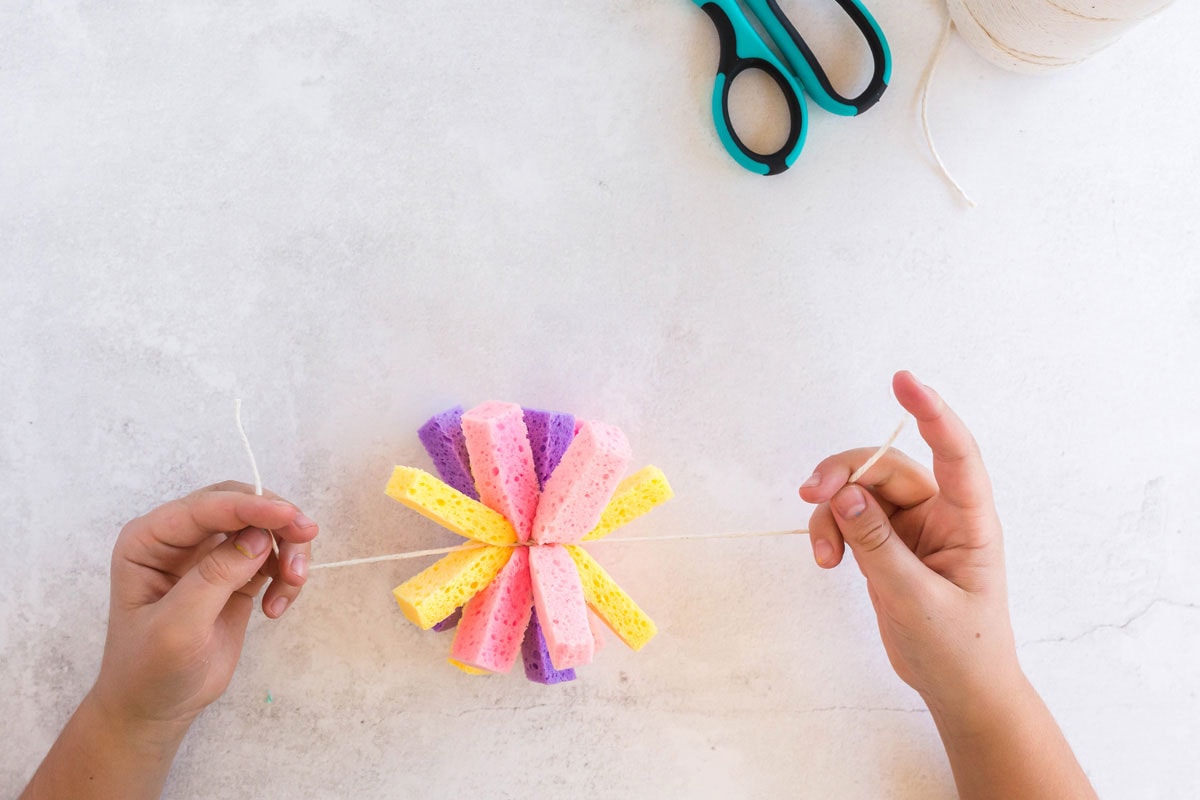
- Trim off the excess twine.
Expert Tips & FAQs
- Make as many sponge bombs as you like. We suggest making at least two in order for kids to play the sponge toss water game.
- Be sure you and the kids are dressed in swimsuits, because you are going to get wet!
- You may see other tutorials suggesting you use zip ties. I do not recommend that as the zip ties are hard and the cut ends will be sharp and can hurt. Twine is much safer!
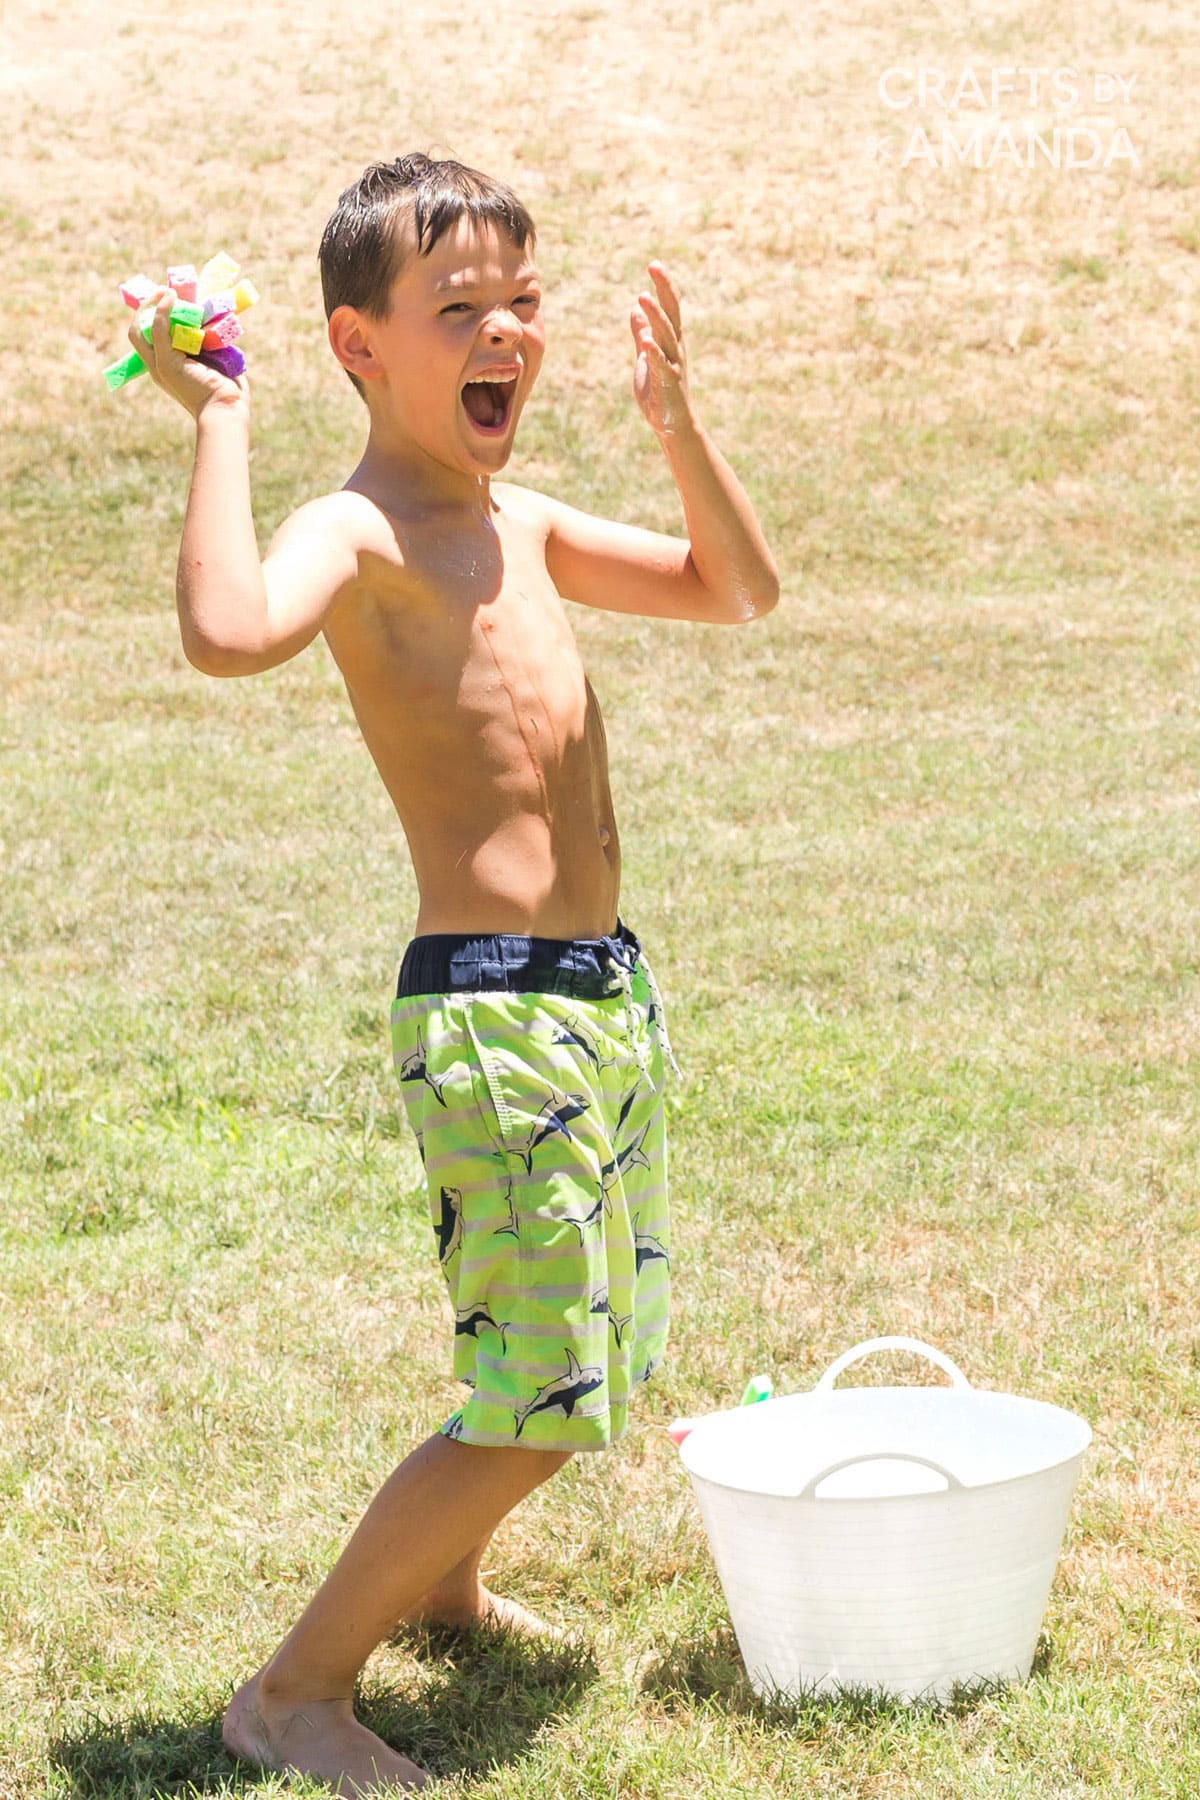
Play Sponge Bomb Catch
You can simply play catch by giving kids their own buckets of water and sponge bombs. Toss the bombs back and forth for a fun way to cool off in the summer sun!

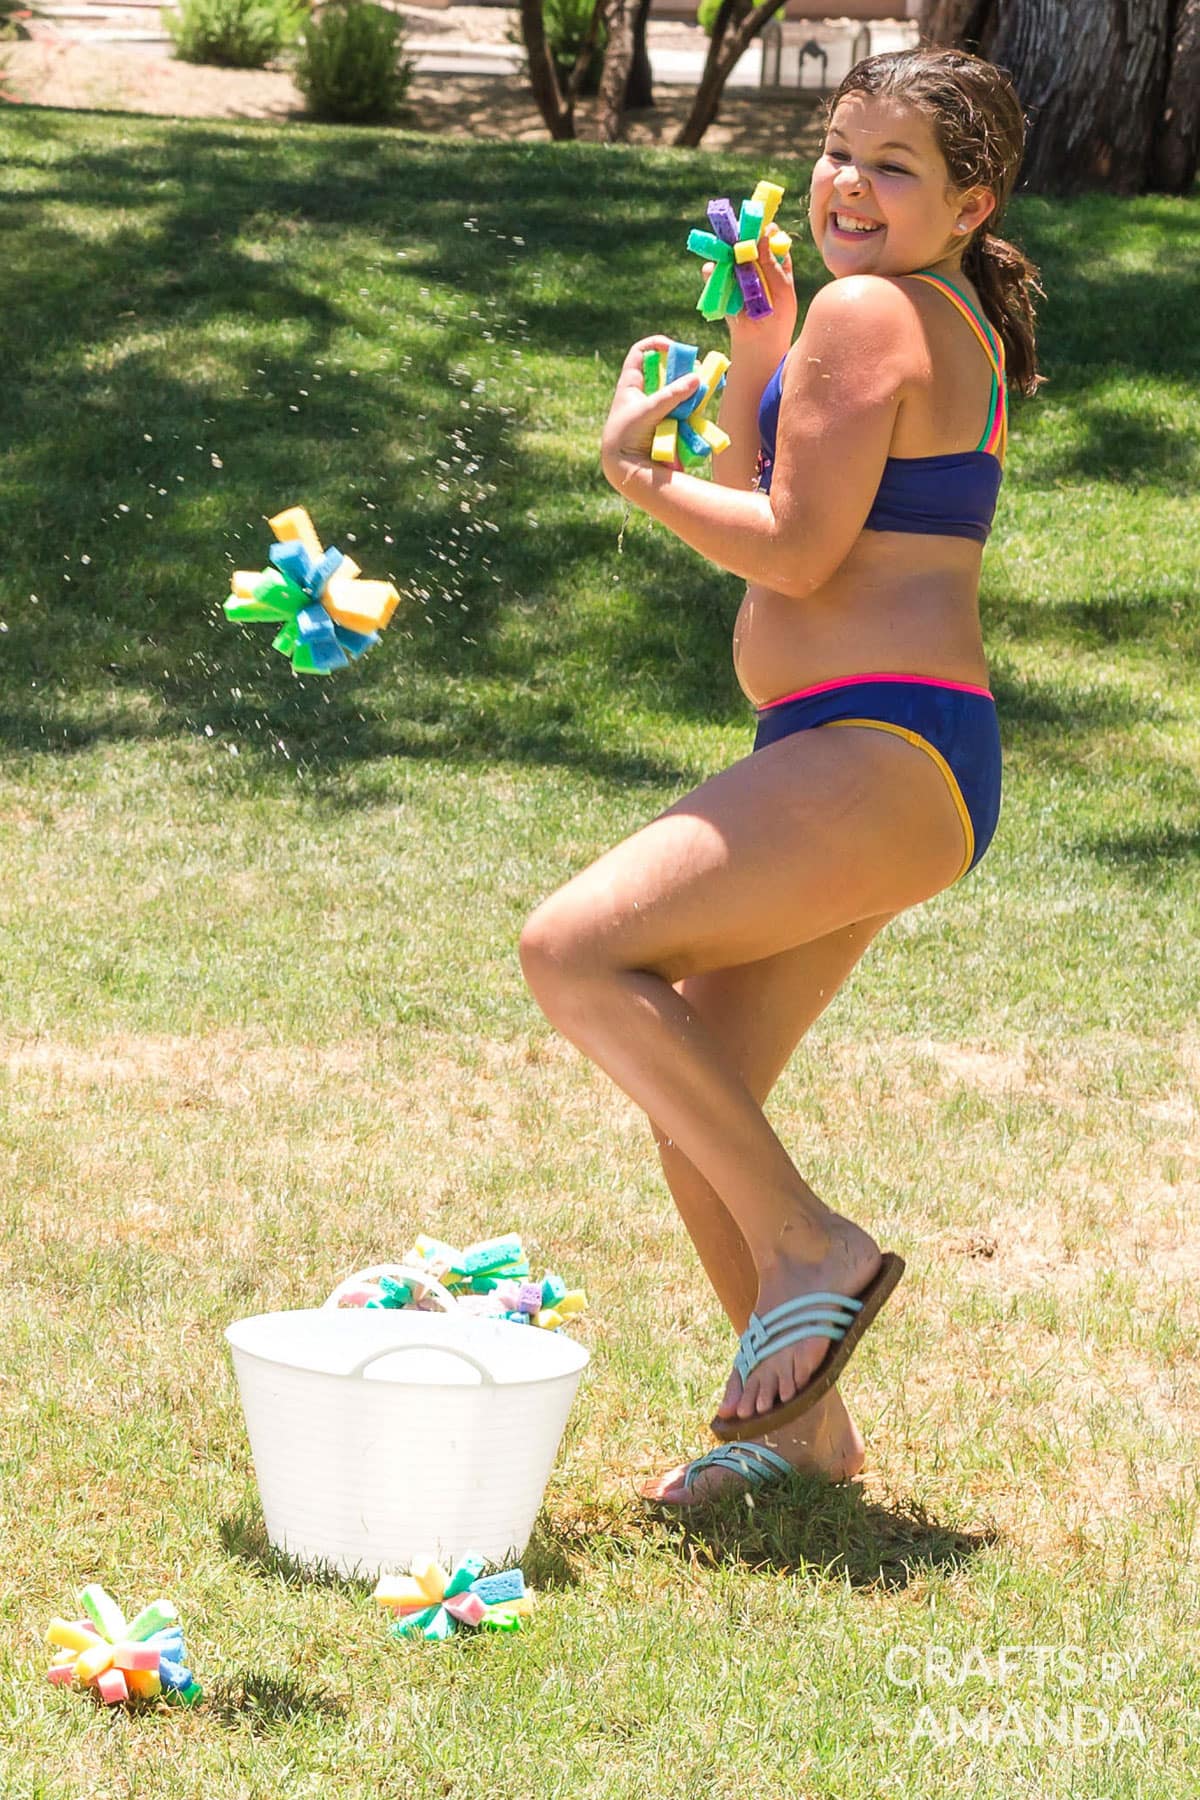
To Play the Sponge Toss Water Game
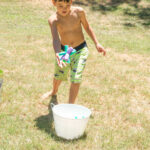
- Place one large bucket on the ground. Fill it with water and sponge bombs.

- Line up four buckets to toss the sponges into.
- The object is to toss the sponge bombs into each bucket without missing. The farther away the bucket, the more challenging the game.

This could simply turn into a water fight, so make sure you make enough “spongey ammunition” for everyone! A great summer activity for the entire family.

More Summer Crafts
- Coffee Ground Fossils
- How to Make a Scrunchie
- Friendship Bracelets
- Swirling Twirling Ladybugs
- Printable Summer Bucket List
- Printable Summer Scavenger Hunts
- Recycled Plastic Lid Windchime
- Paper Plate Kite
- Recycled Plastic Bottle Wind Spinner
- Paper Plate Frisbees

I love to create and share my projects with you! I know it’s hard to remember to come back and search, so I’ve made it easy for you with my weekly newsletter! You can subscribe for free and I’ll send you fun crafts and delicious recipes every week right to your email.

Sponge Bombs & Sponge Toss Water Game
Supplies
- 2 sponges per sponge bomb
- 18 inches twine
- 1 large bucket
- Water
For sponge toss water game
- 4 small buckets
Optional
- Number stickers for buckets
Craft tools
Instructions
- Start by getting the sponges wet, then squeezing out as much water as you can. This makes them much easier to cut and work with. You will need 2 sponges per sponge bomb. Cut each sponge lengthwise into 4 strips.

- Measure out 12 inches of twine.
- Lay 4 sponge strips across the twine. Stack 4 more sponge strips on top of the first 4.
- Bring the twine up and tie it in a tight knot in the center of the sponge strips. This will make the sponges all come together to form a ball shape.
- Trim off the excess twine.
- Drop into a large bucket of water.
- Toss to each other or at each other!


To Play the Sponge Toss Water Game
- Place one large bucket on the ground. Fill it with water and sponge bombs.
- Line up four buckets to toss the sponges into. The object is to toss the sponge bombs into each bucket without missing. The farther away the bucket, the more challenging the game.
Expert Tips & FAQs
- Make as many sponge bombs as you like. We suggest making at least two in order for kids to play the sponge toss water game.
- Be sure you and the kids are dressed in swim suits, because you are going to get wet!
- You may see other tutorials suggesting you use zip ties. I do not recommend that as the zip ties are hard and the cut ends will be sharp and can hurt. Twine is much safer!
- Bottle Cap Flower - April 2, 2024
- 7 Cool Ways to Decorate Easter Eggs - March 19, 2024
- Cardboard Tube Lambs - March 12, 2024


Ang says
Love this! Do you have to undo the tie and let it air dry after each use to prevent mold? Thanks!
Amanda Formaro says
We never have, they’ve always been fine.
Martha O. says
Thanks so much – perfect for our grandchildren!
Ruthie Brown says
I love doing crafts with my granddaughter! Crafts seem to span the ages. No matter how big she gets she still loves crafts!